Creating a Mermaid and Sea Creatures Party.
Another year, another party for me to go overboard with! This year it was all about mermaids and sea creatures – who doesn’t love a mermaid!?
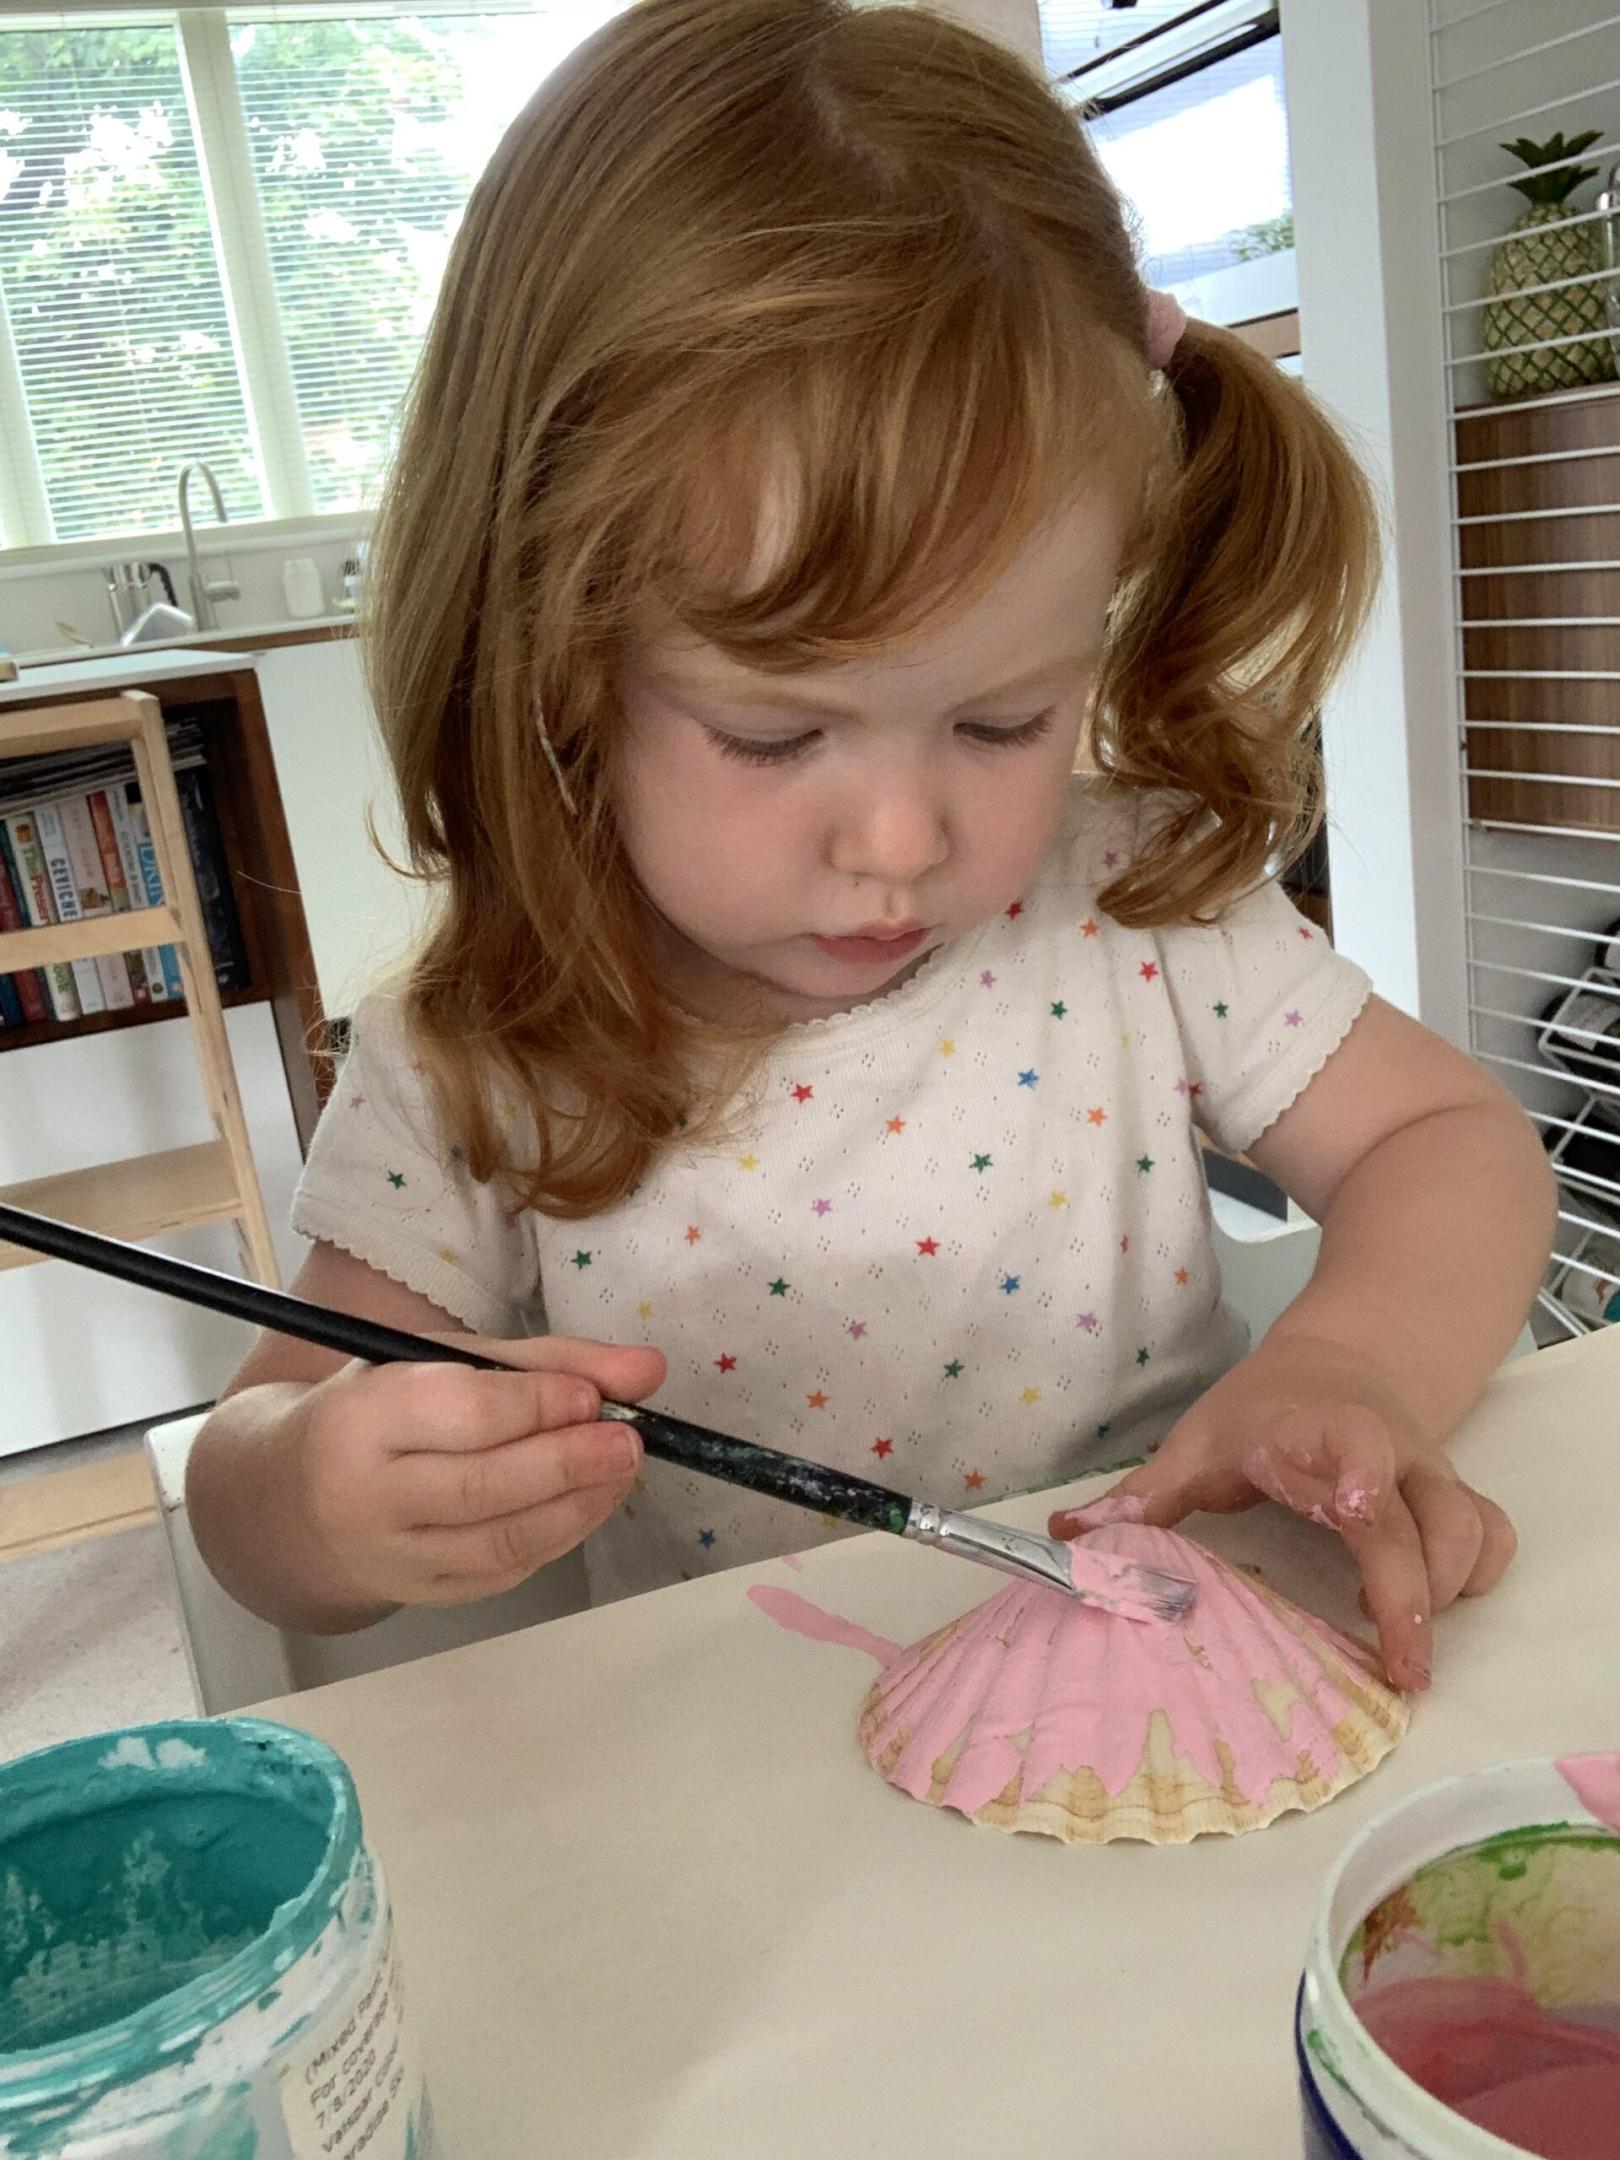
I started the party prep well in advance, as I wanted to have time to make lots of the decorations and party bag fillers myself and I knew I would need to do this around Lily’s schedule, which doesn’t leave me much time! Although, I have to admit, I was very pleasantly surprised that Lily was quite keen to ‘help’. It often took me longer to do things with Lily ‘helping’, but it did give me a bit more opportunity to get creative, than having to wait until she had gone to bed.
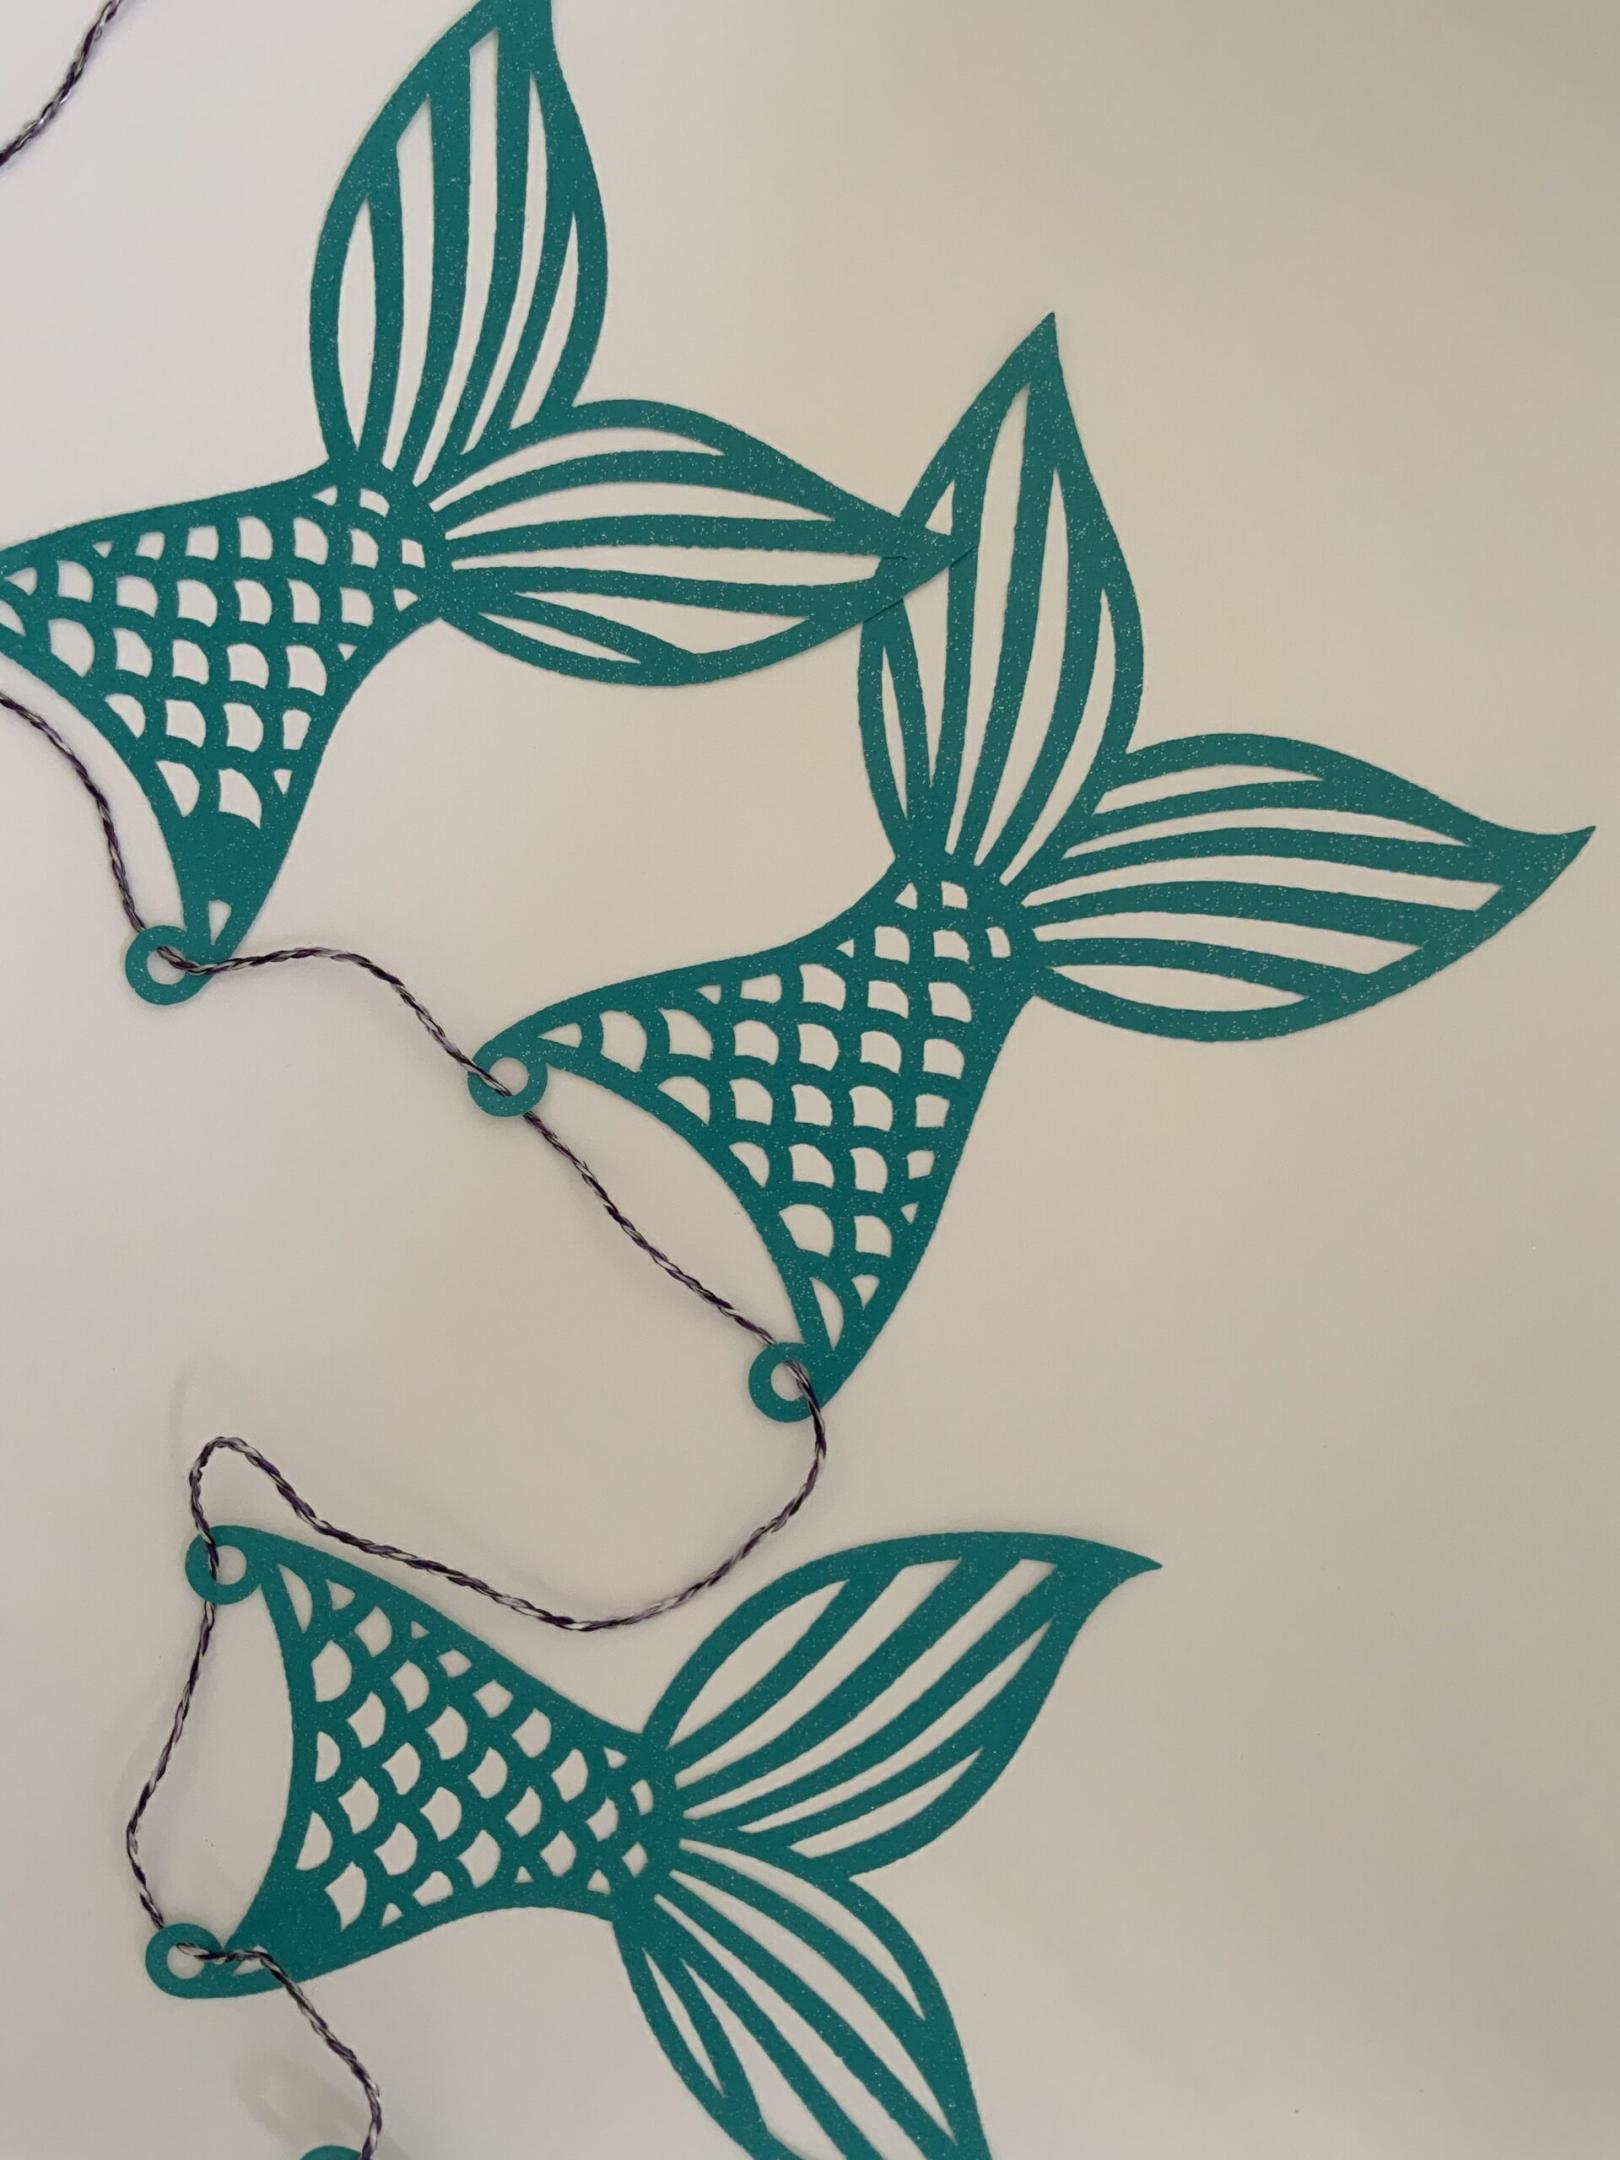
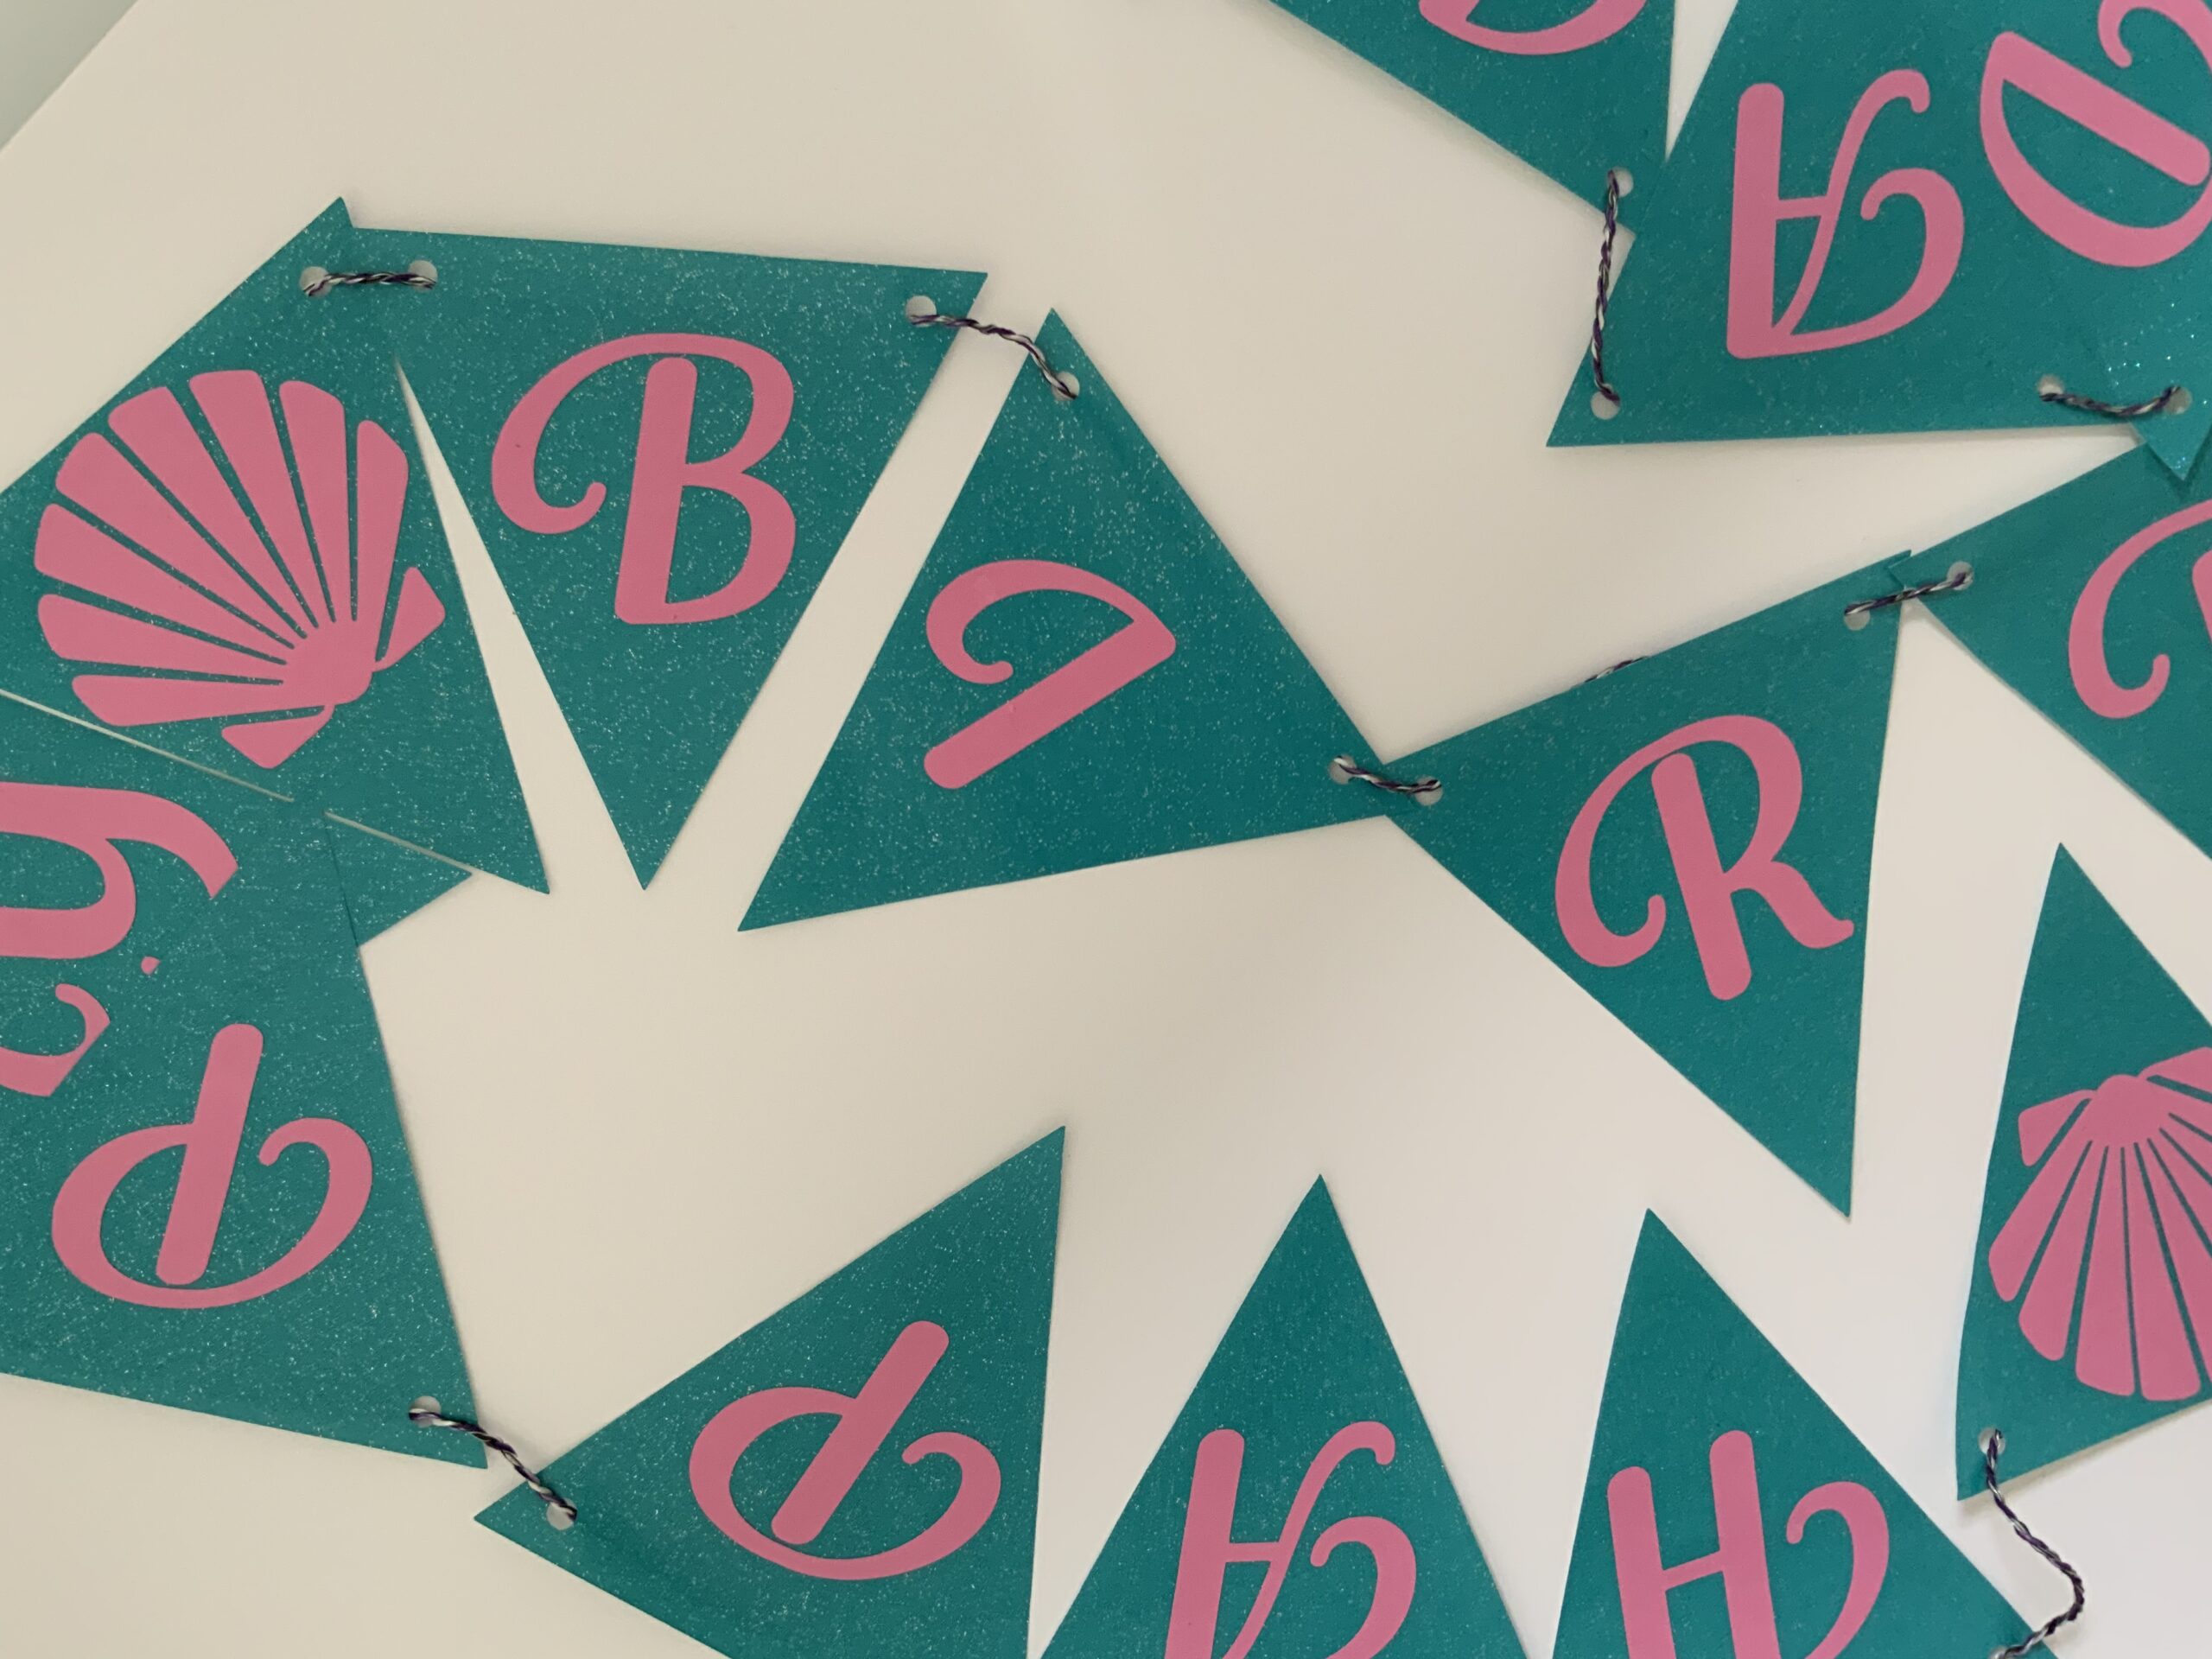
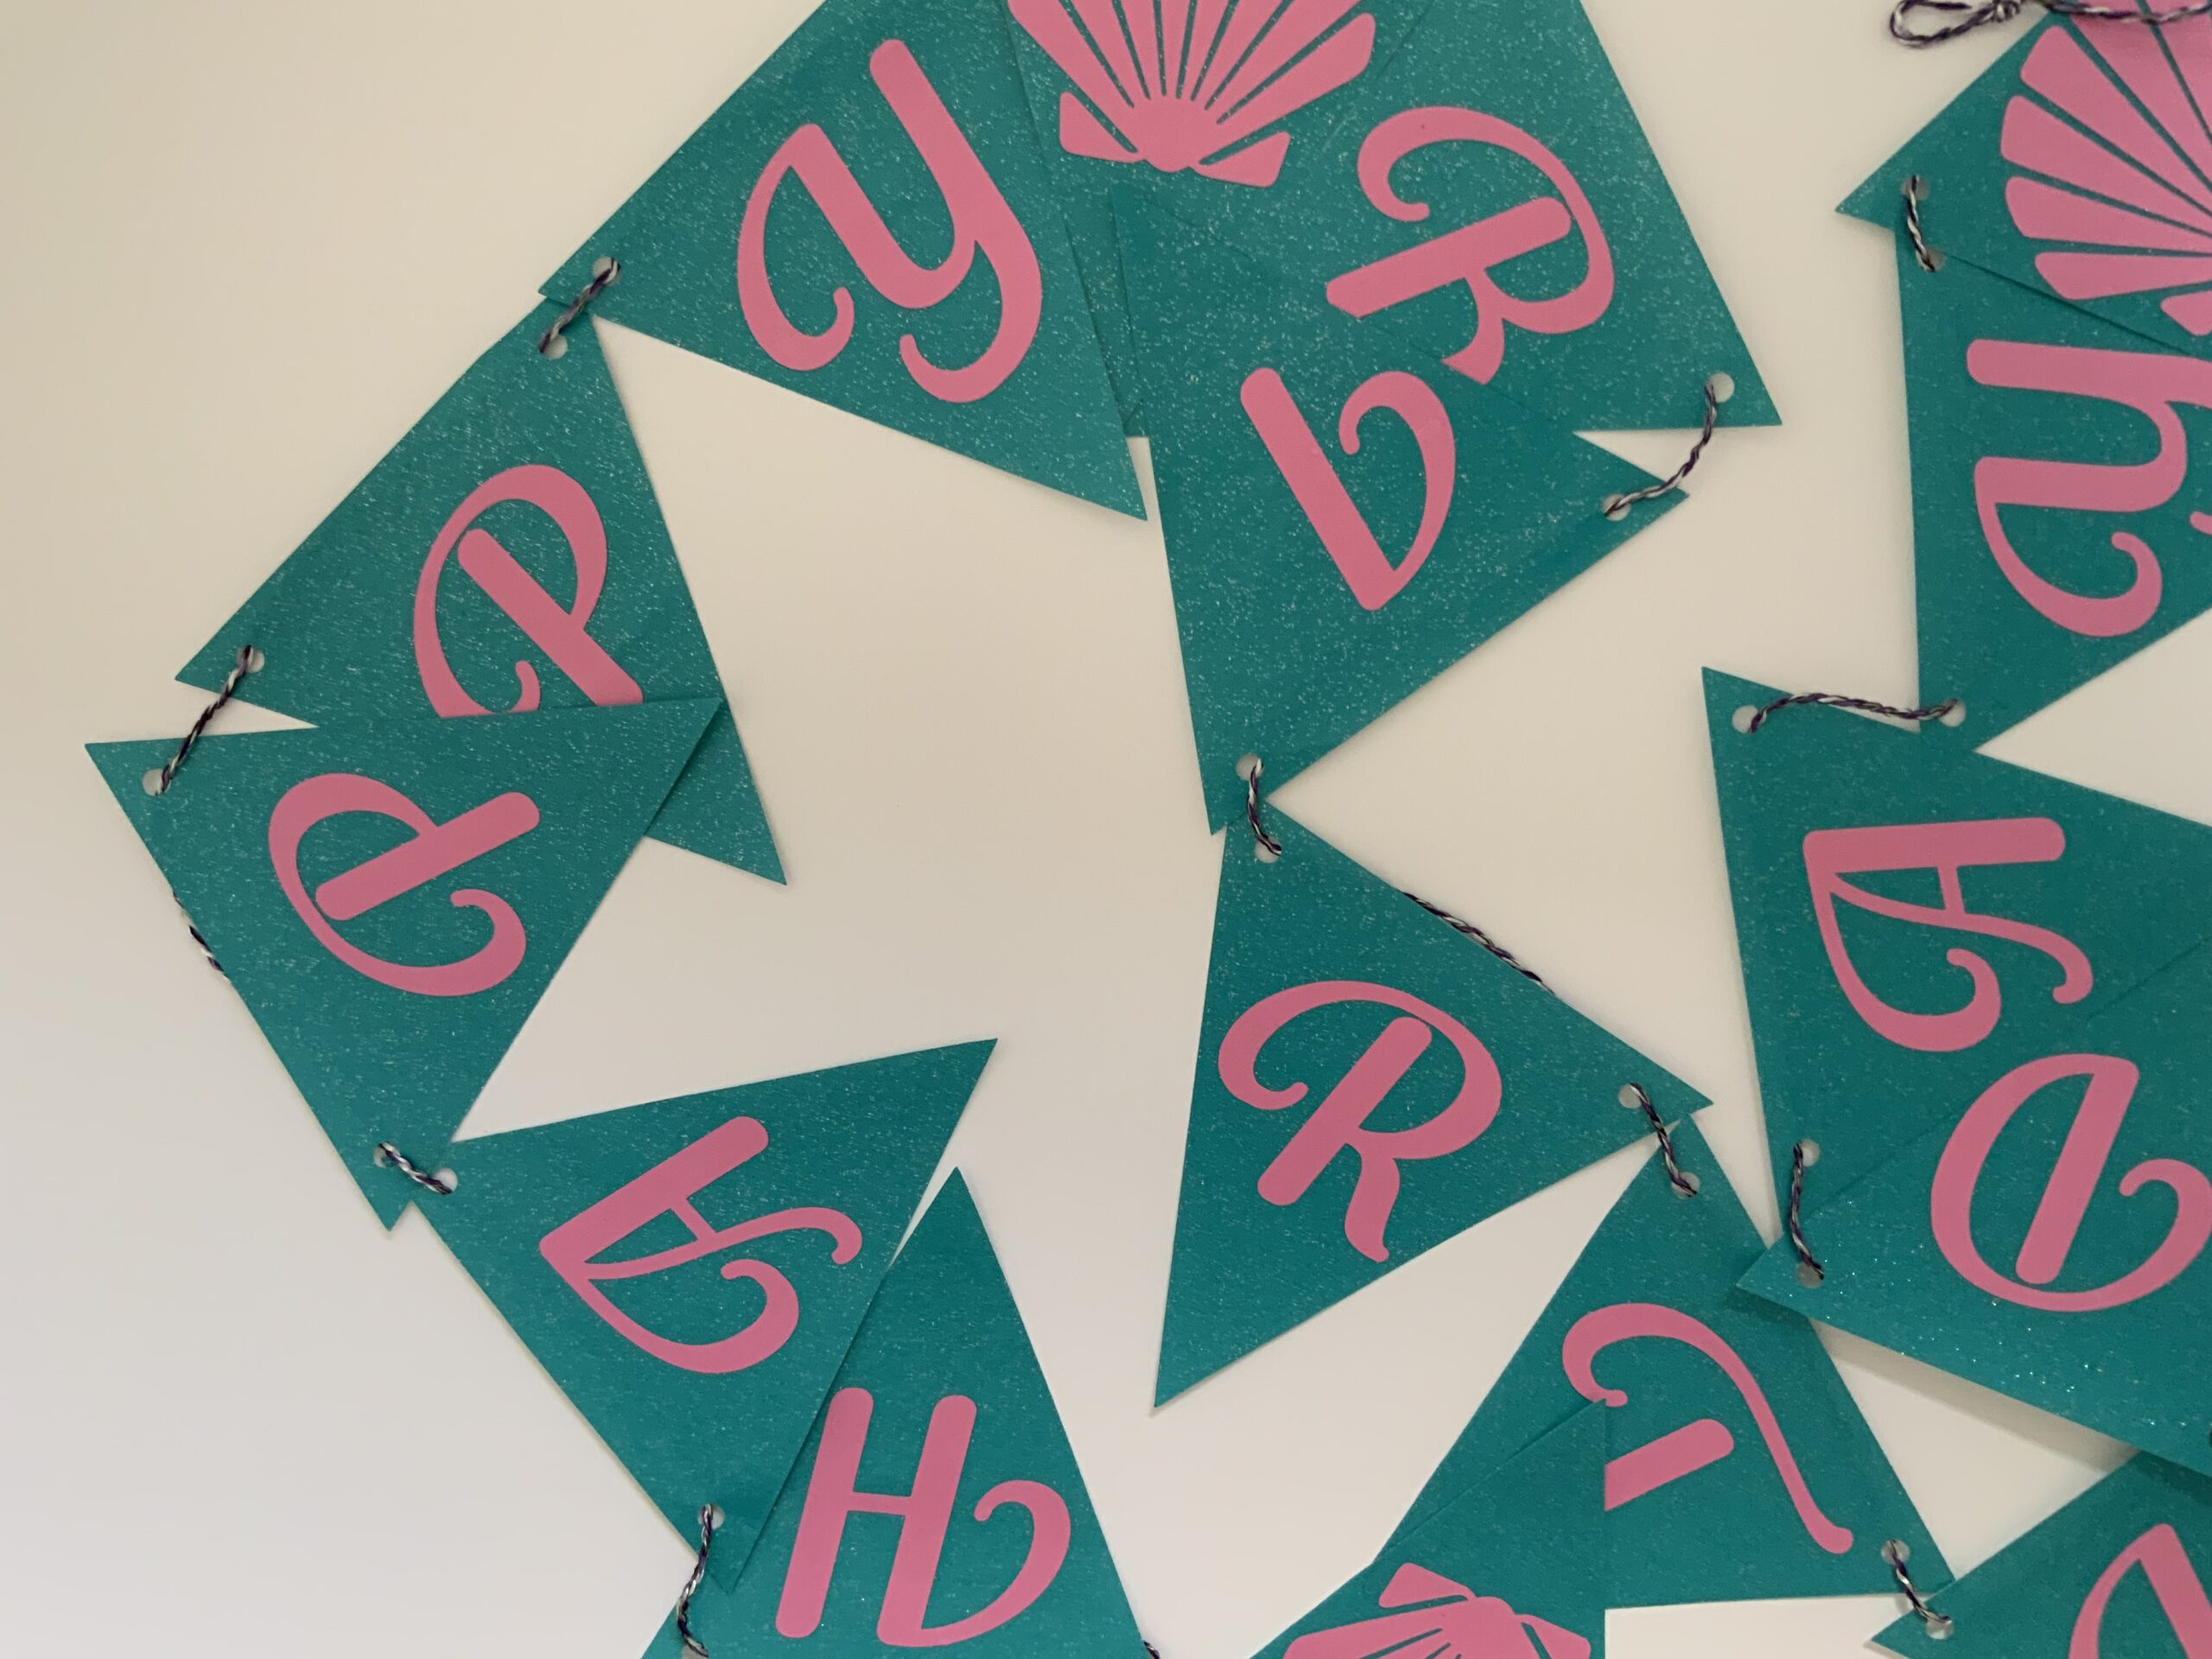
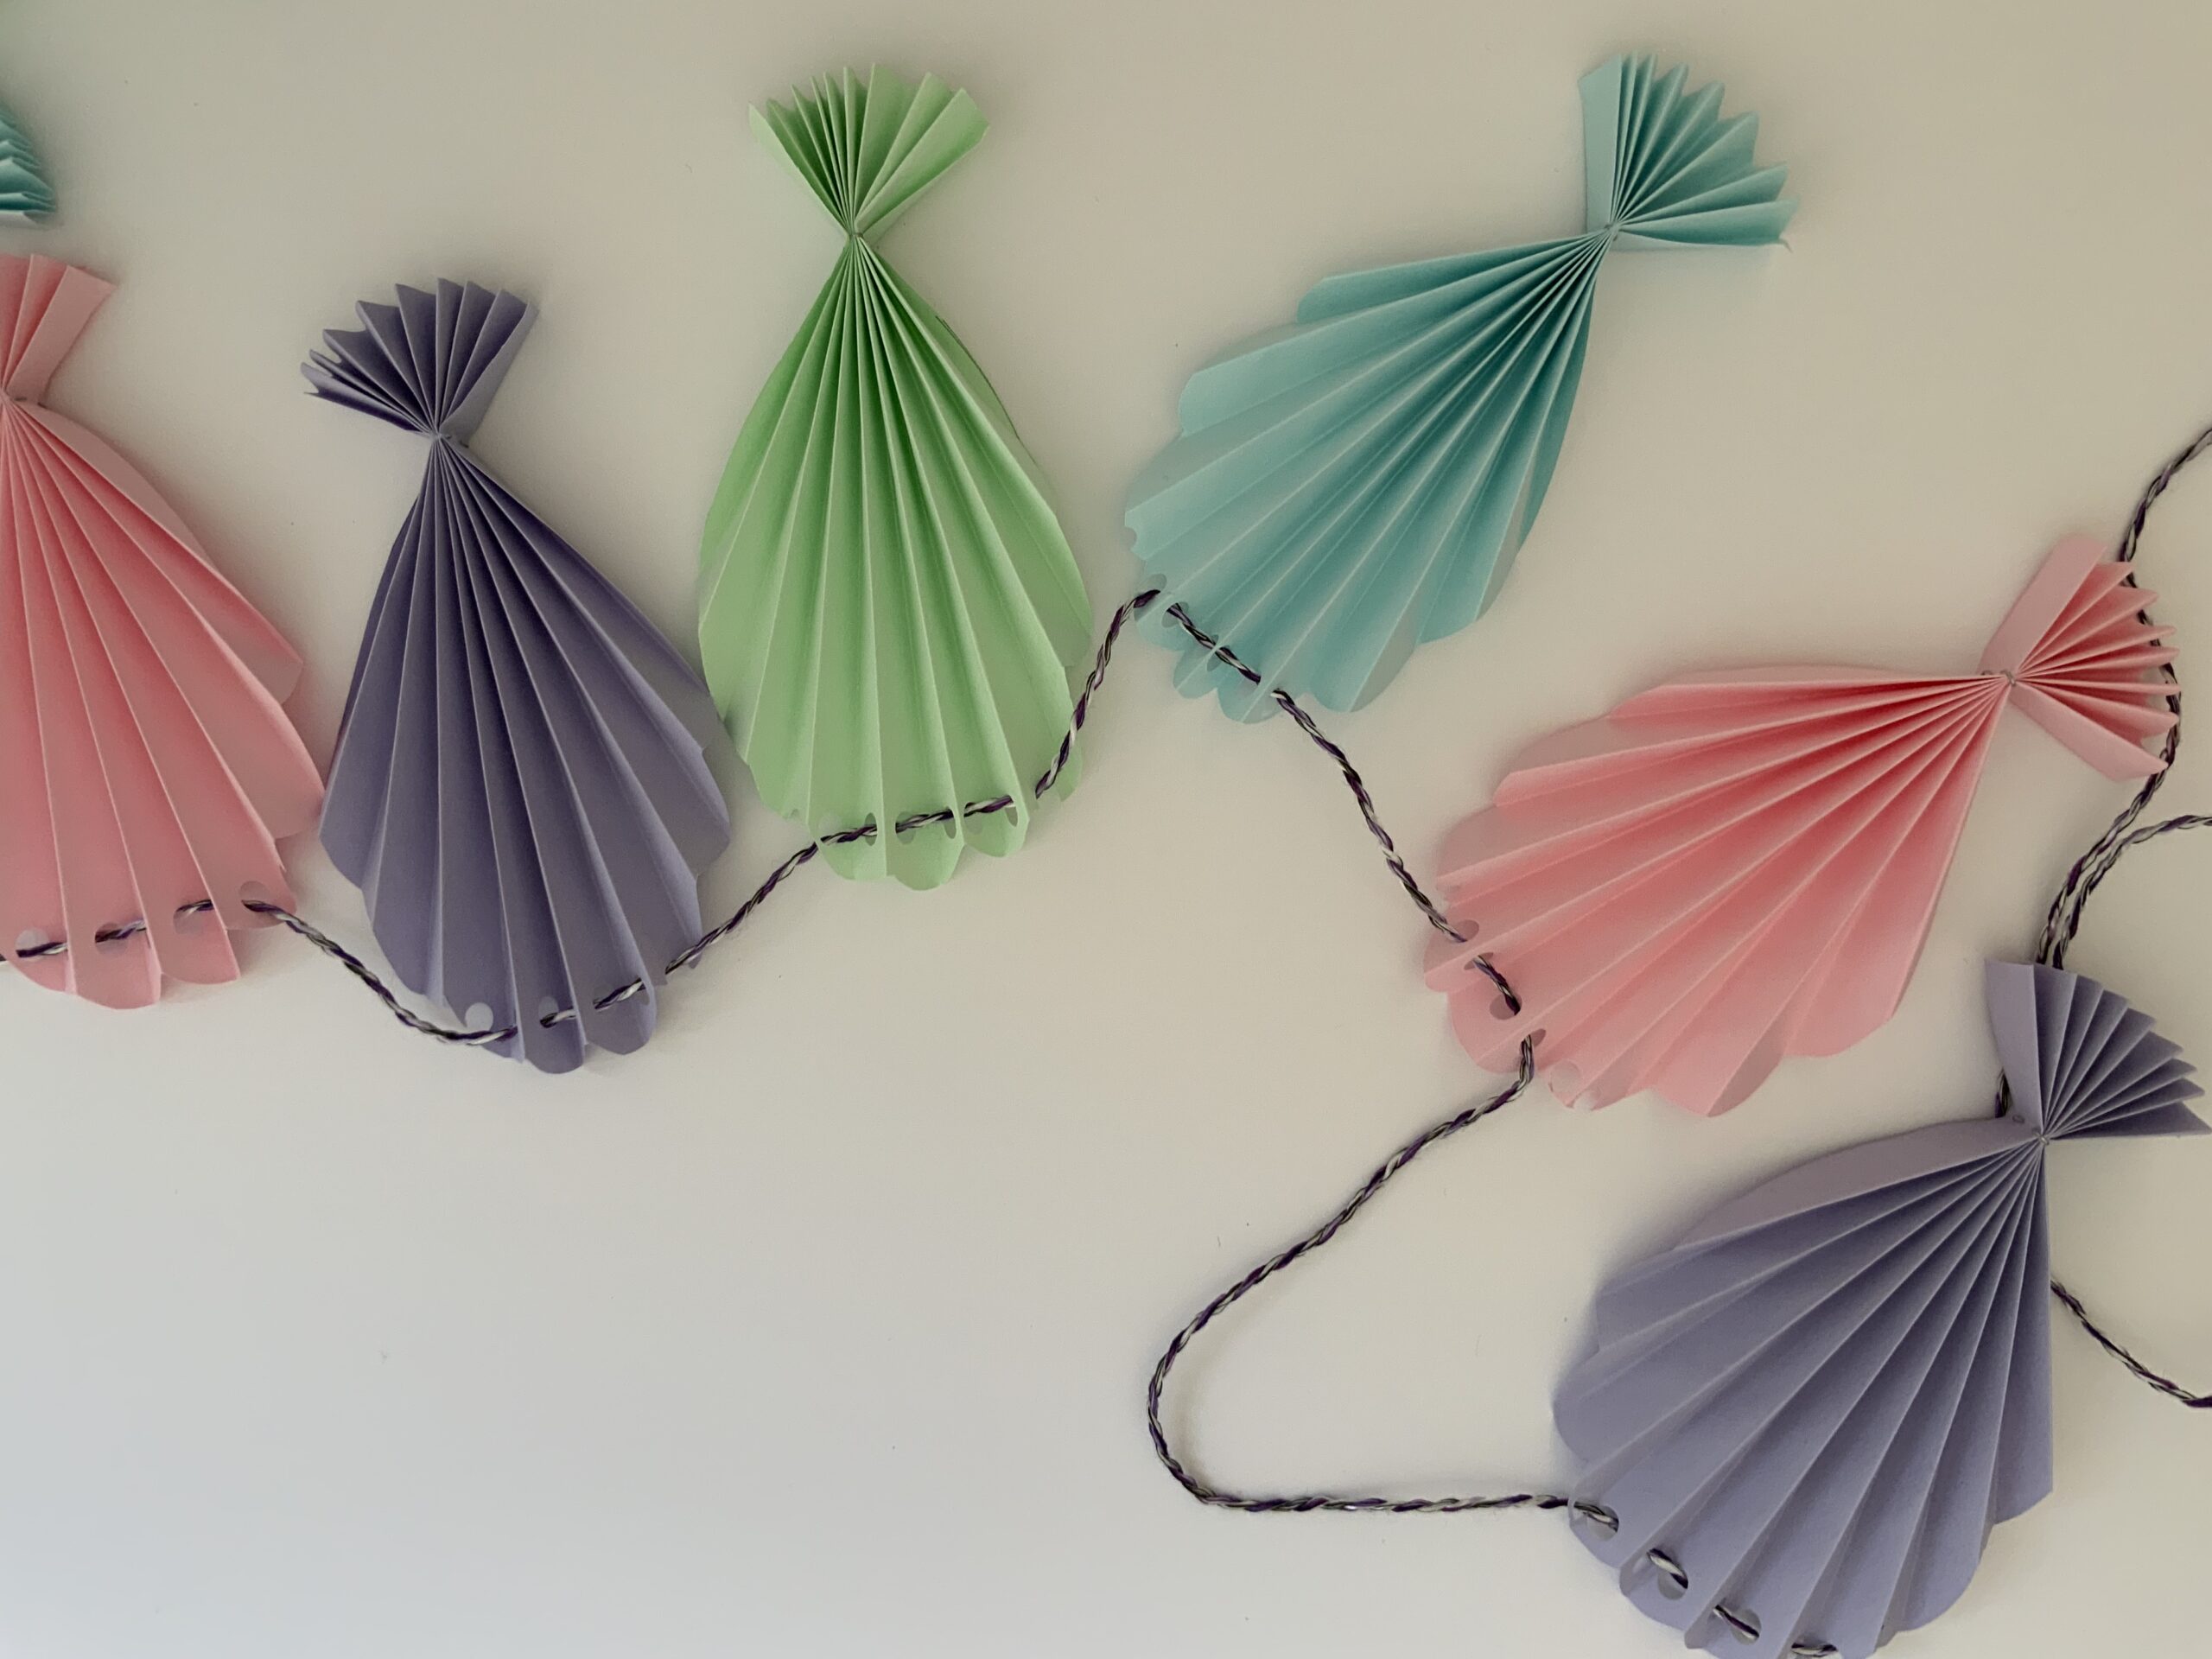
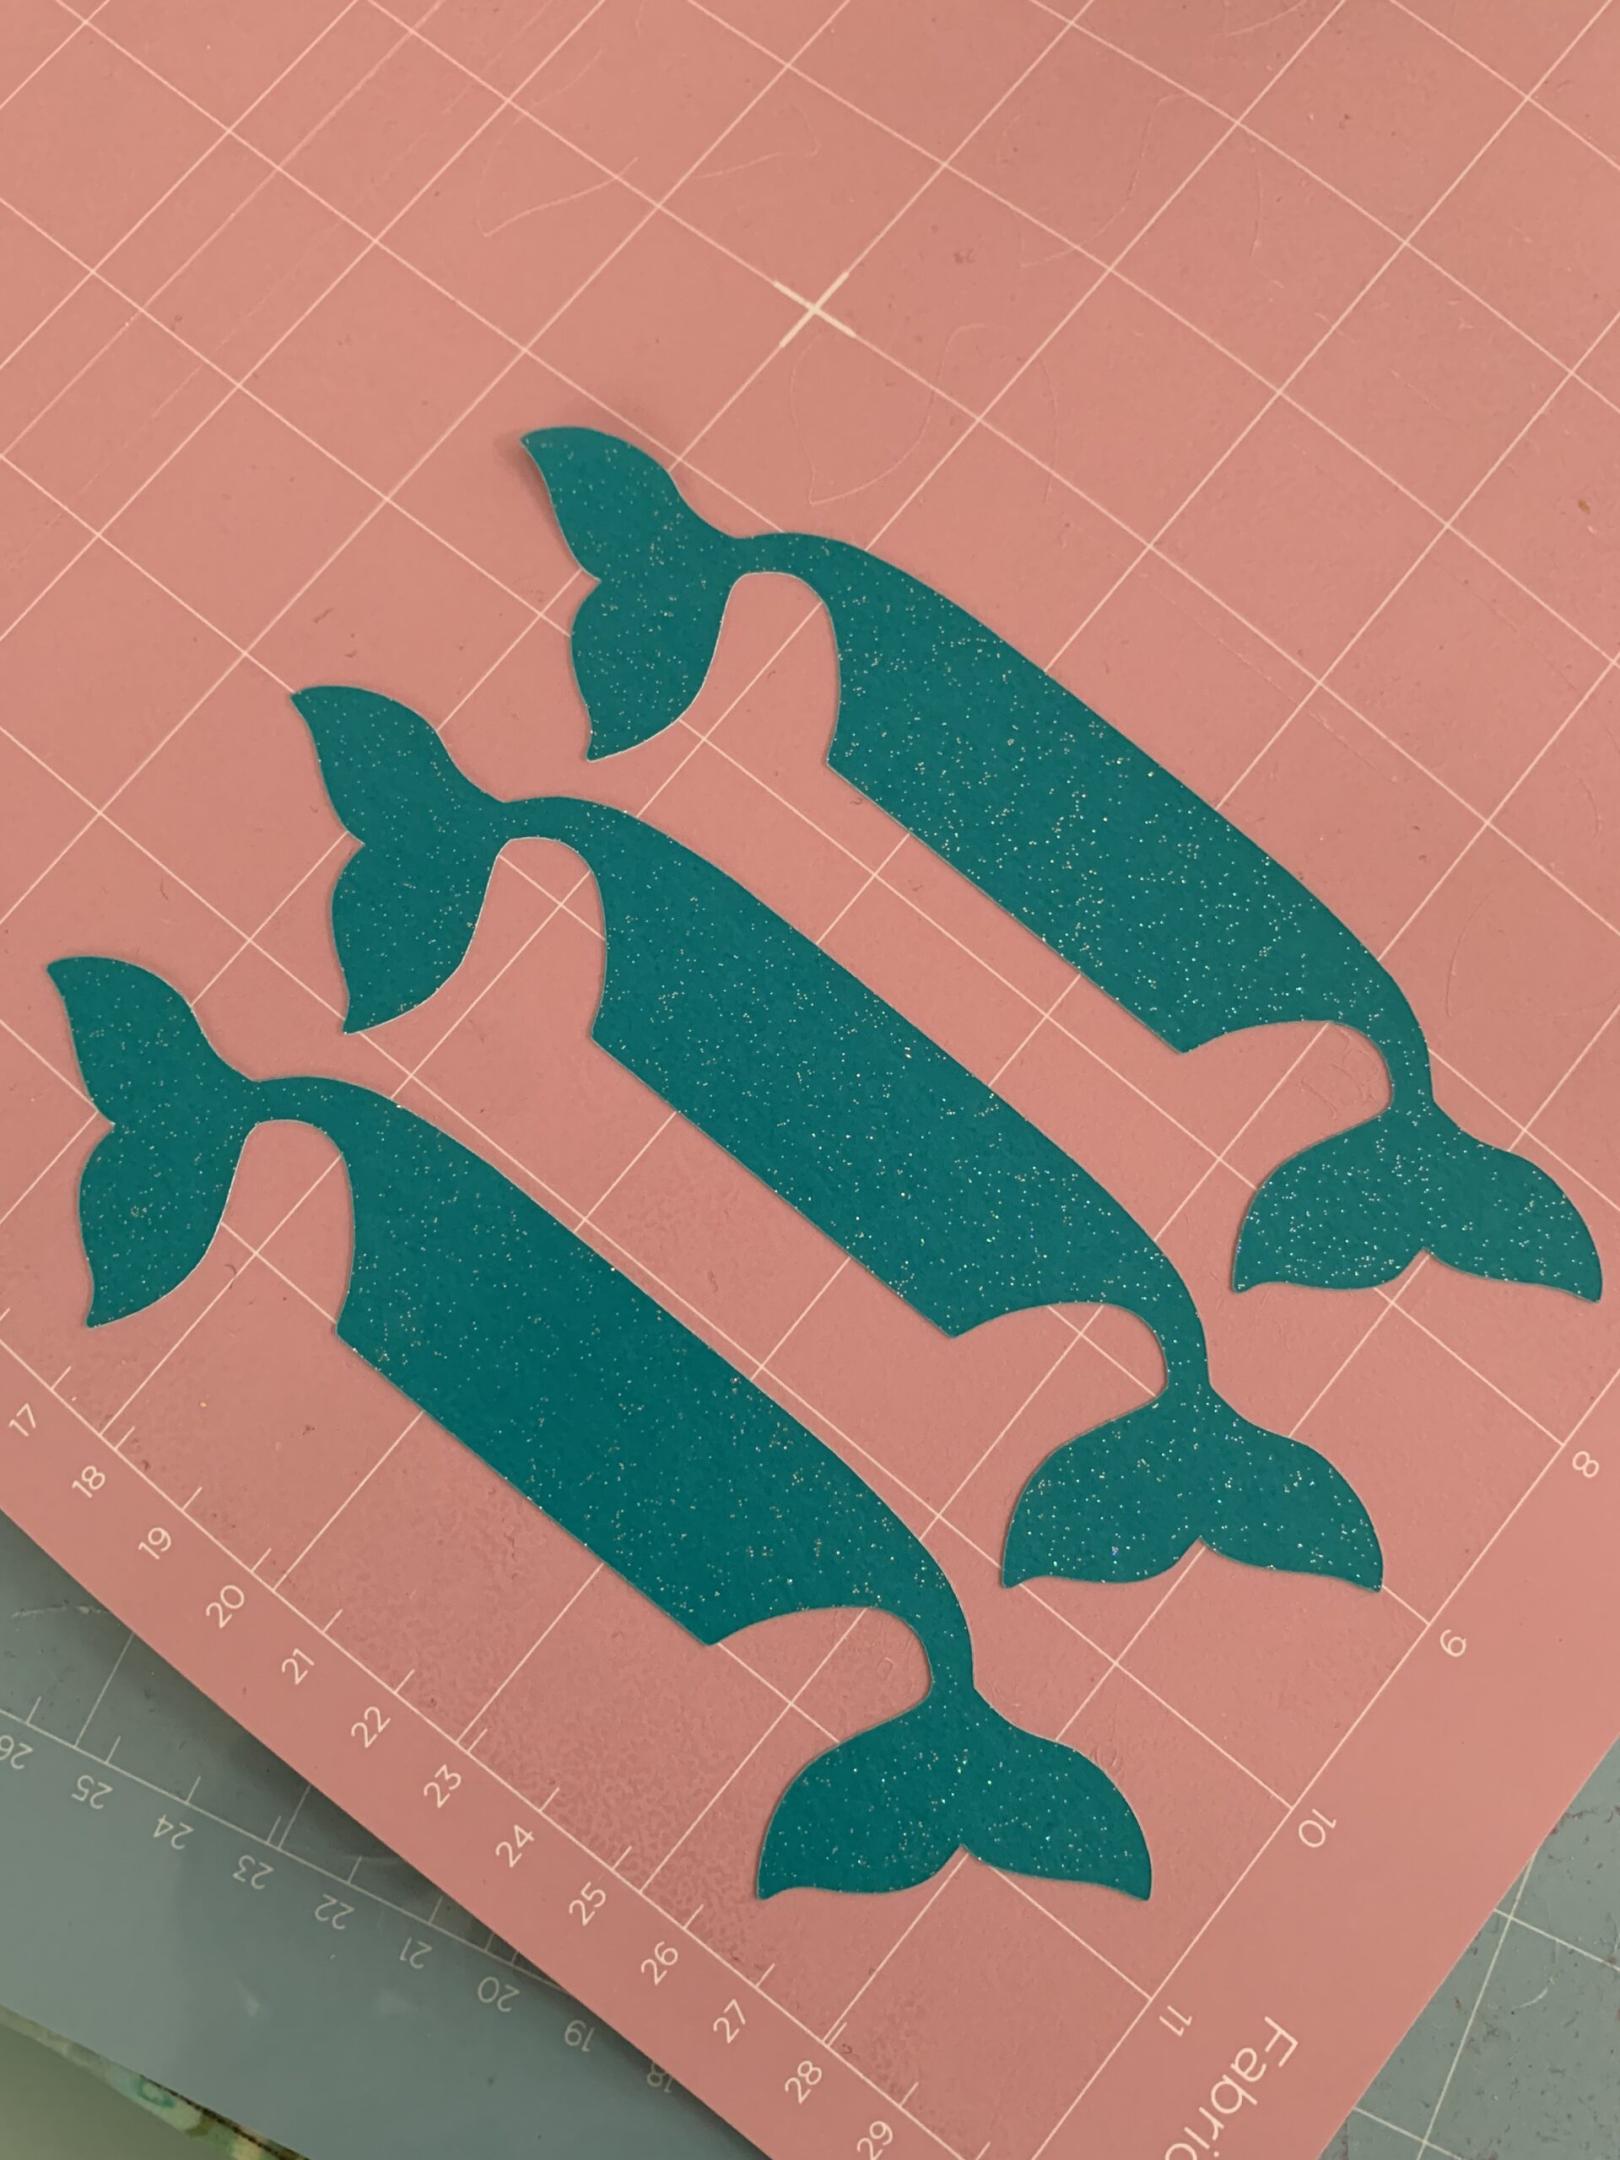
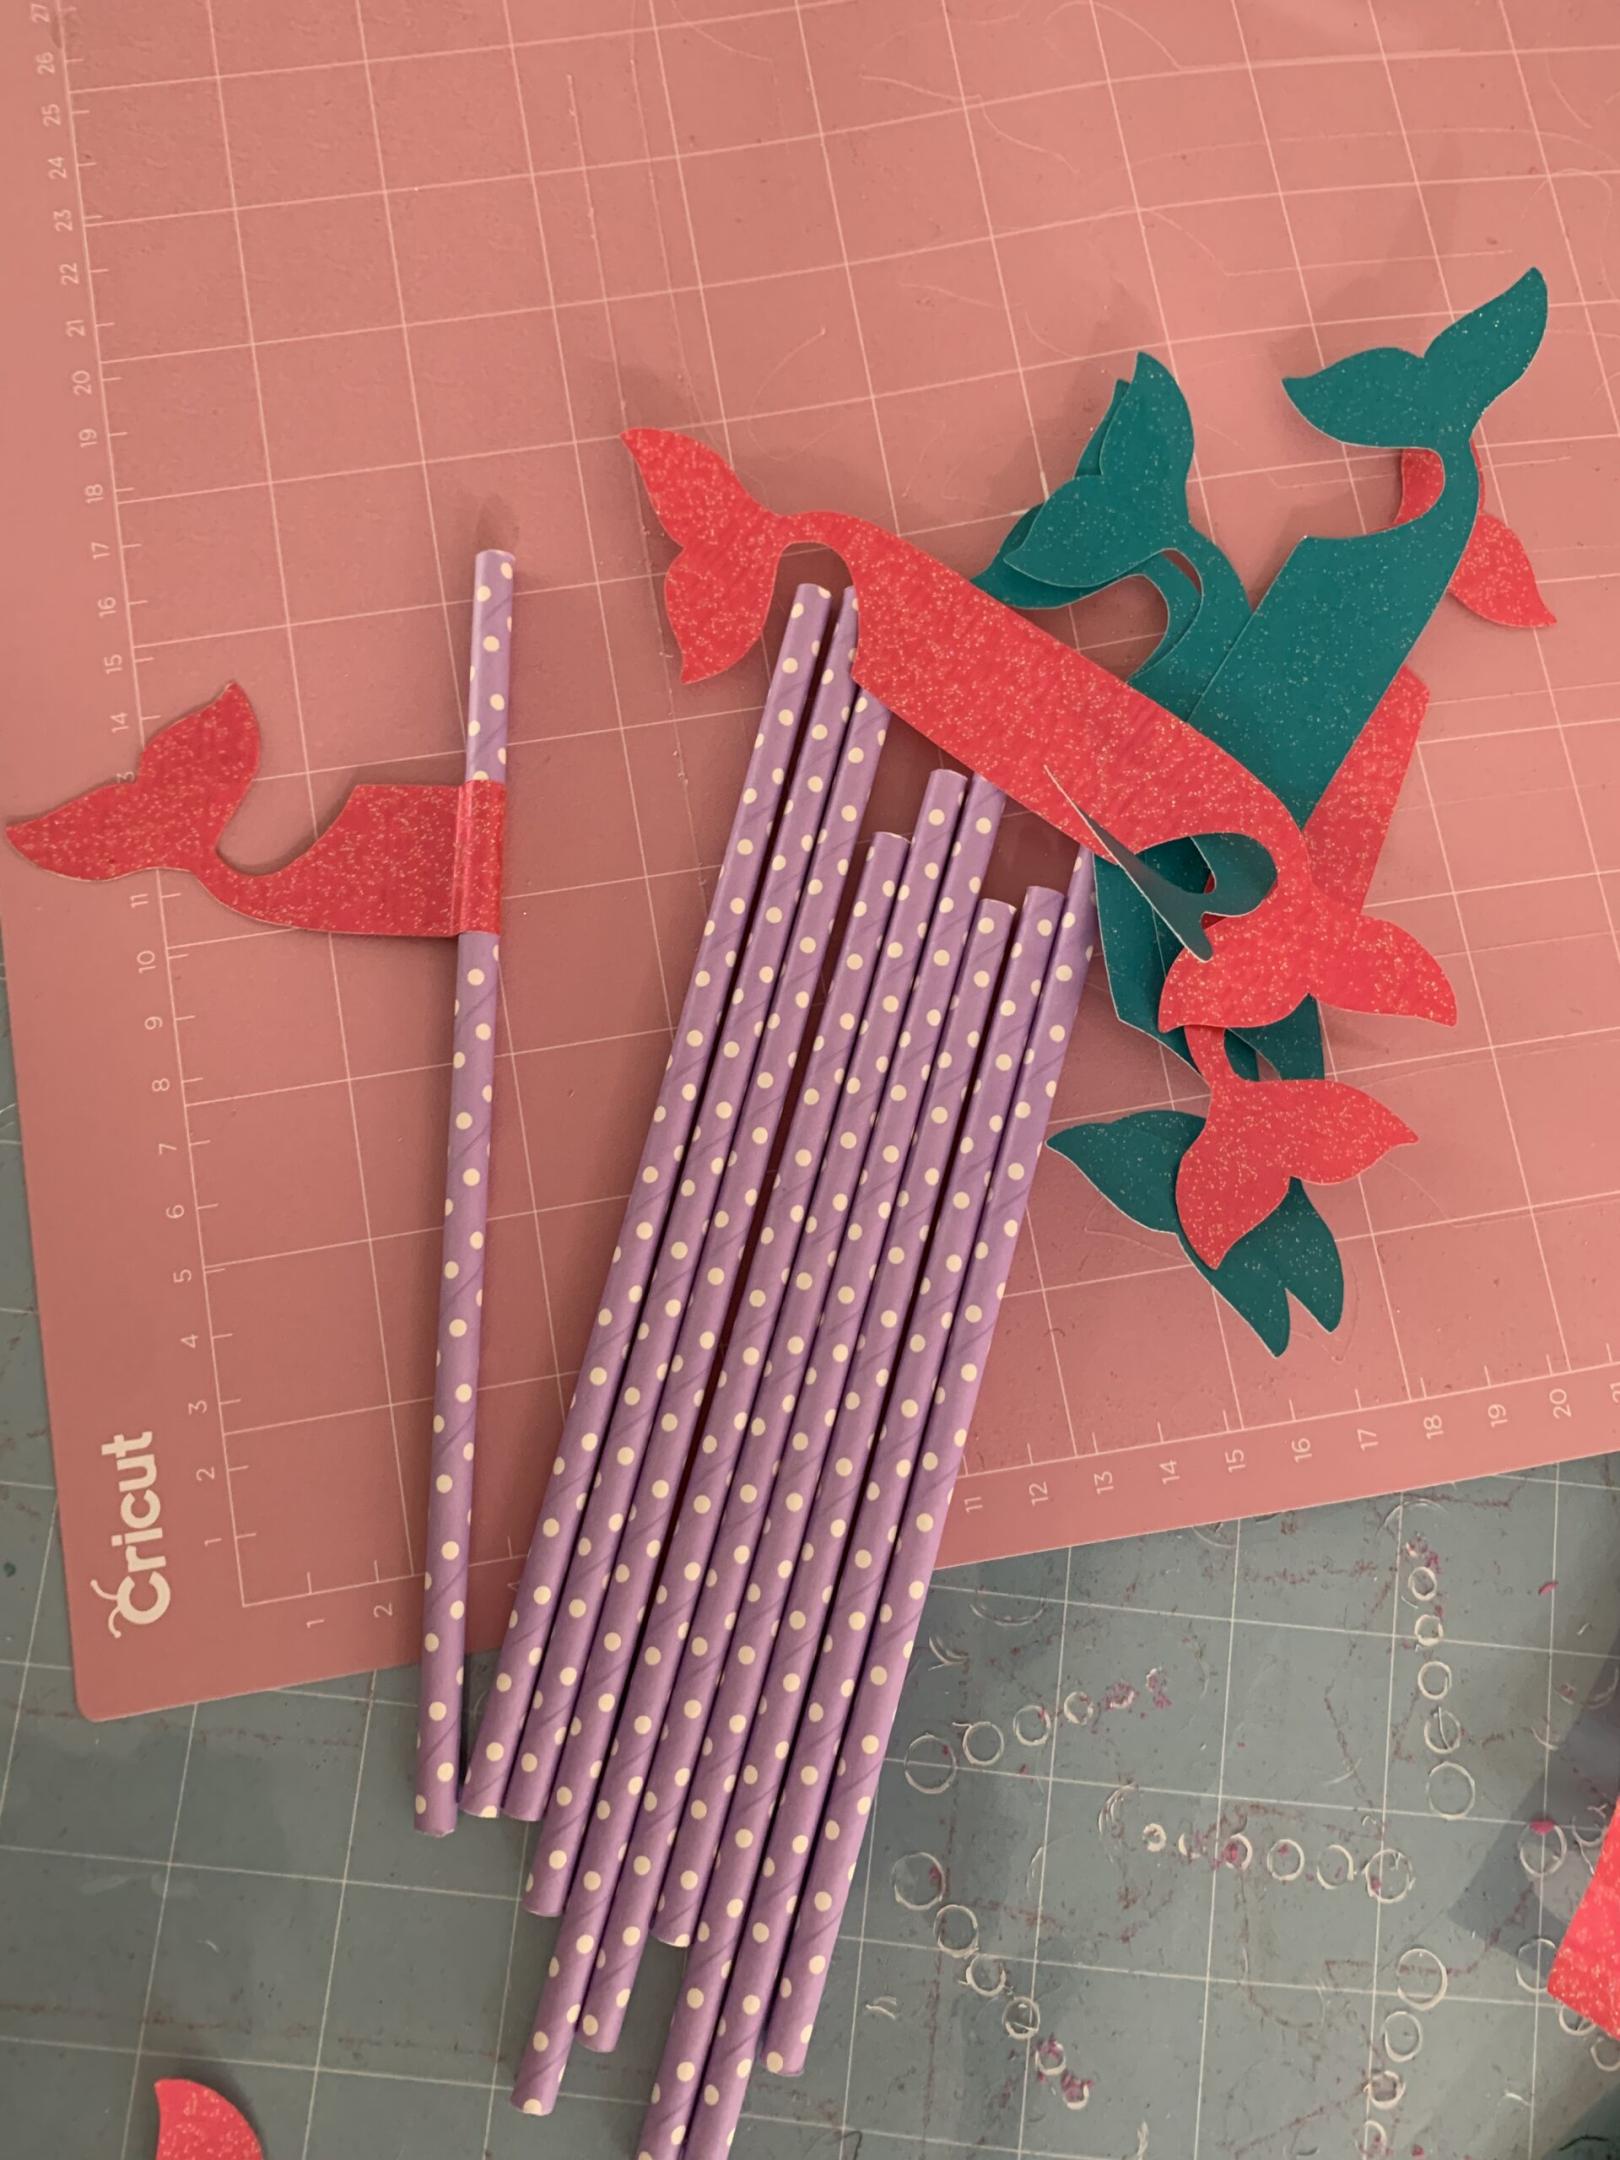
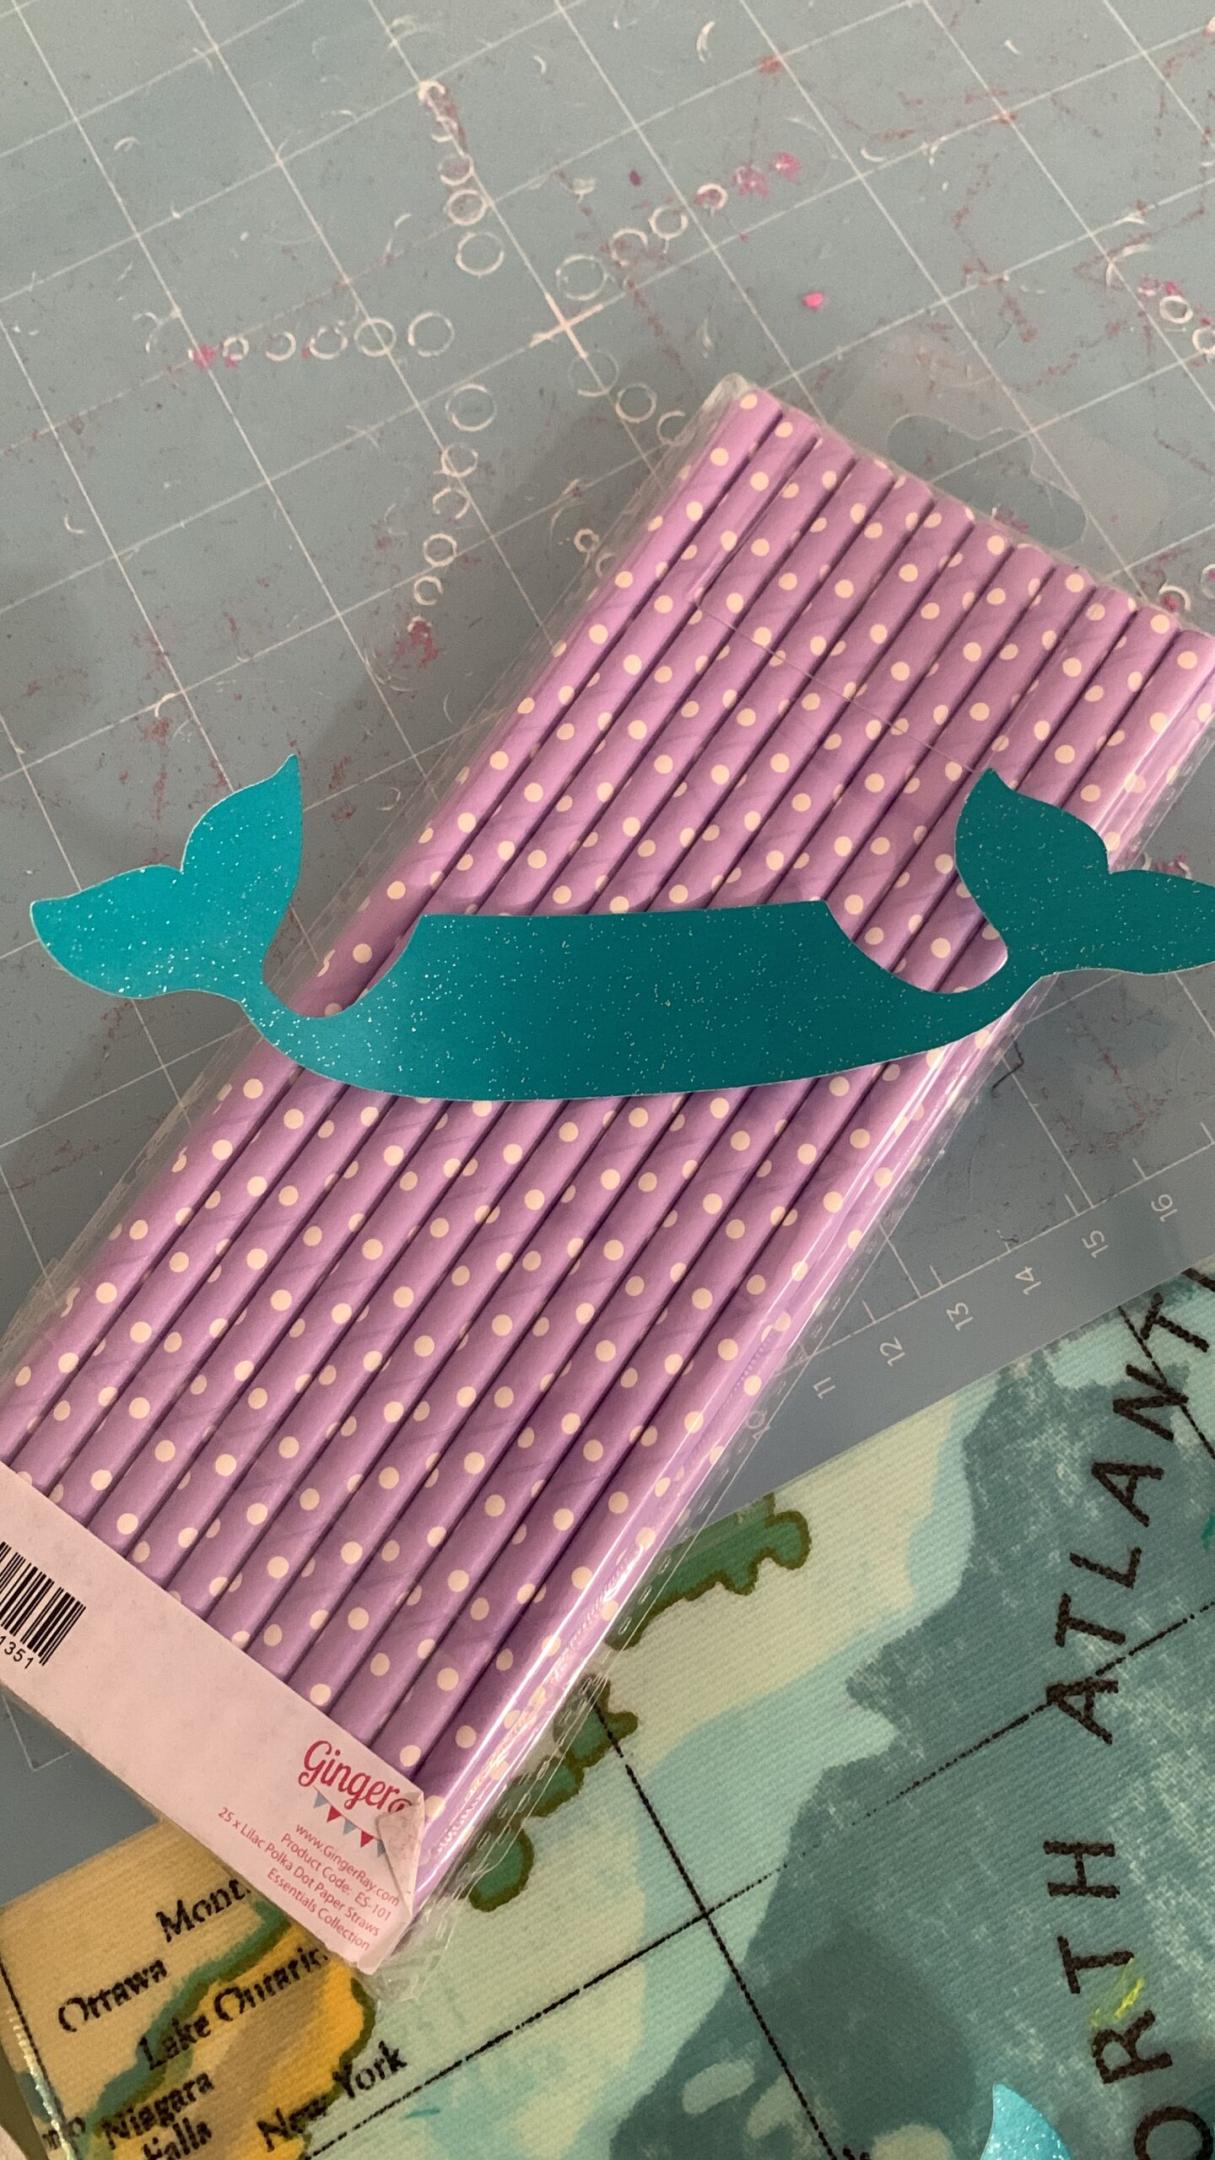
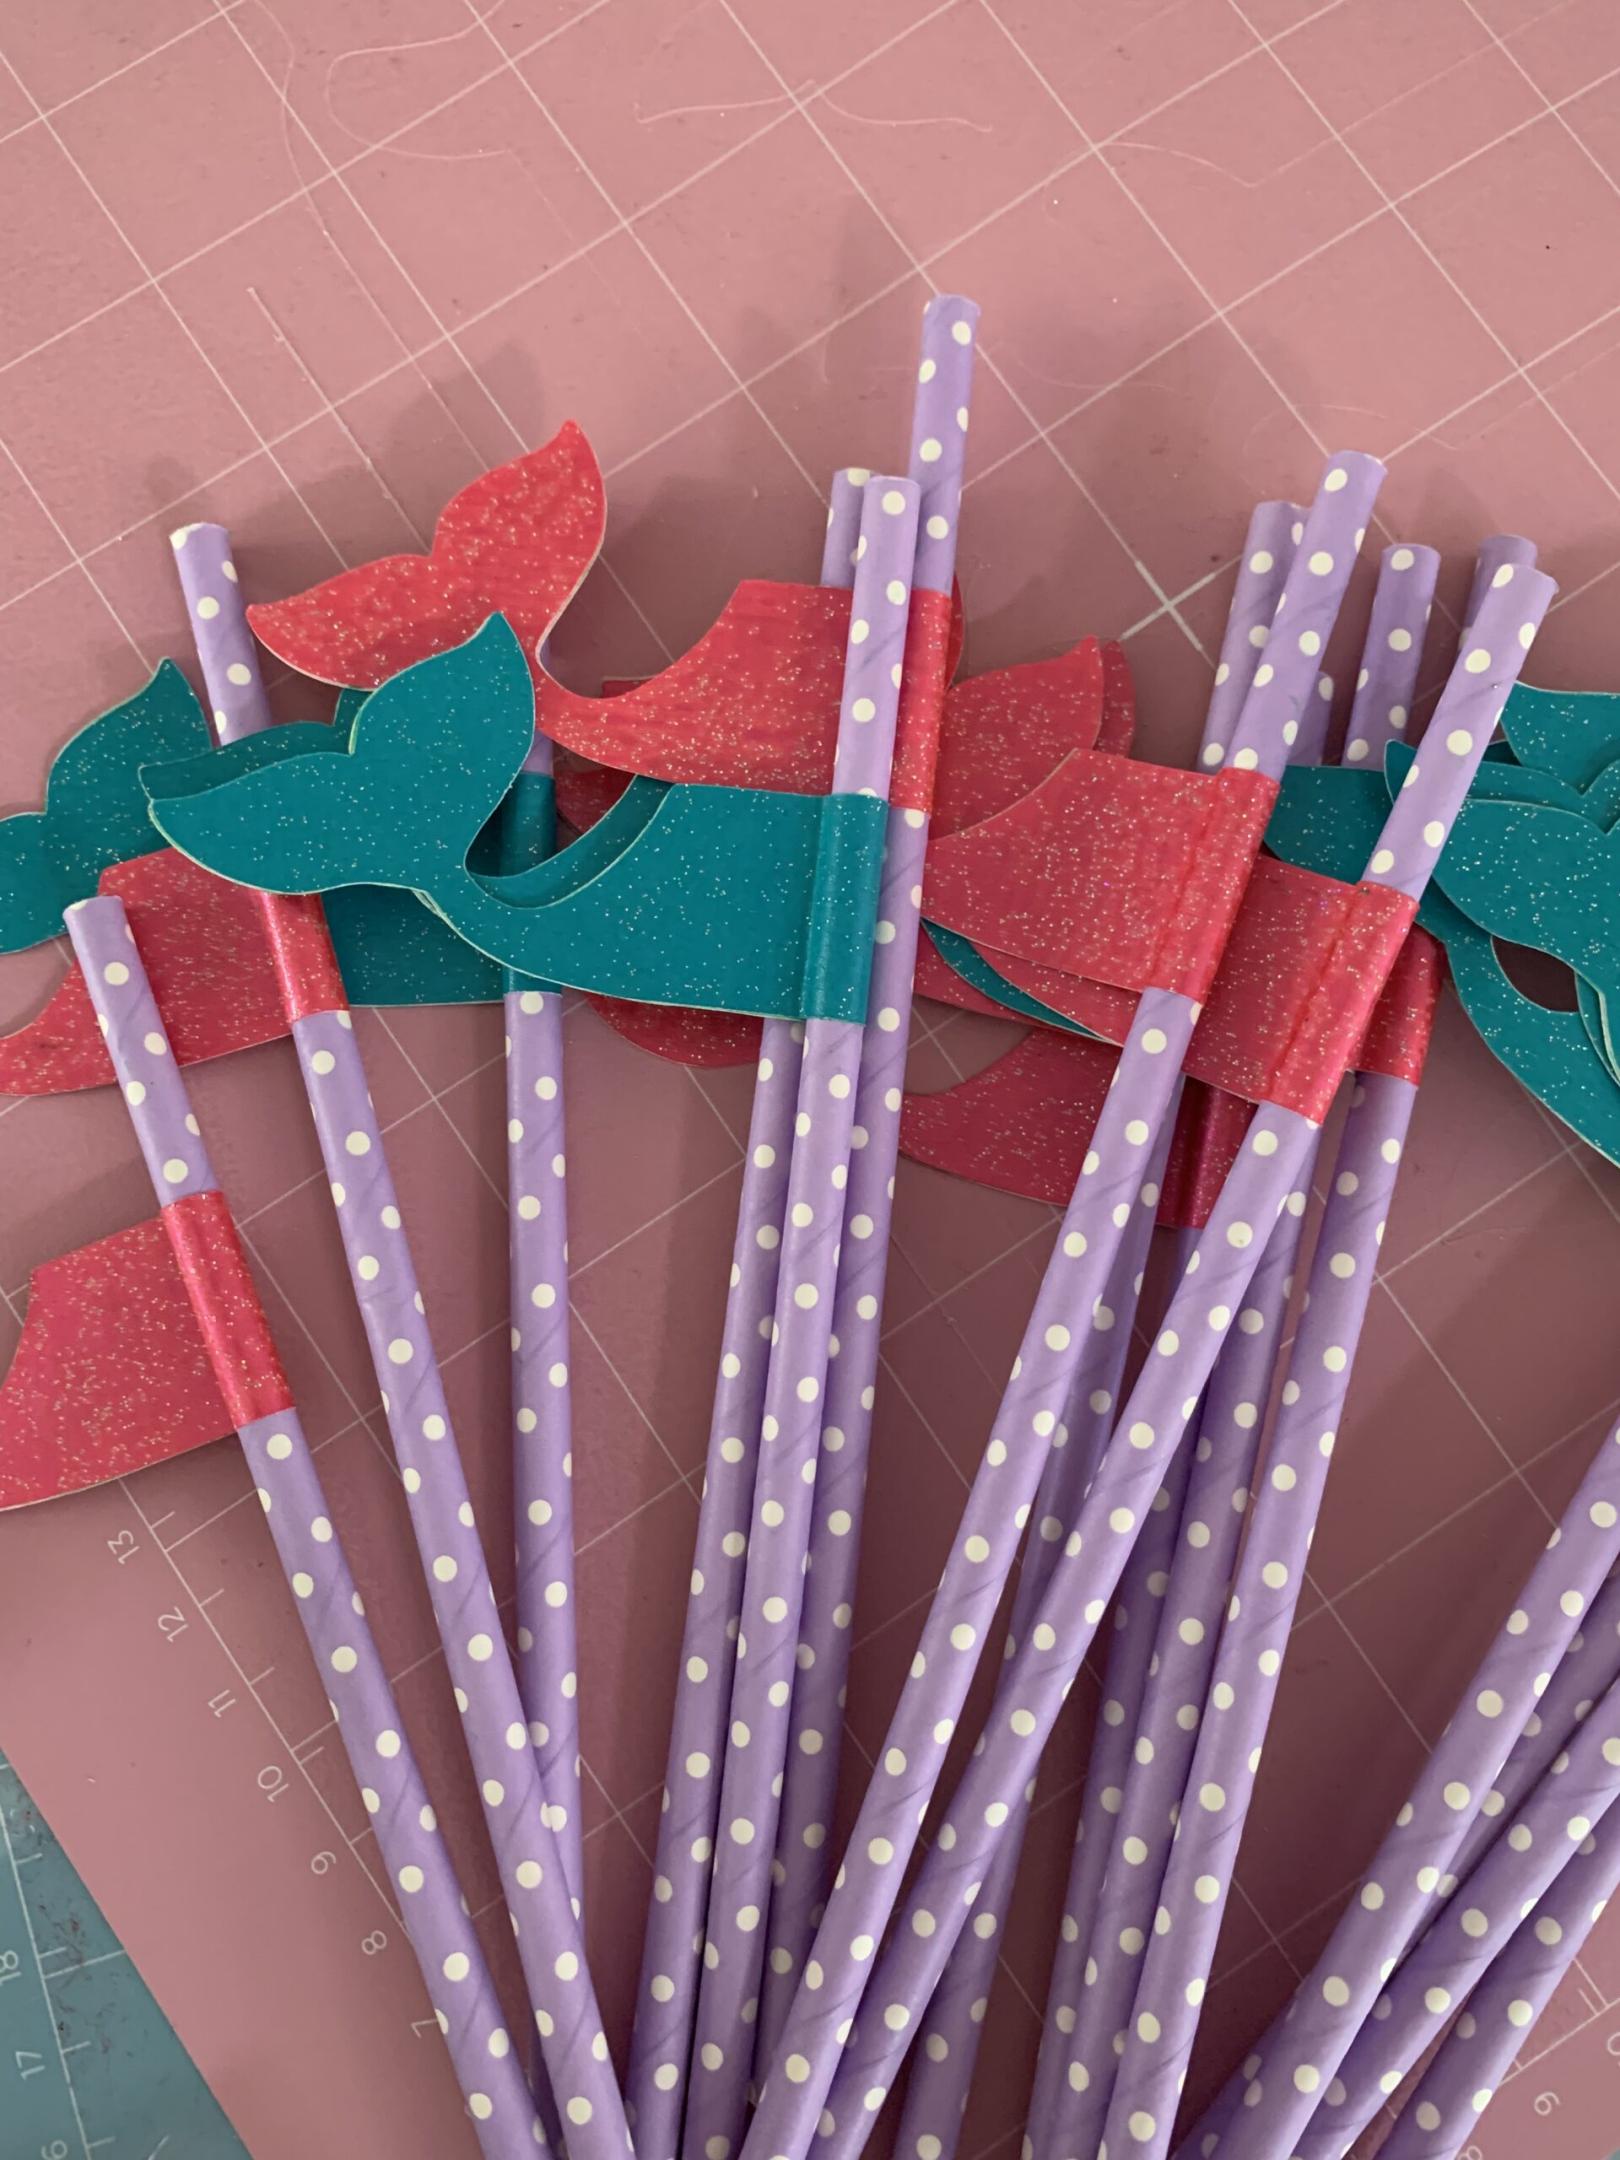
Where possible, I try to make a few planet friendly choices when planning parties, although my parties are by no means 100% eco friendly. I’m all about making one or two achievable changes in the right direction rather than trying to go all out and failing. So, I started my party planning at the scrap stores, gathering up shells, coloured card and paper, fabric, beads, sequins and gems; all items that would have otherwise ended up in landfill. I also had big plans to use my Cricut Maker (die cutting machine) to make paper bunting and other decorations, rather than buying too much plastic or foil.
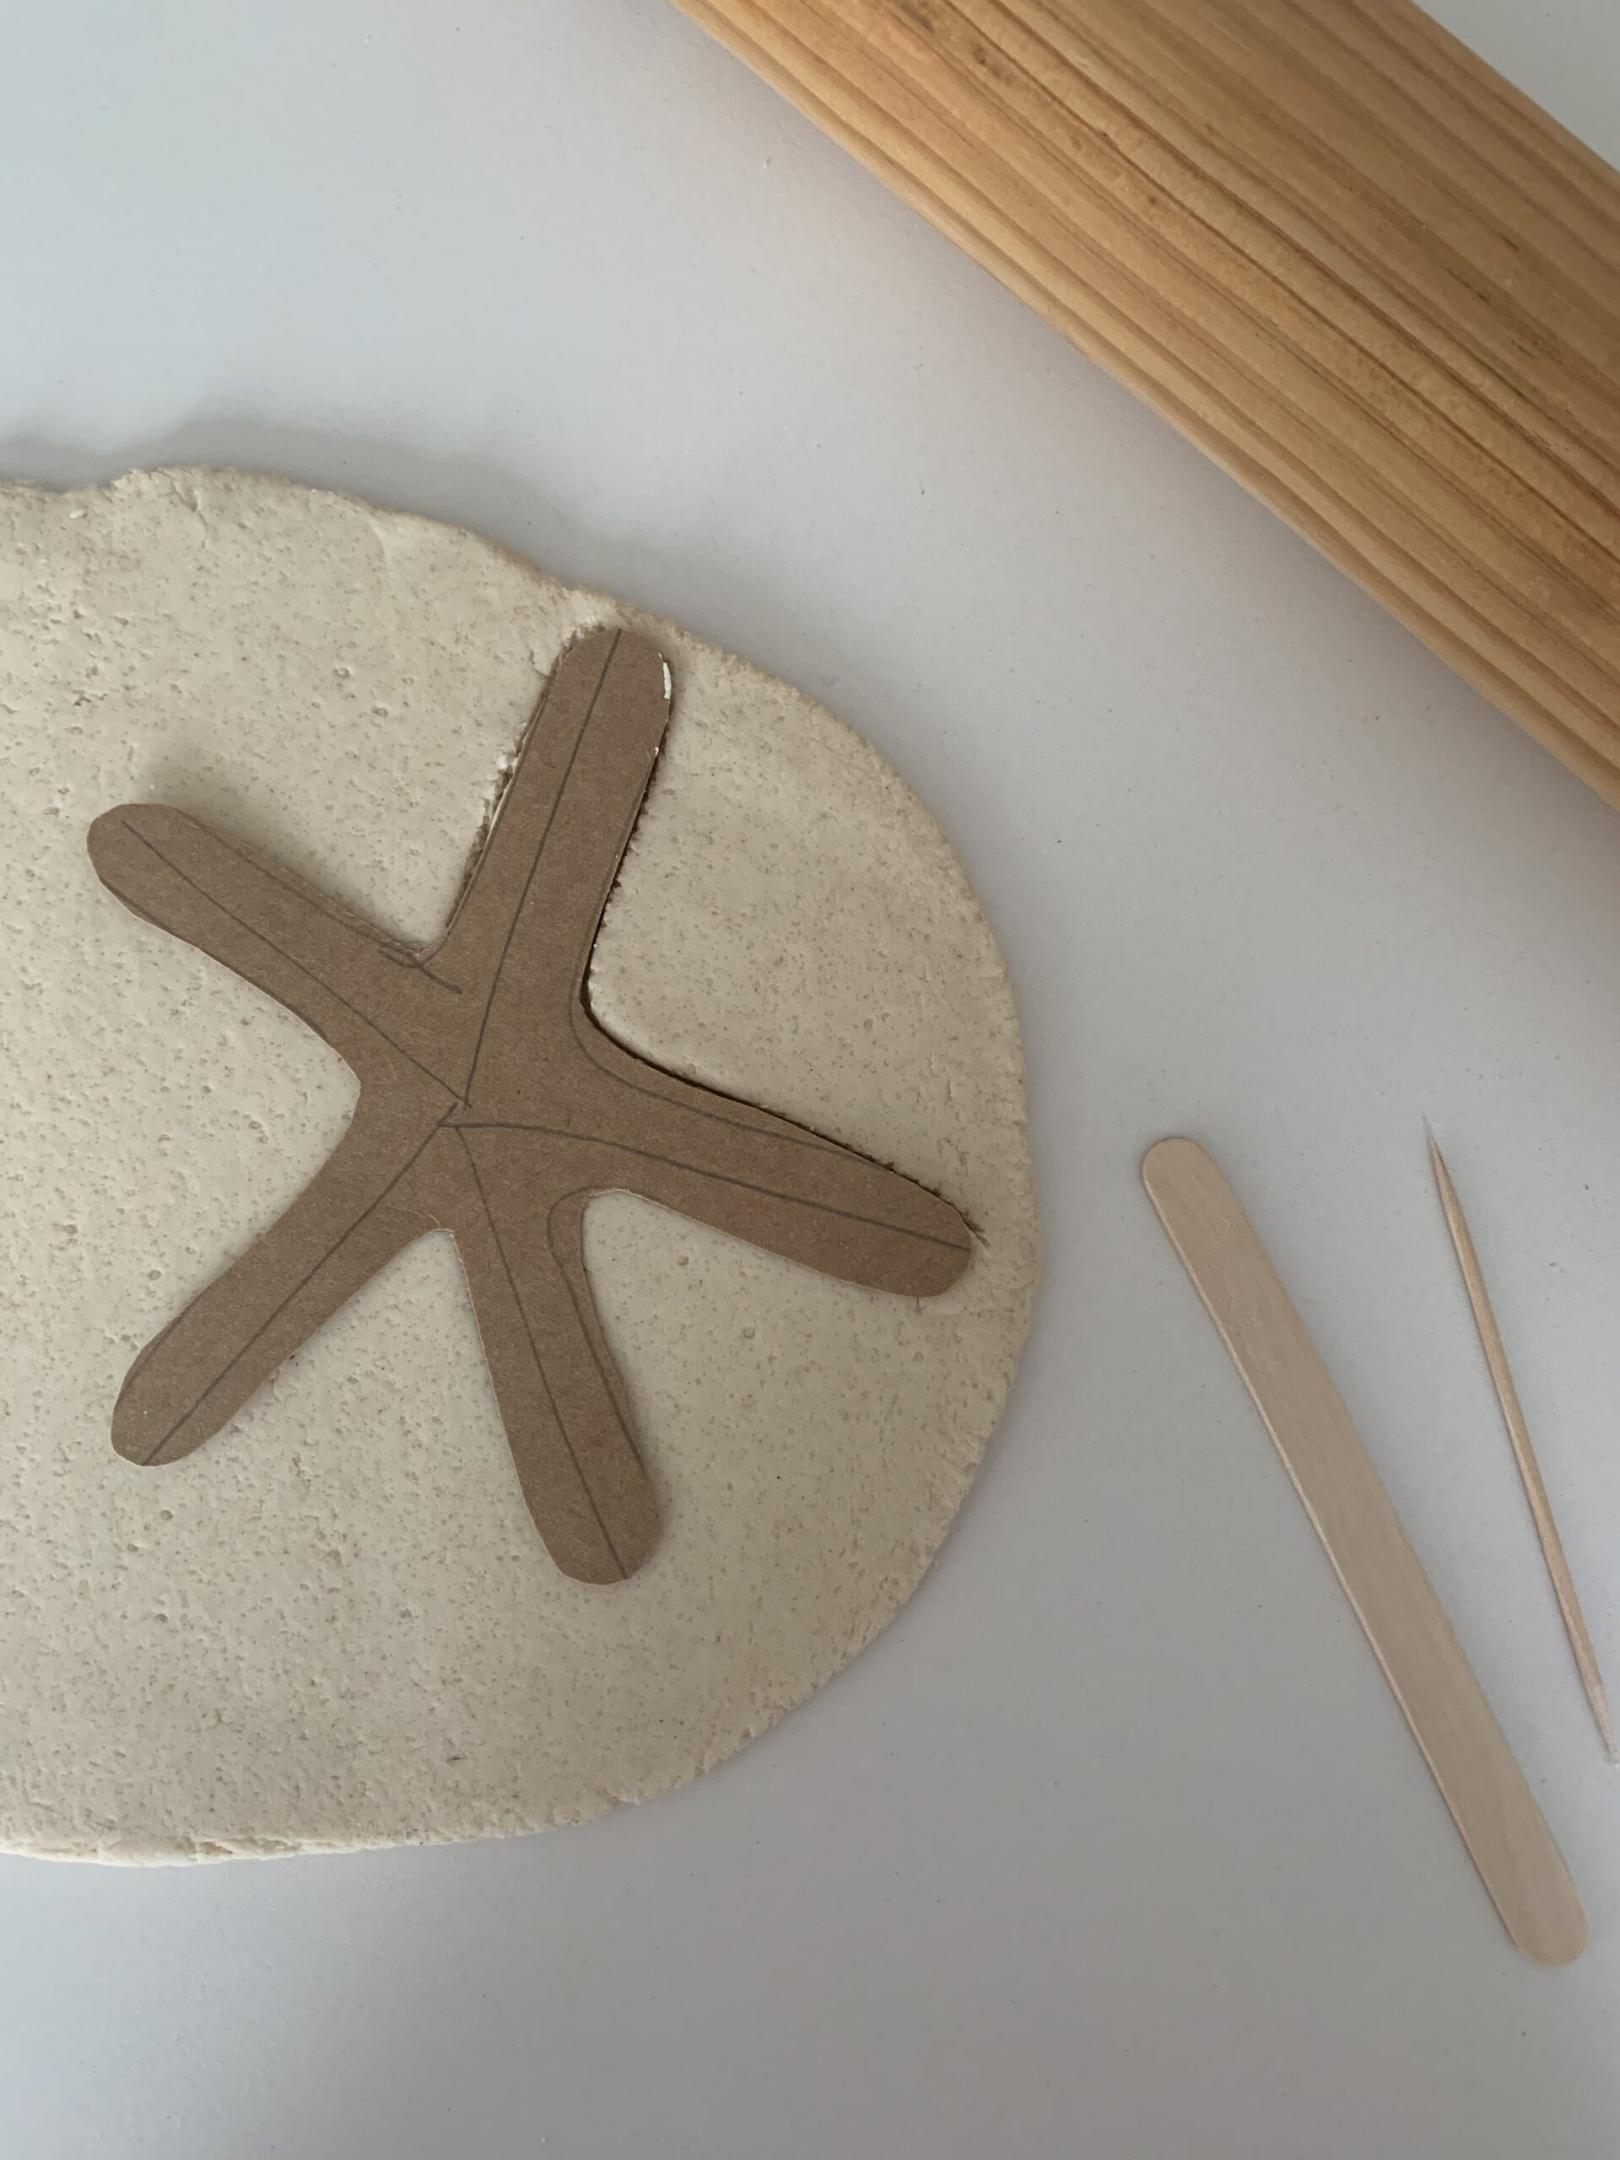
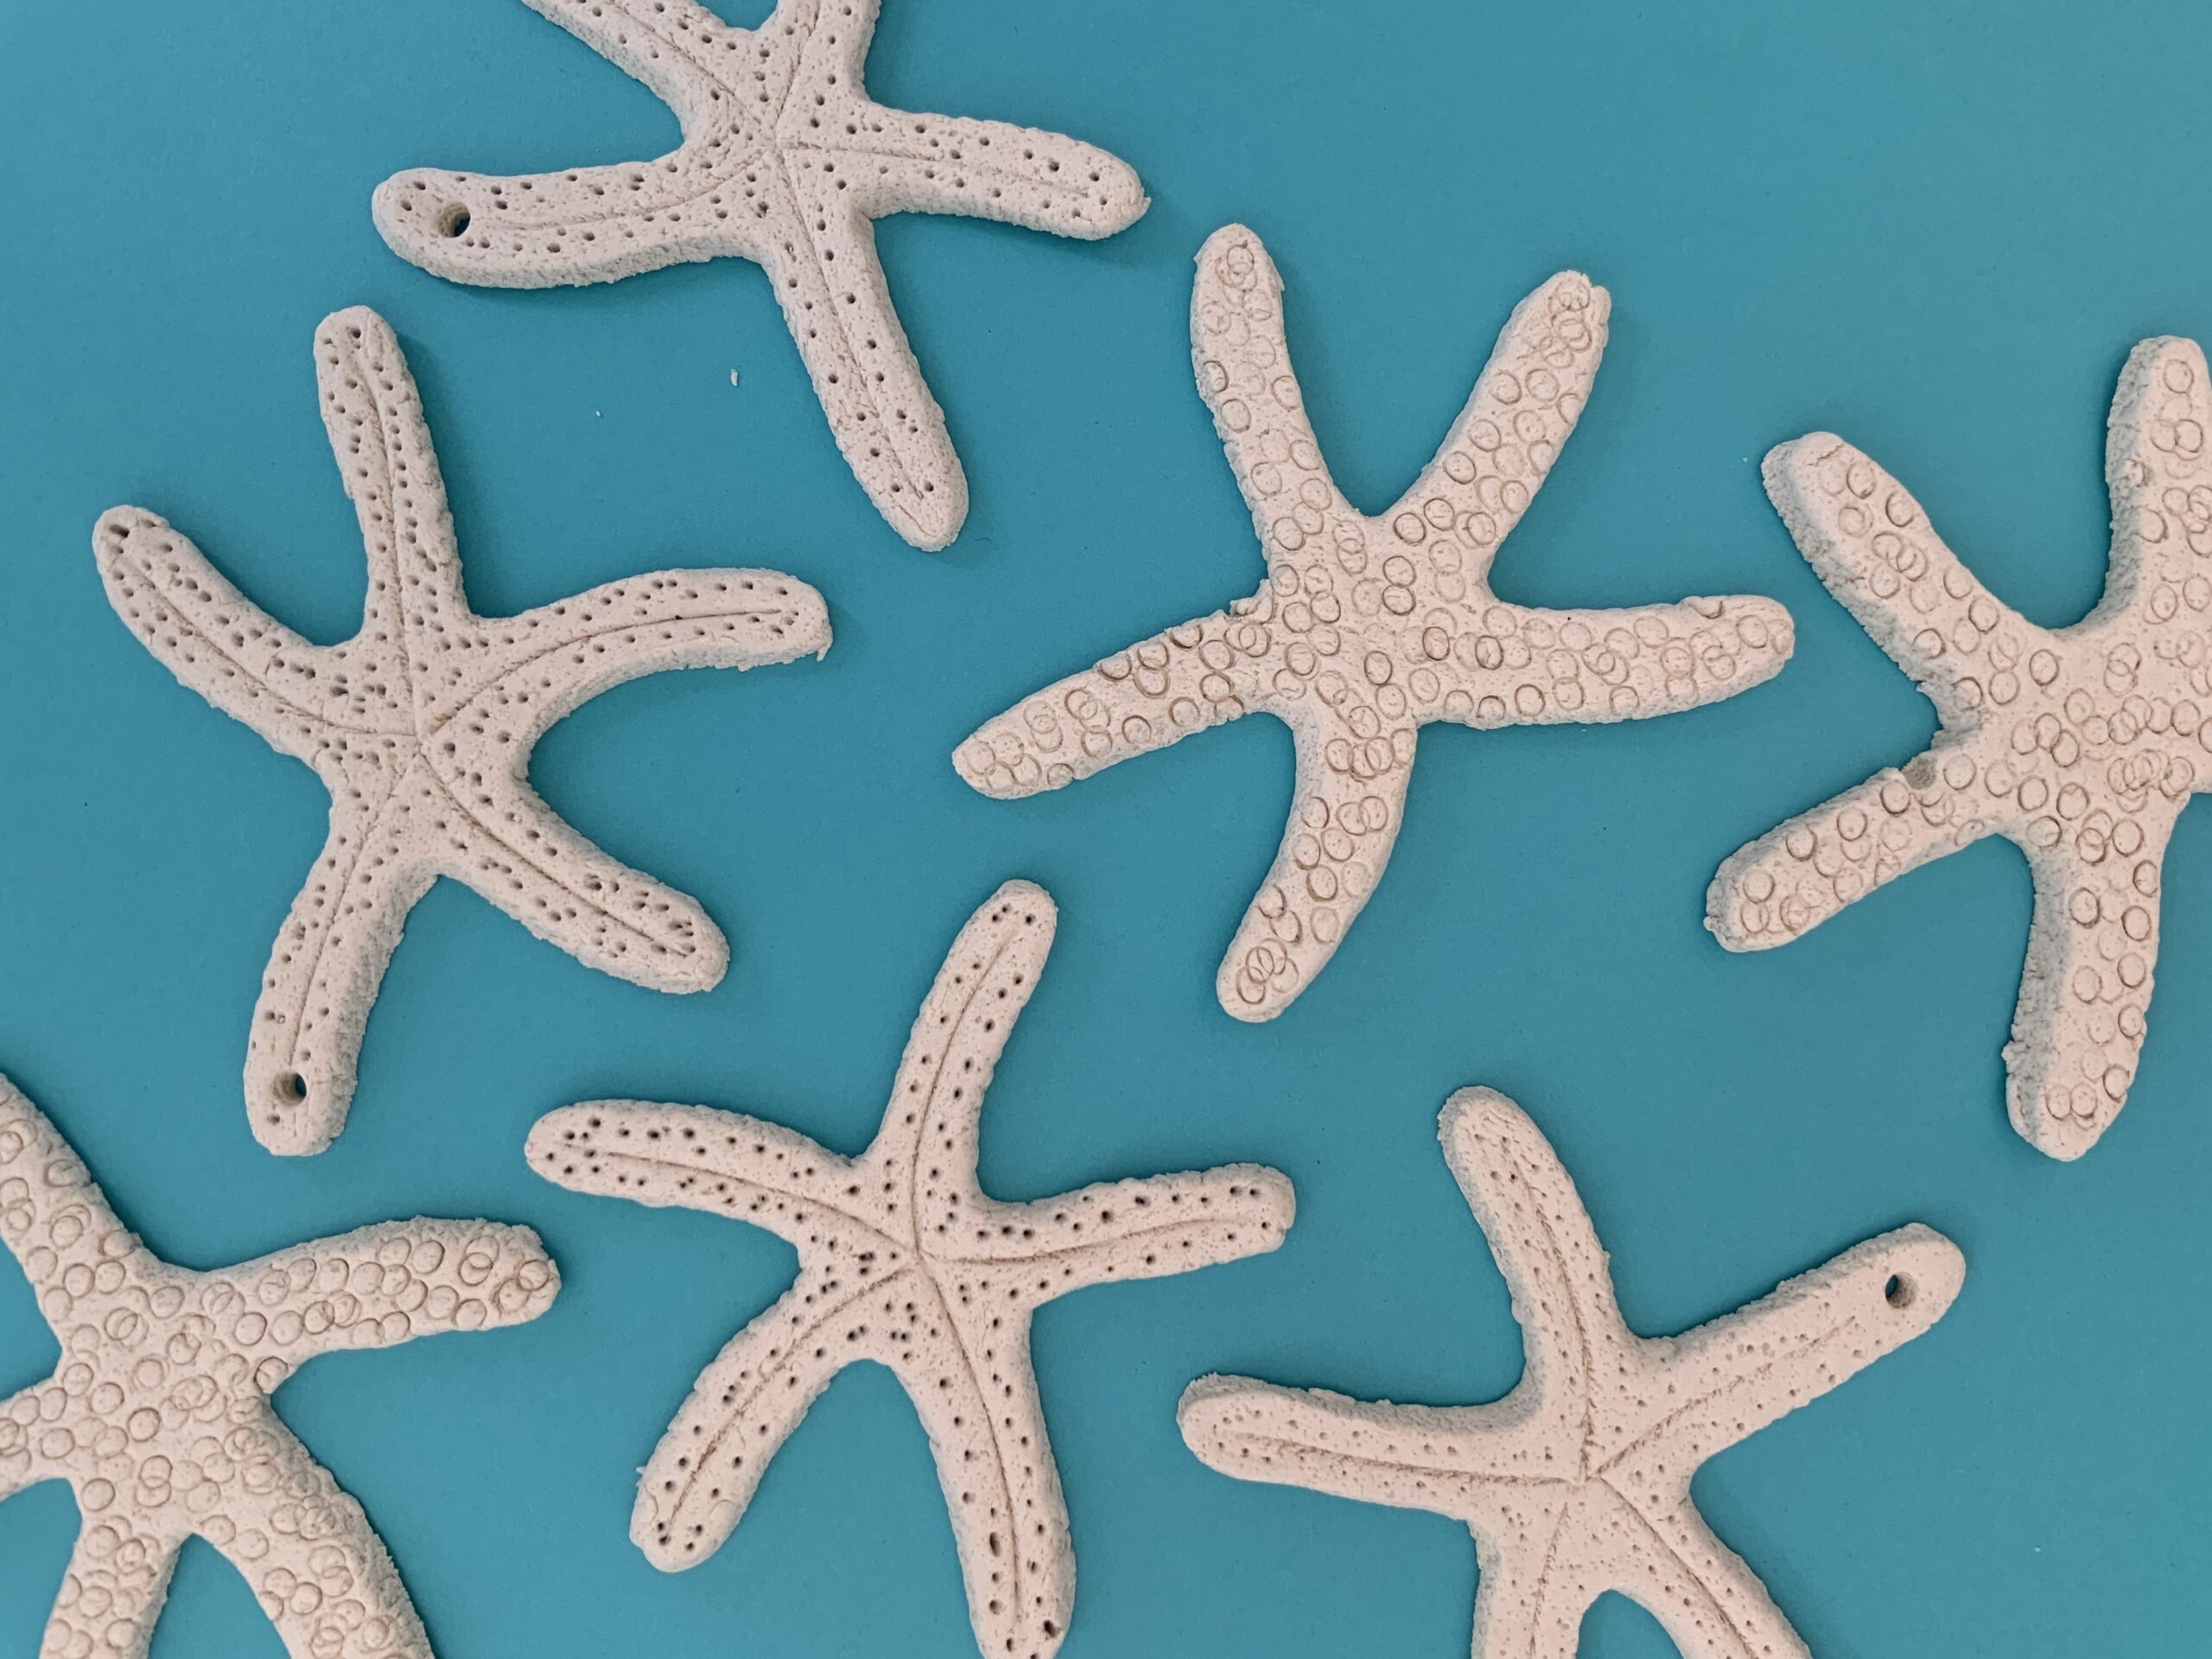
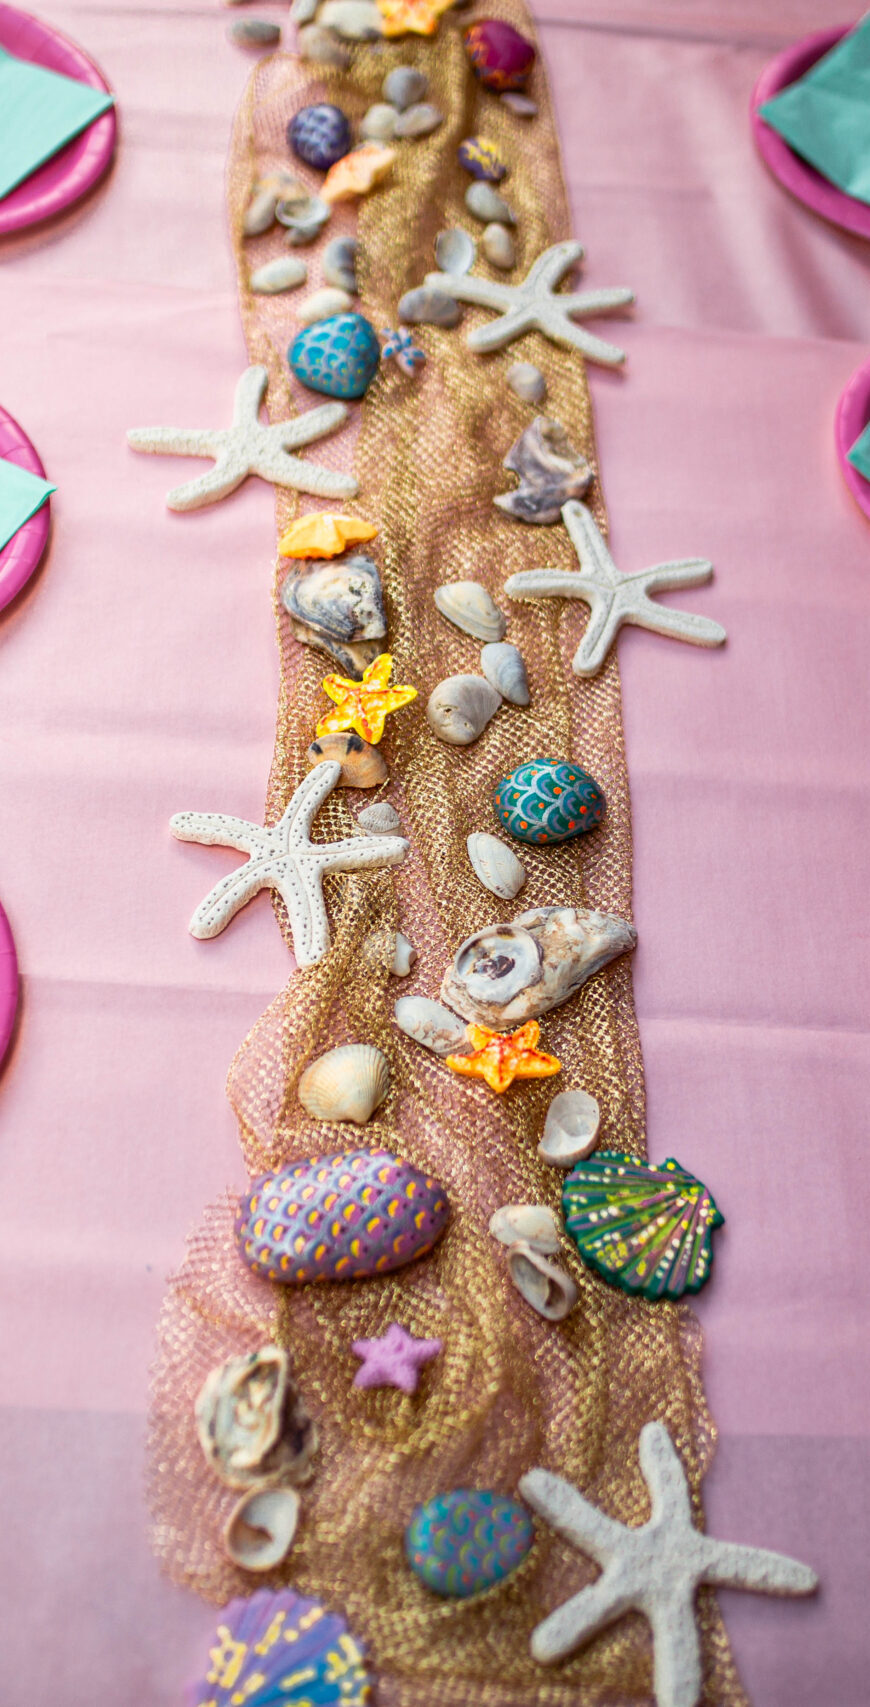
Salt Dough Starfish
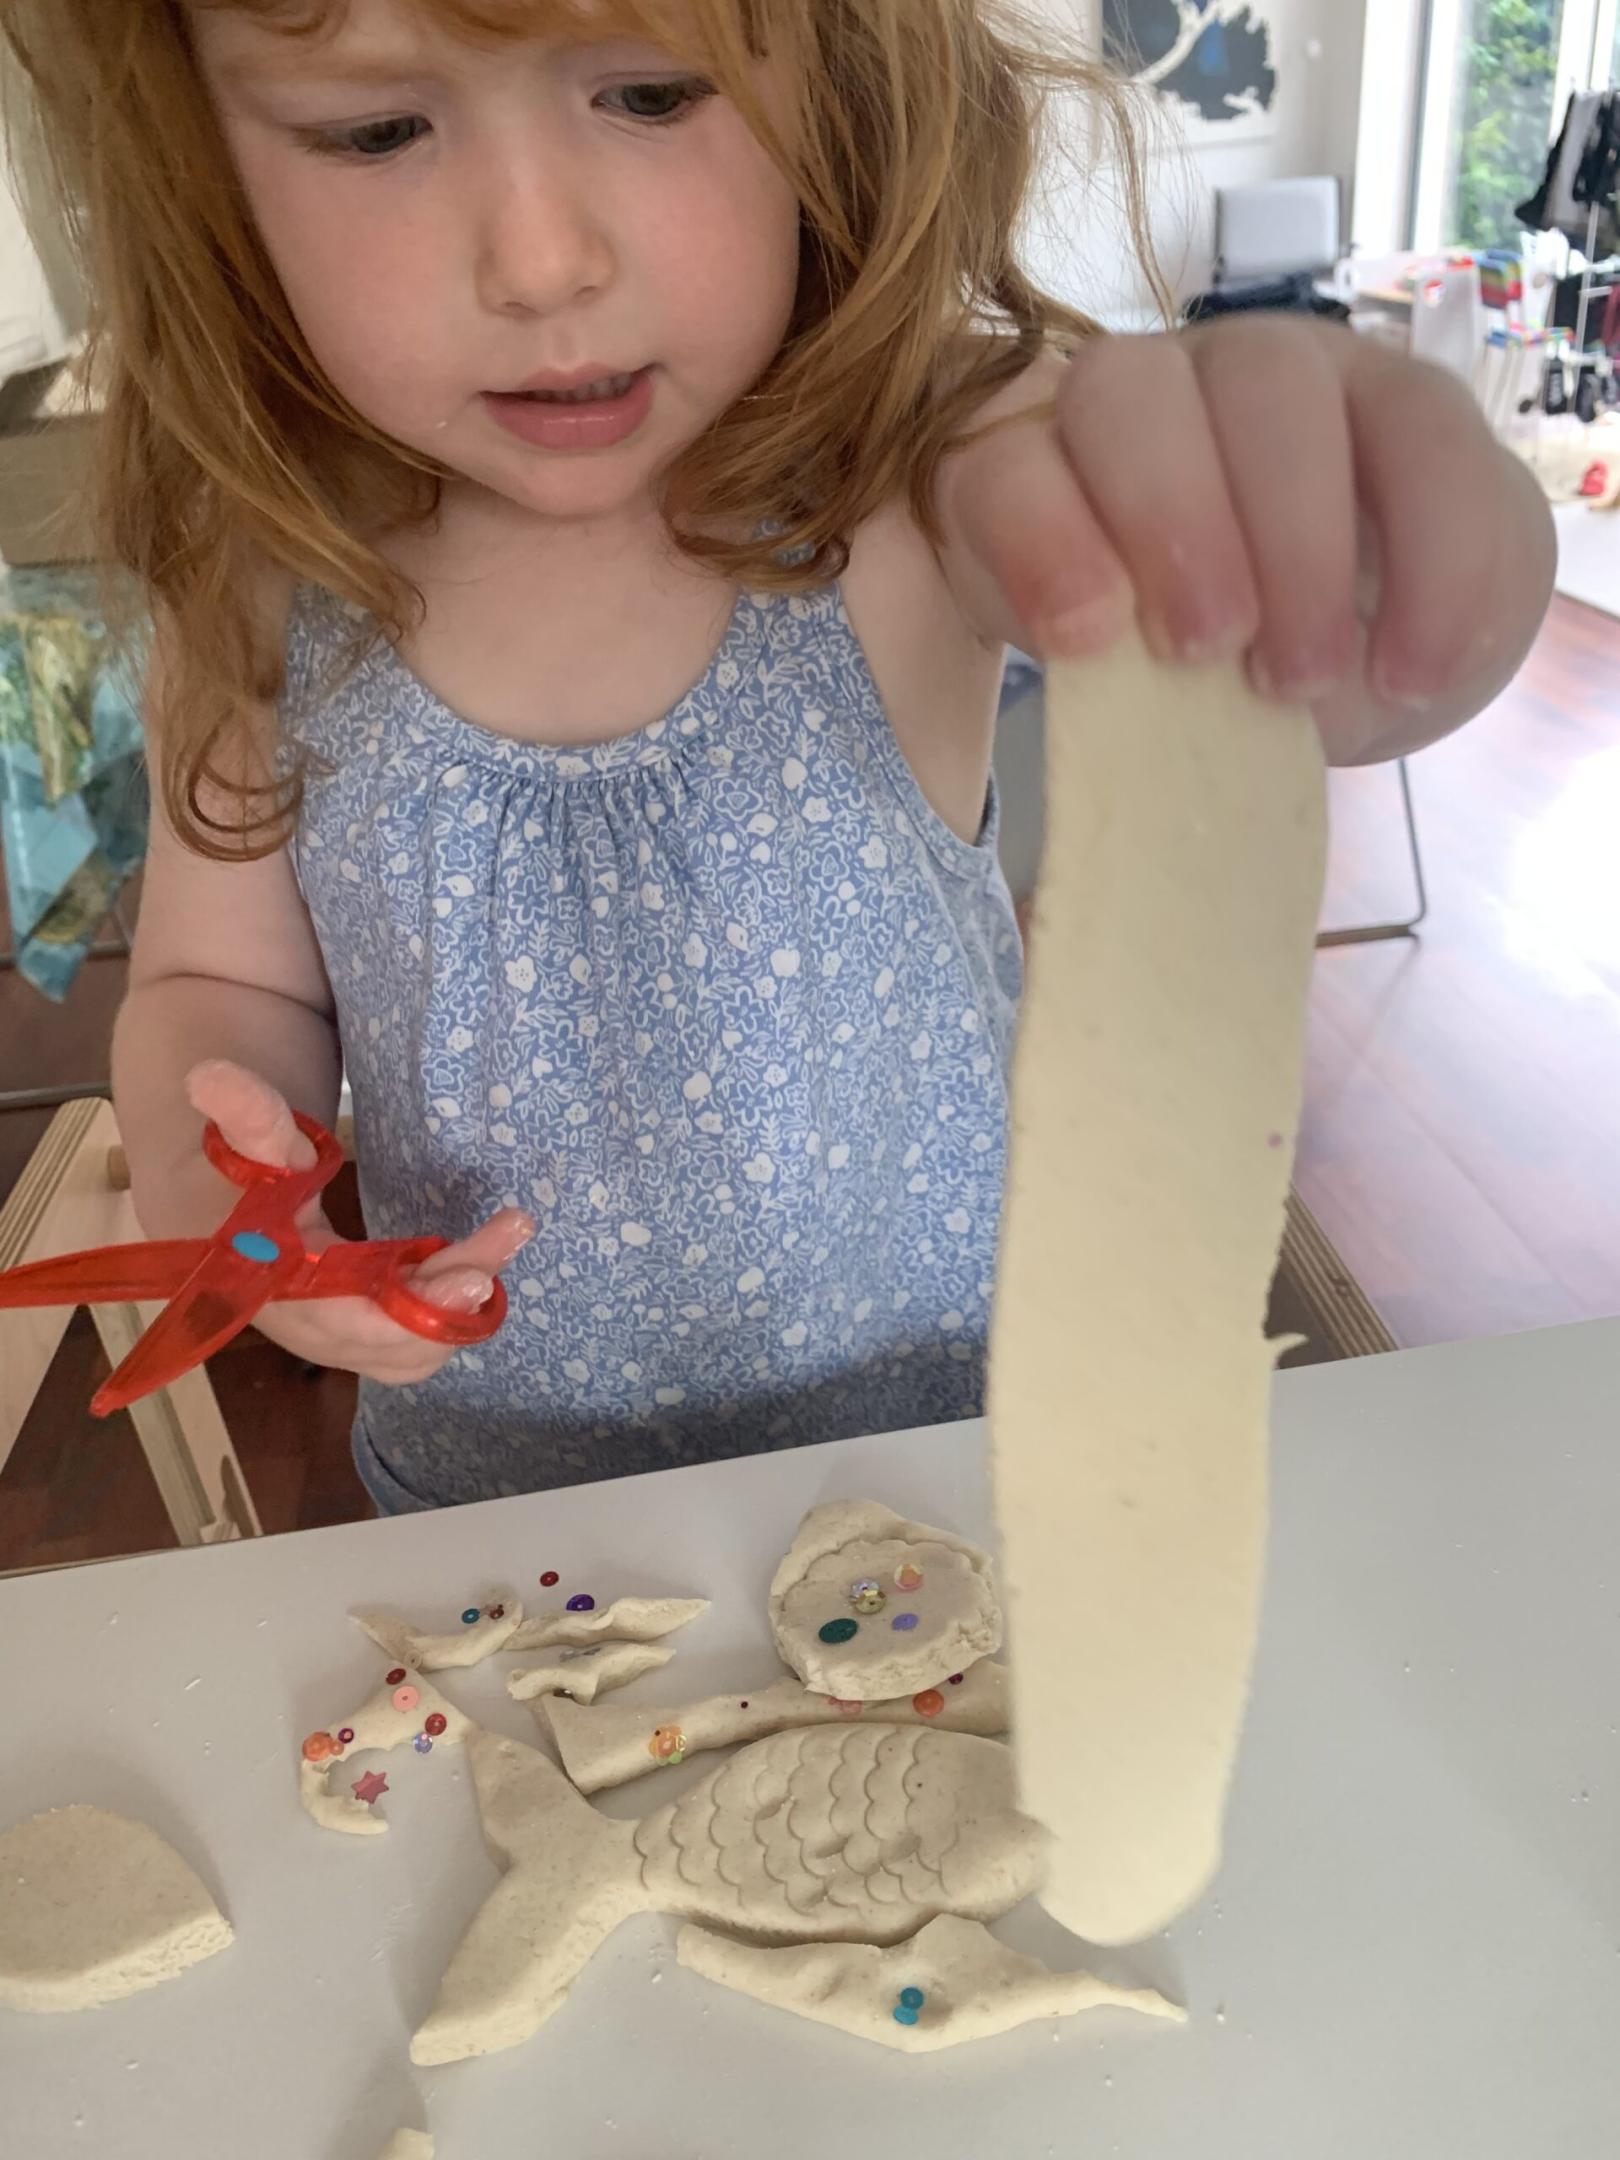
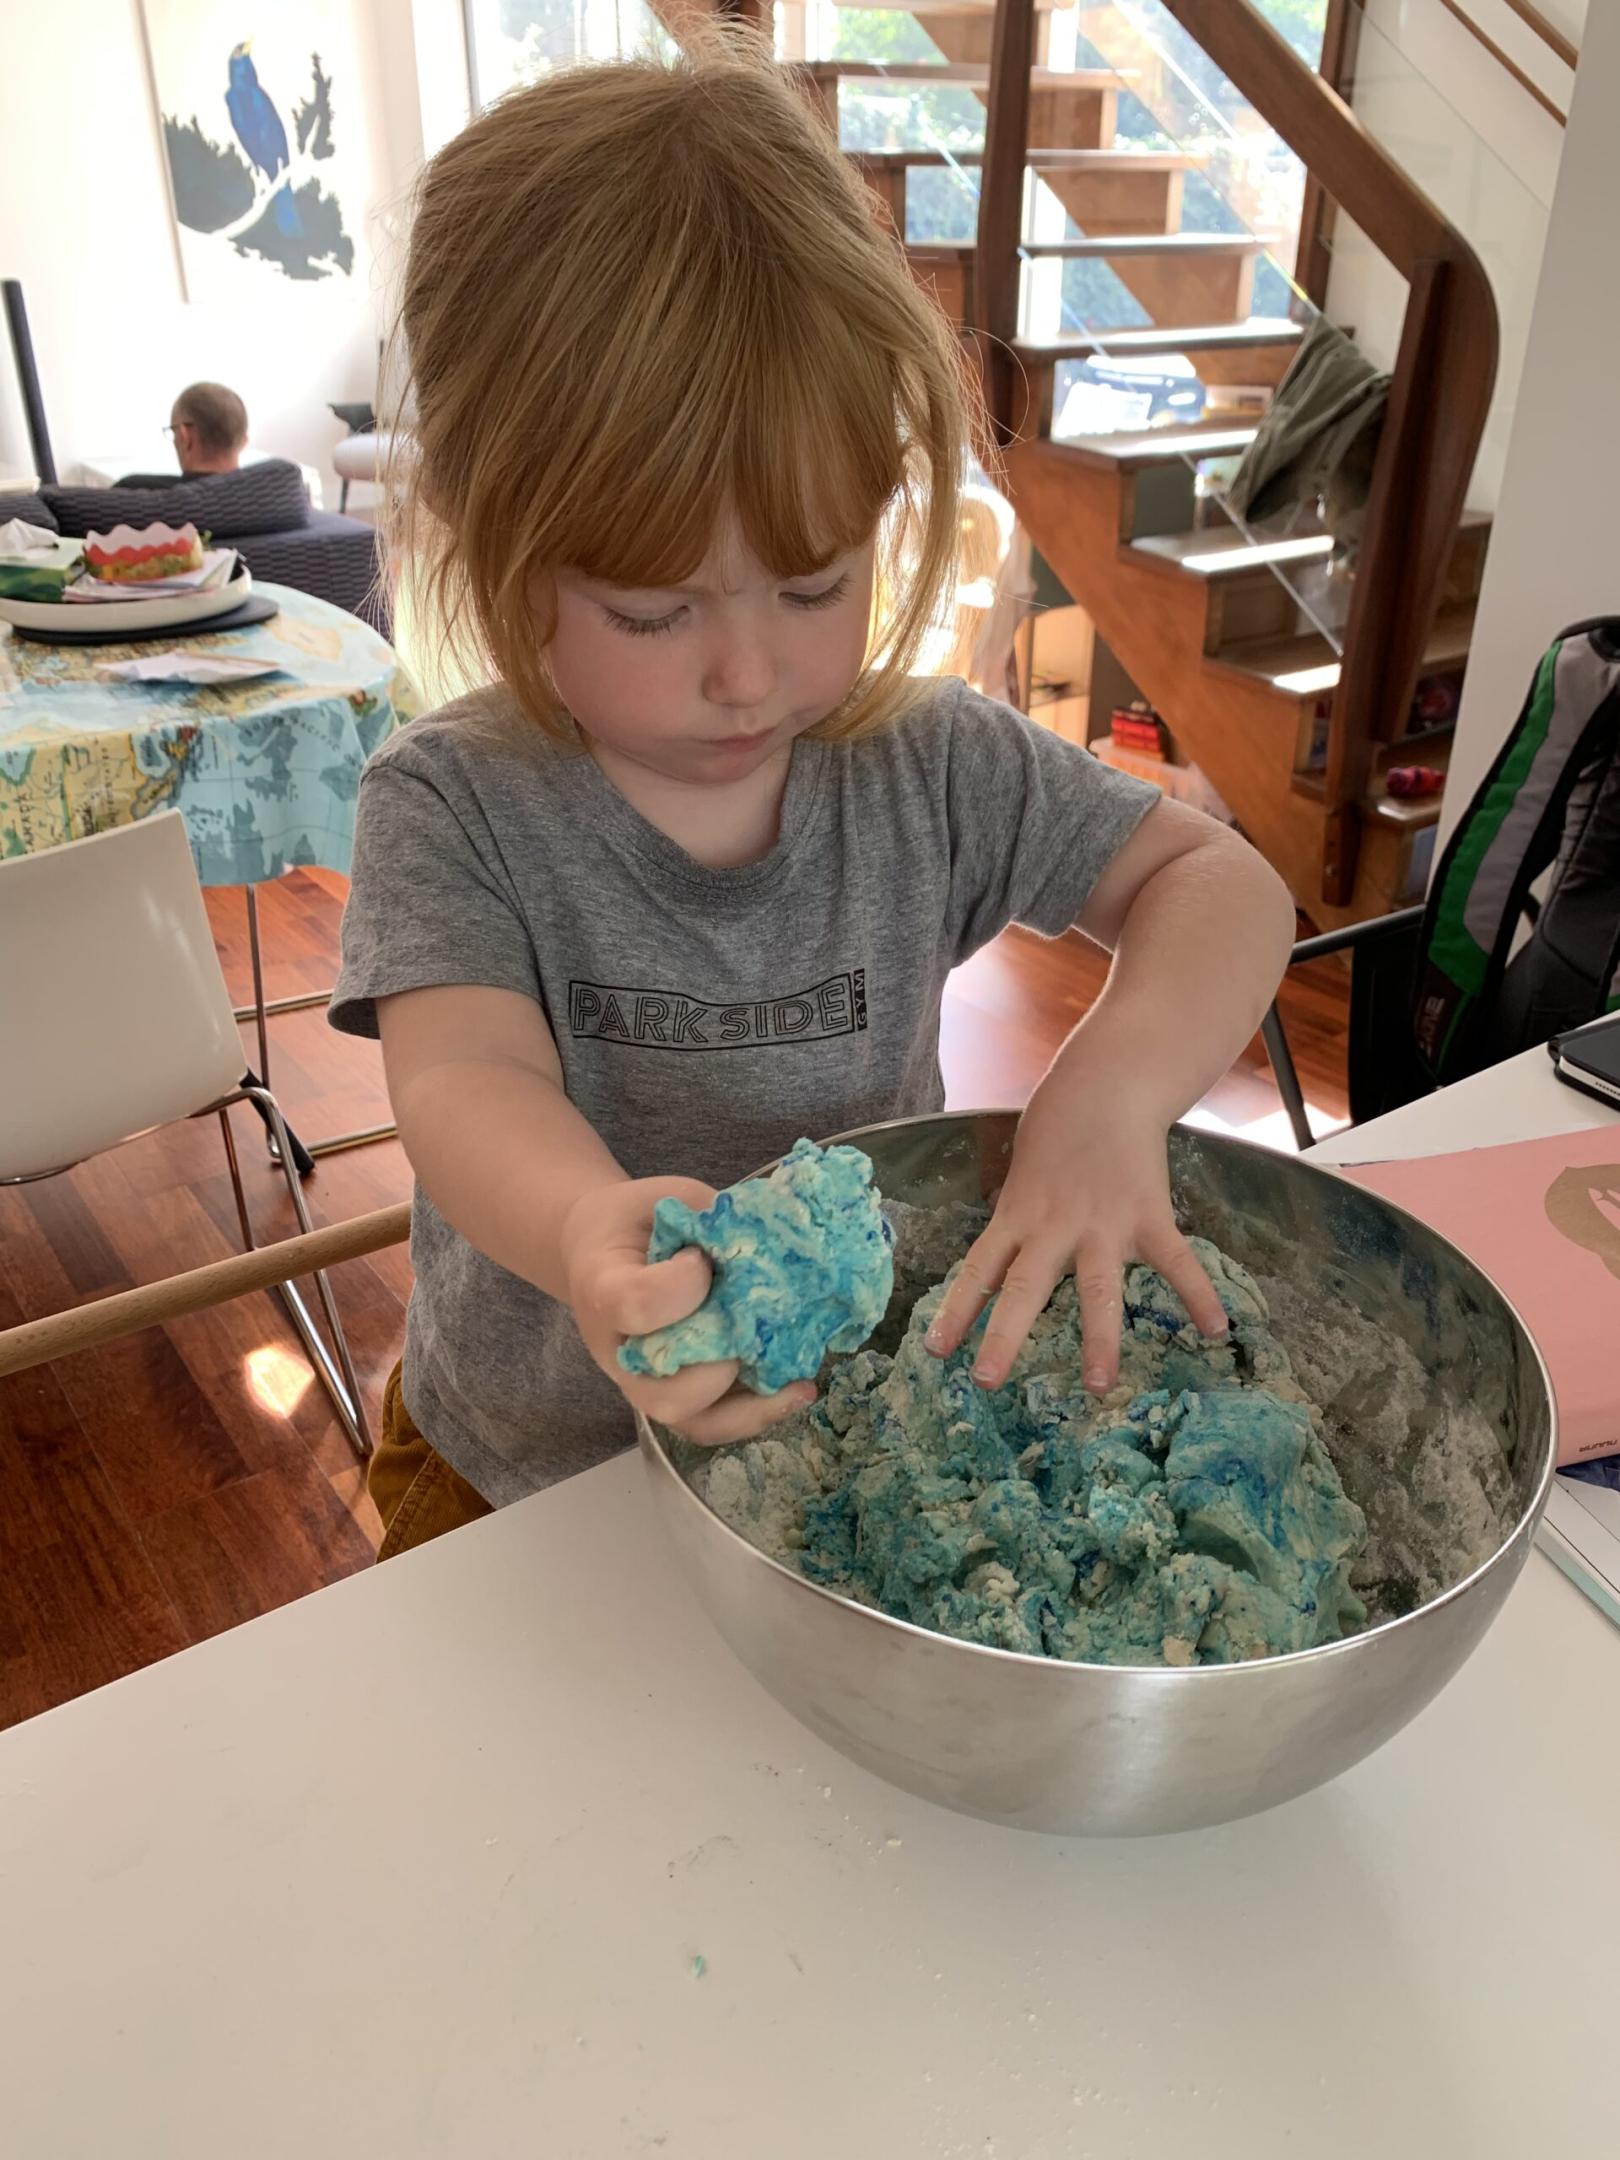
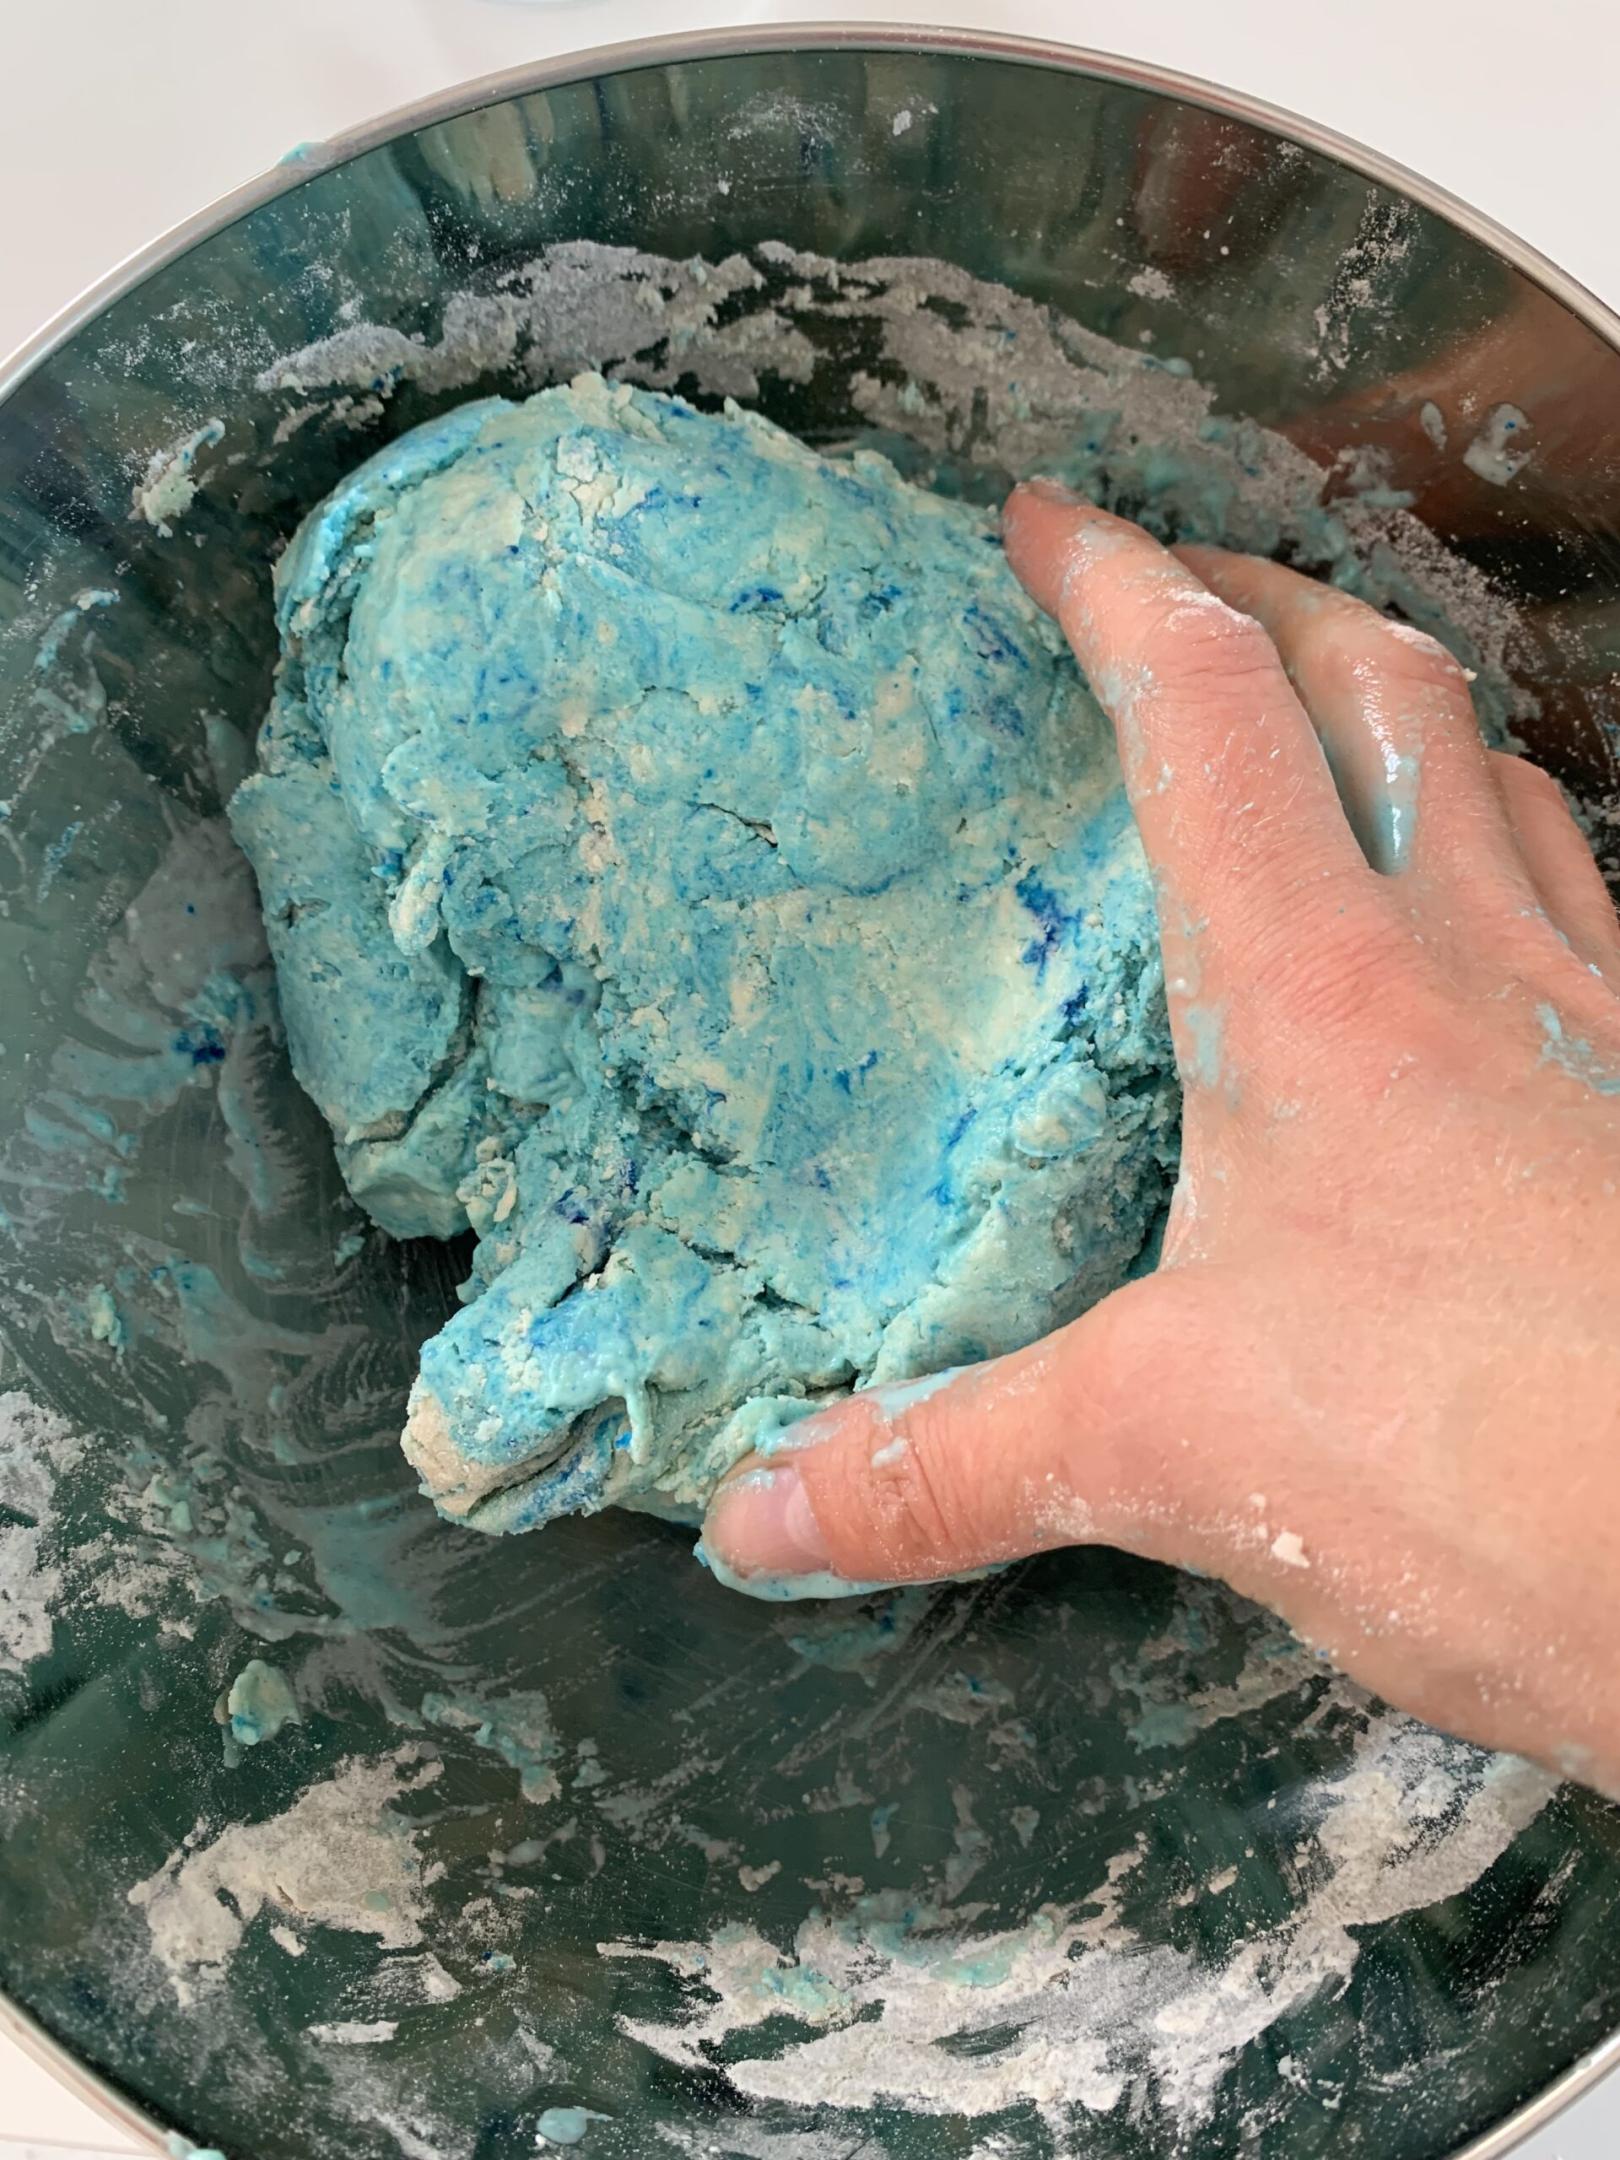
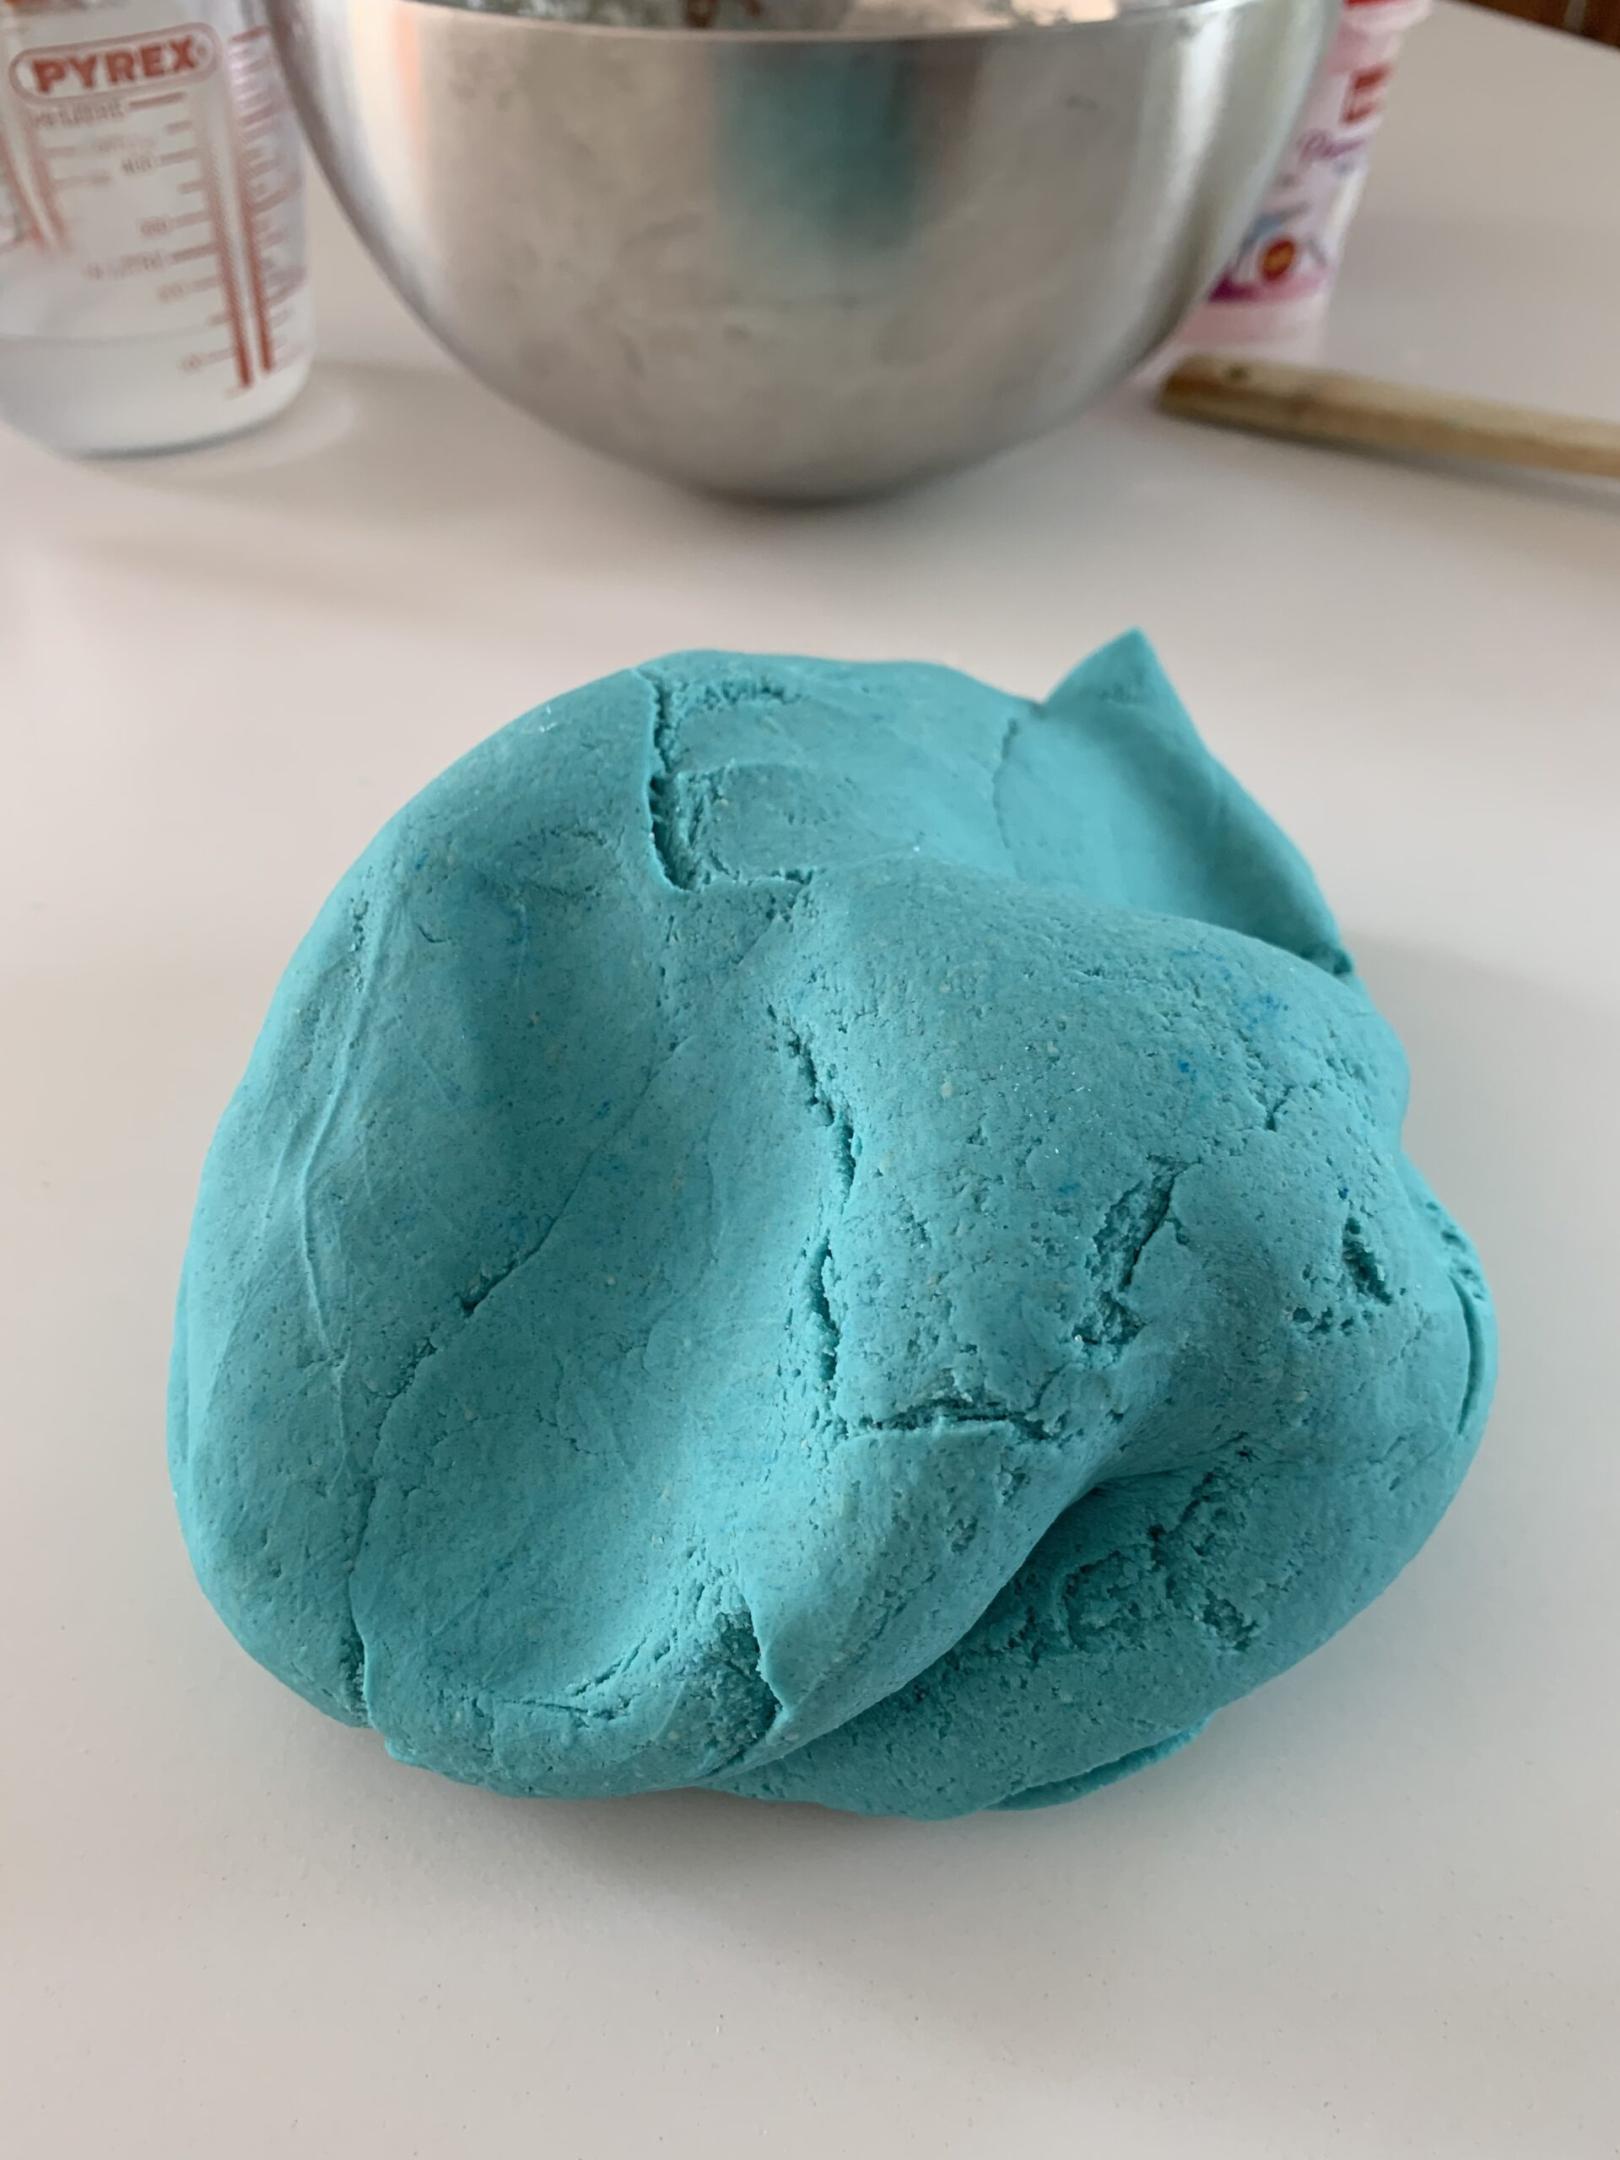
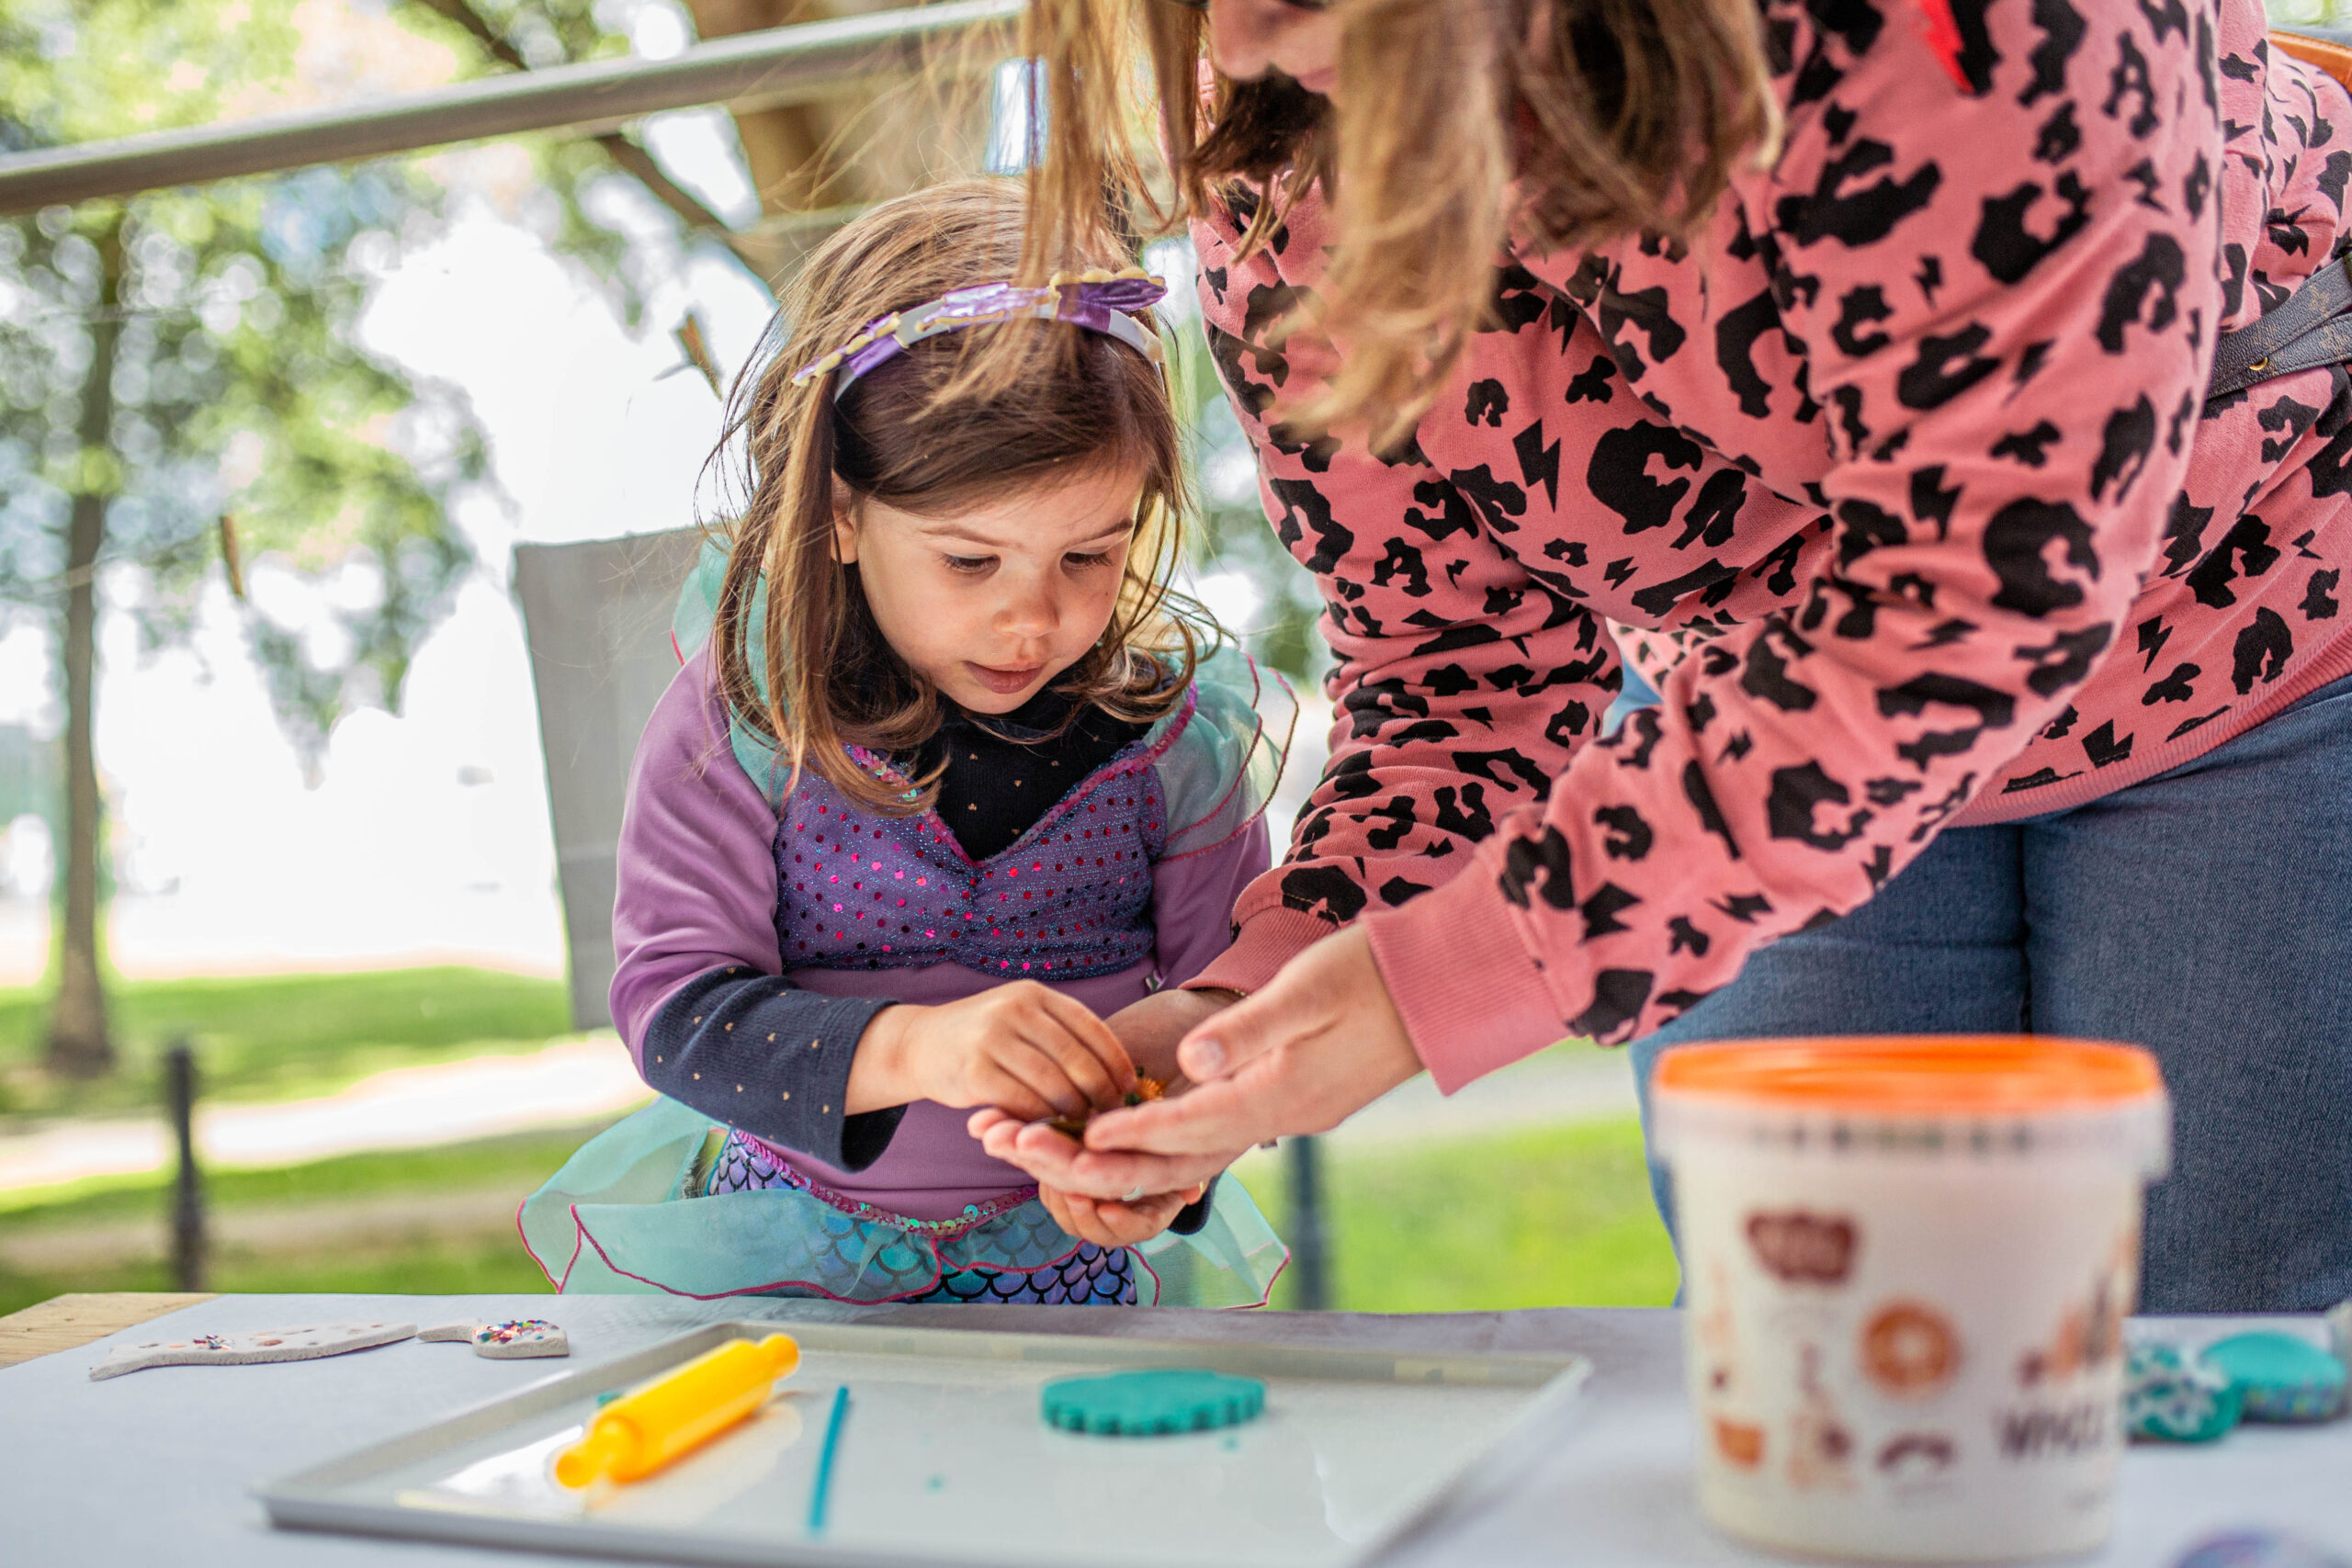
Lily and I made salt dough together, it’s a fun and easy task to do with a little one. We then made sea creature decorations for the table. To make the salt dough, we mixed 250g plain flour, 125g table salt and 125ml water. Just keep mixing until it all comes together and then kneed into a dough on the kitchen worktop.
Painted Rocks
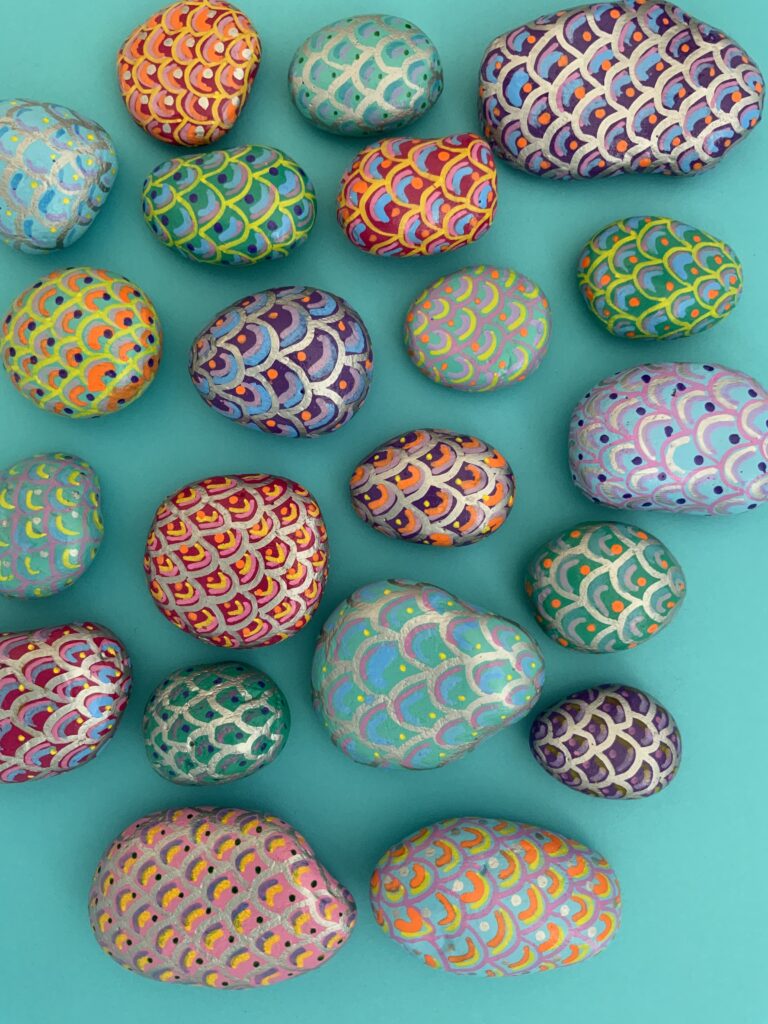
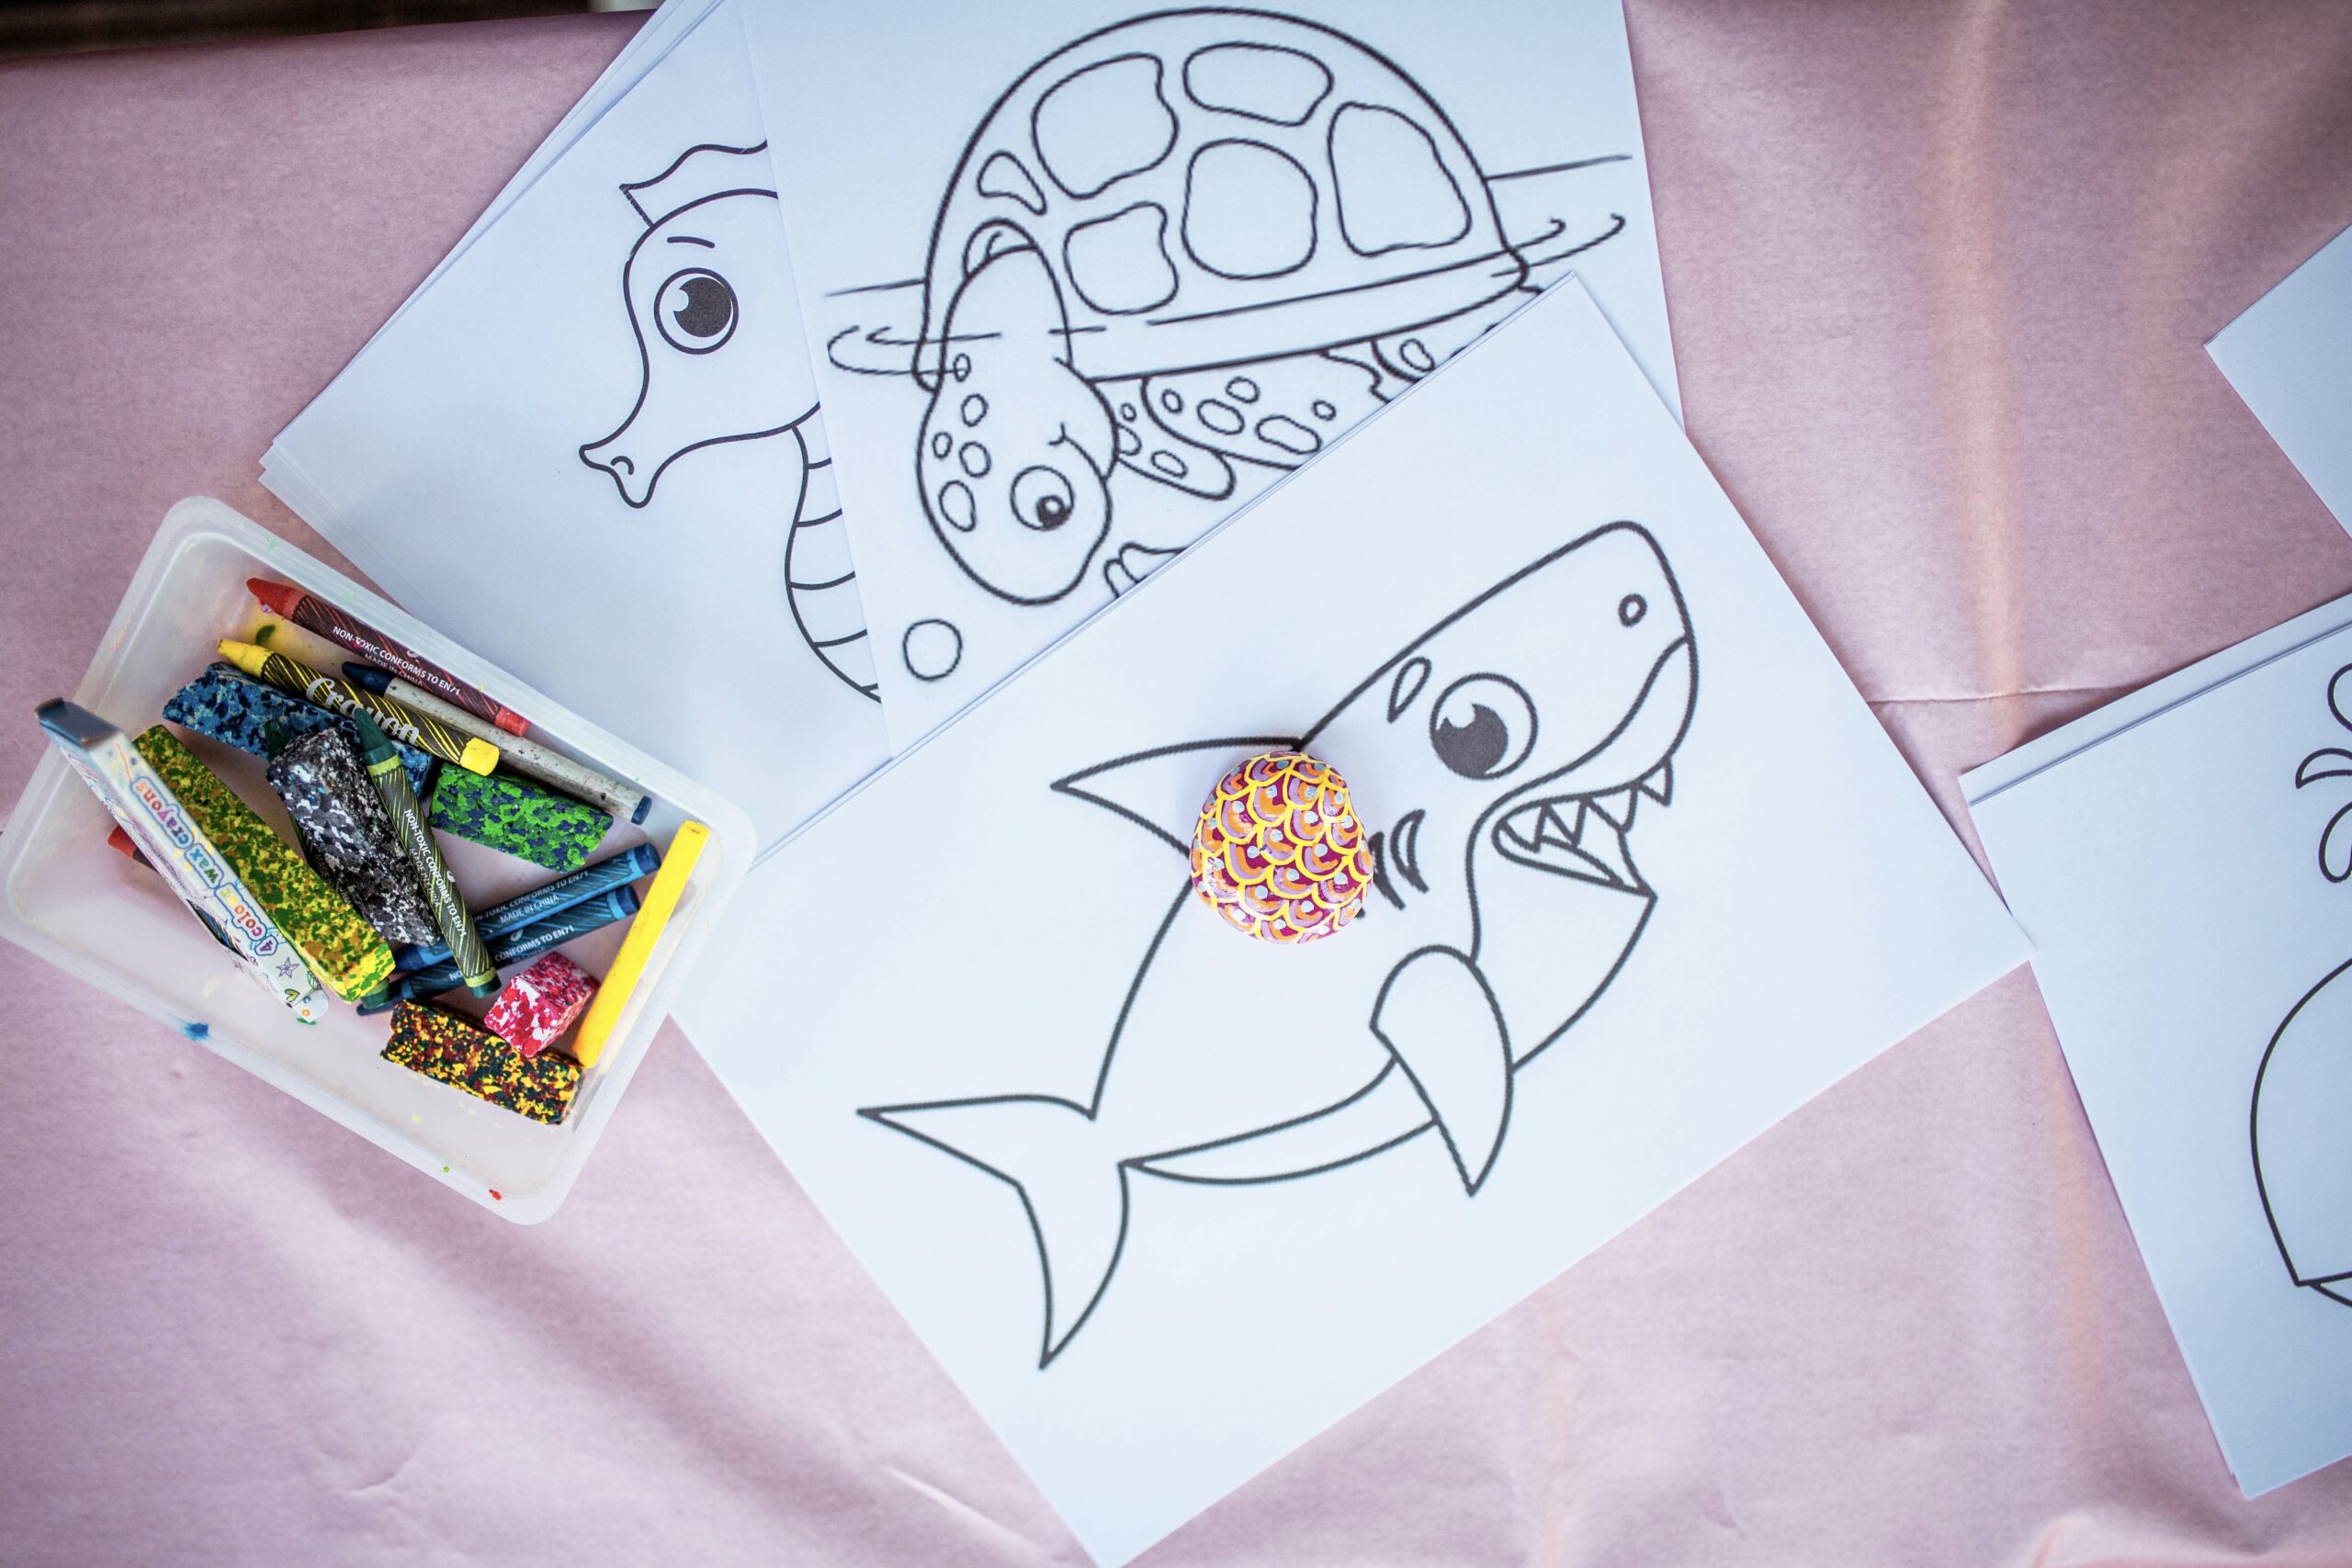
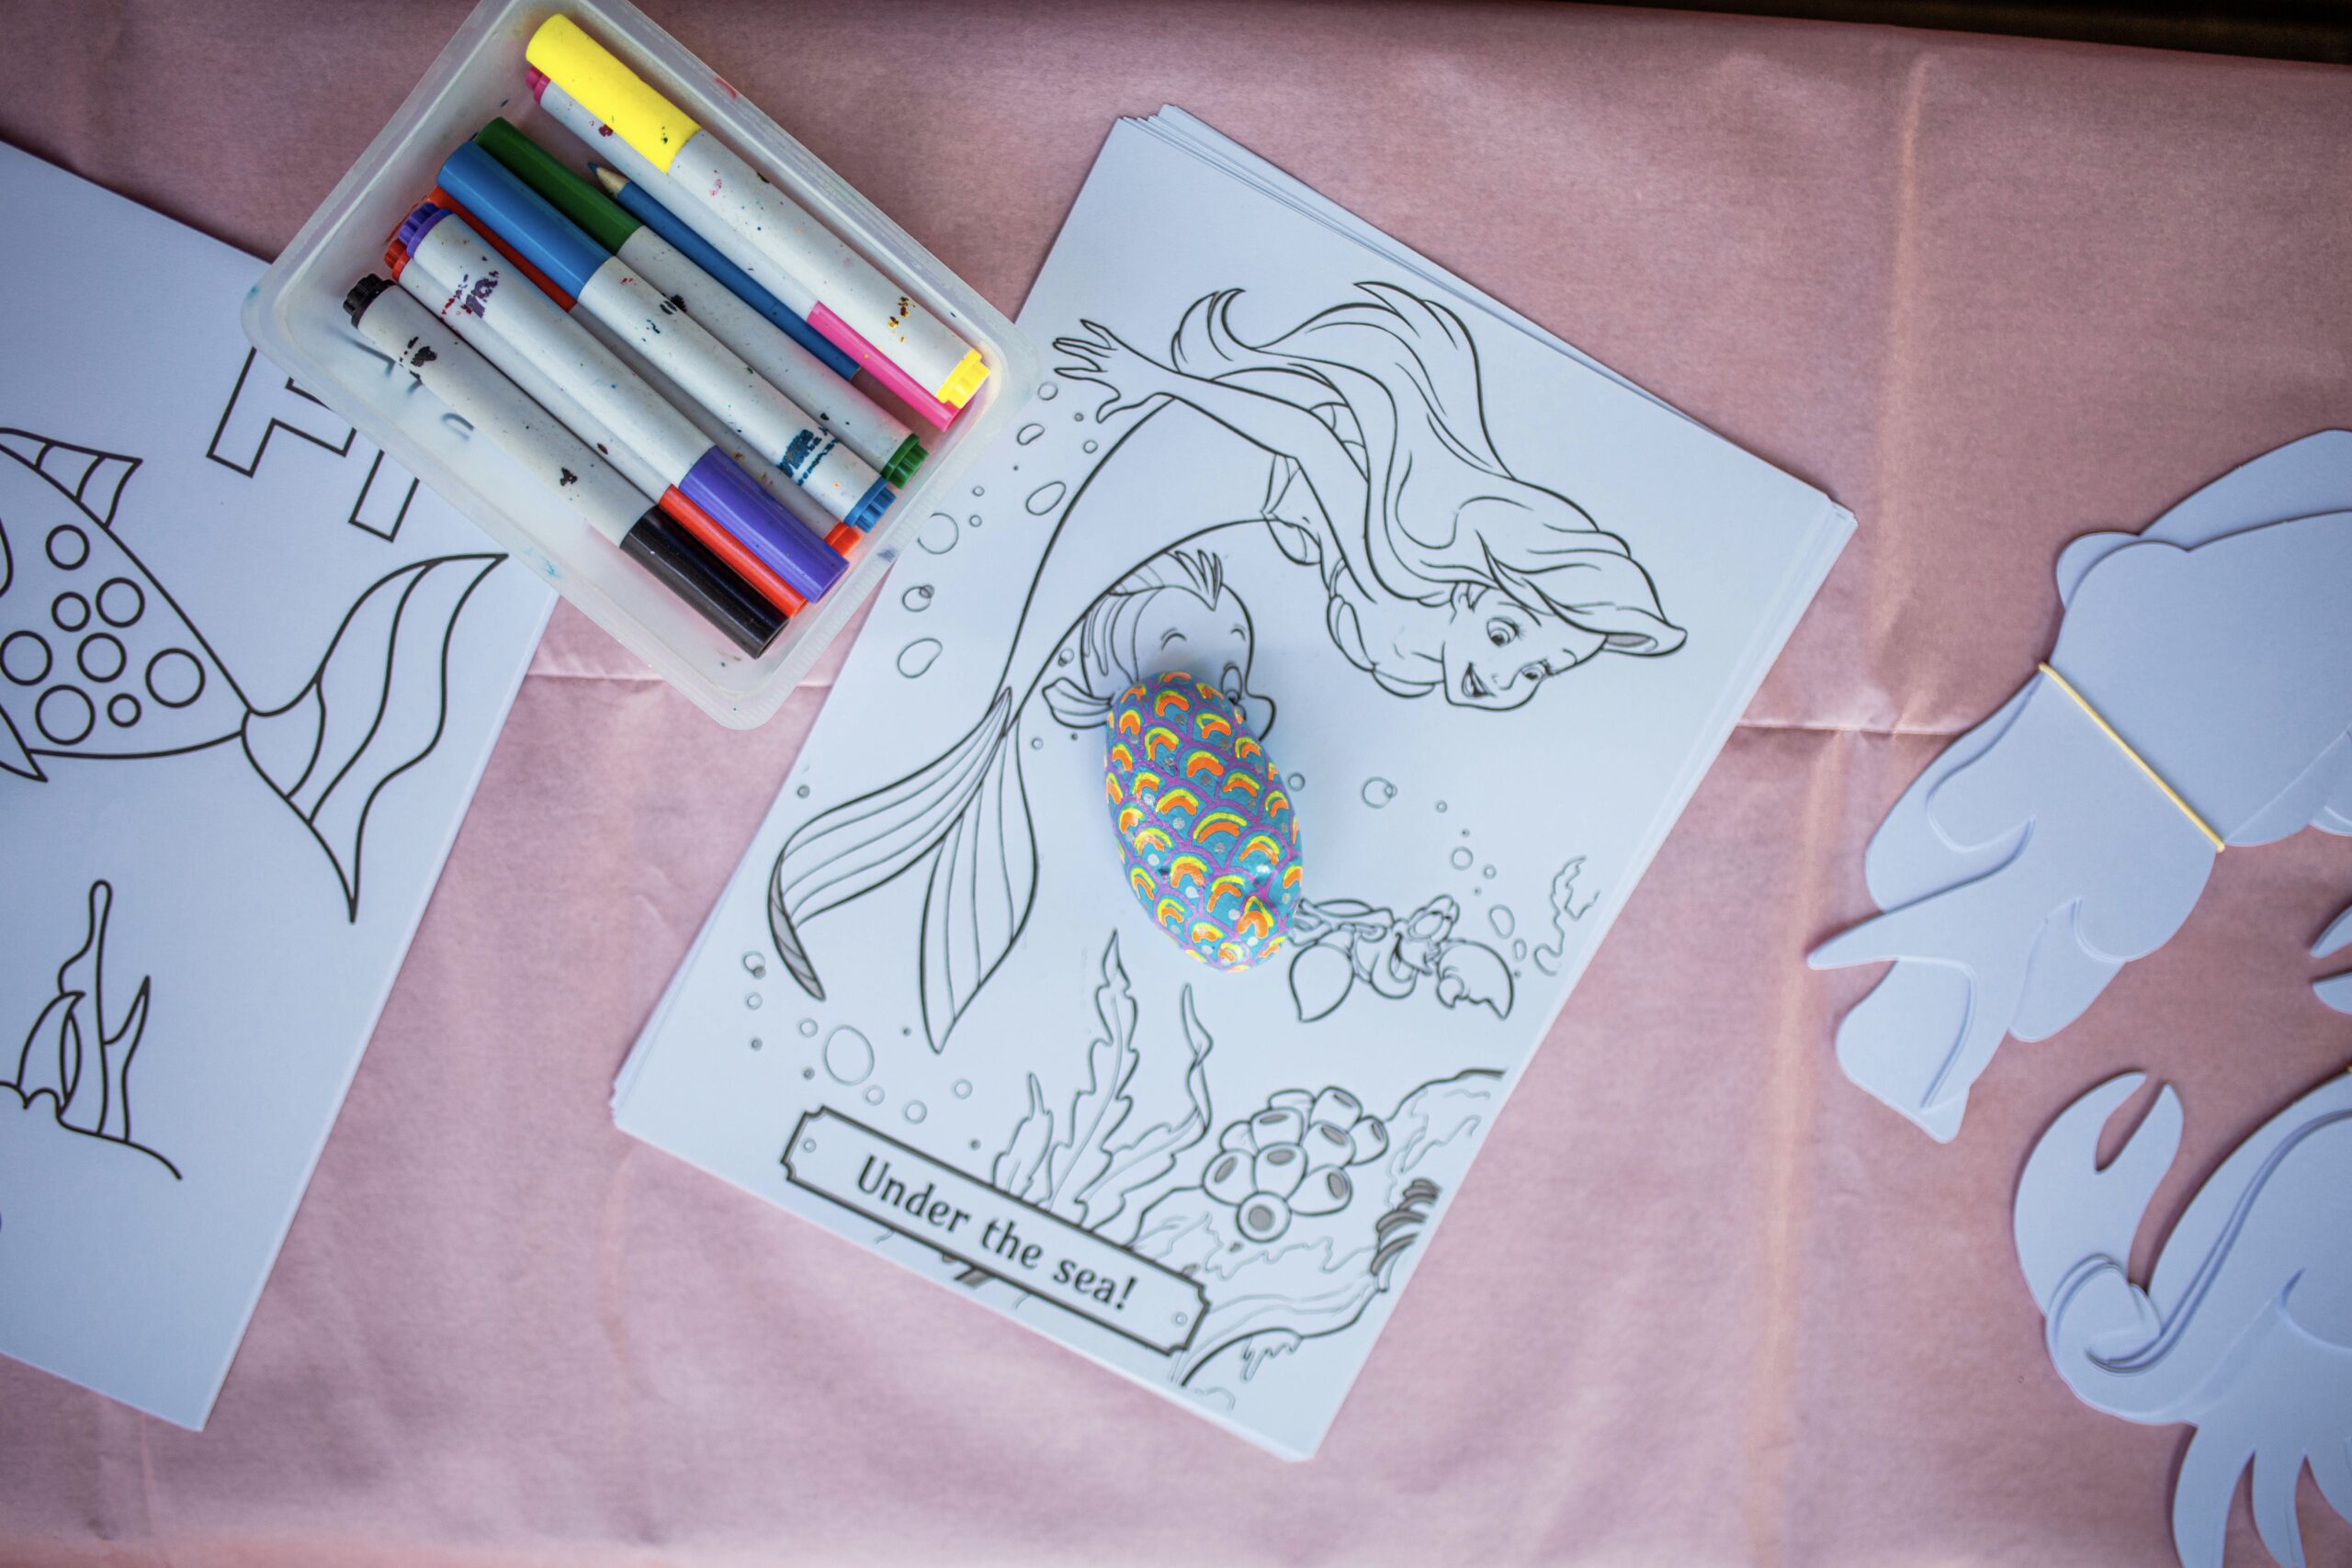
Lily and I collected rocks at the beach and then painted them with household paint and acrylic pens..
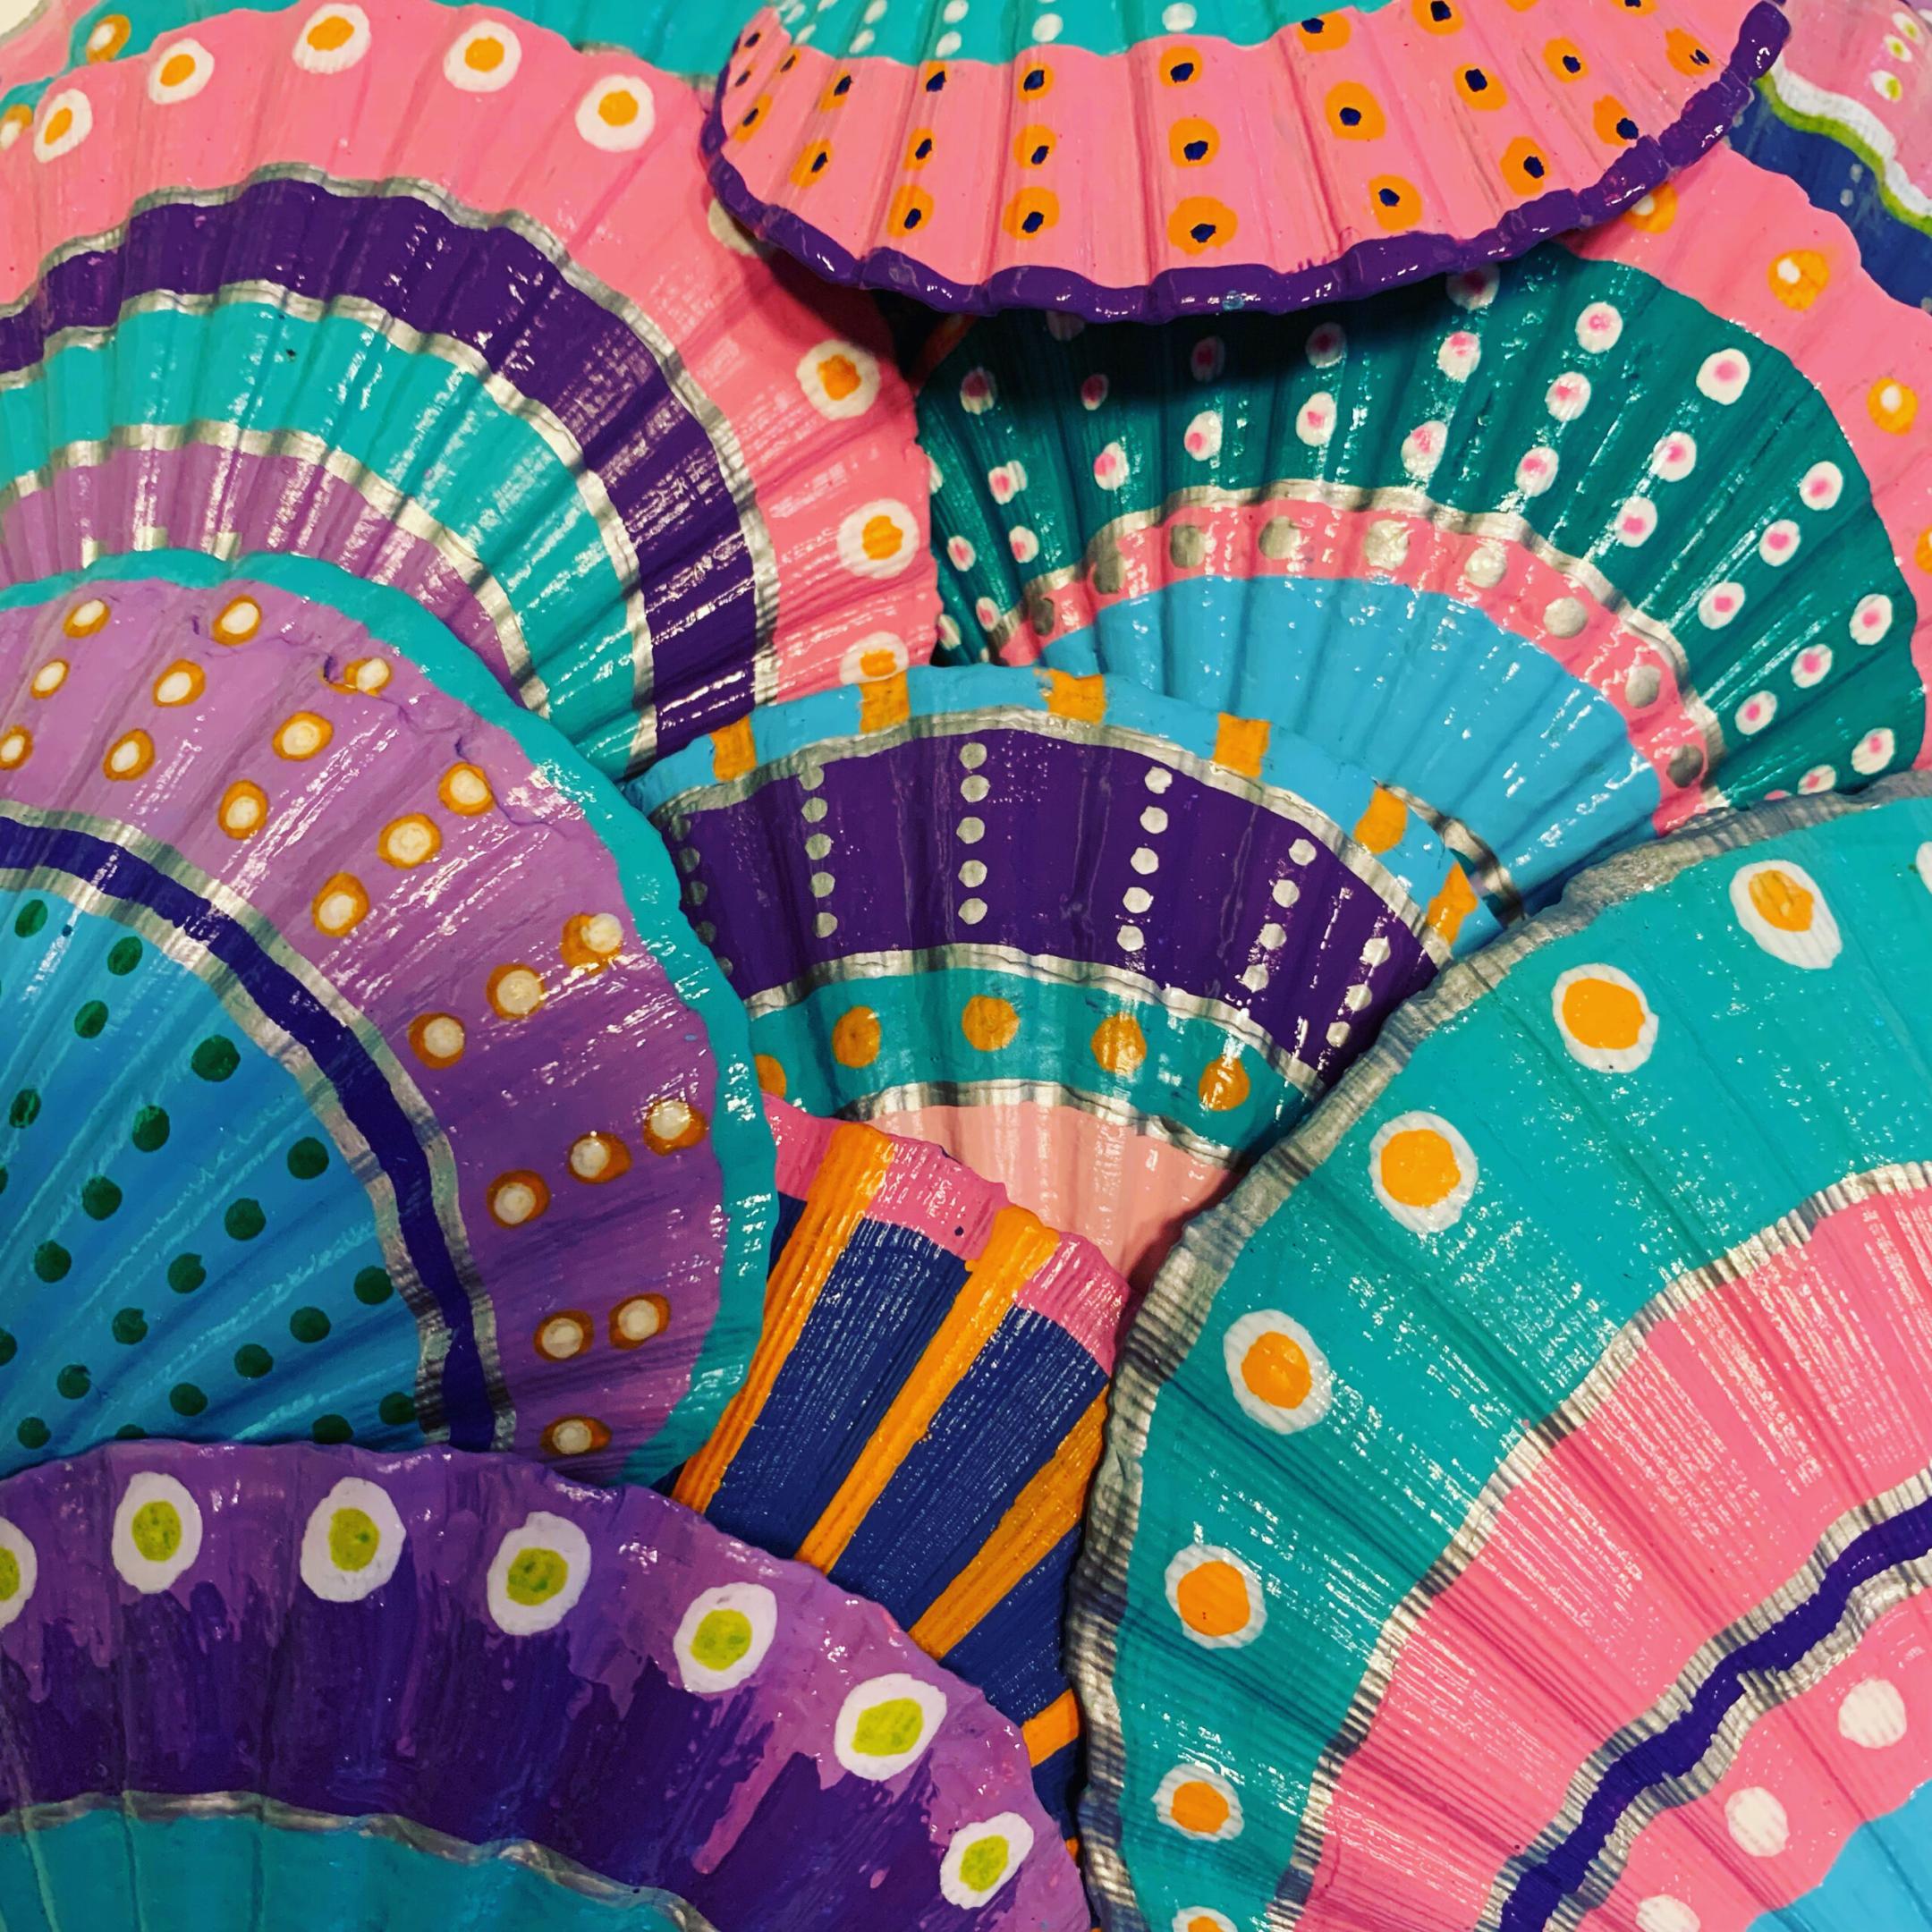
Clam Shells
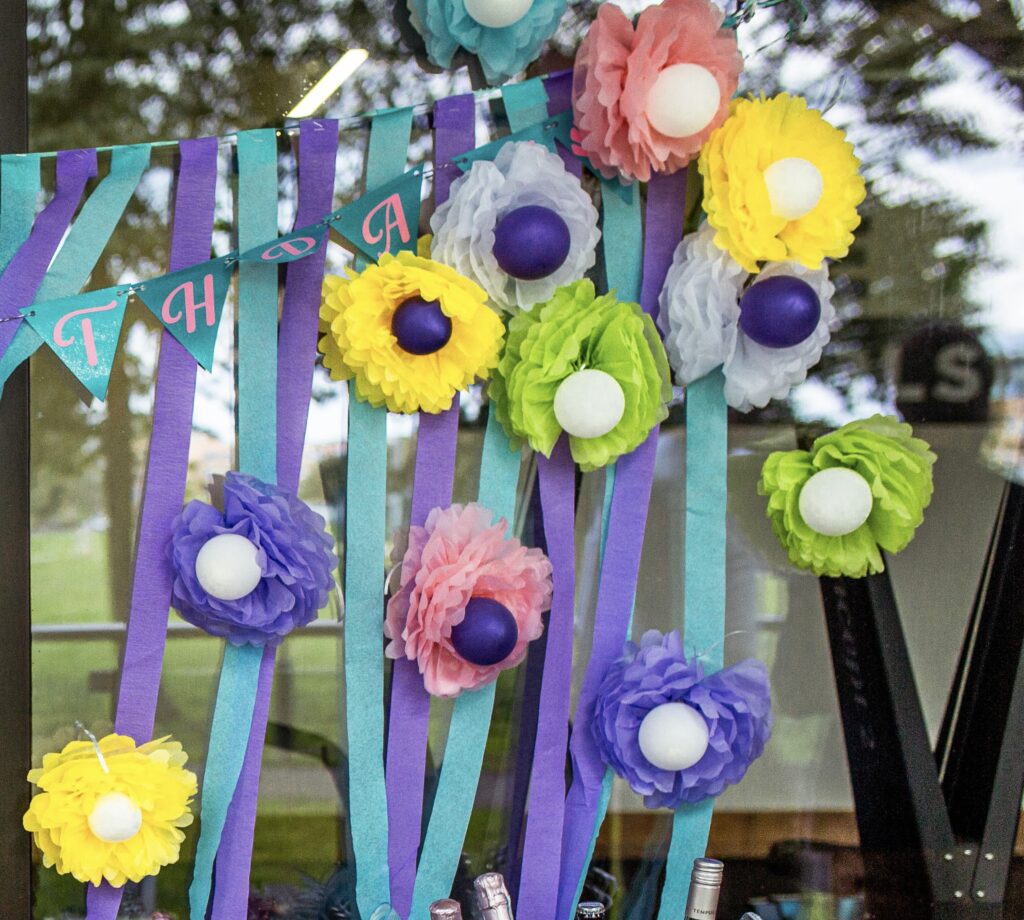
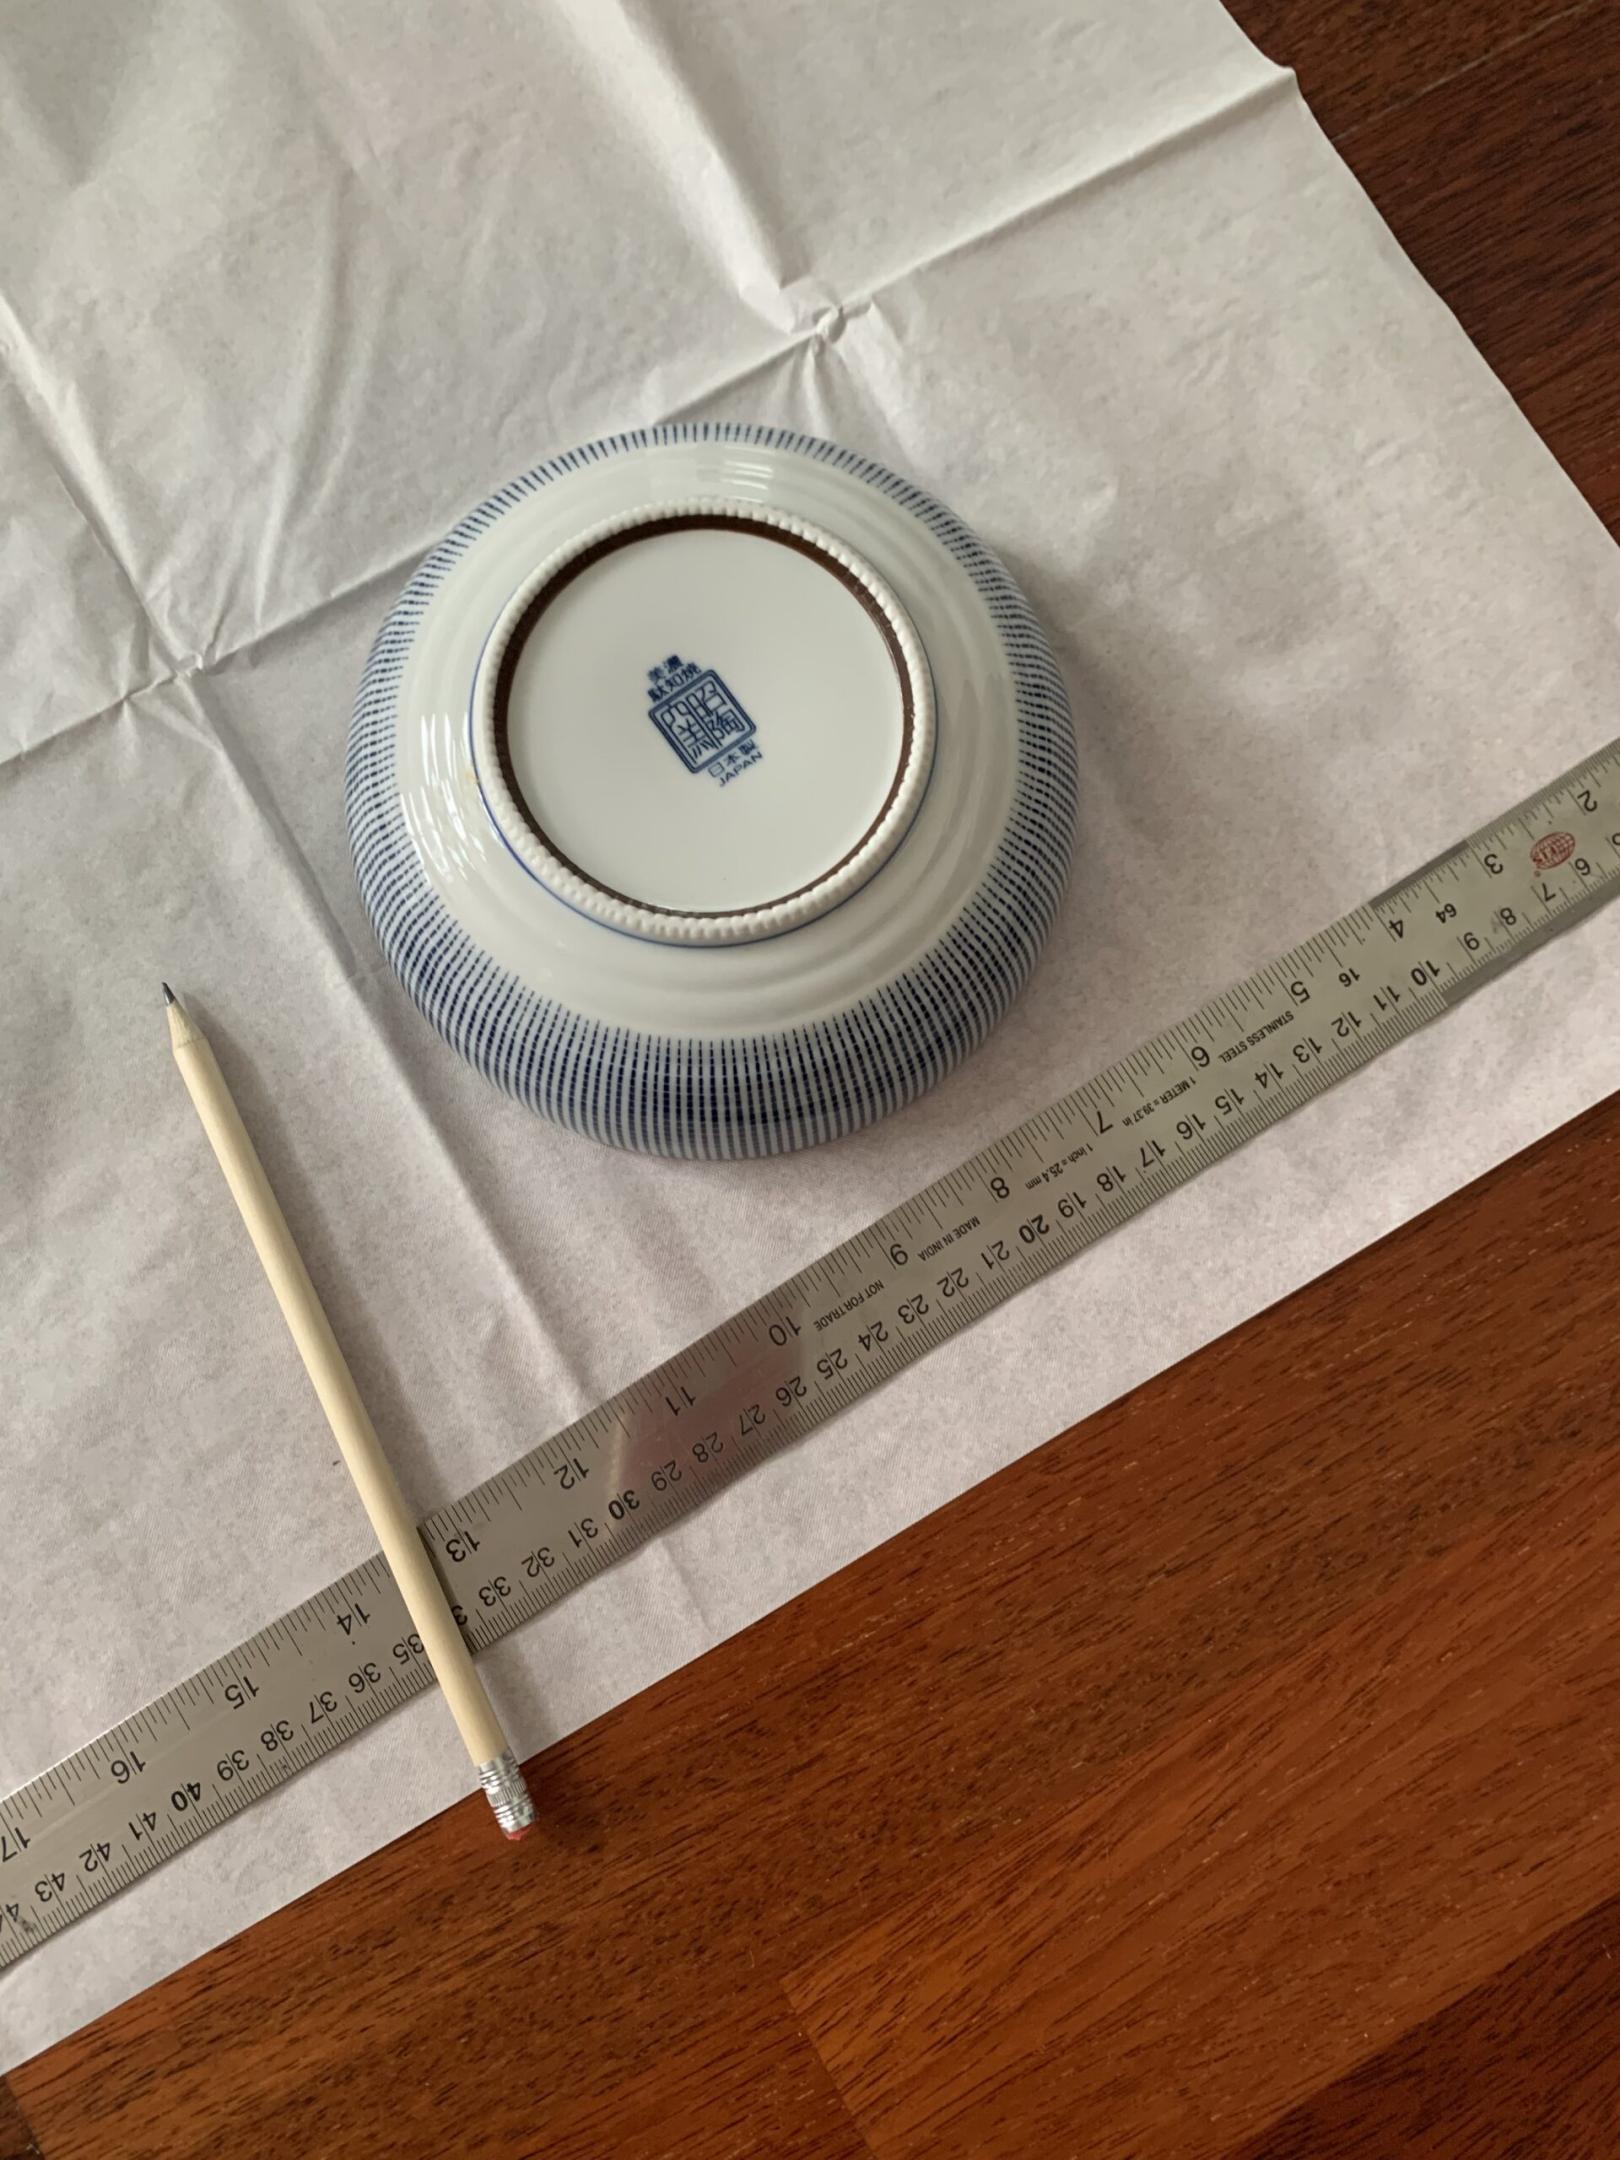
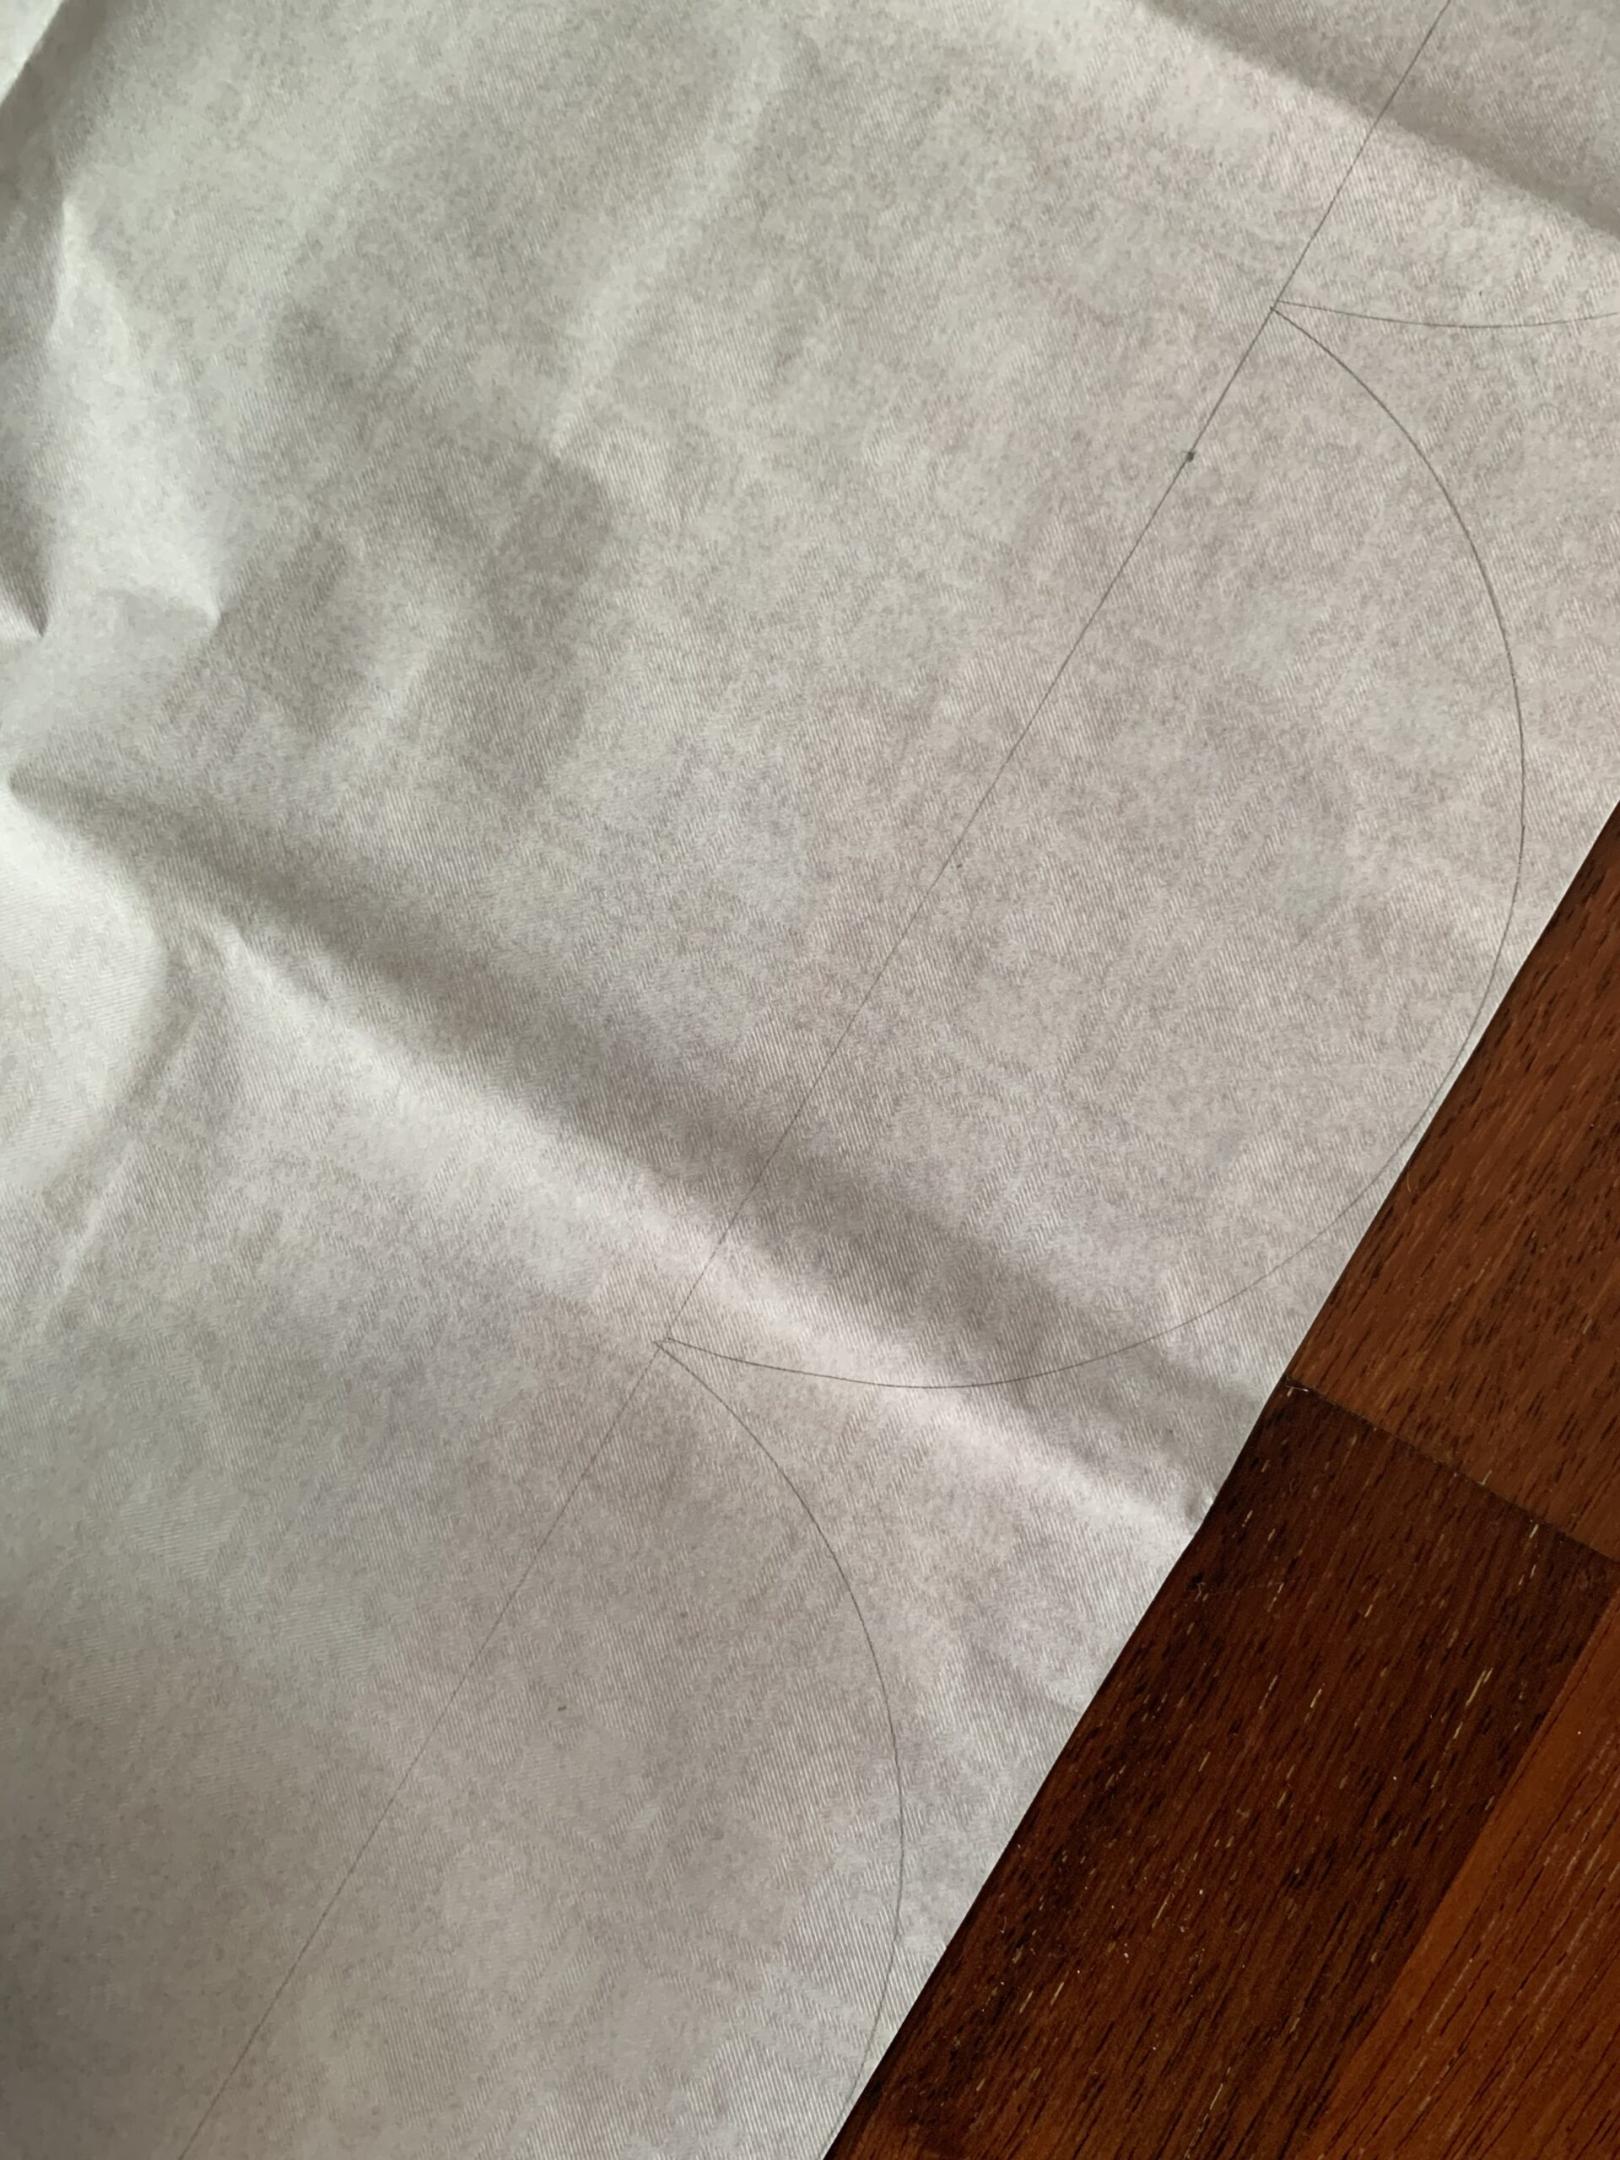
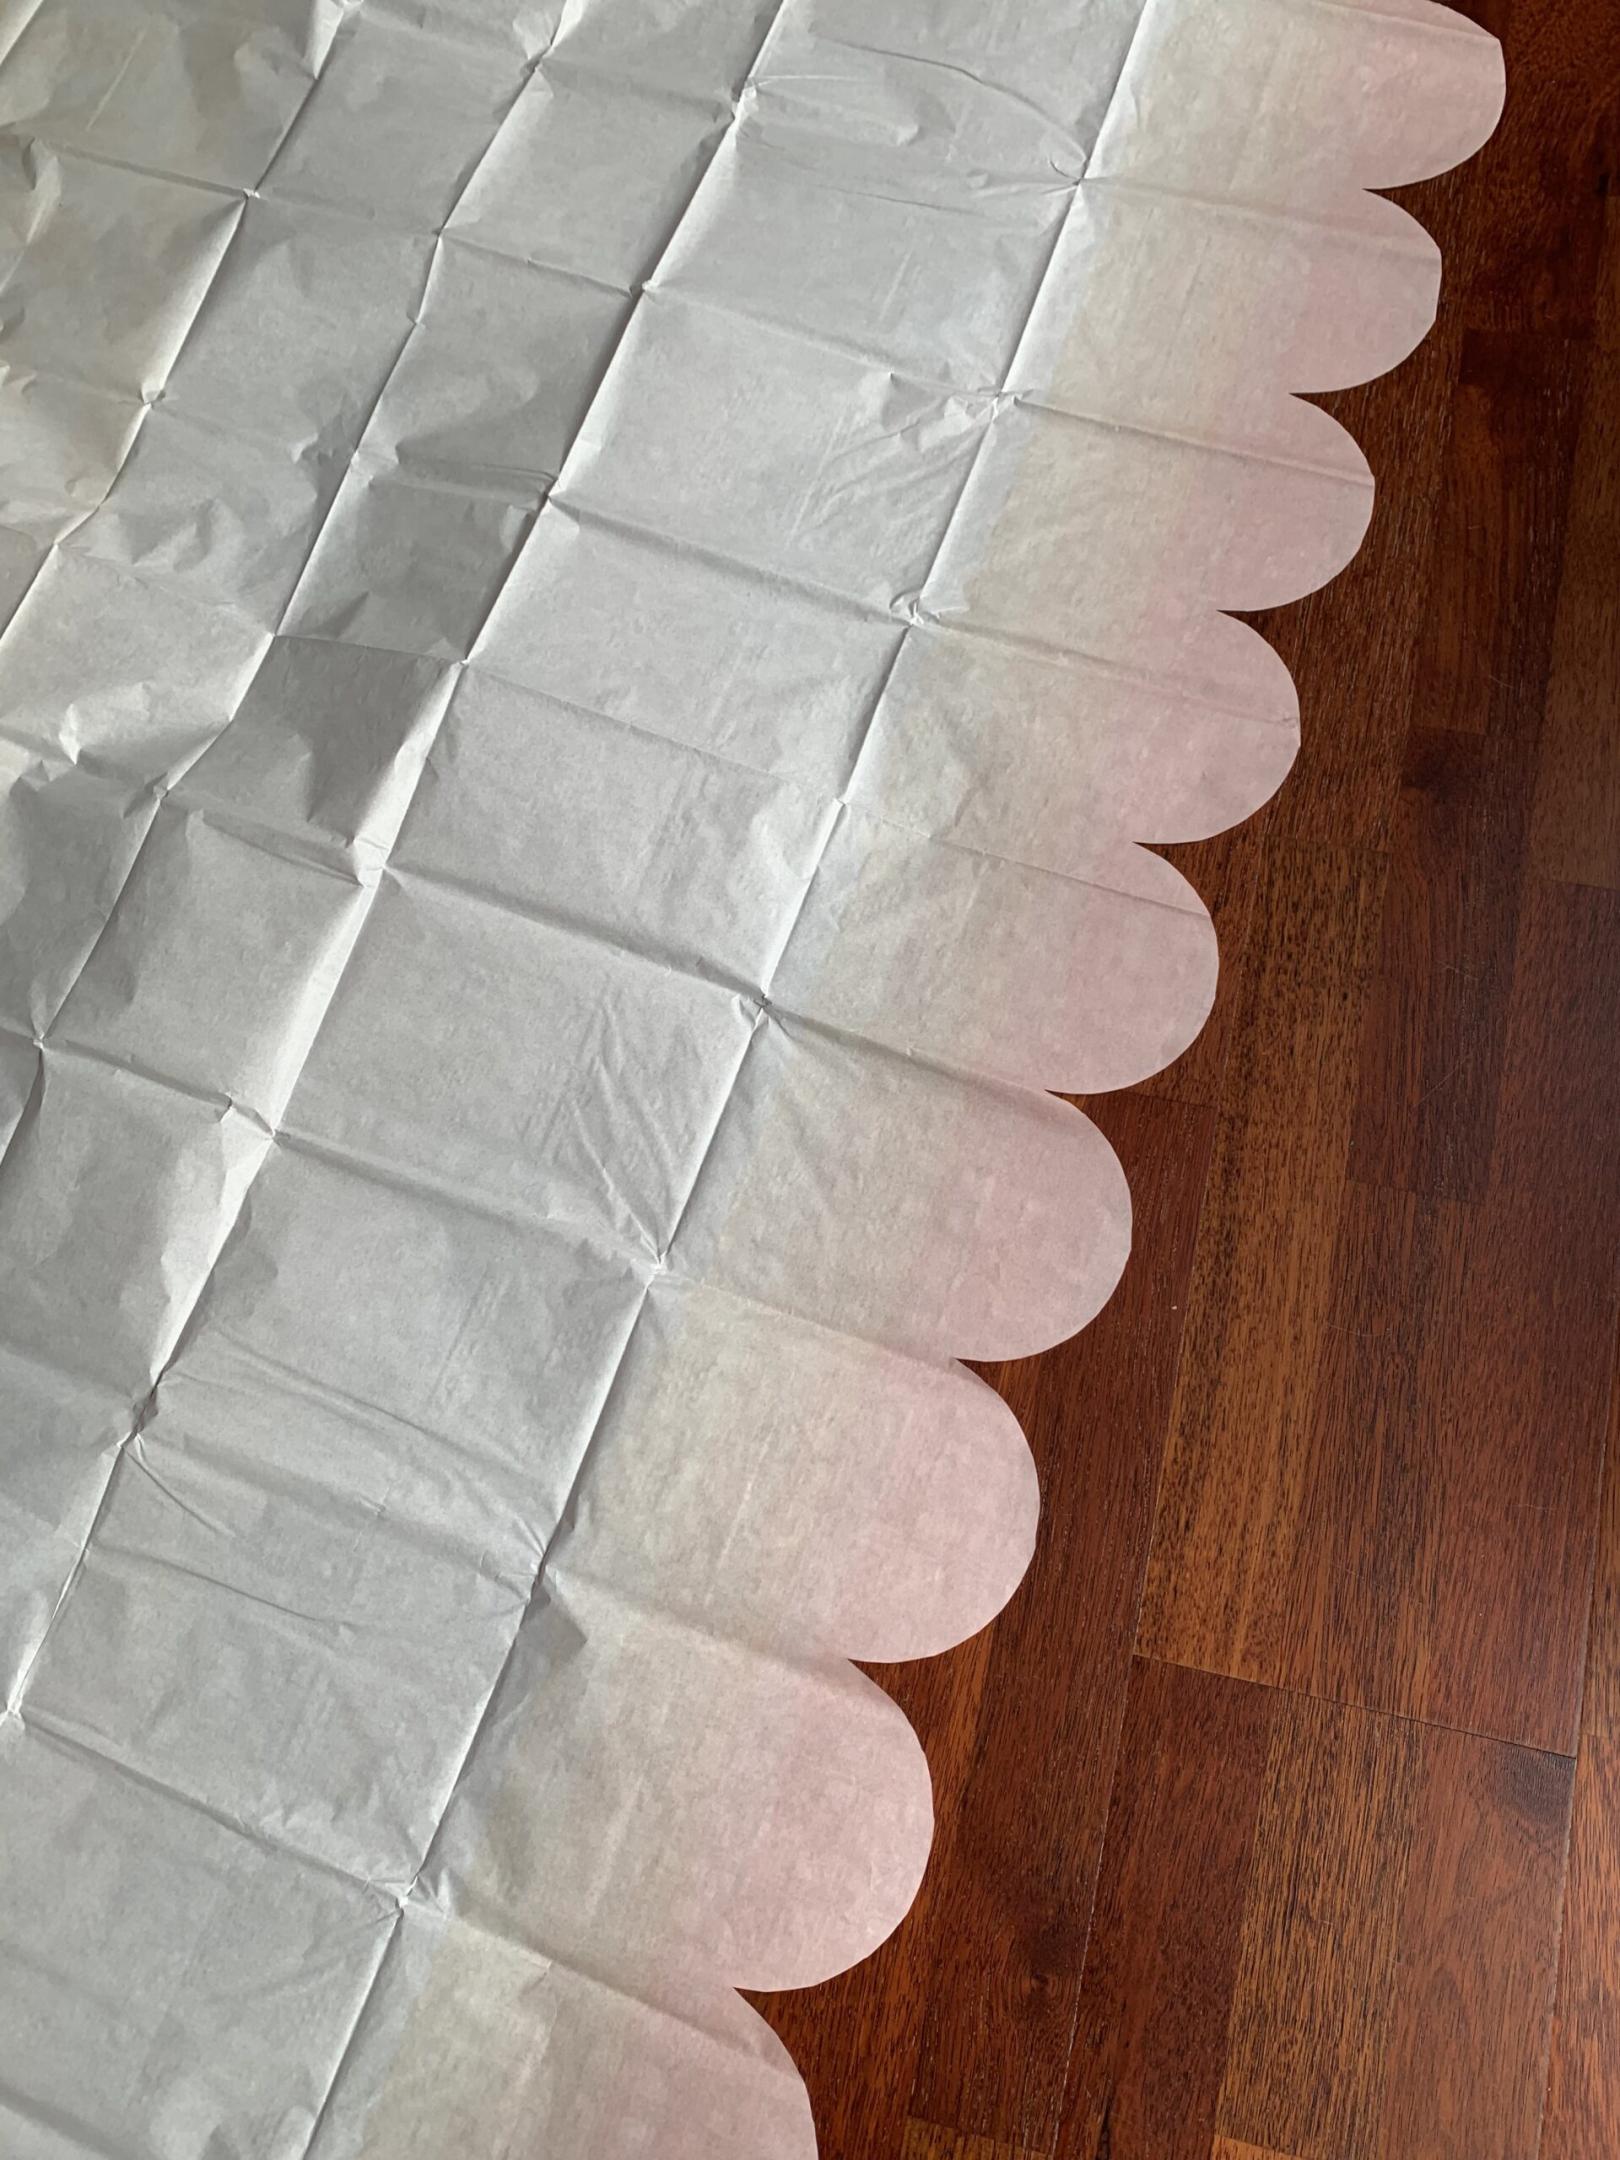
My mum kindly made us these tissue paper clam shells with balloon pearls. Simply pleat a few layers of tissue paper and secure in the middle and fan out to make the shells and add a balloon to the centre.
Food
The Cake
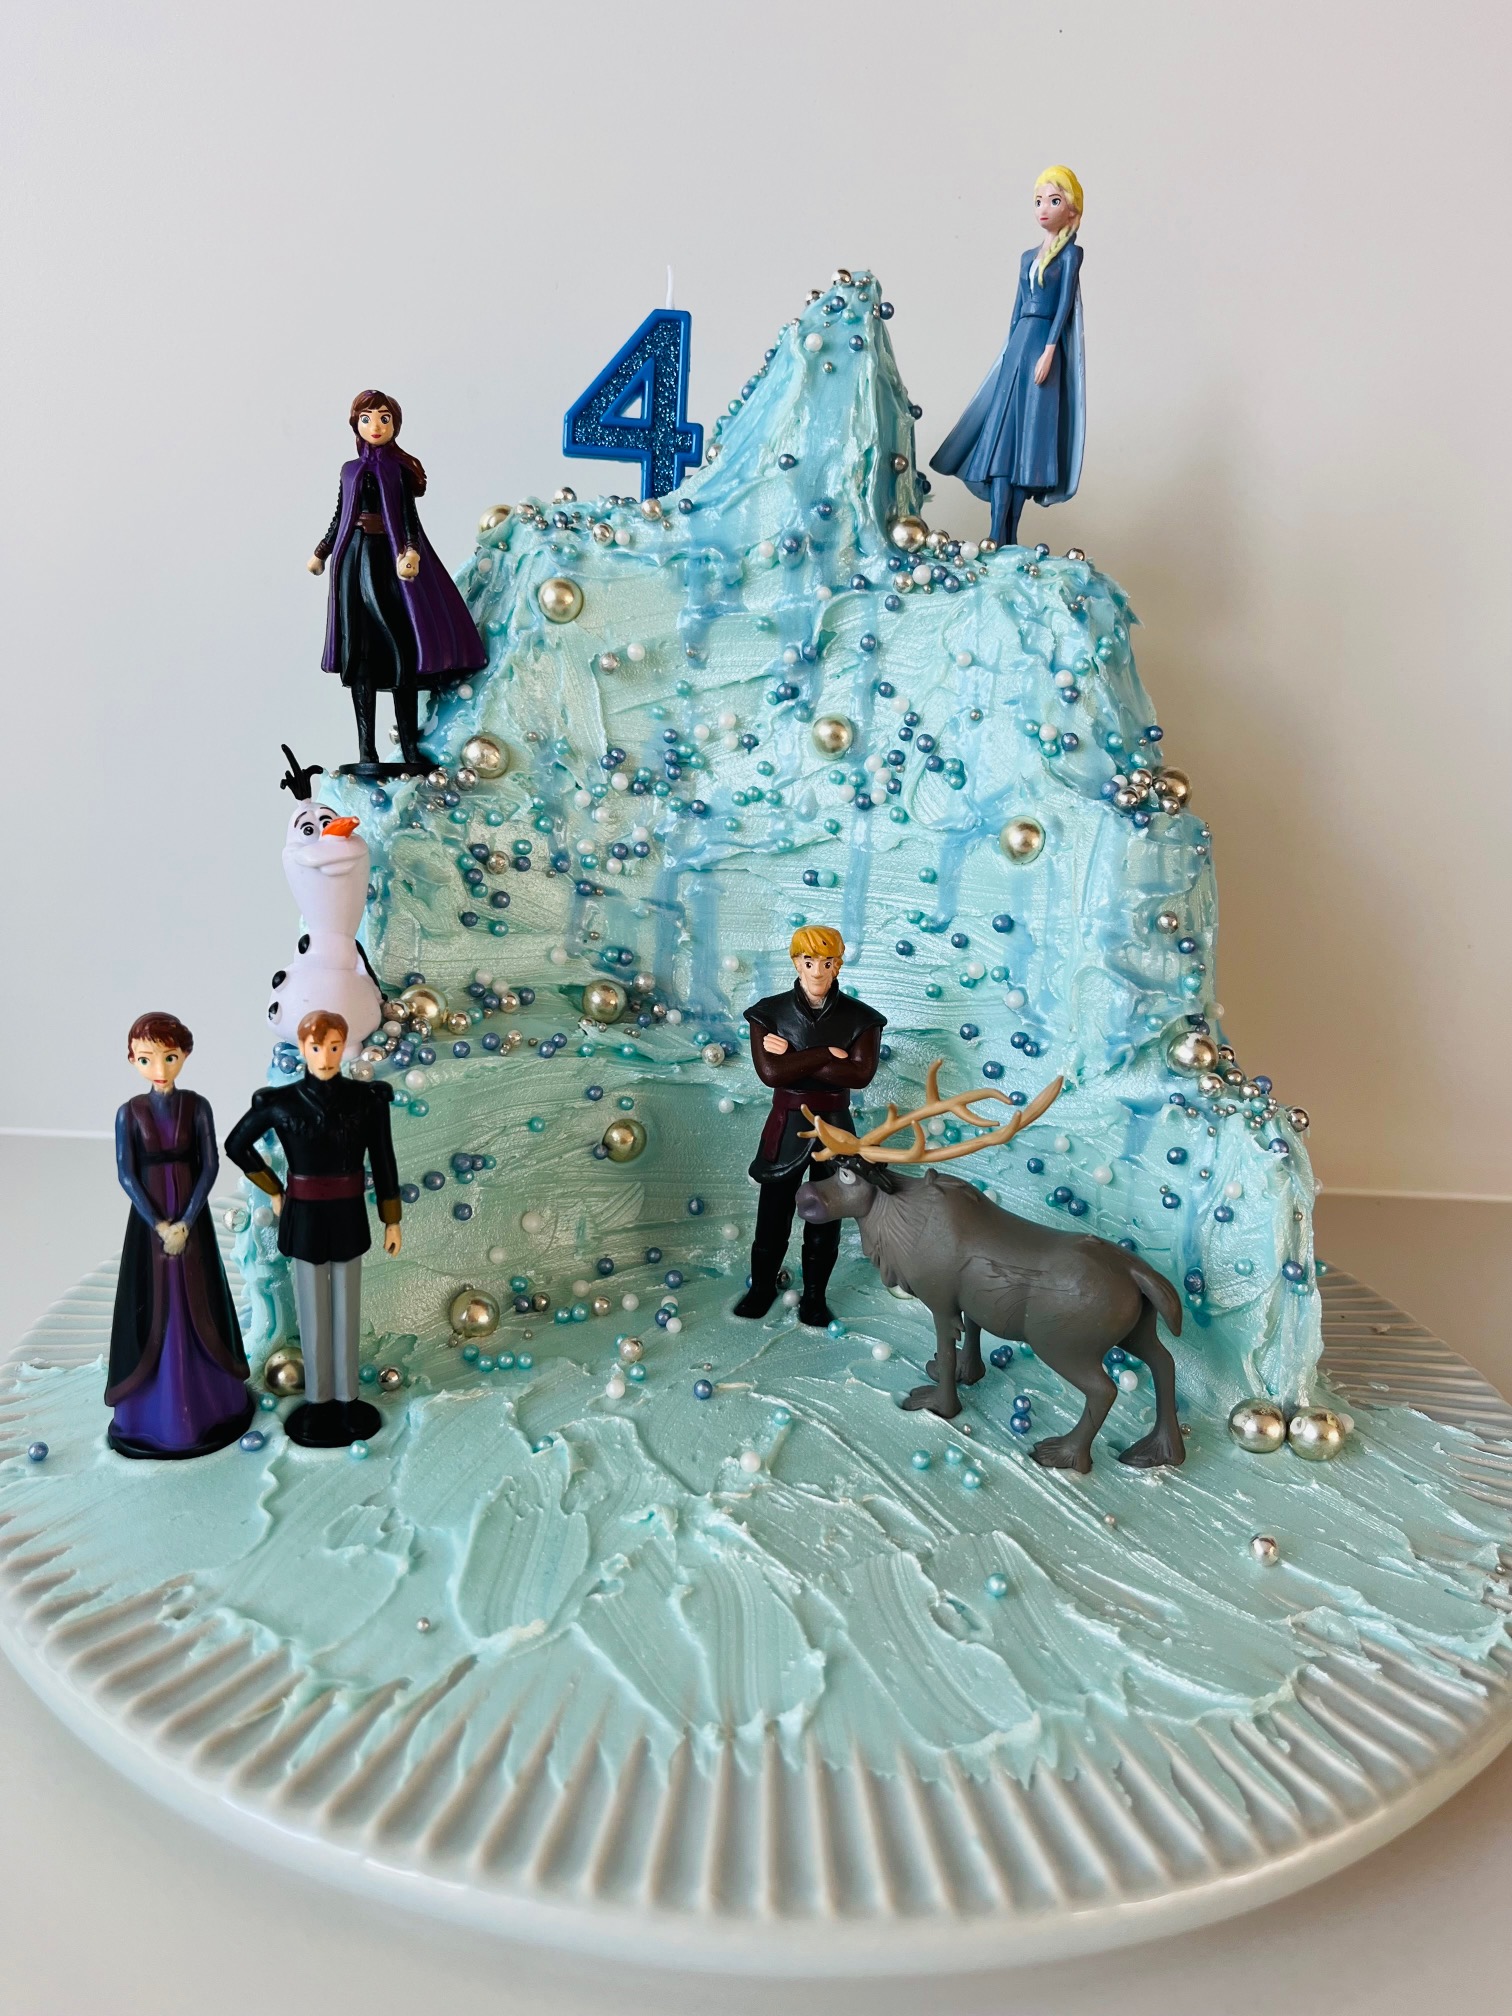
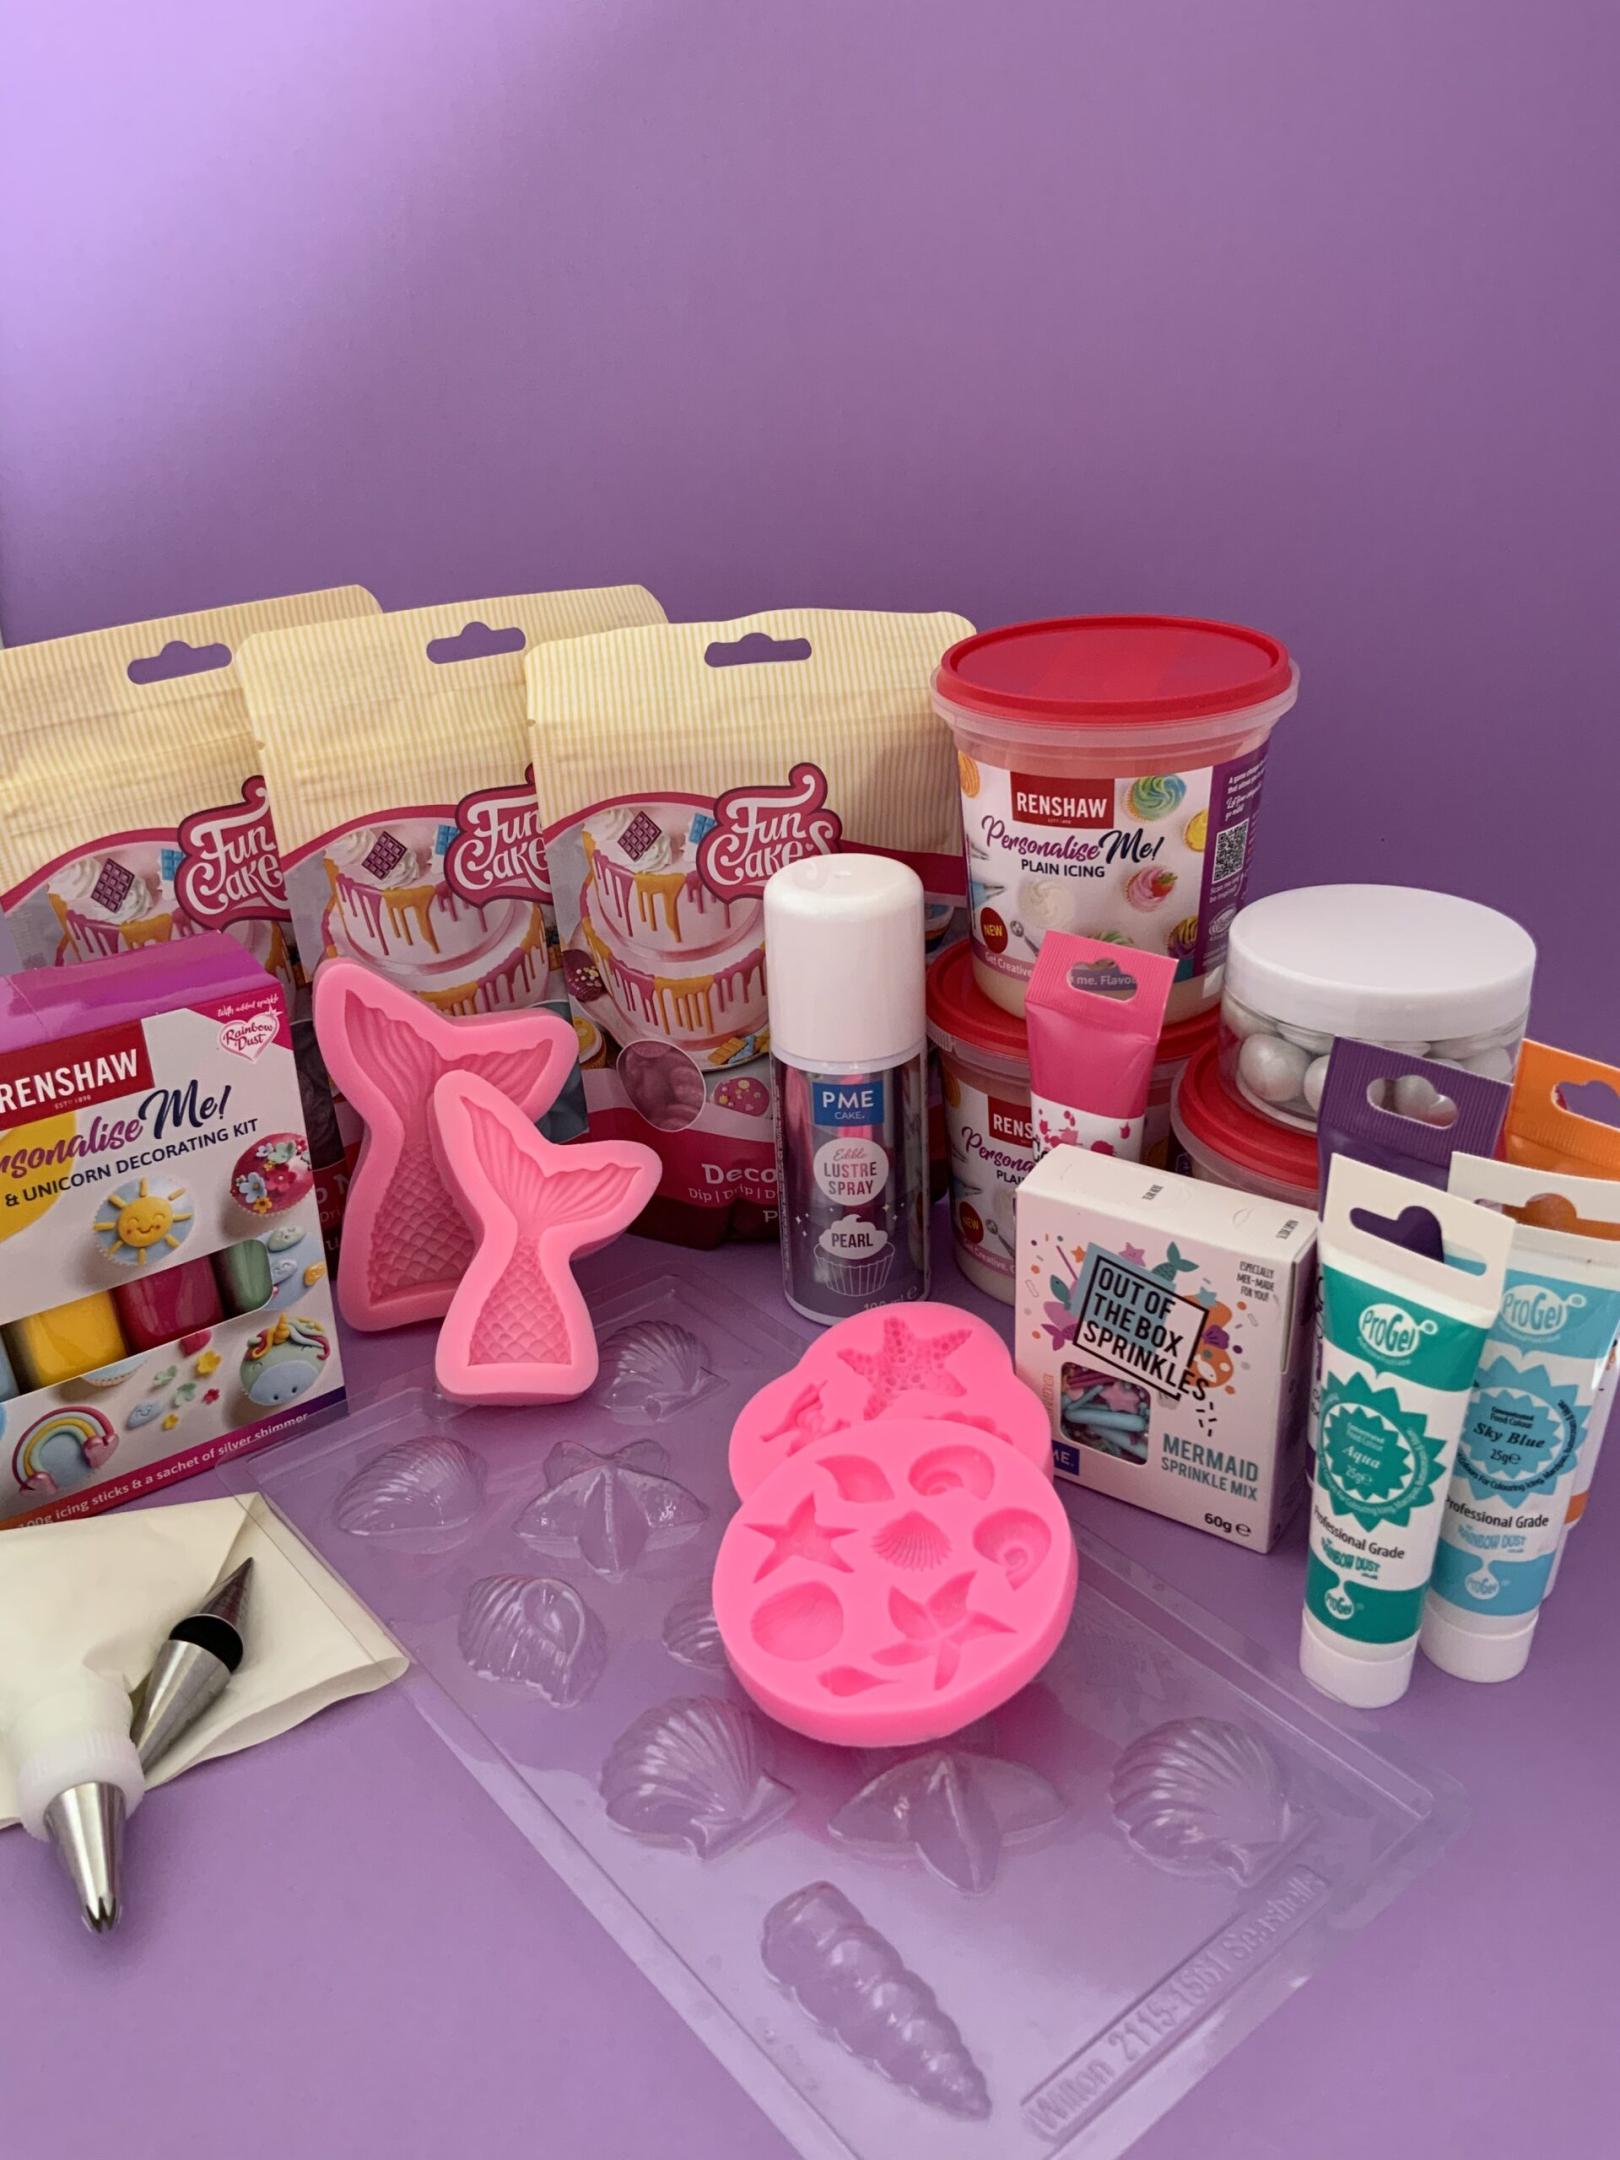
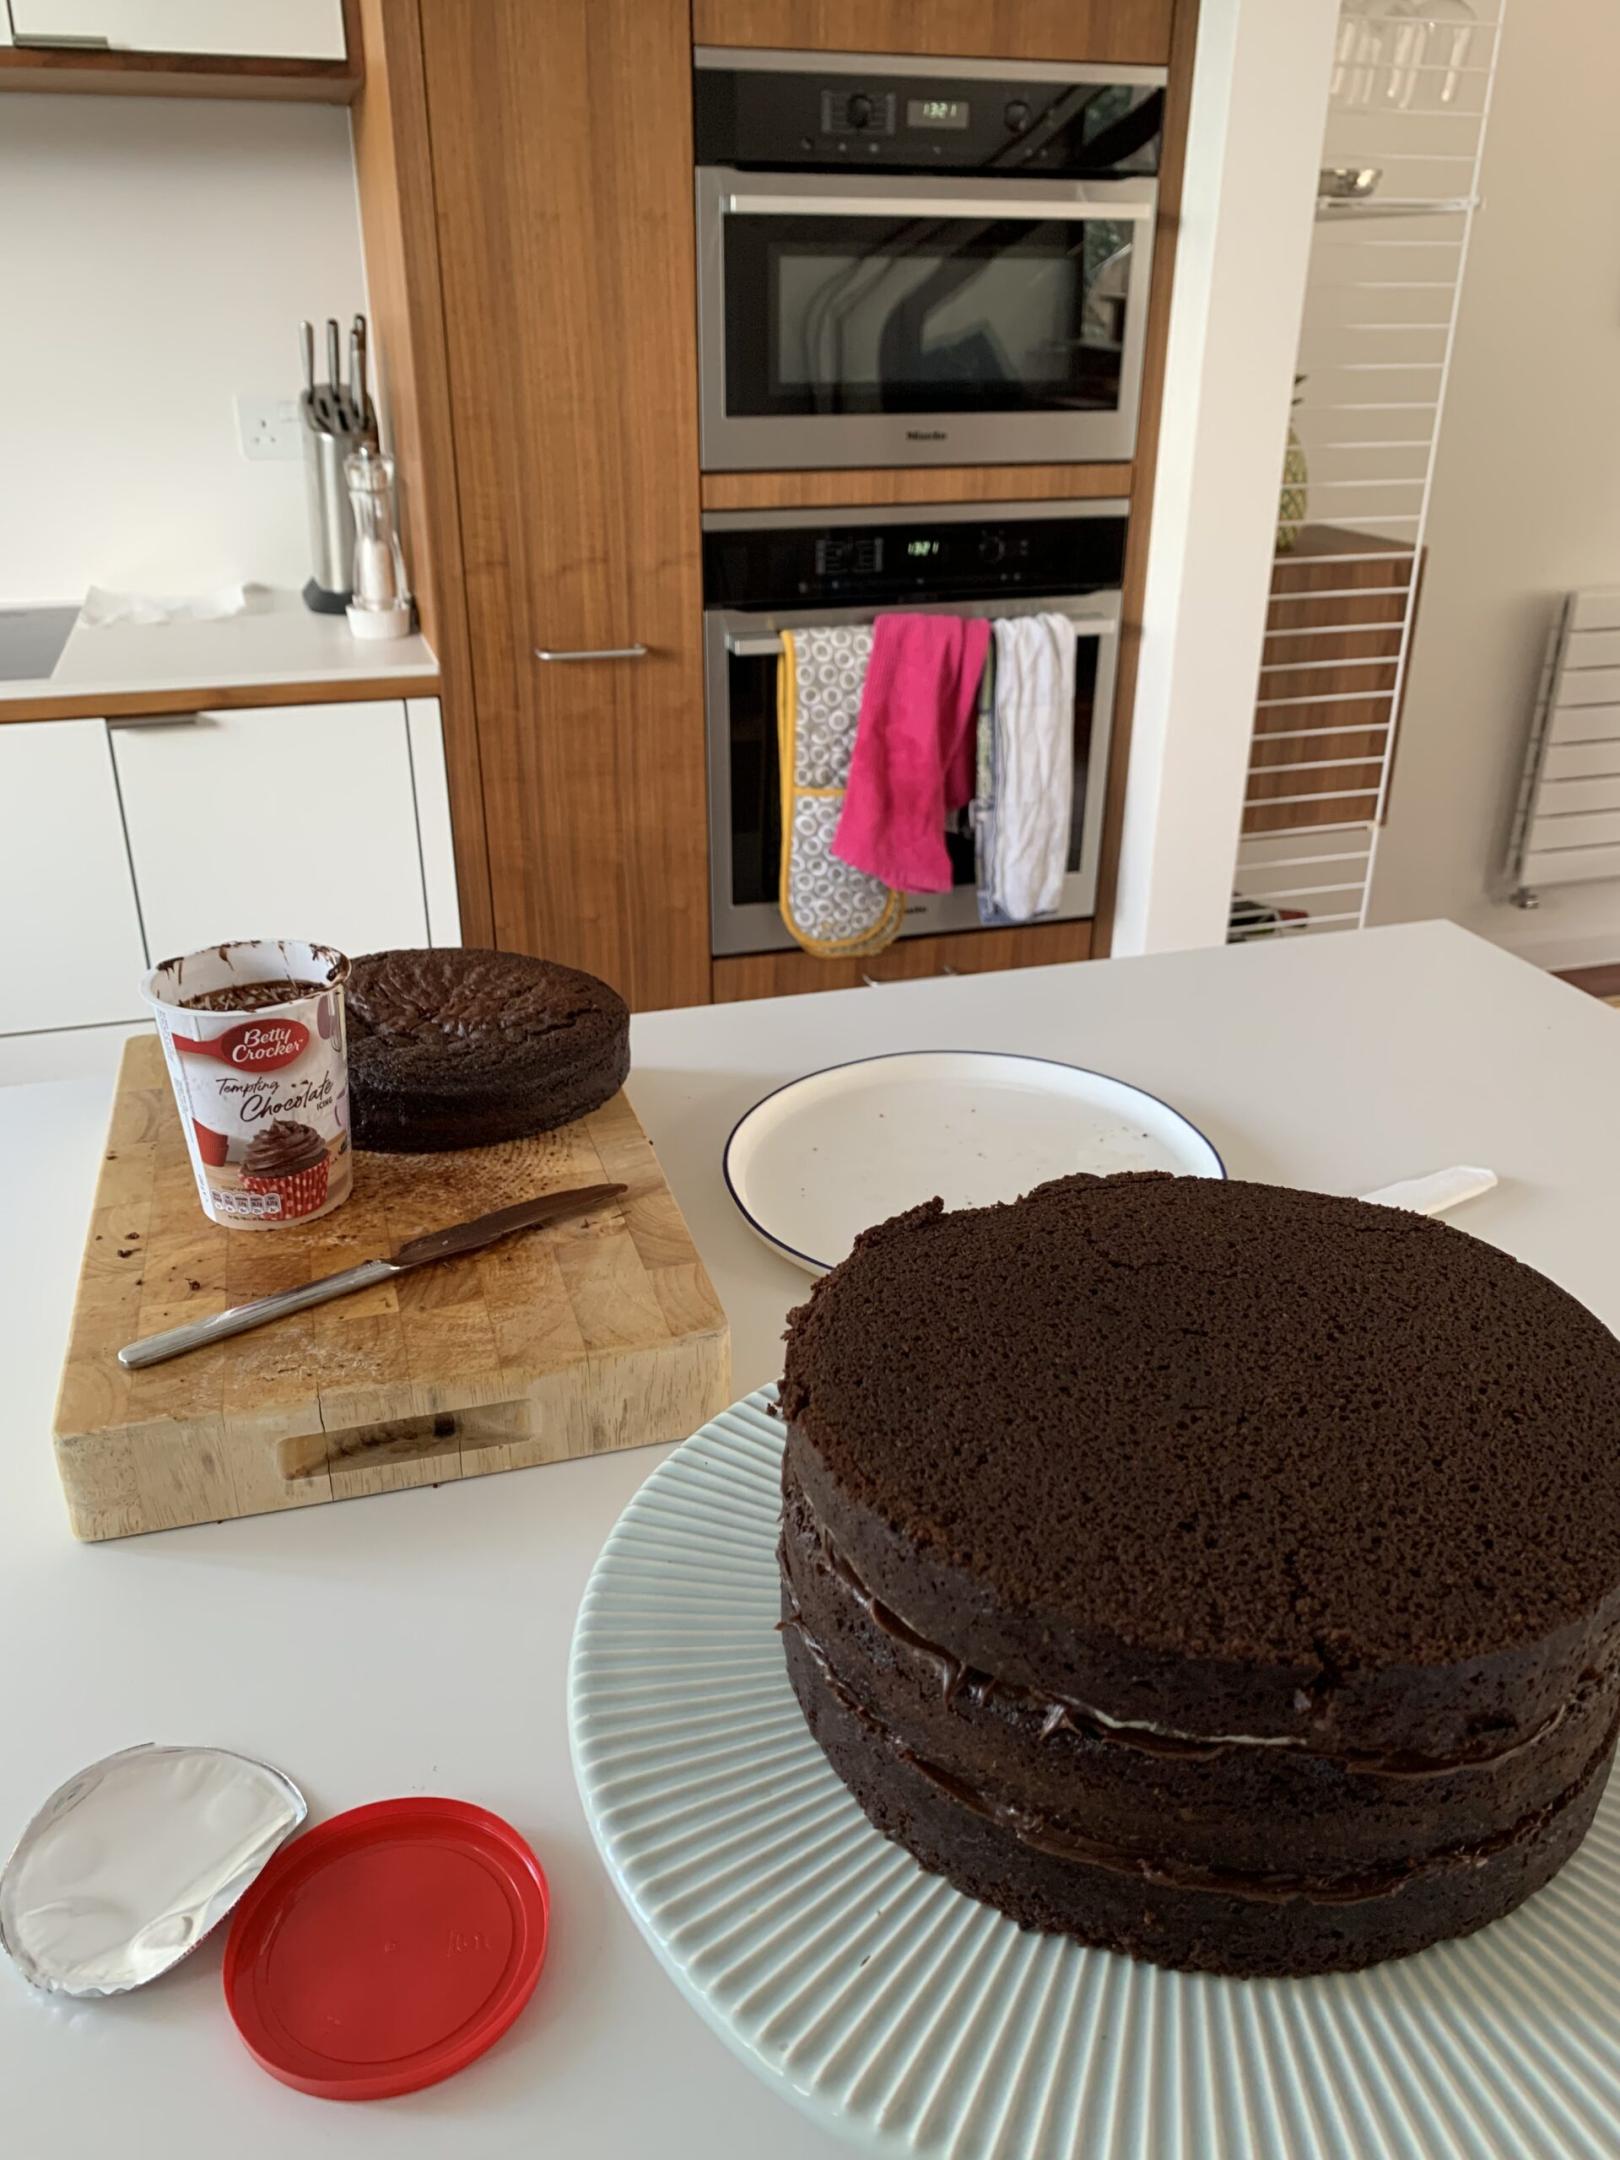
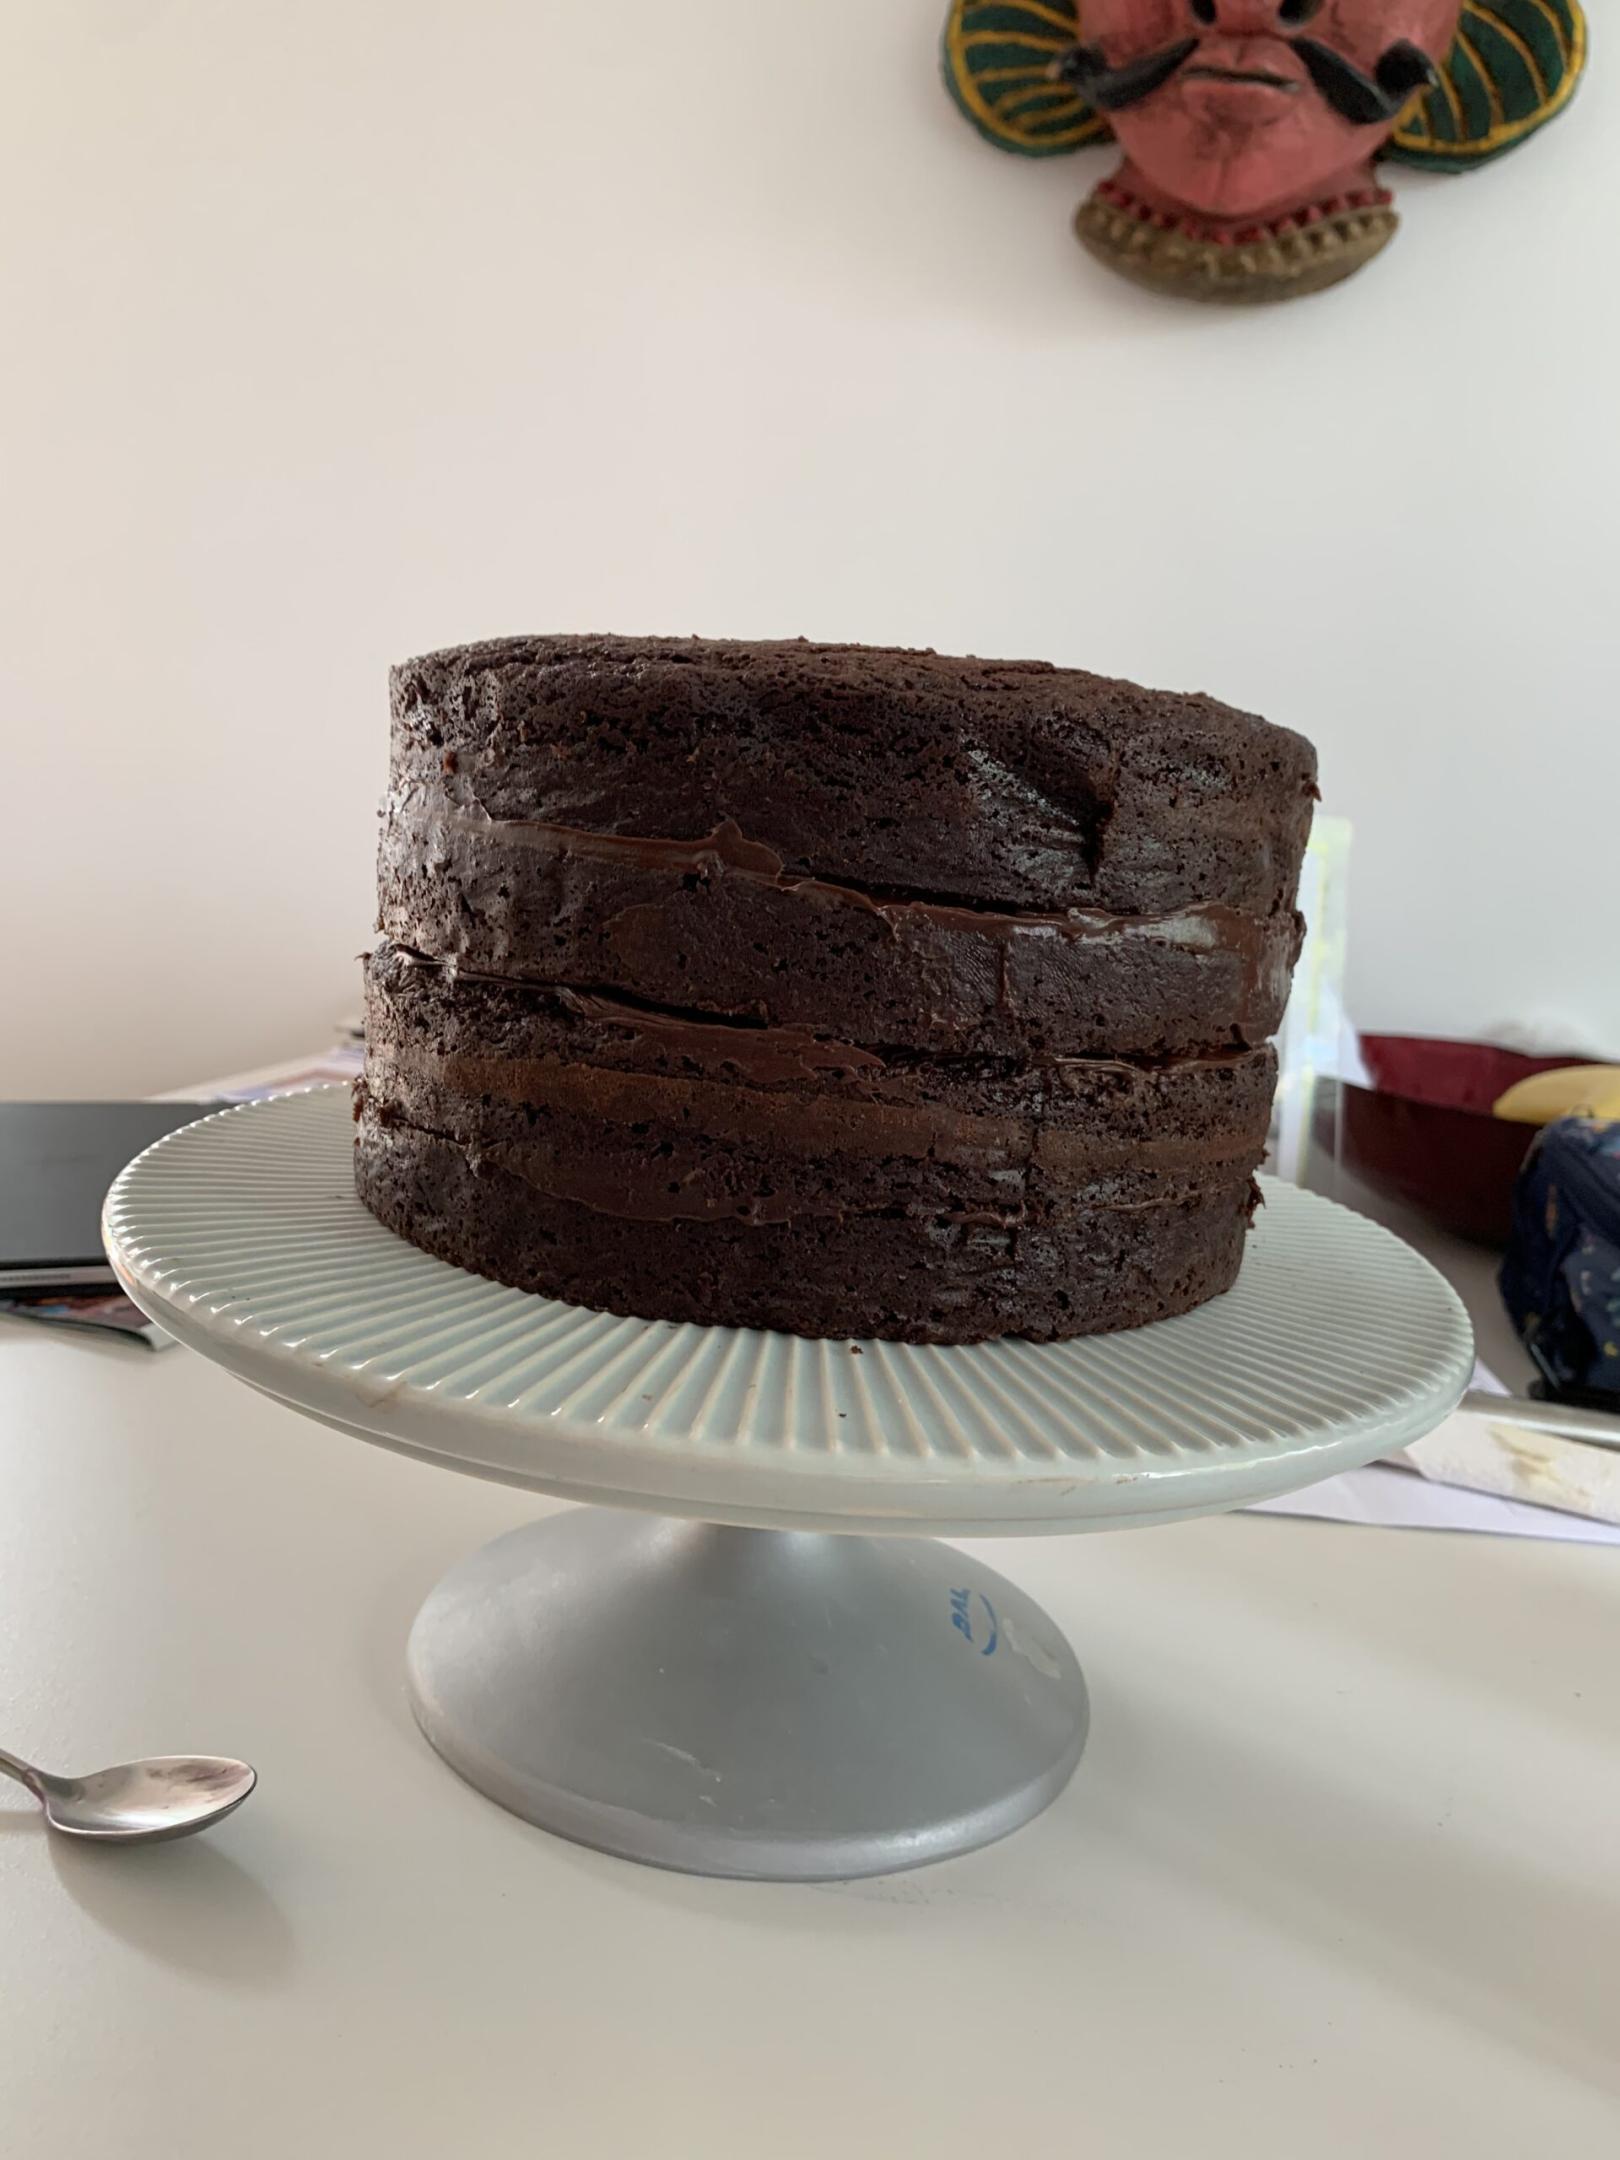
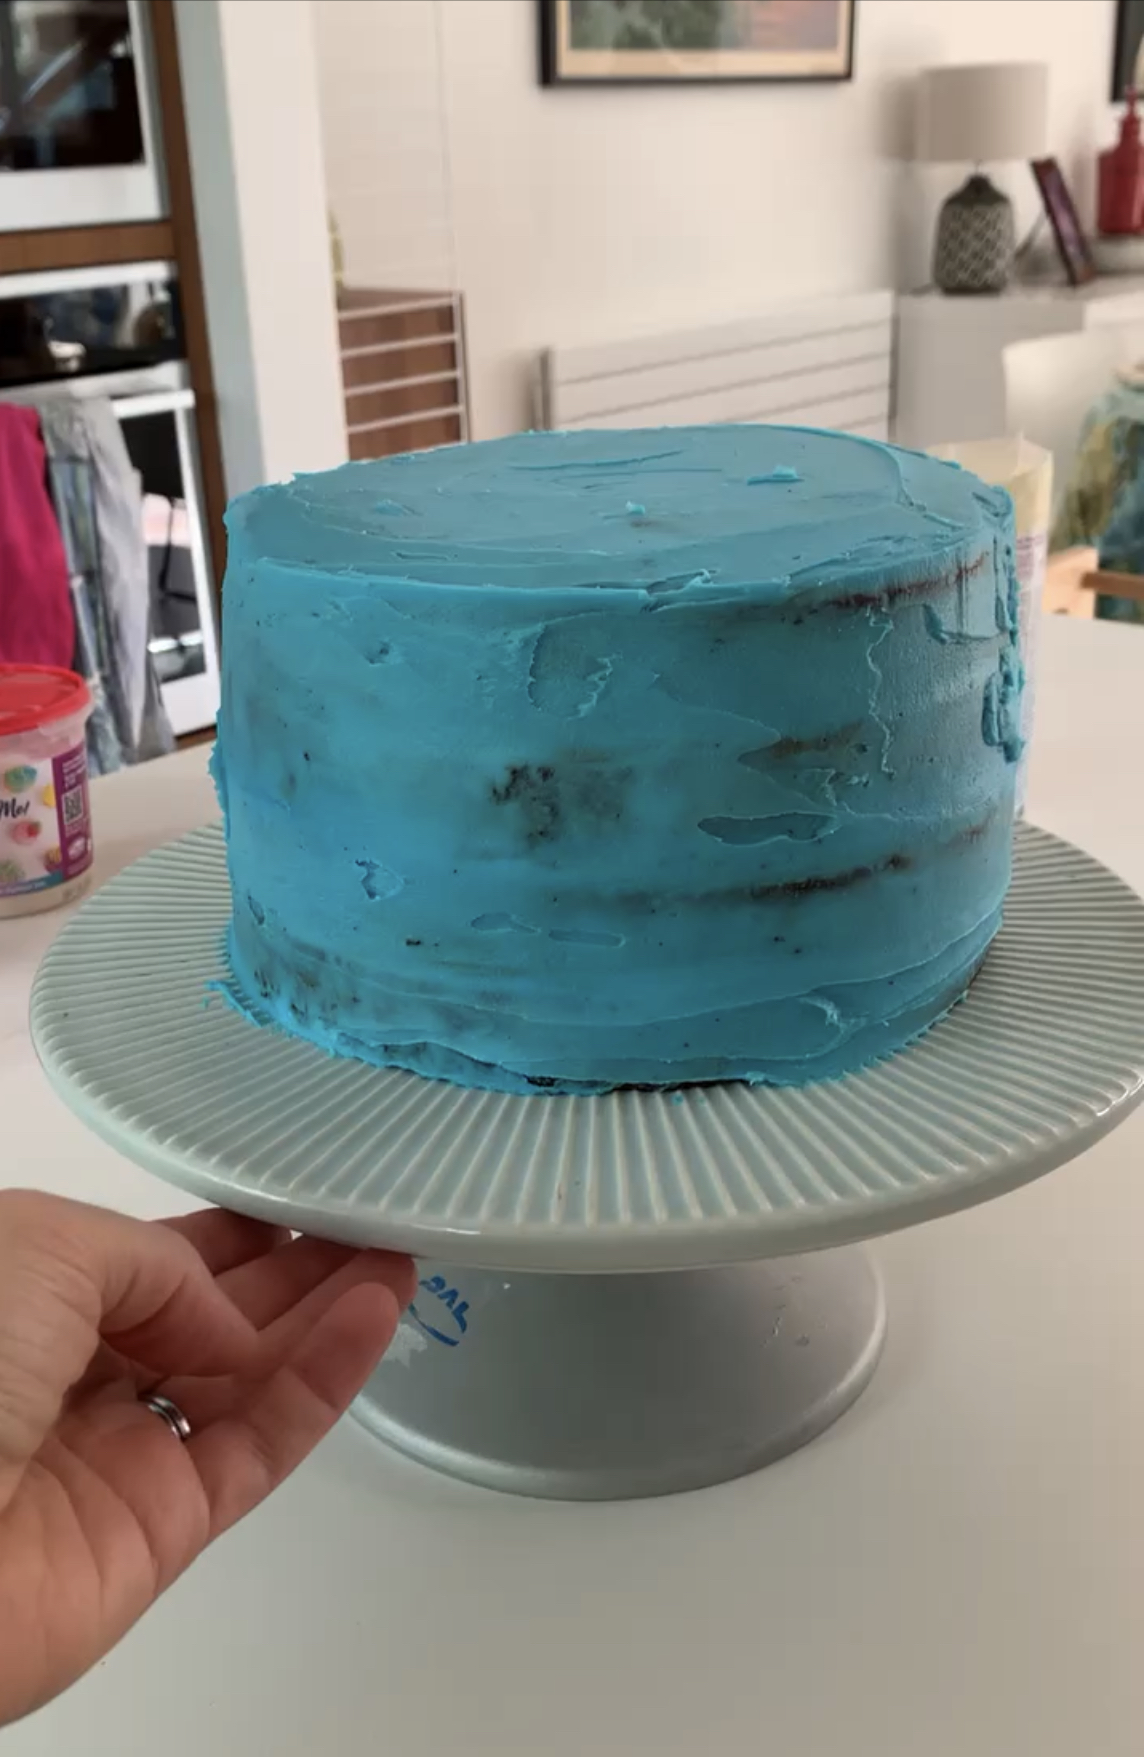
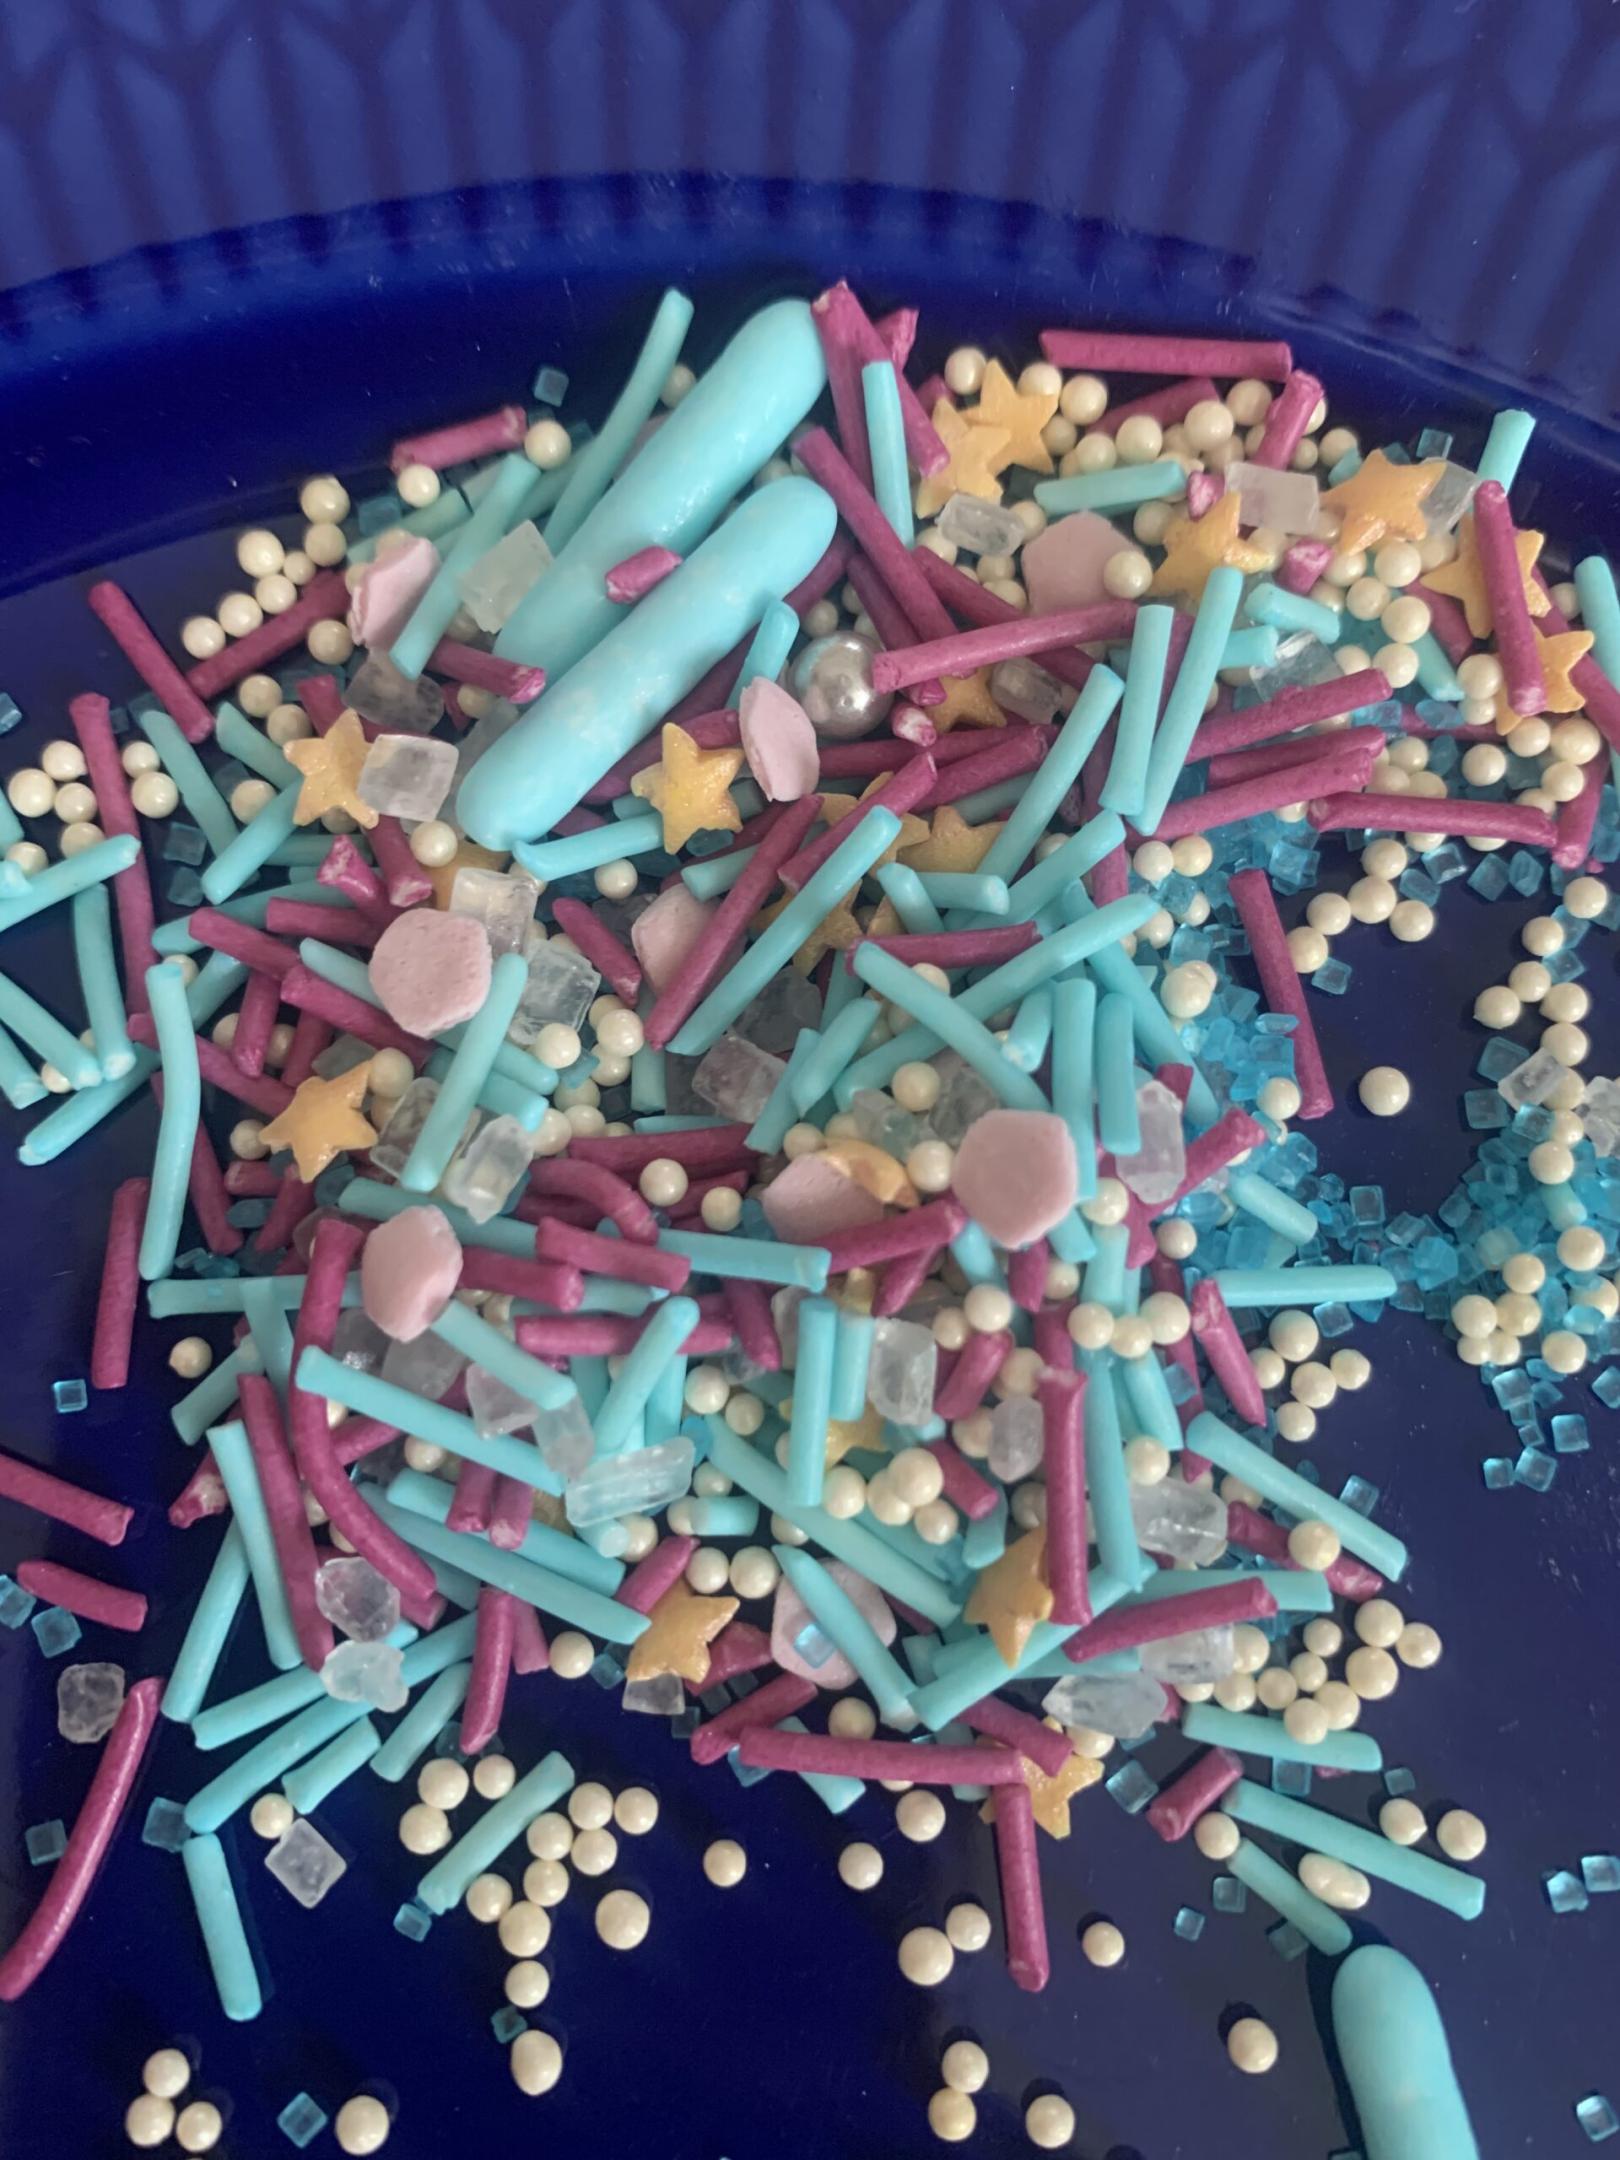
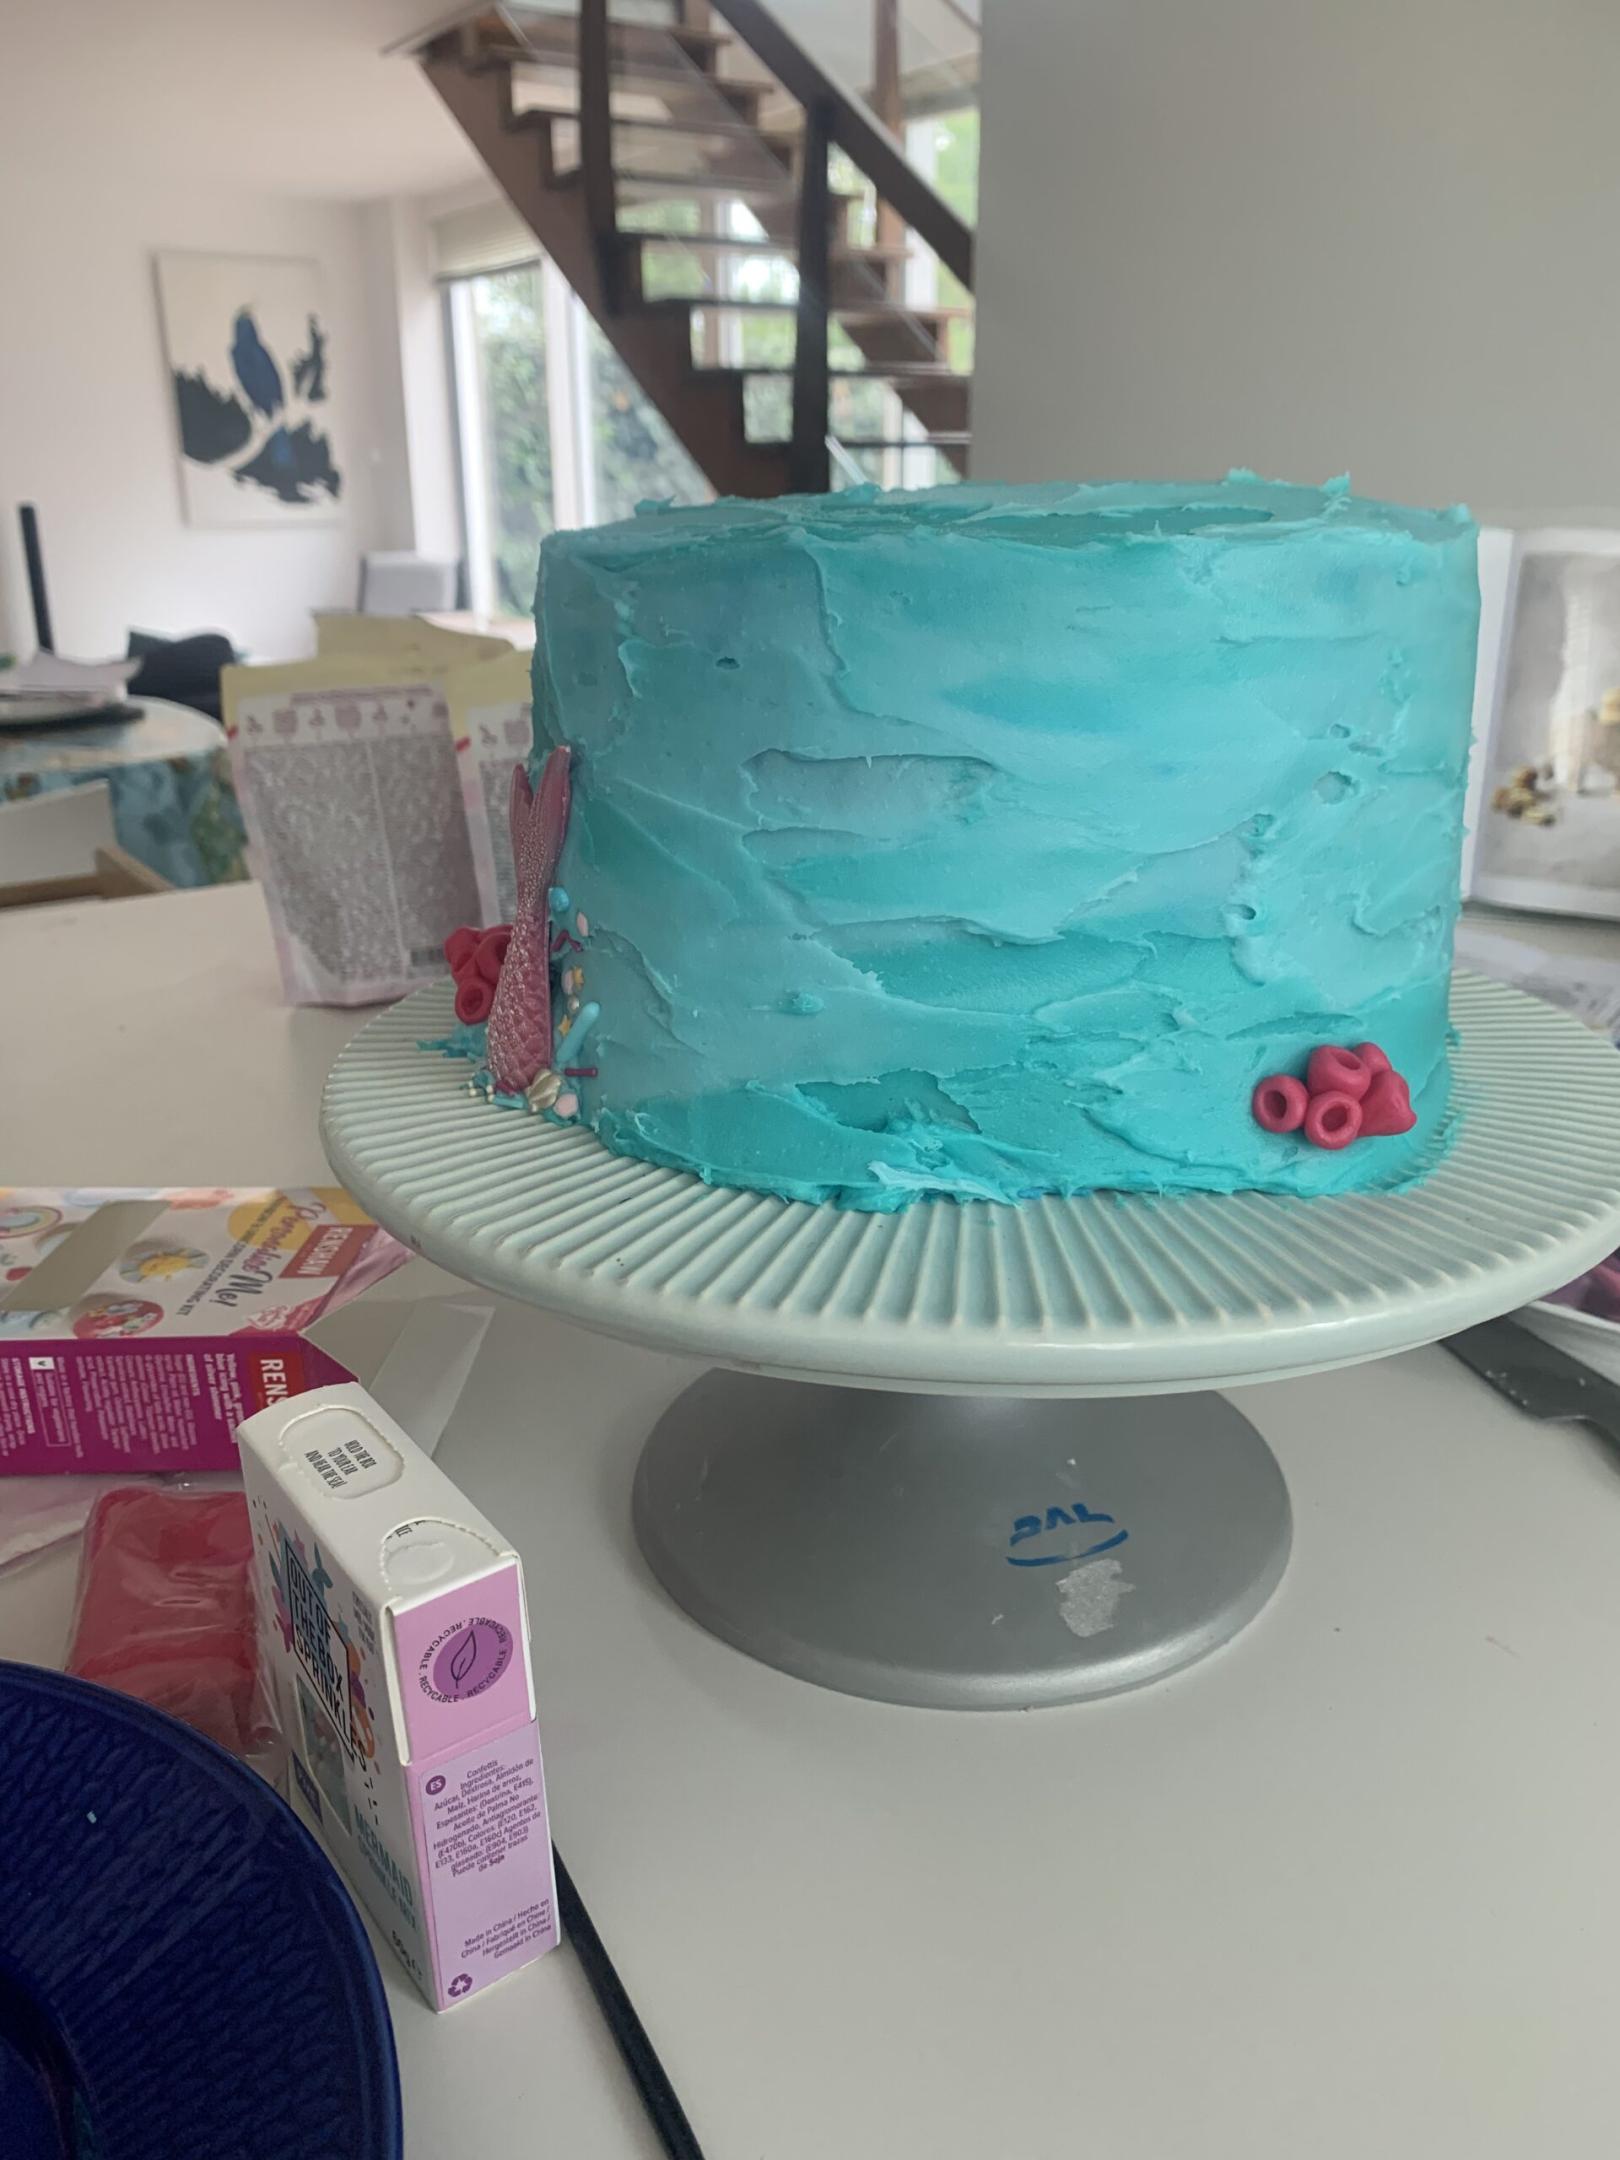
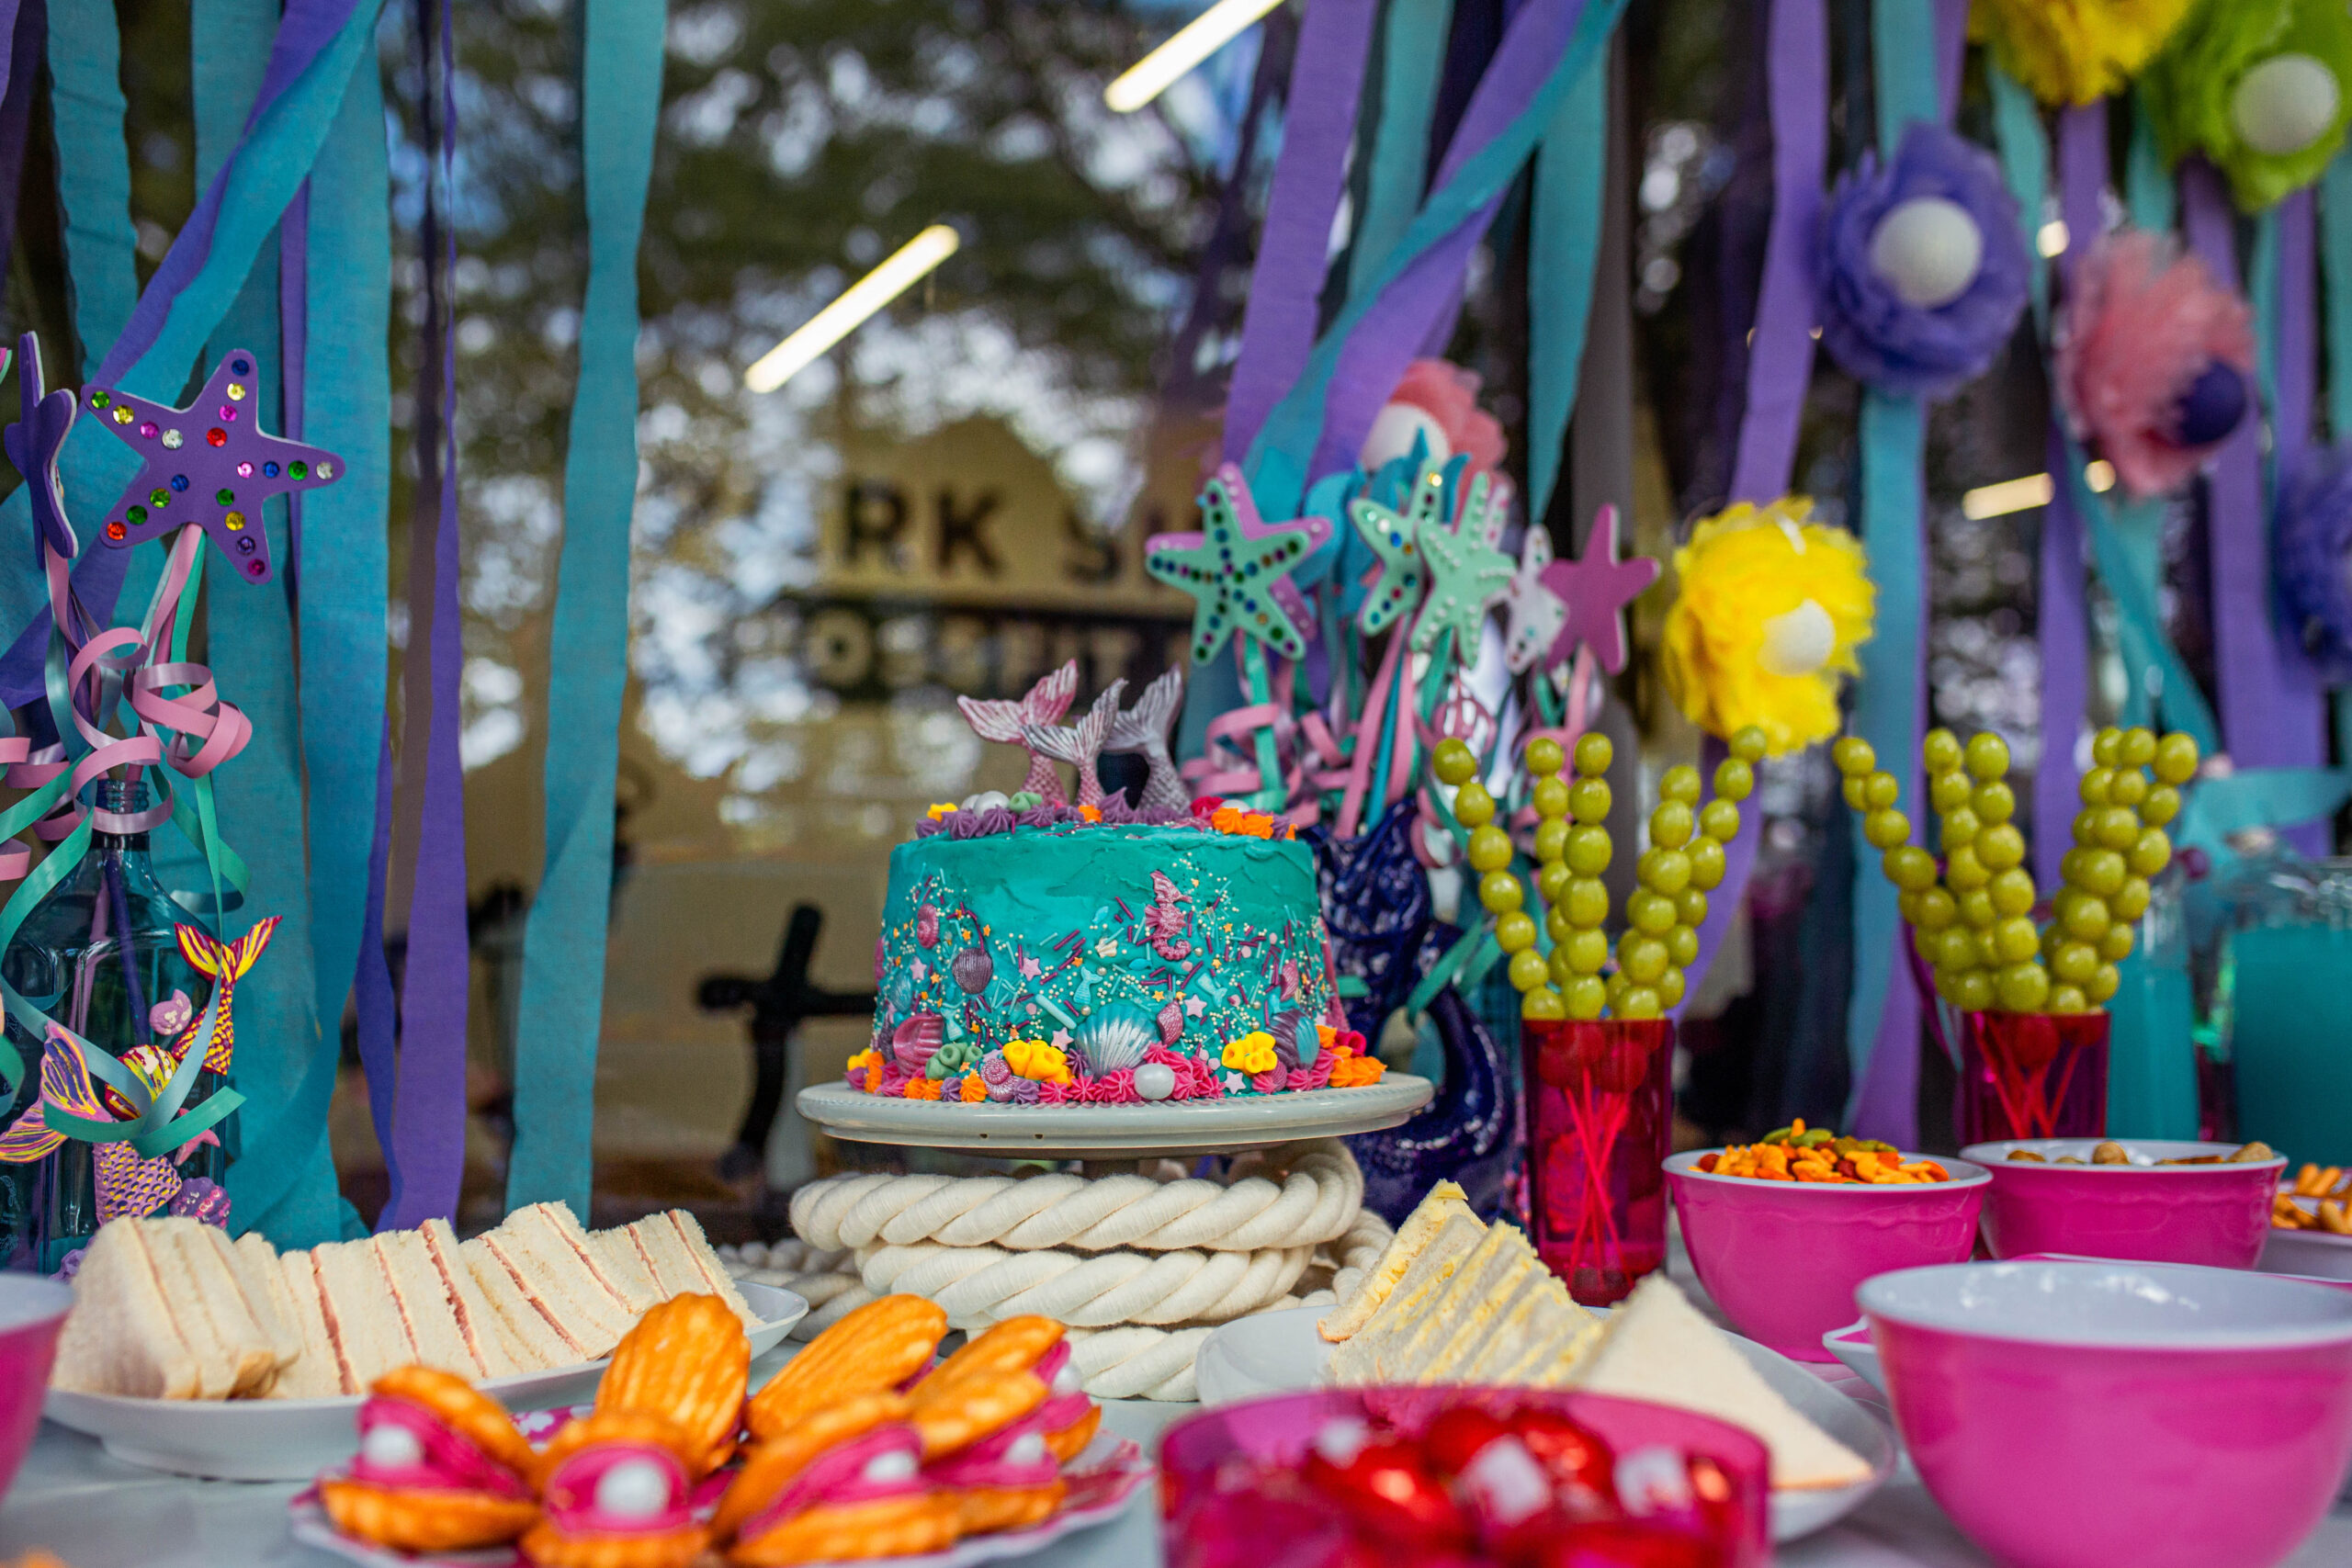
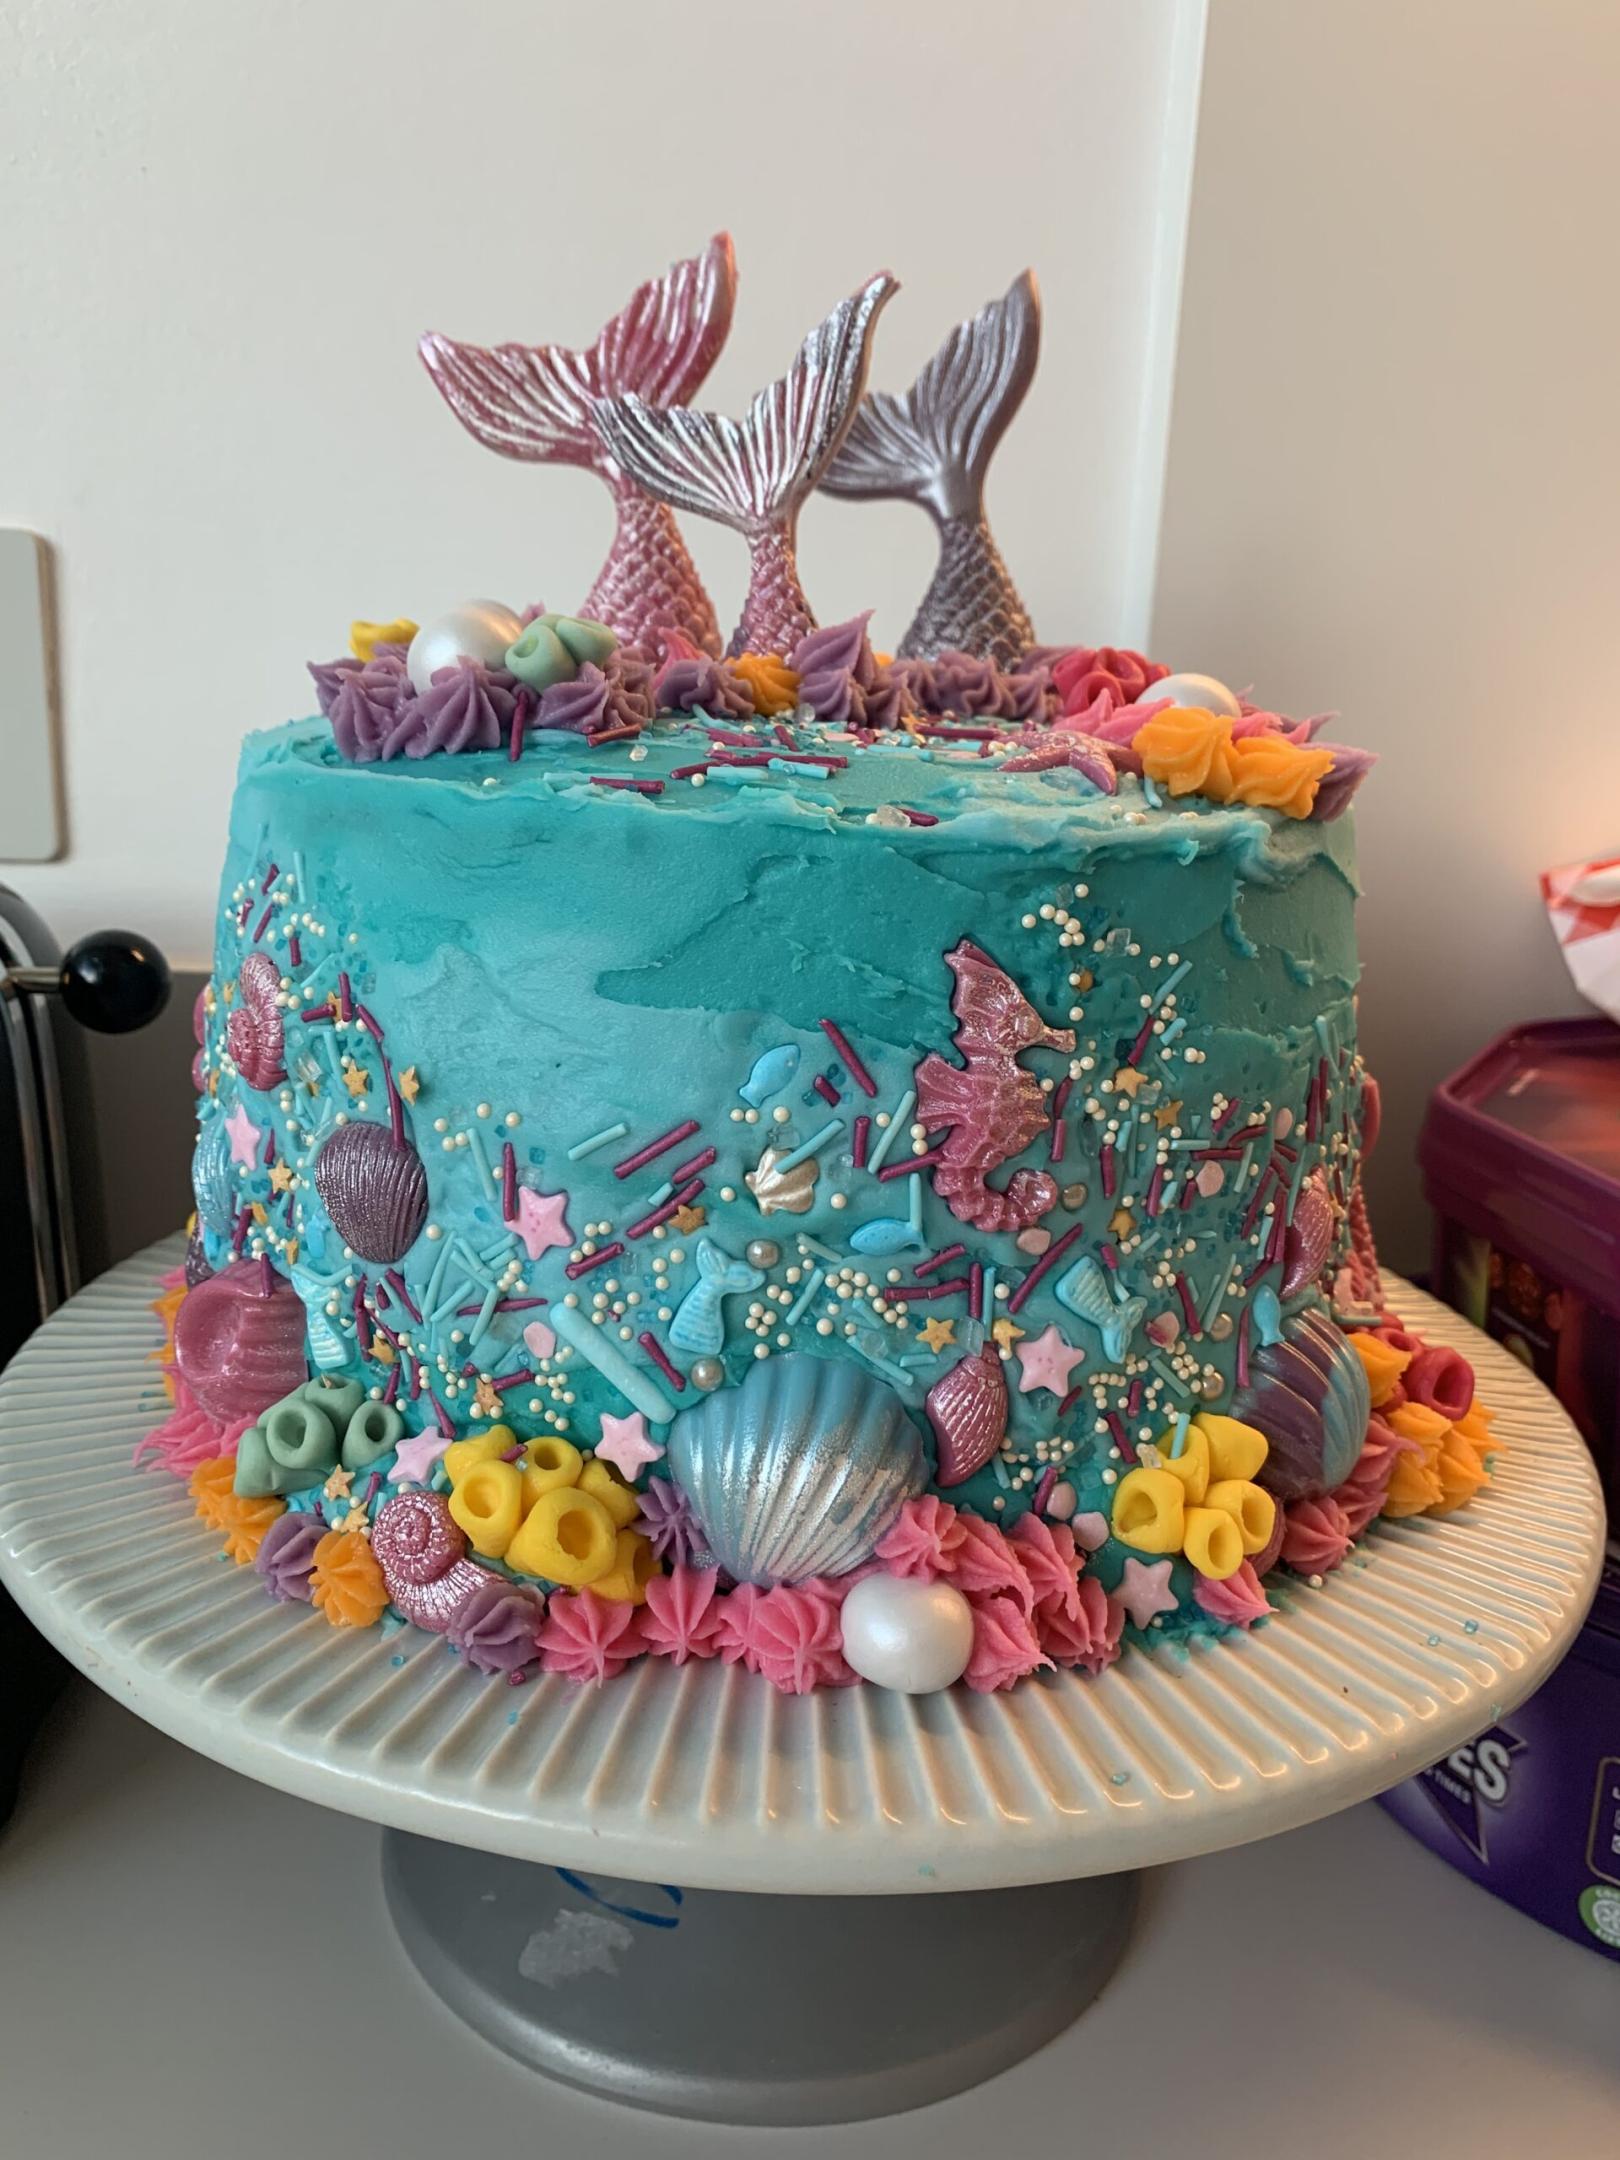
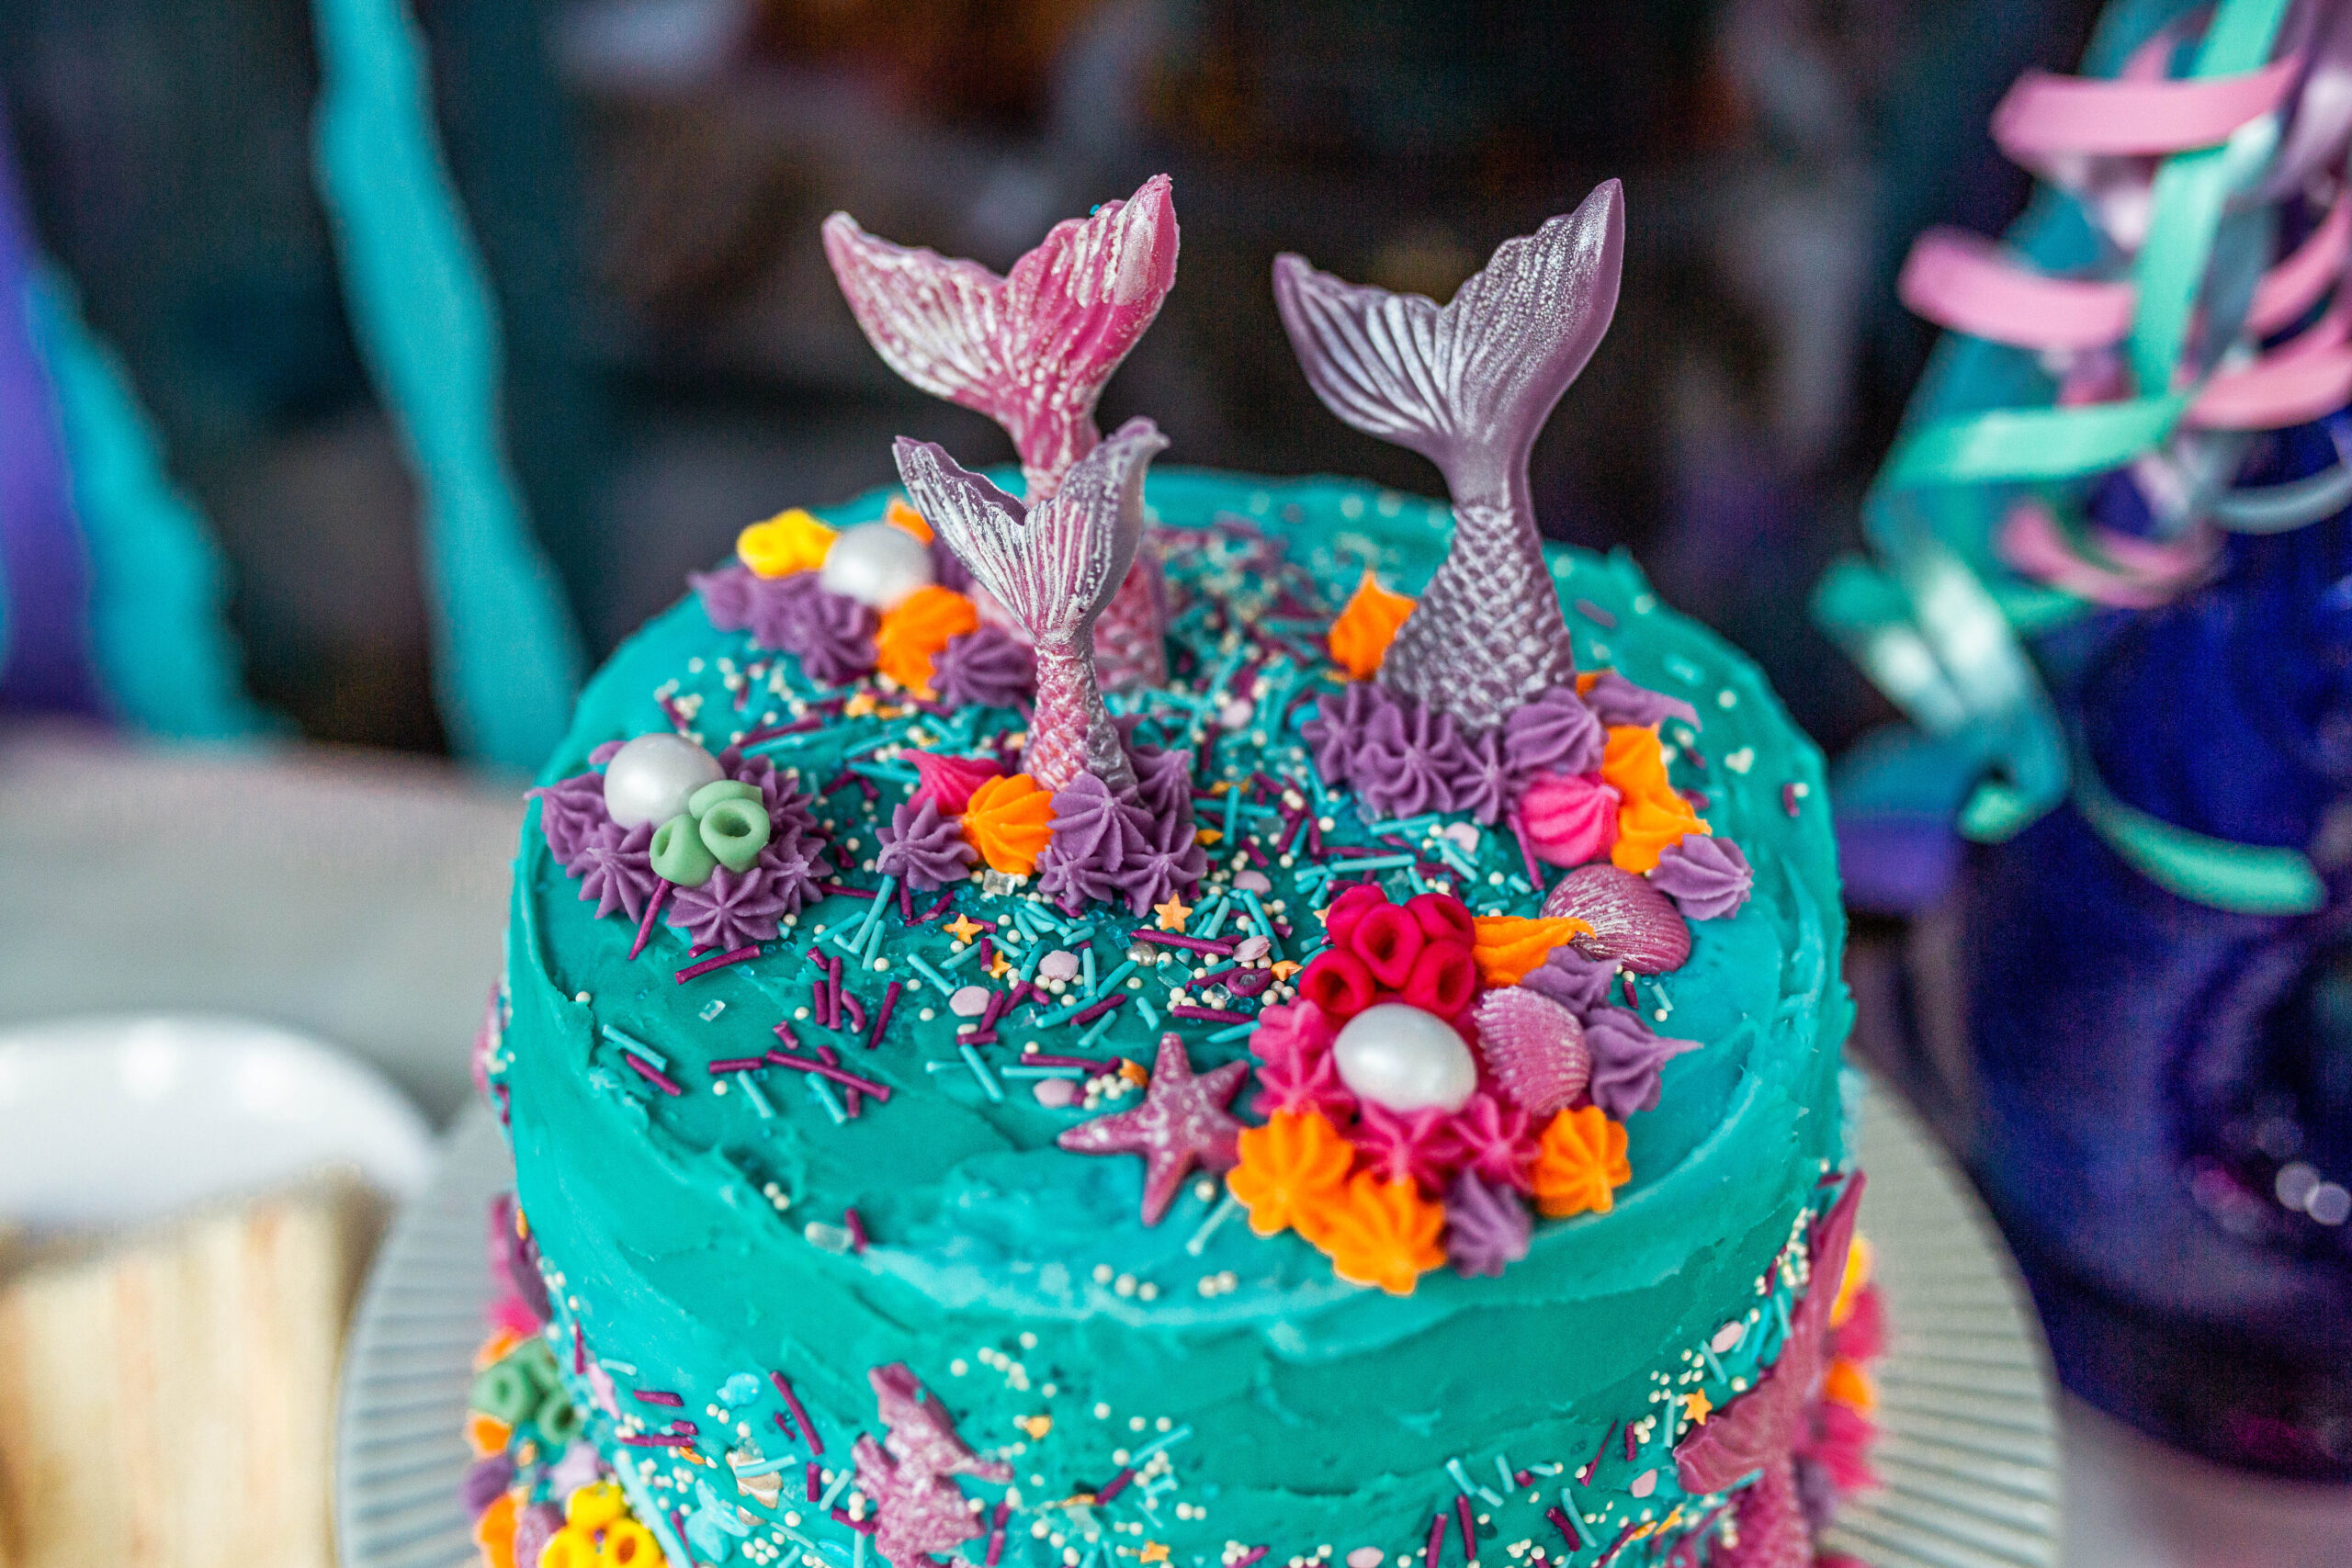
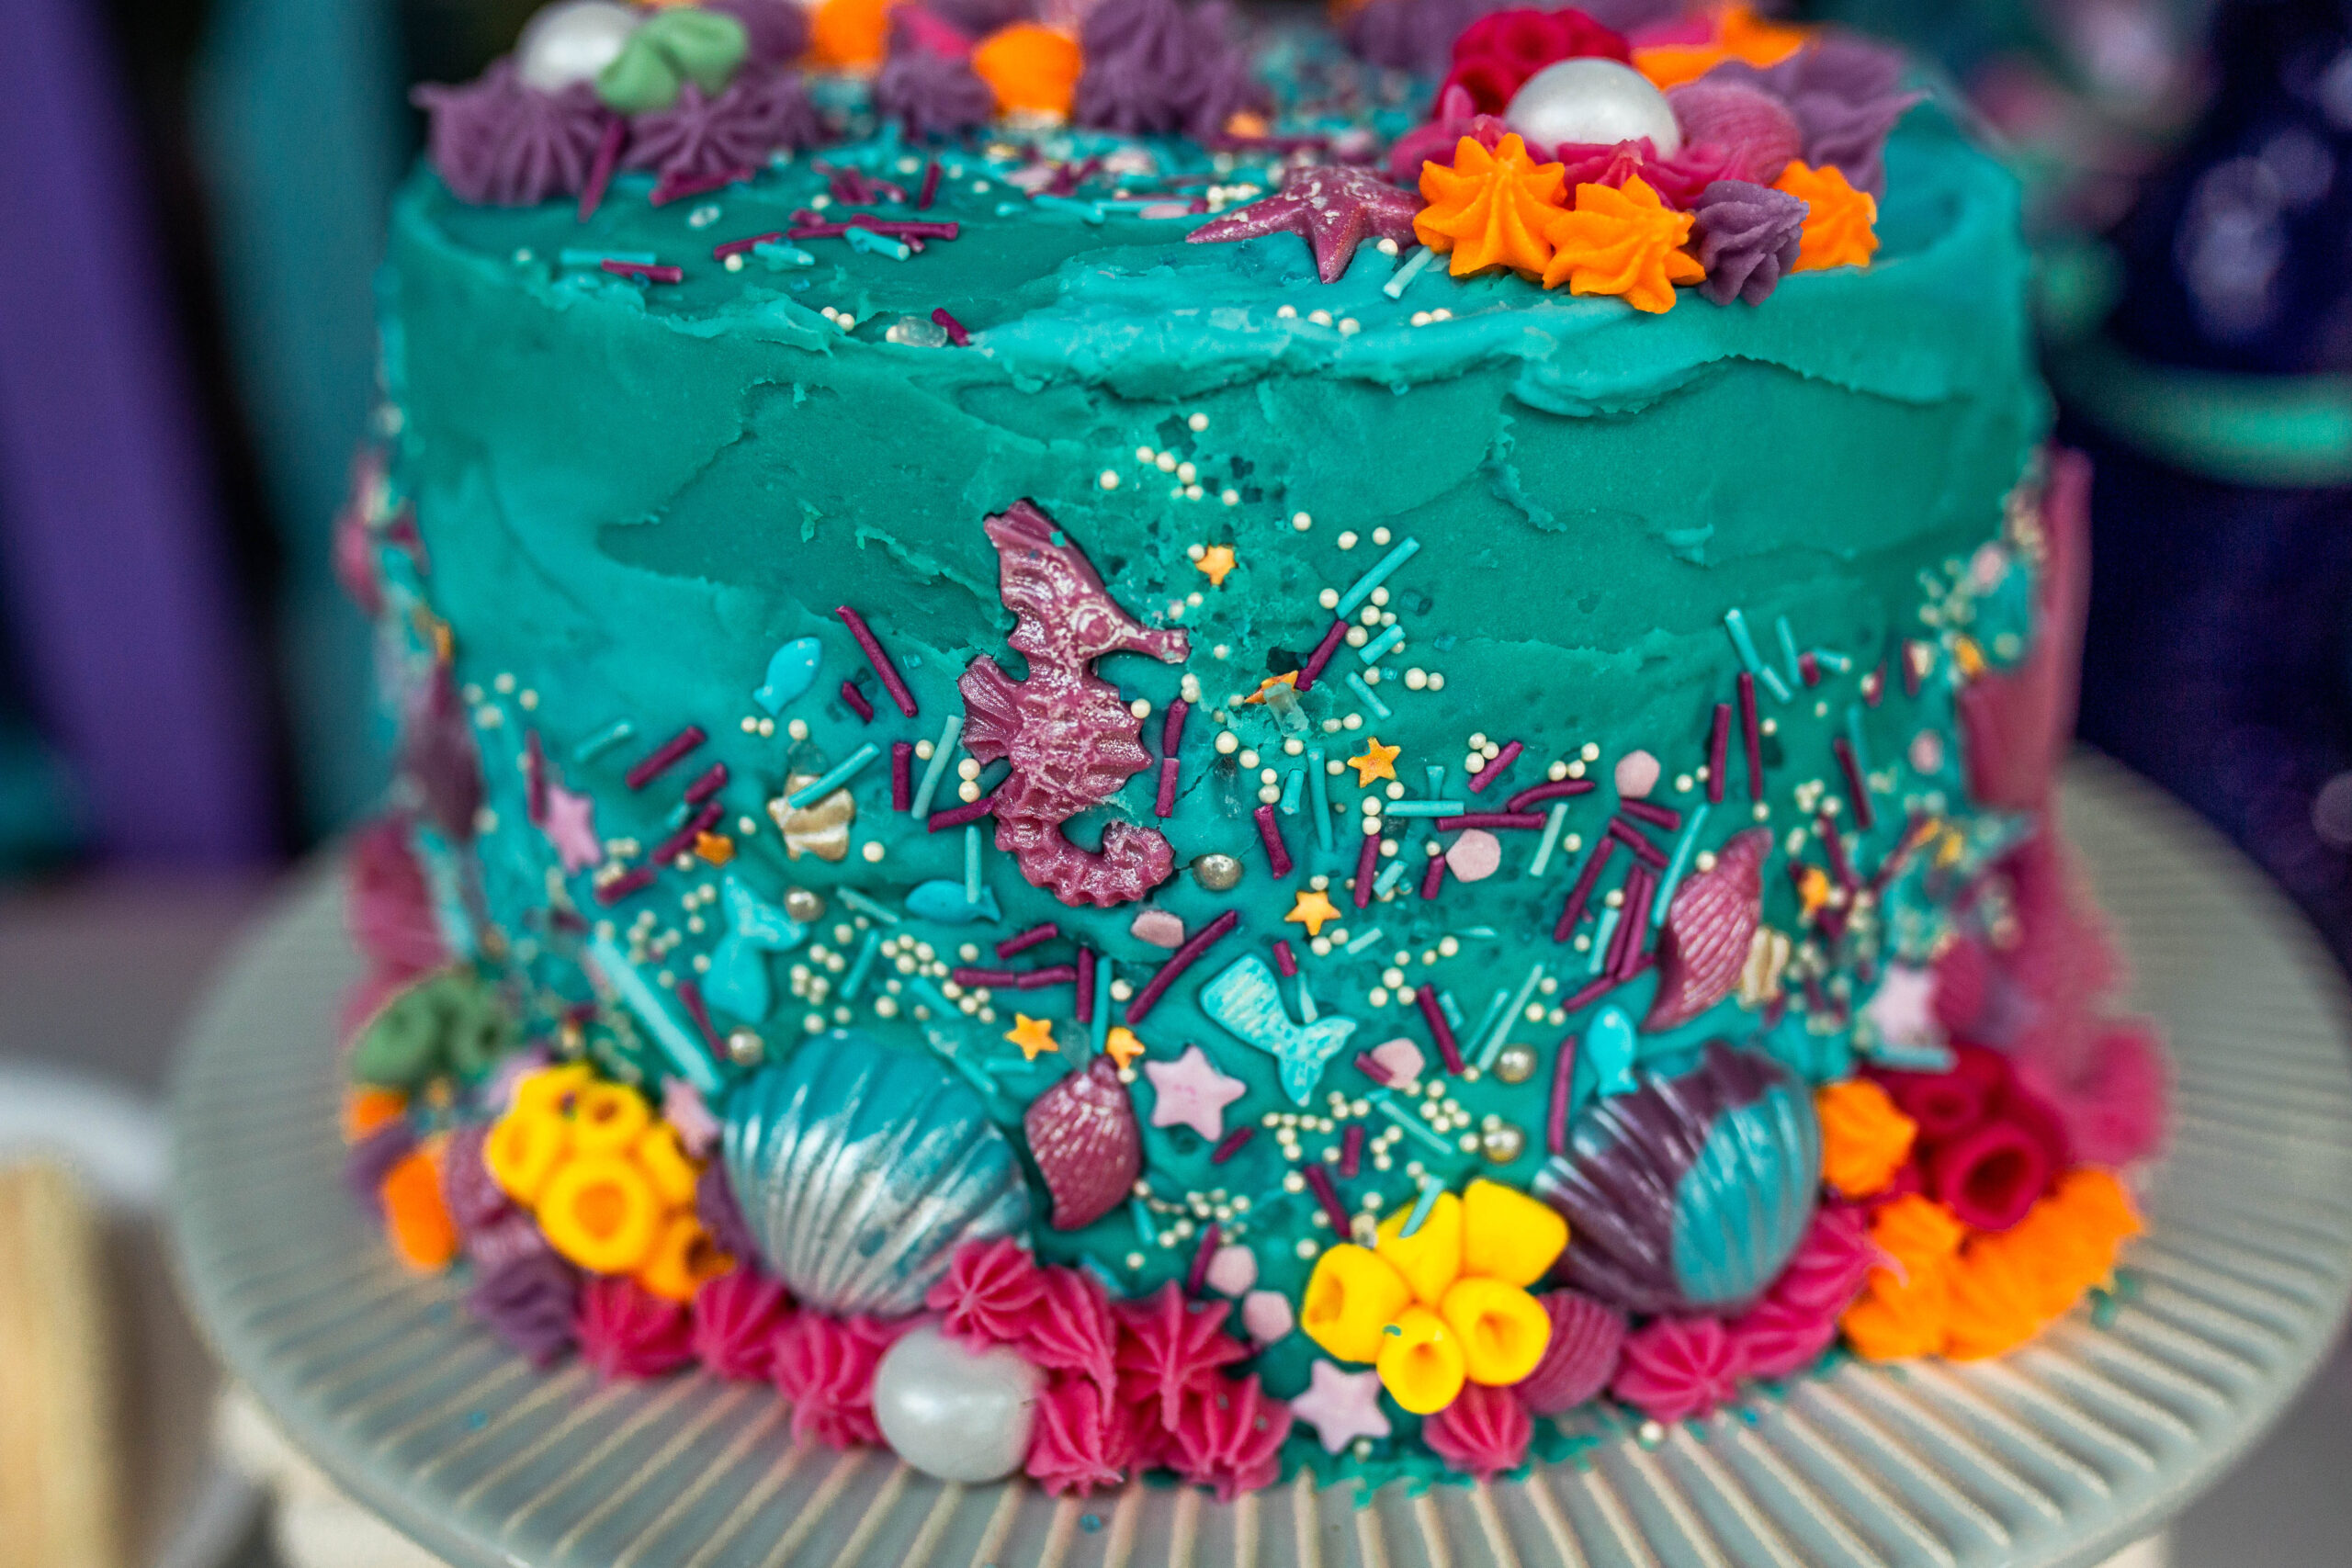
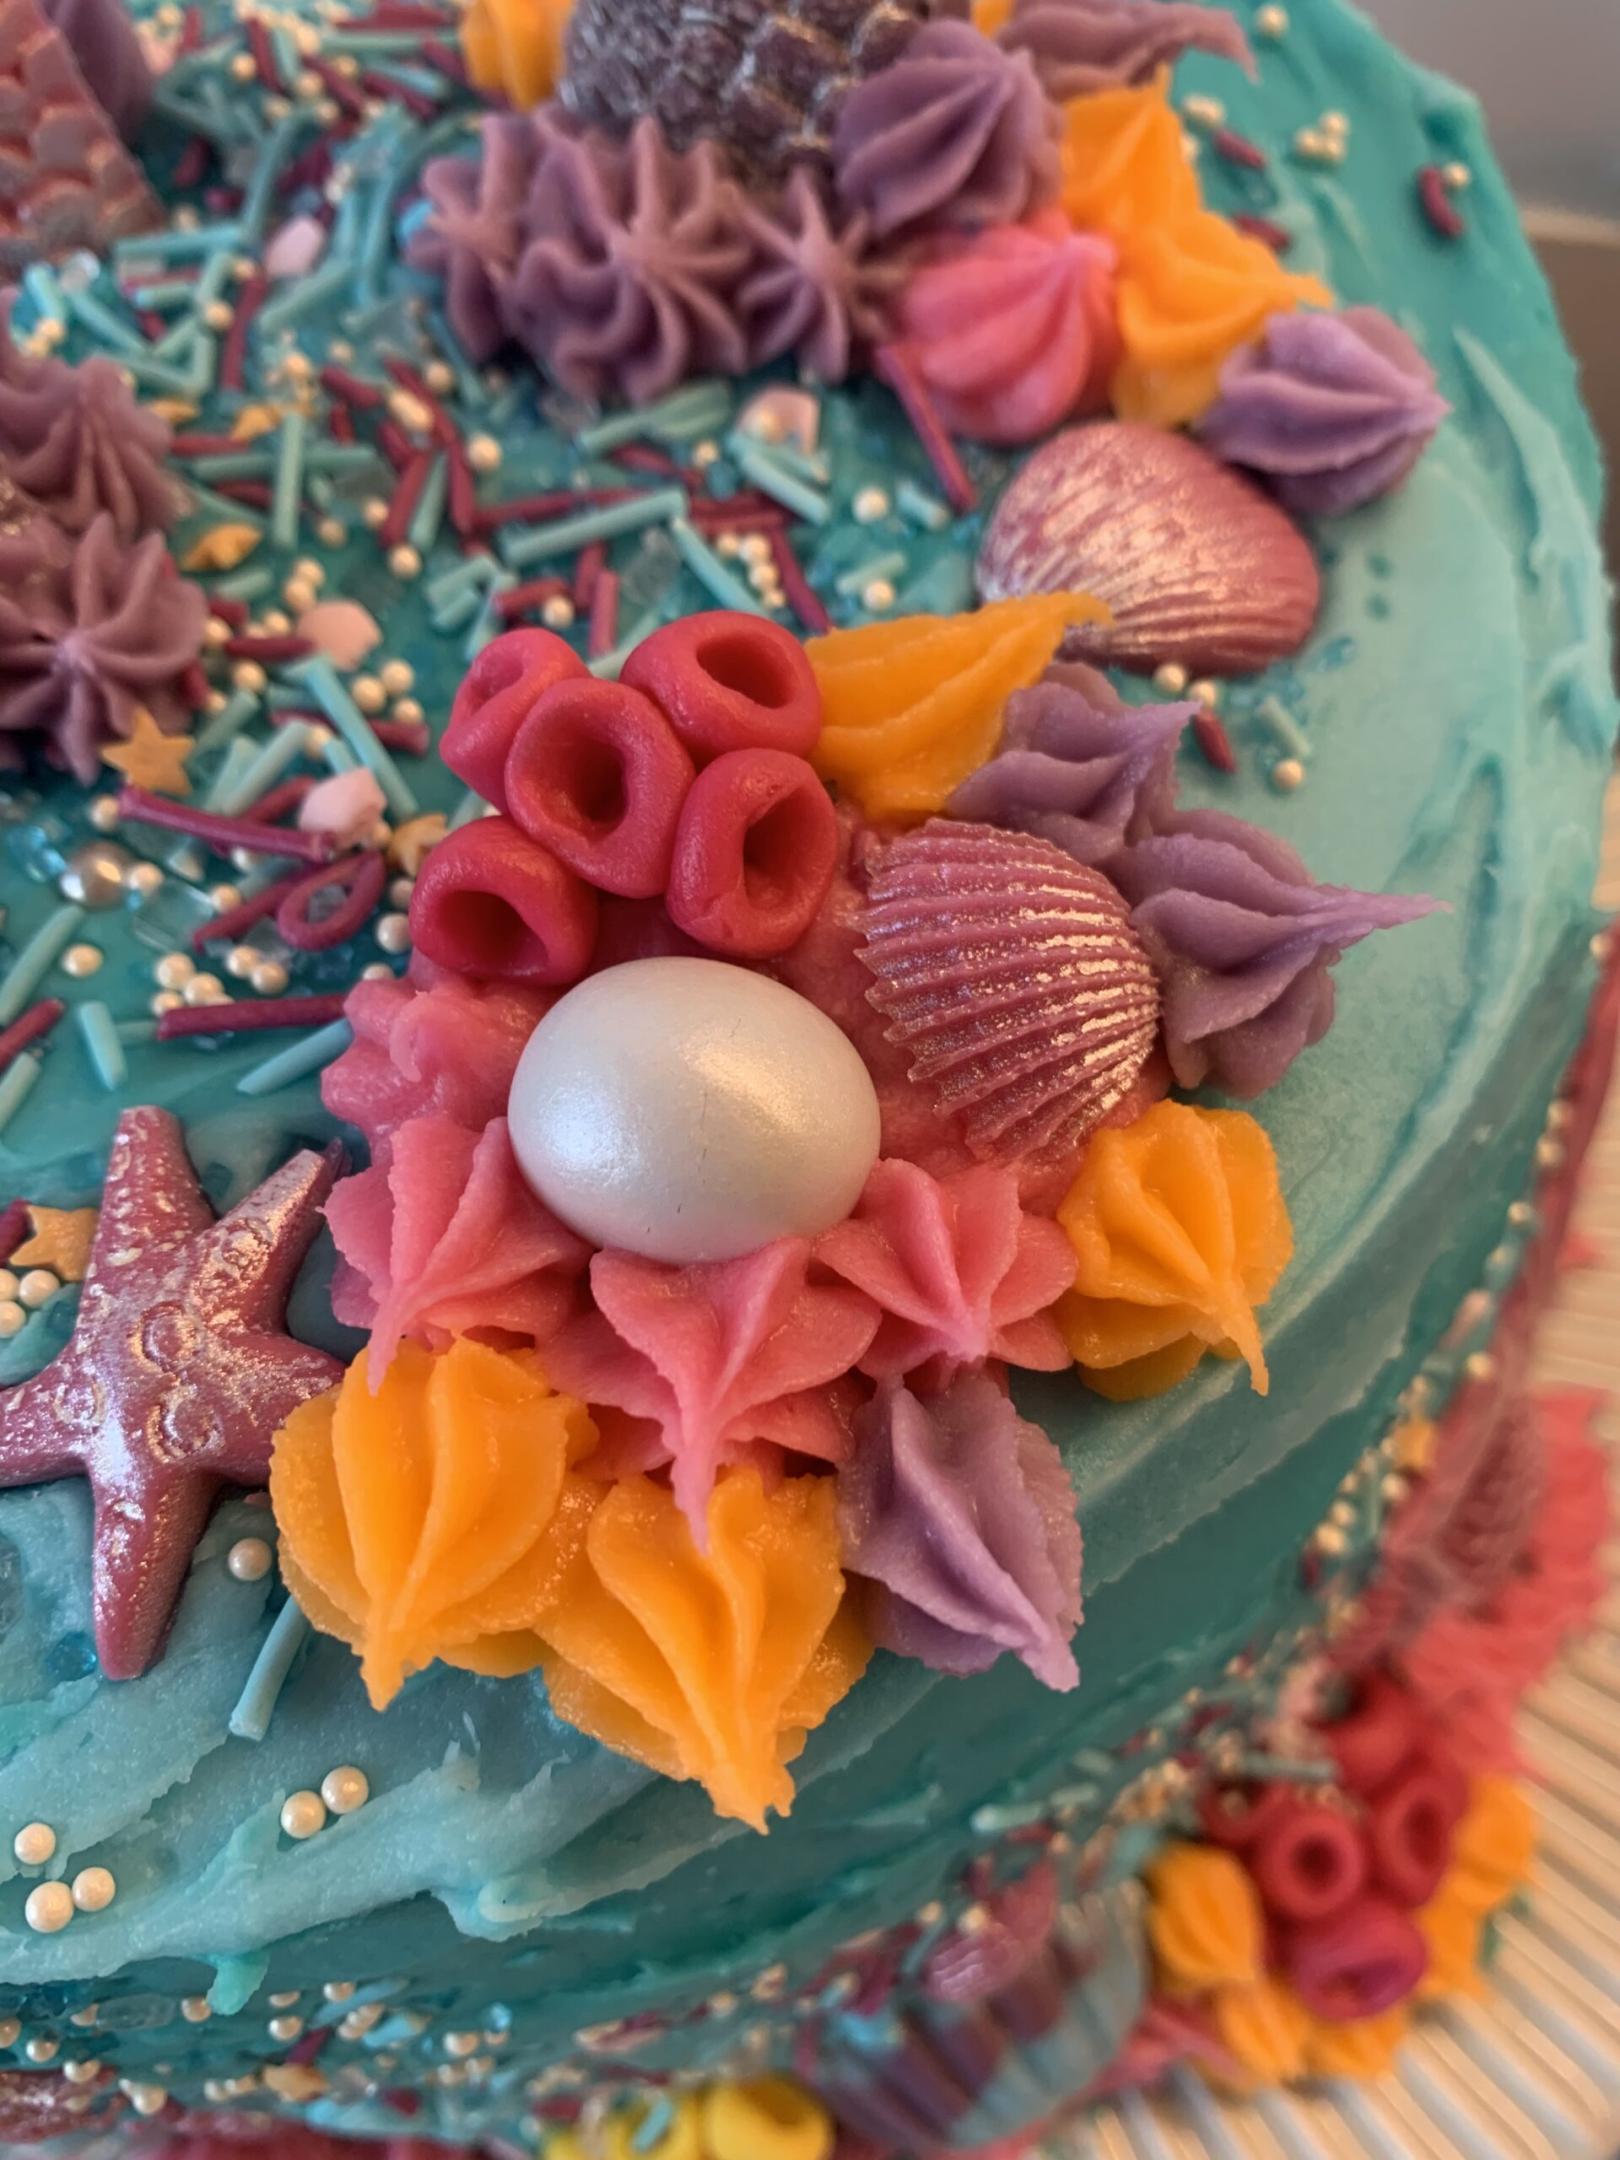
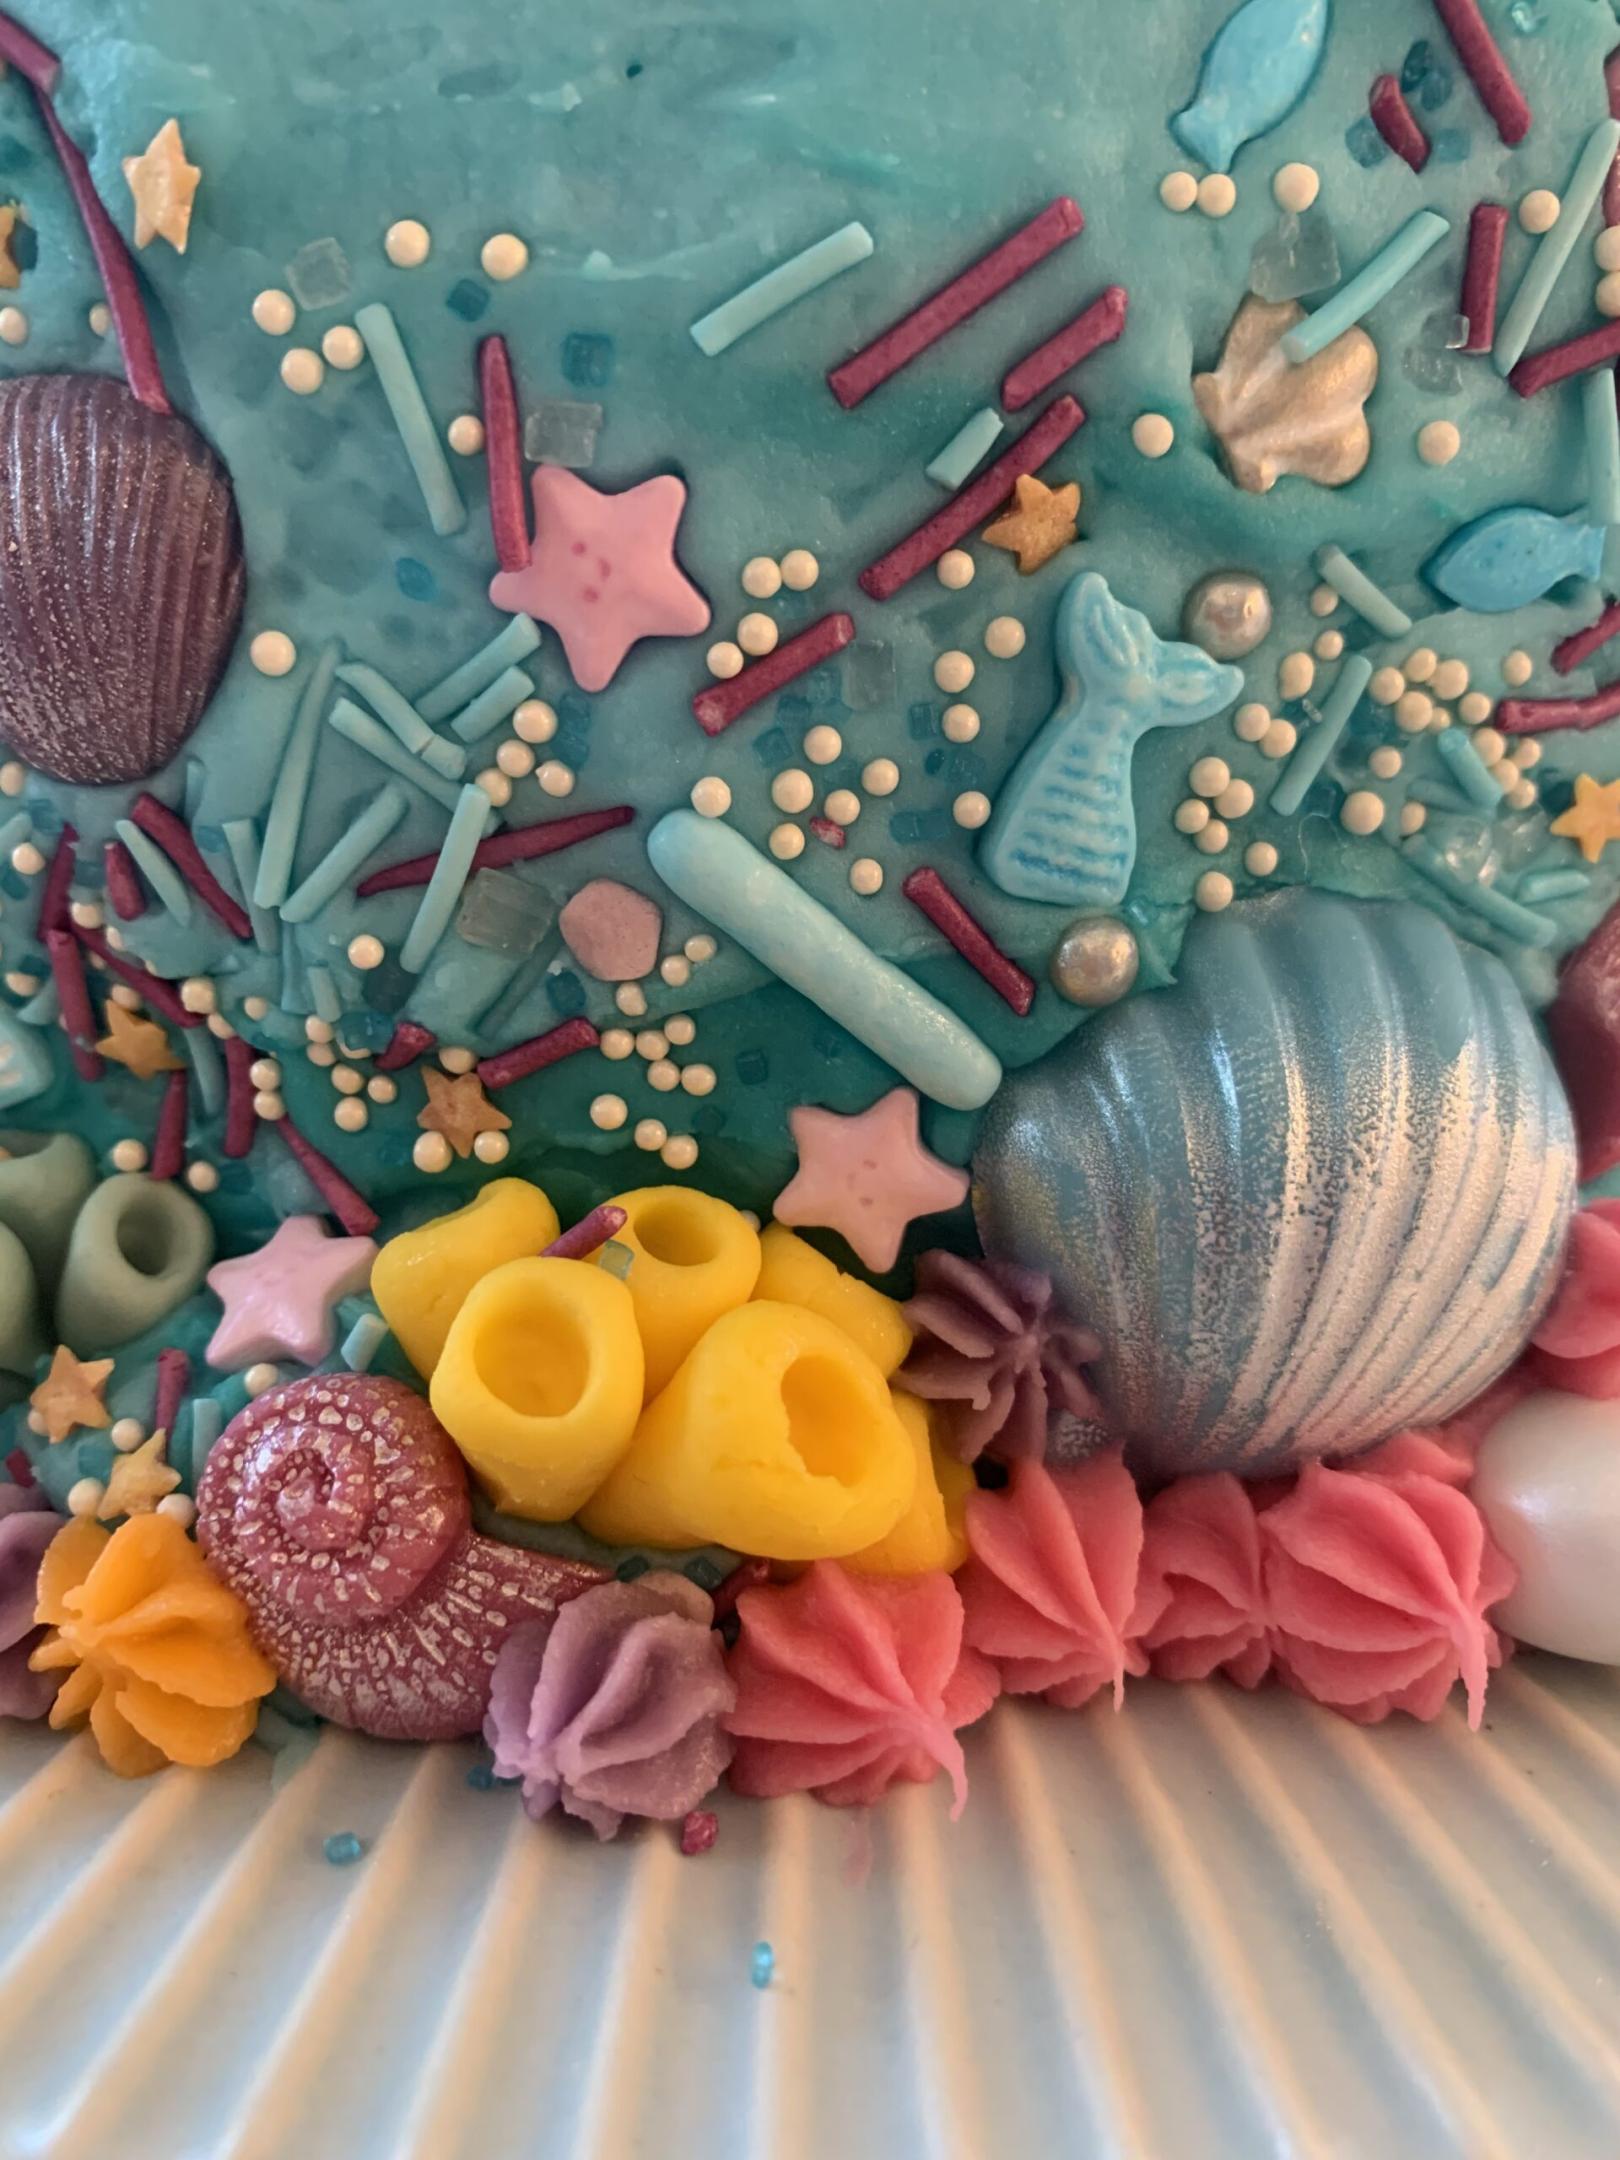
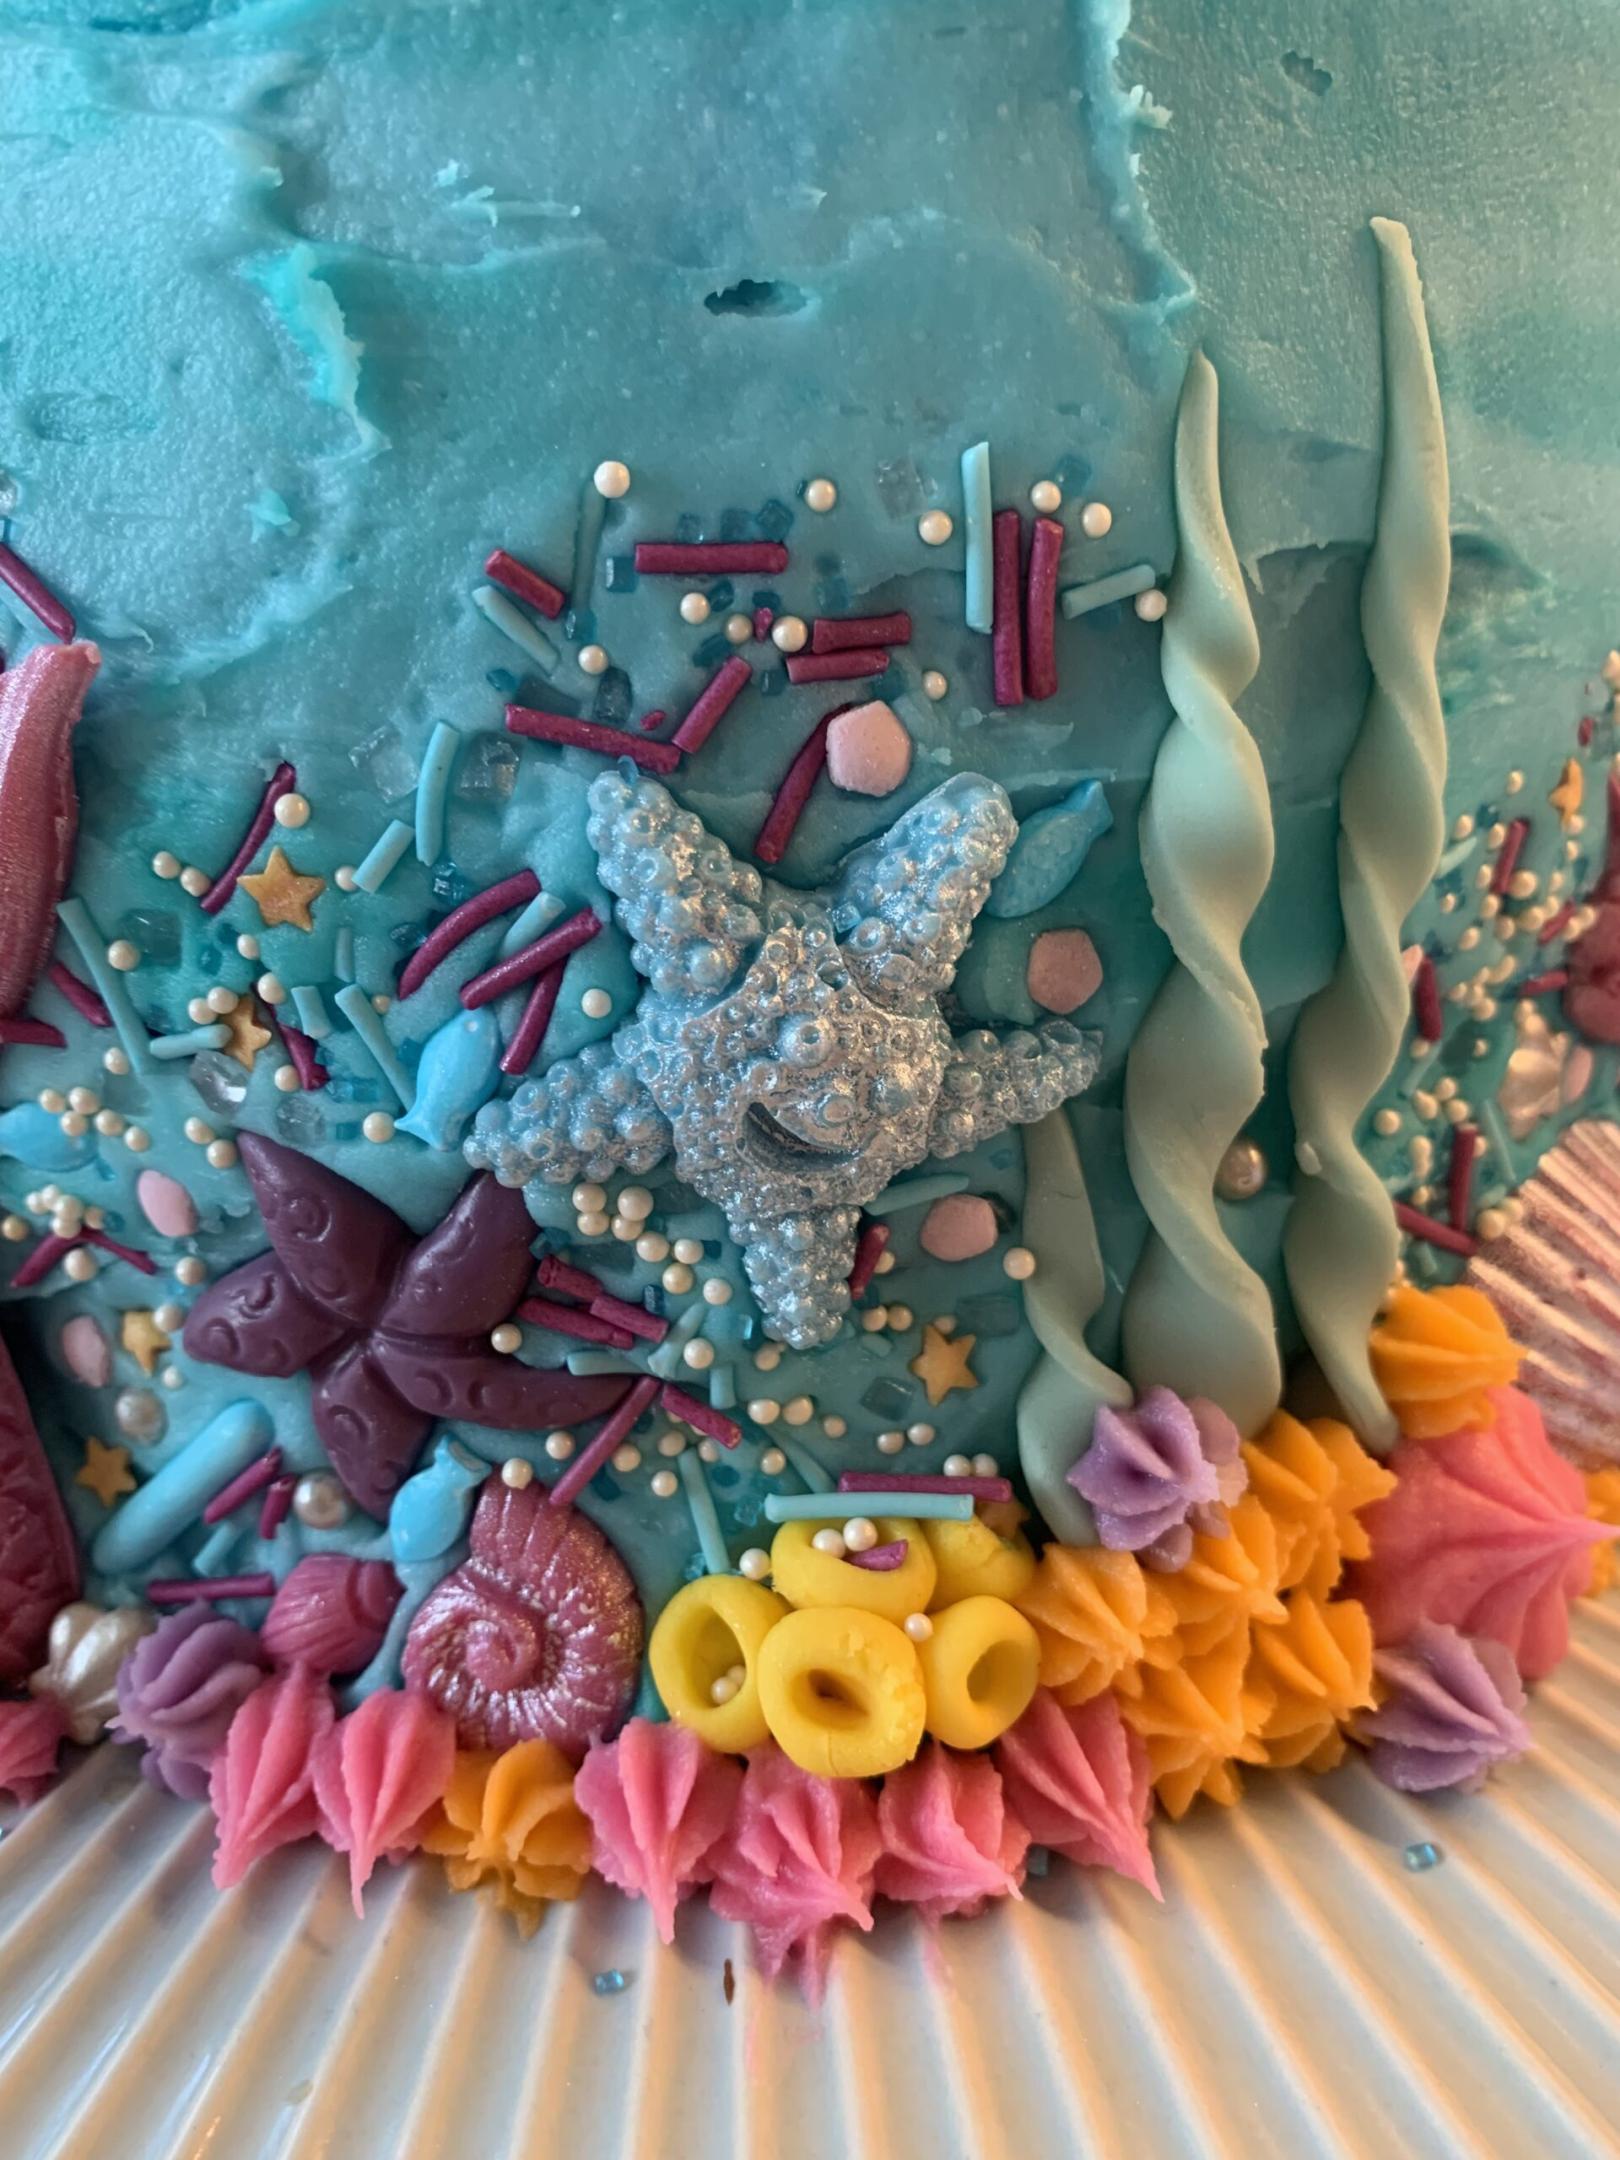
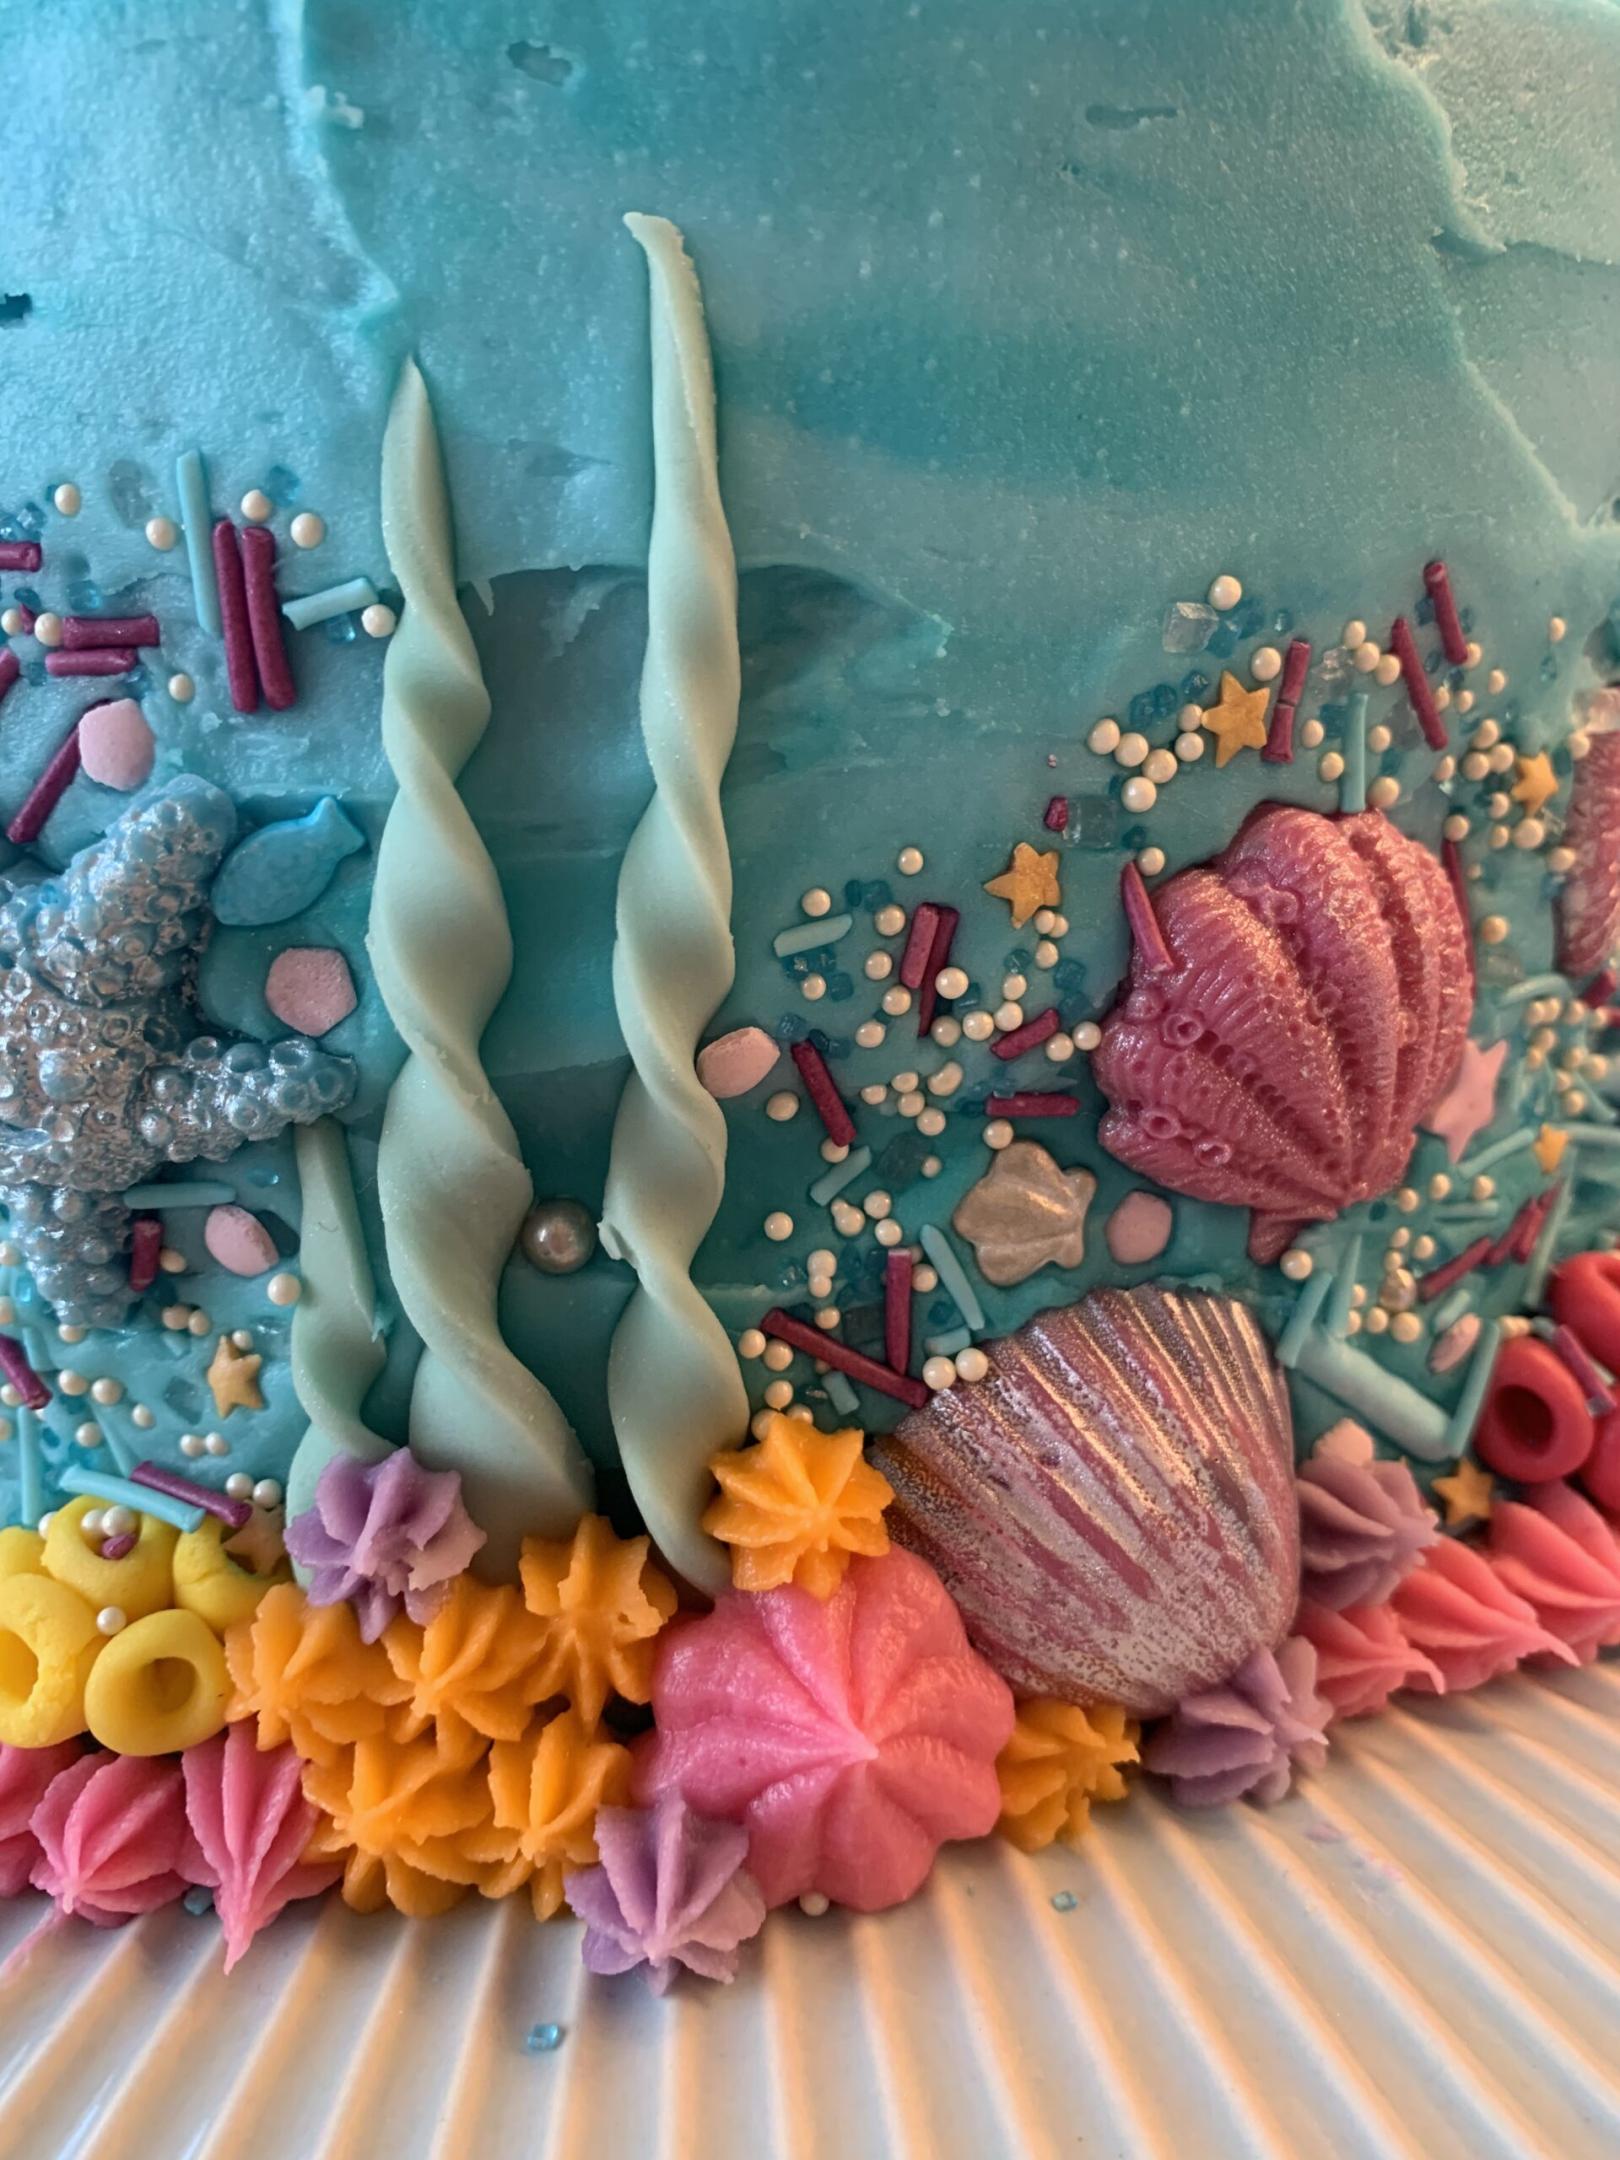
This was a total labour of love! I went a little crazy at Hobbycraft and bought lots of icing, deco melts and sprinkles. I baked two large chocolate cakes and cut them both in half. I then assembled the four layers together with chocolate icing and added a blue crumb coat. Next was the second and final layer of icing and then it was time to embellish with sprinkles!
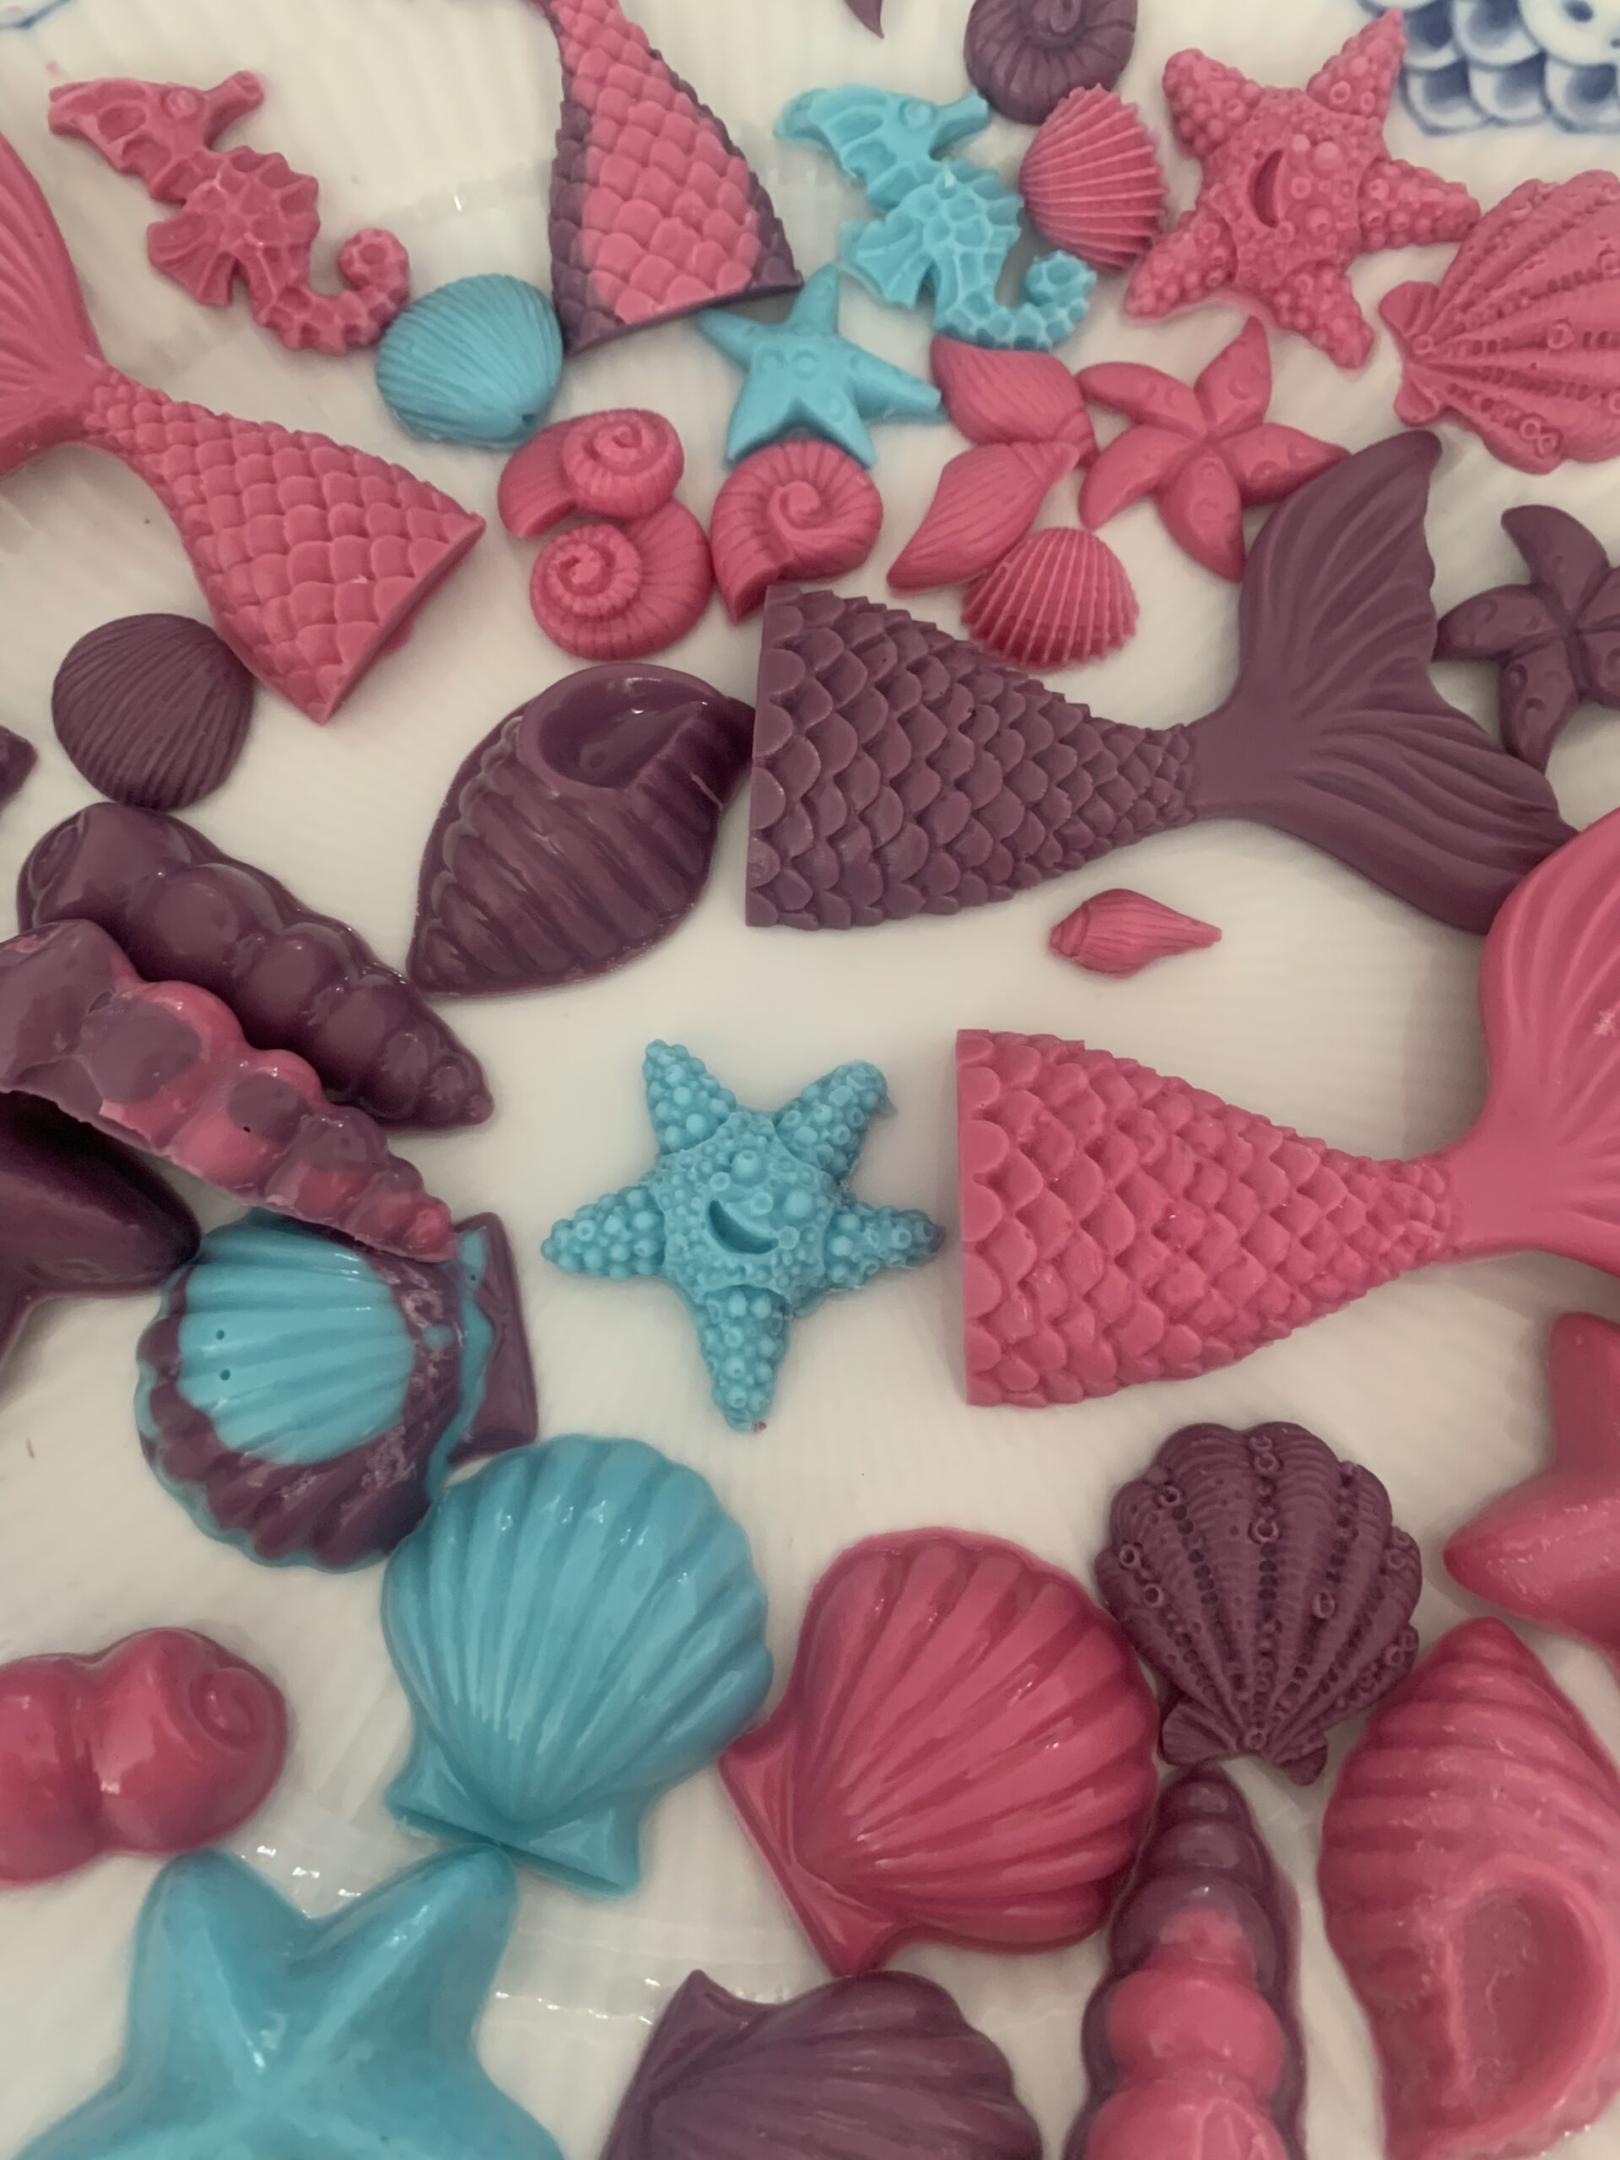
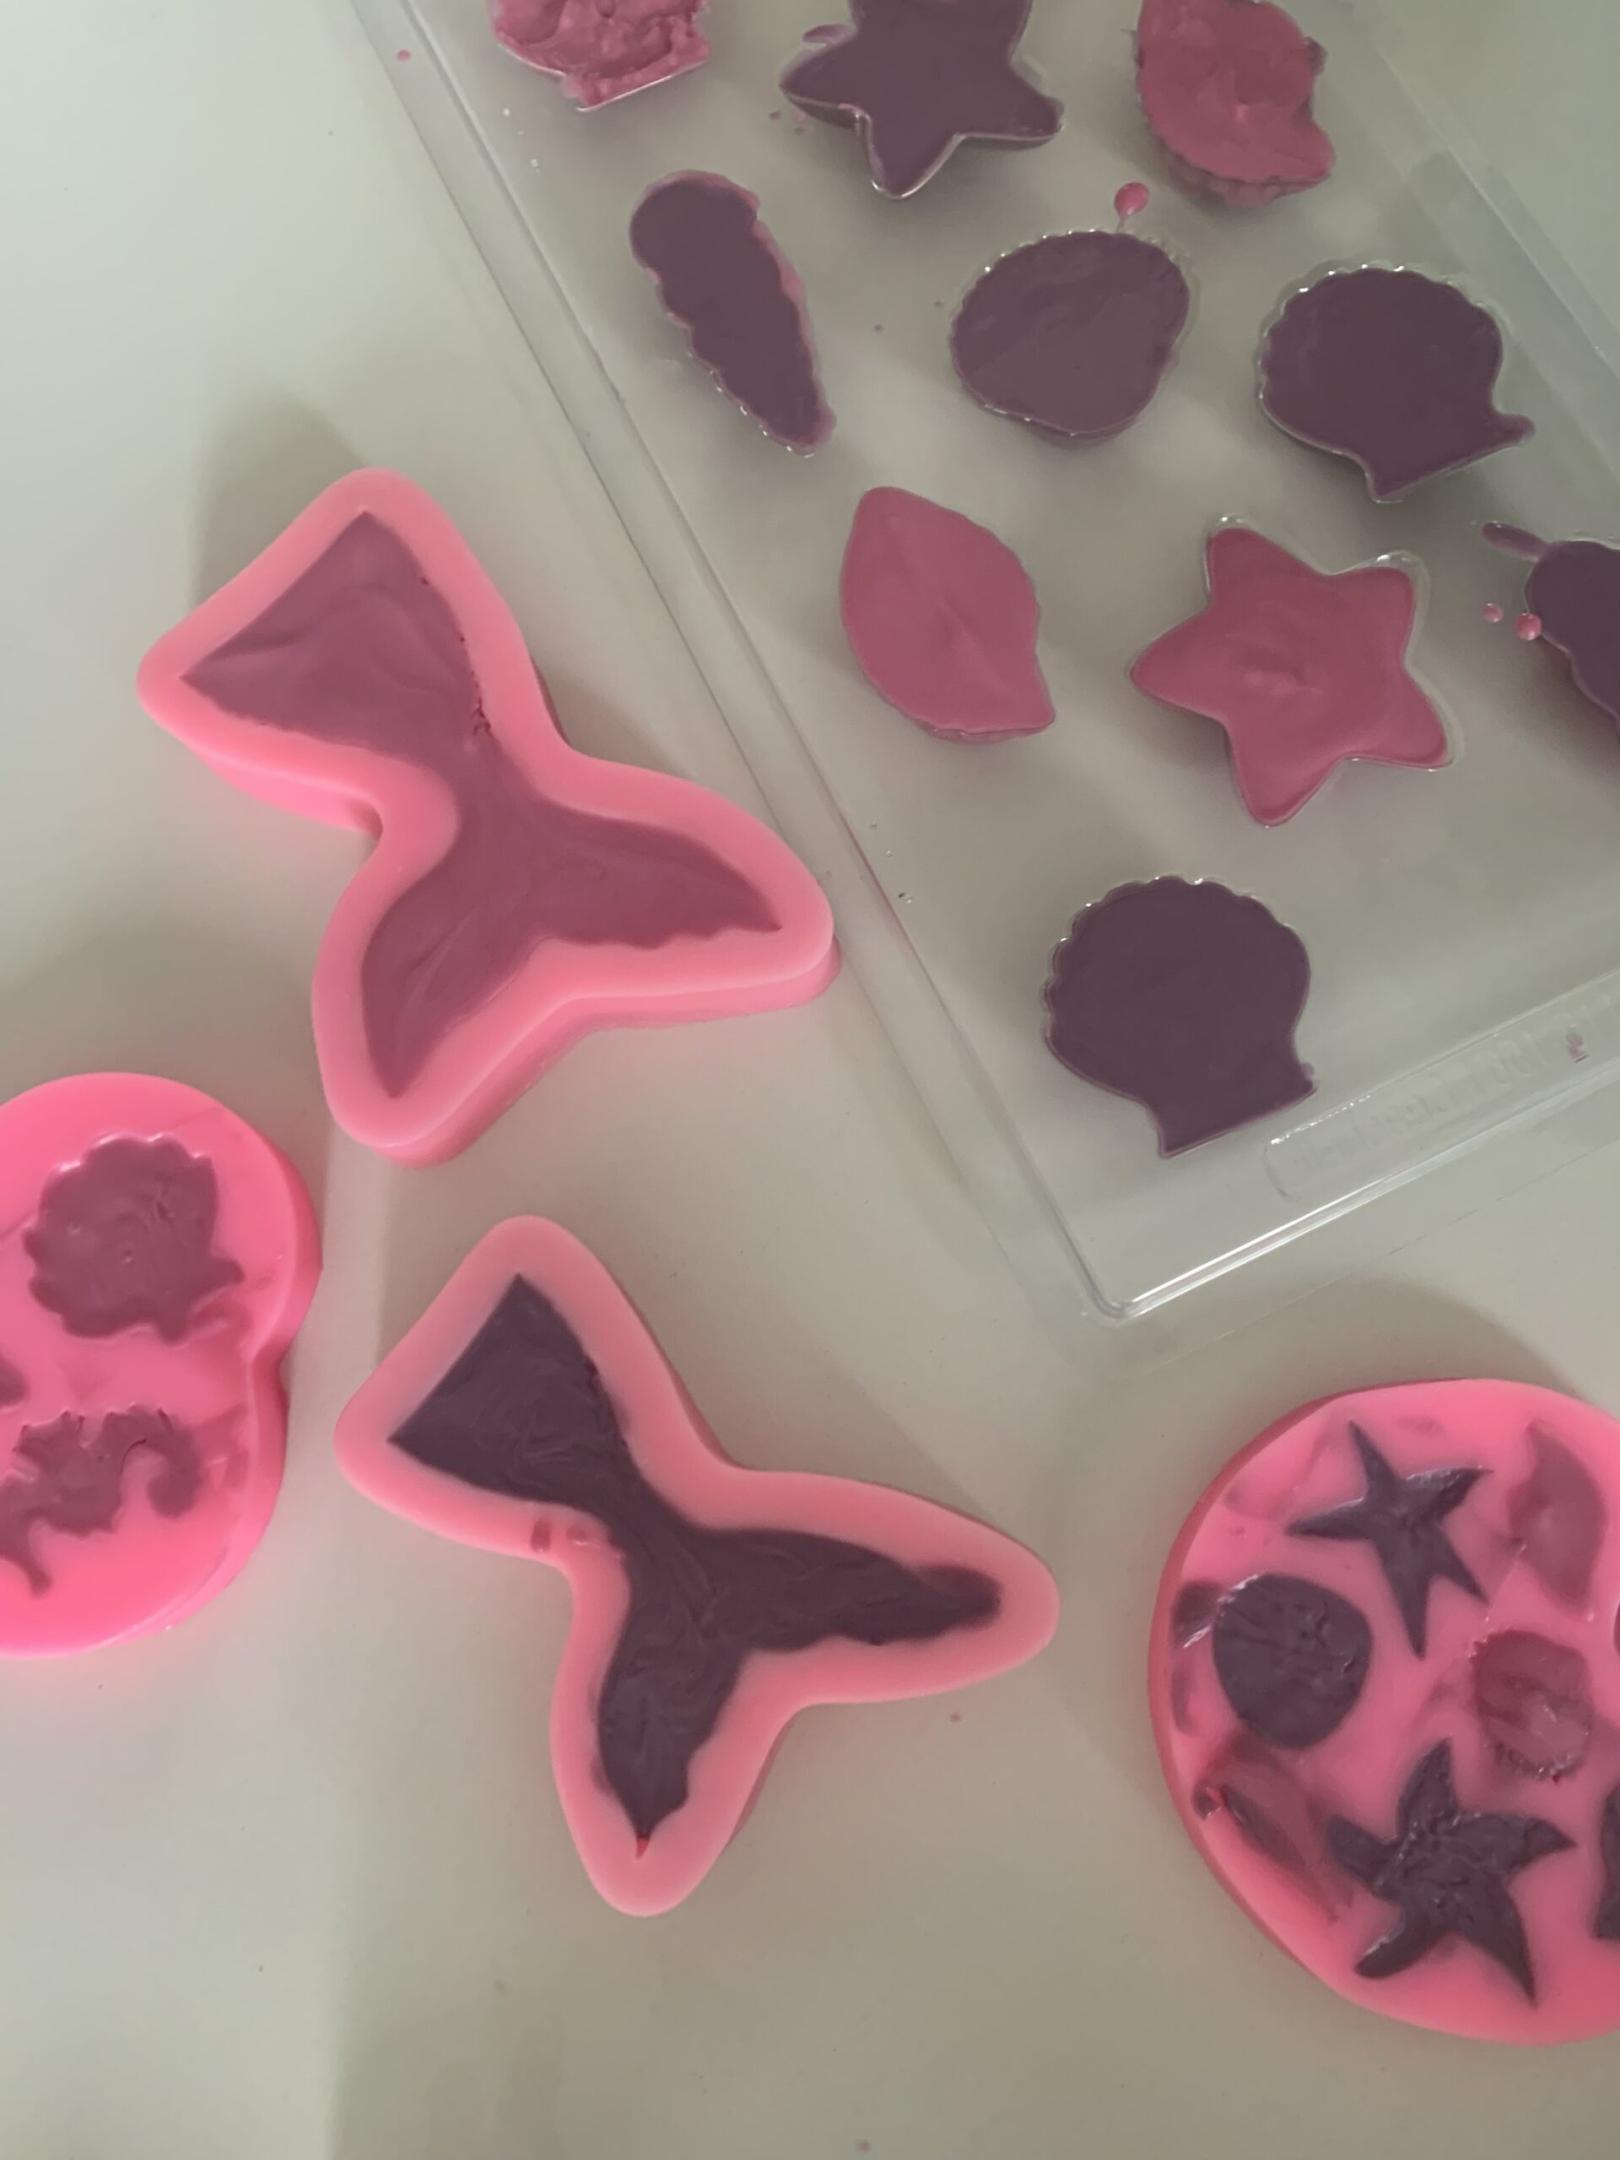
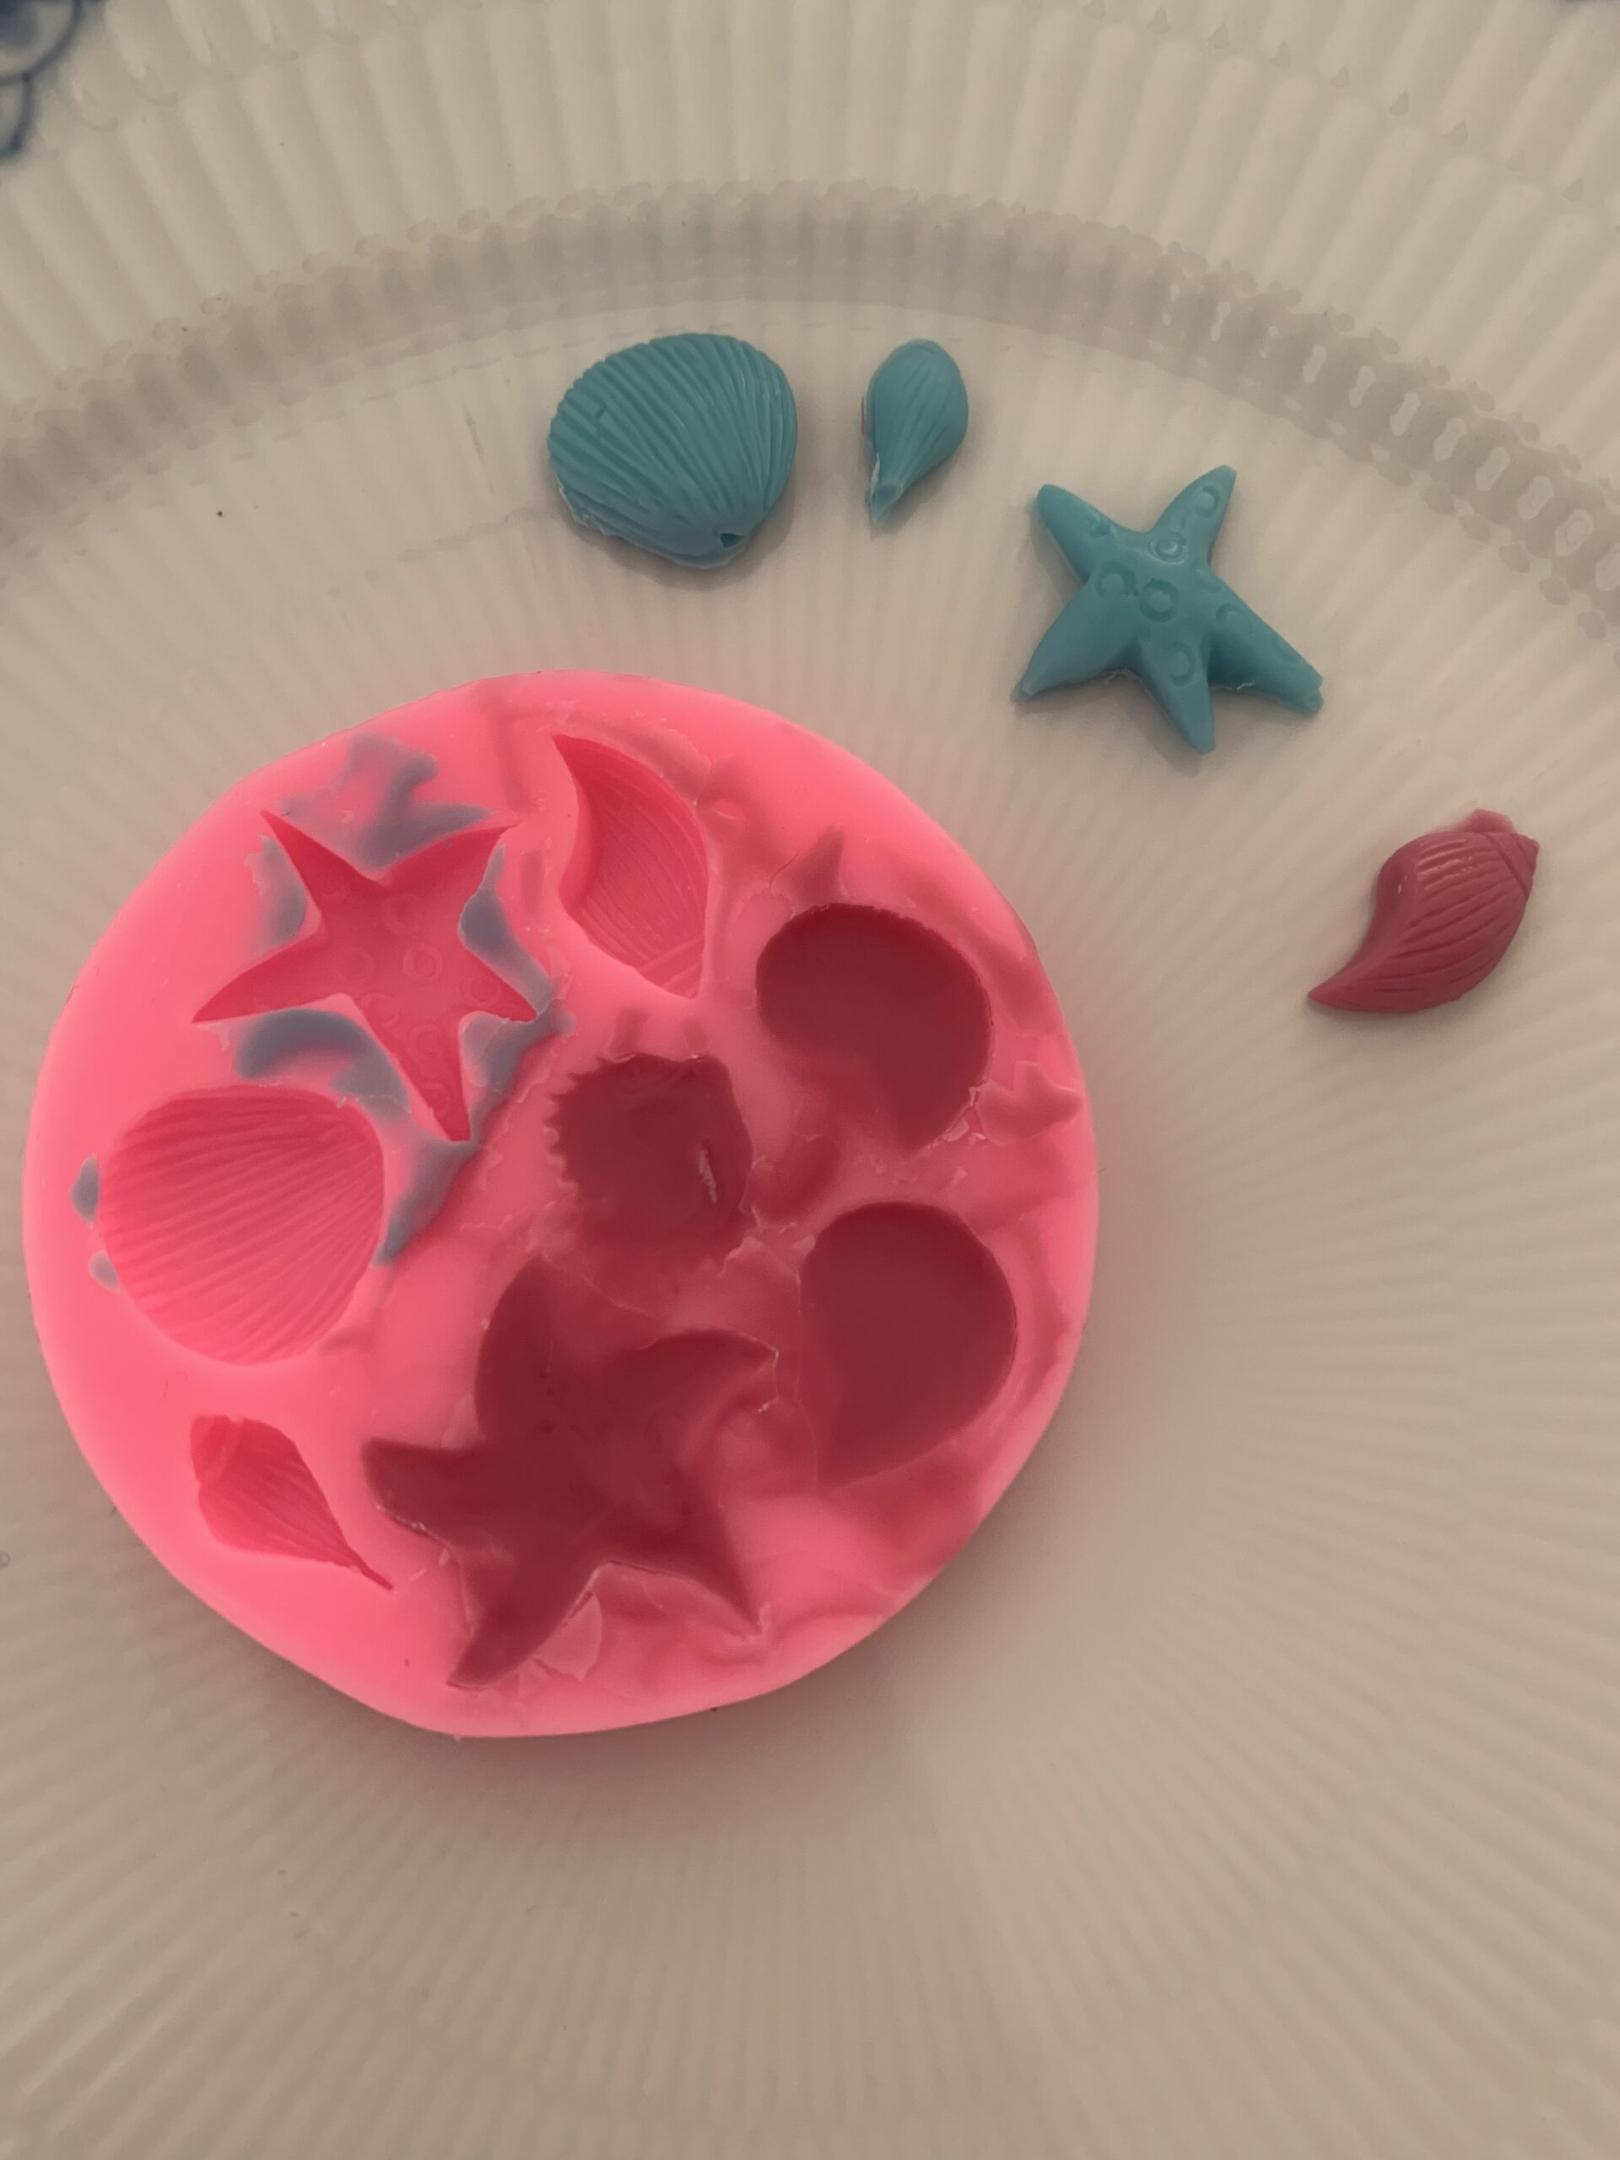
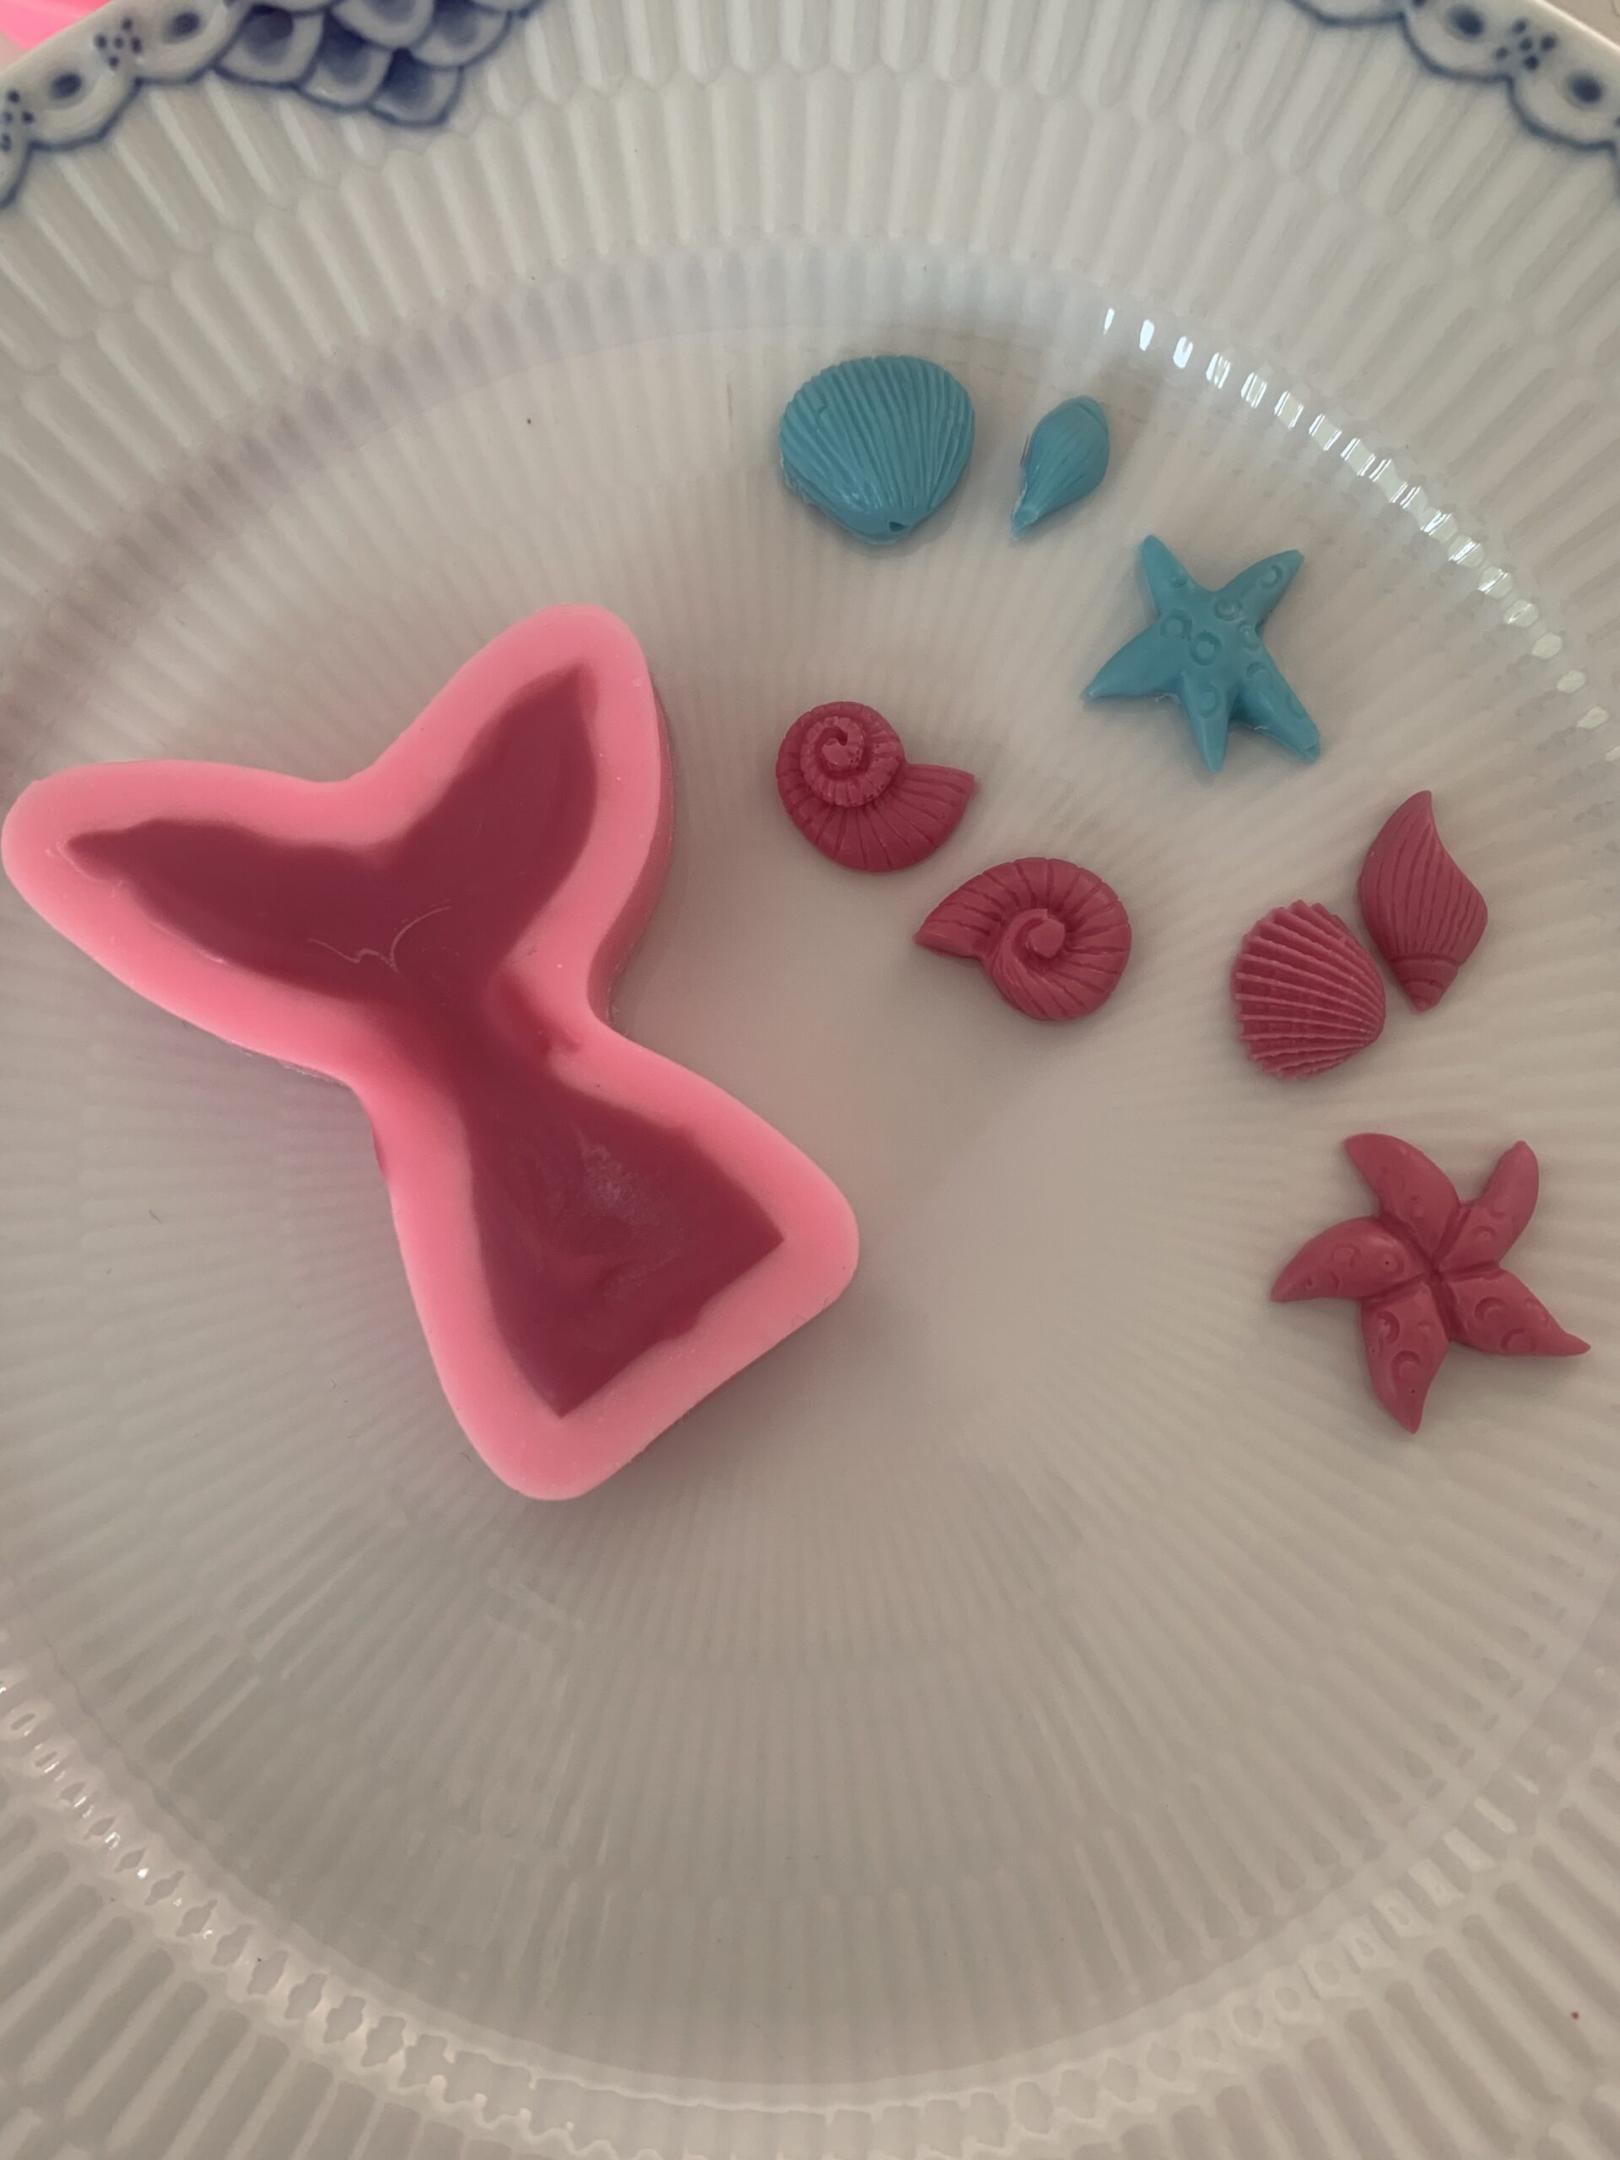
The deco melt mermaid tails and sea shells were super easy to make. You just had to melt the coloured deco melt buttons in the microwave for a few seconds (as per the directions on the packet) and then spoon them into the moulds. They set in just a few minutes in the fridge, so it was very satisfying and Lily loved helping me.
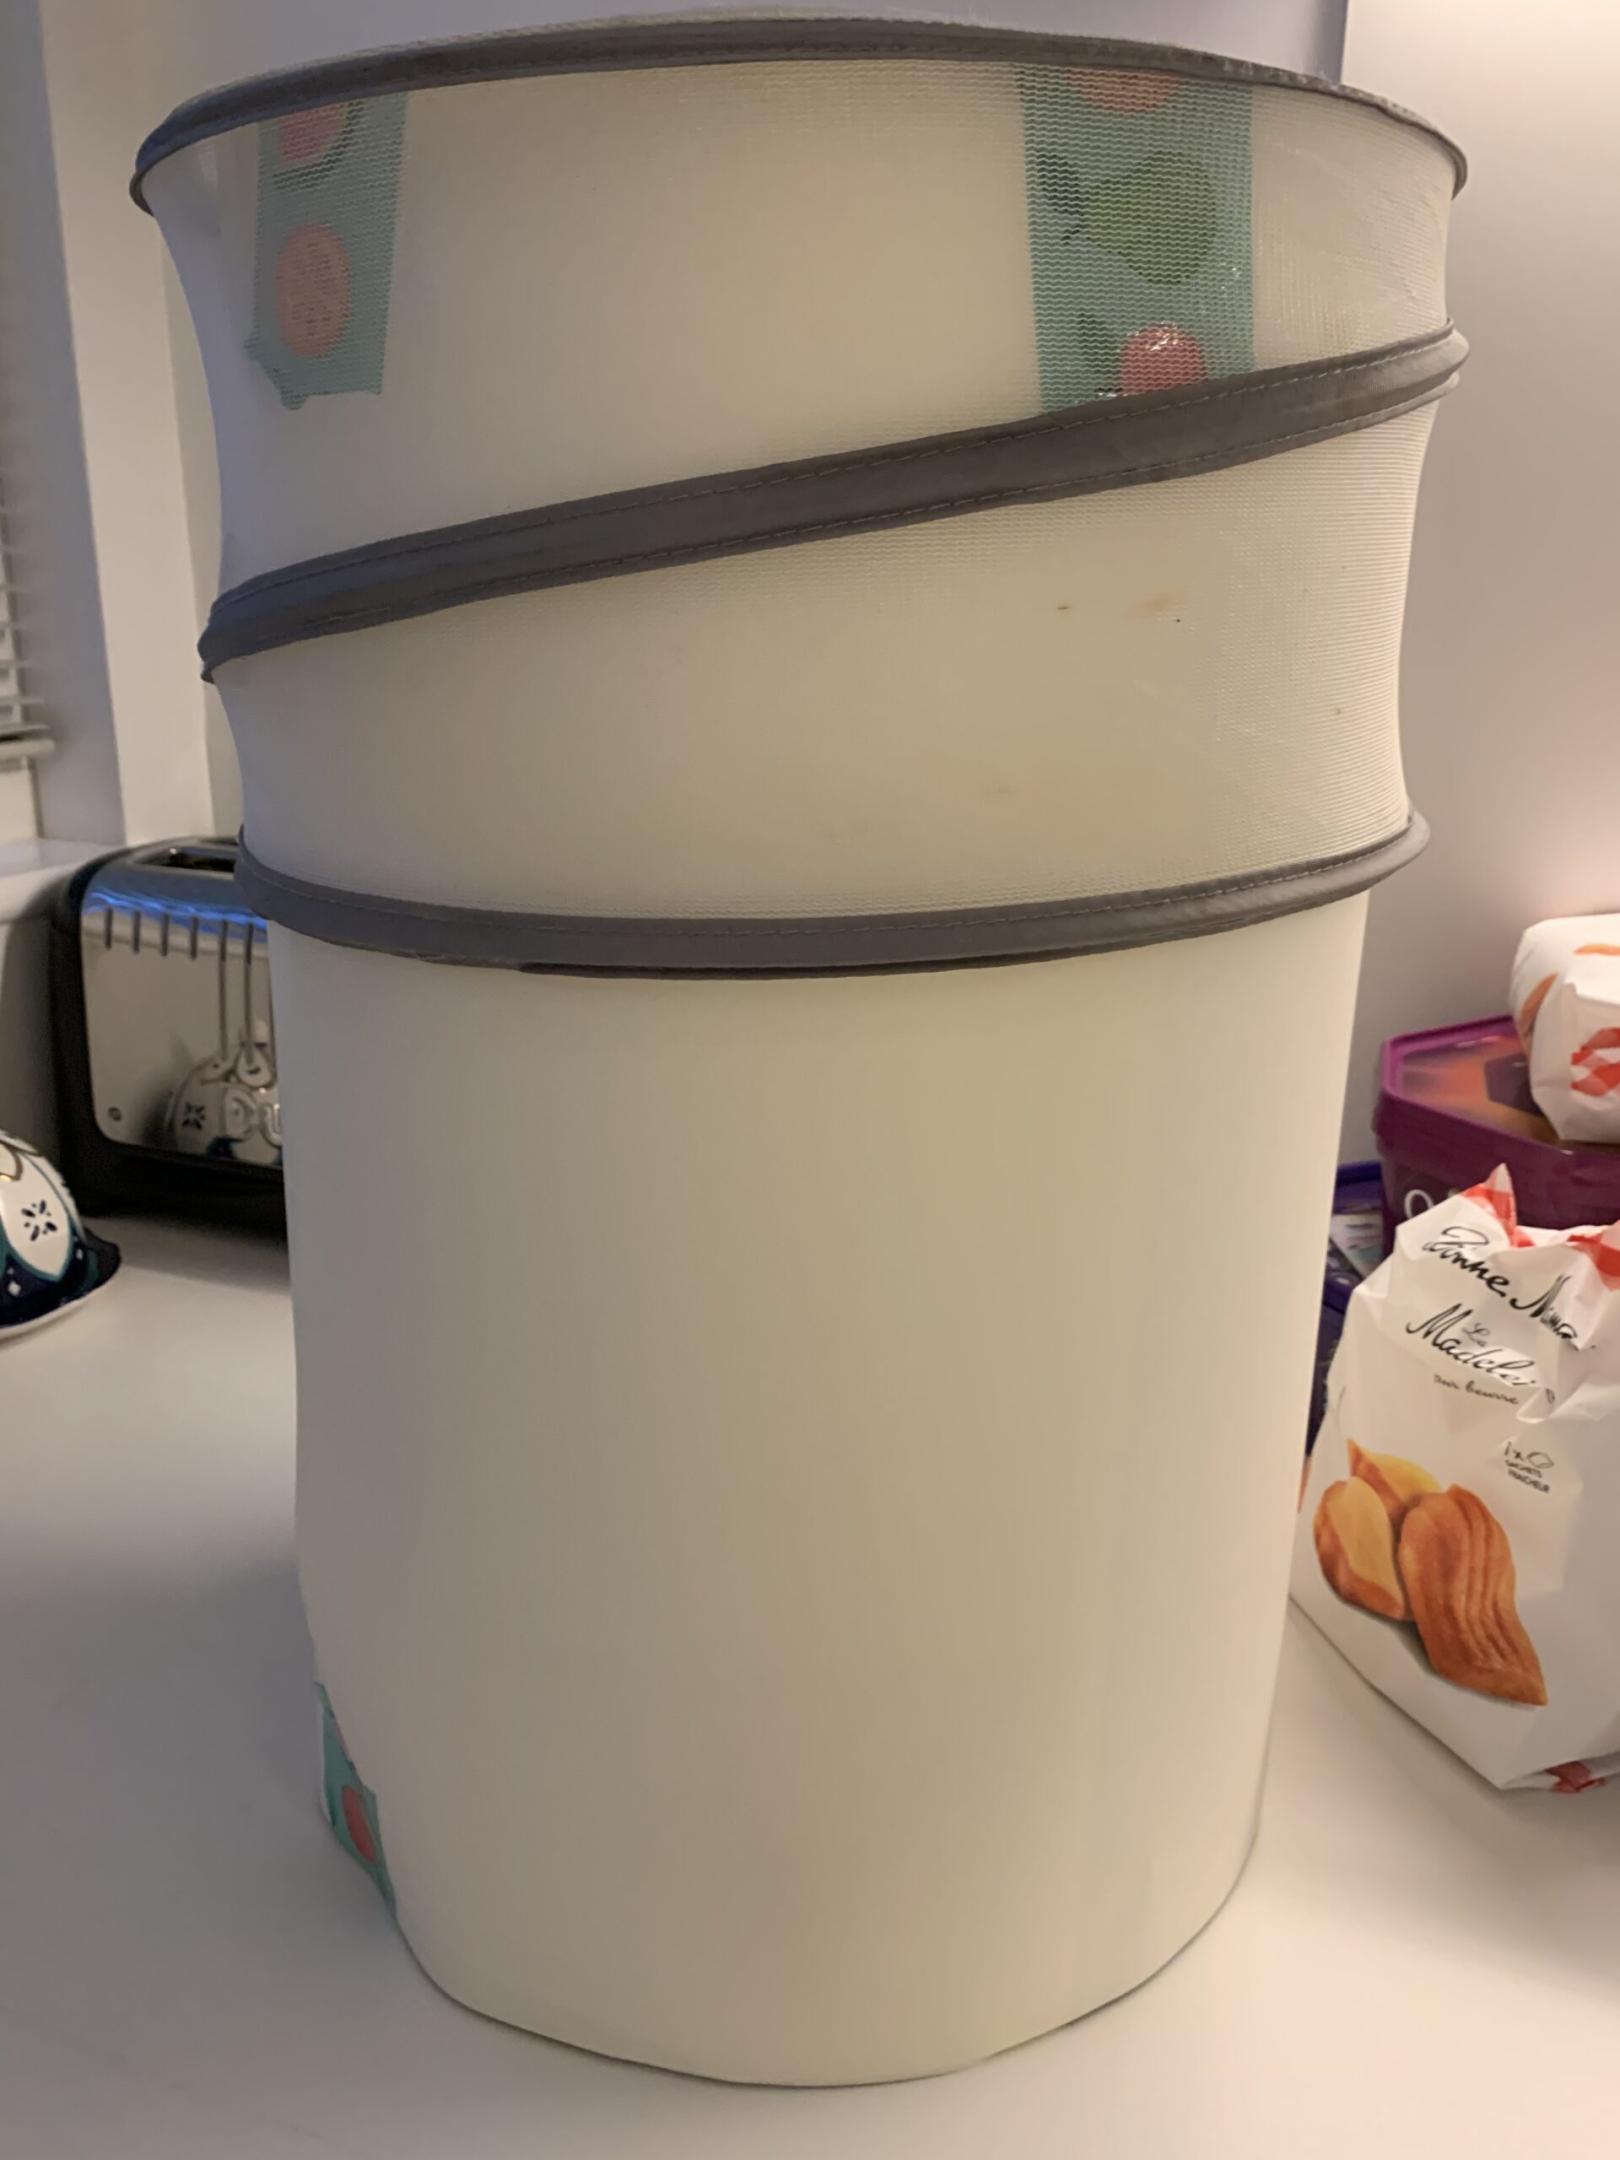
We seemed to have a lot of flies around, so I created a paper tube to store the cake in with my mesh cake cover sat on top!
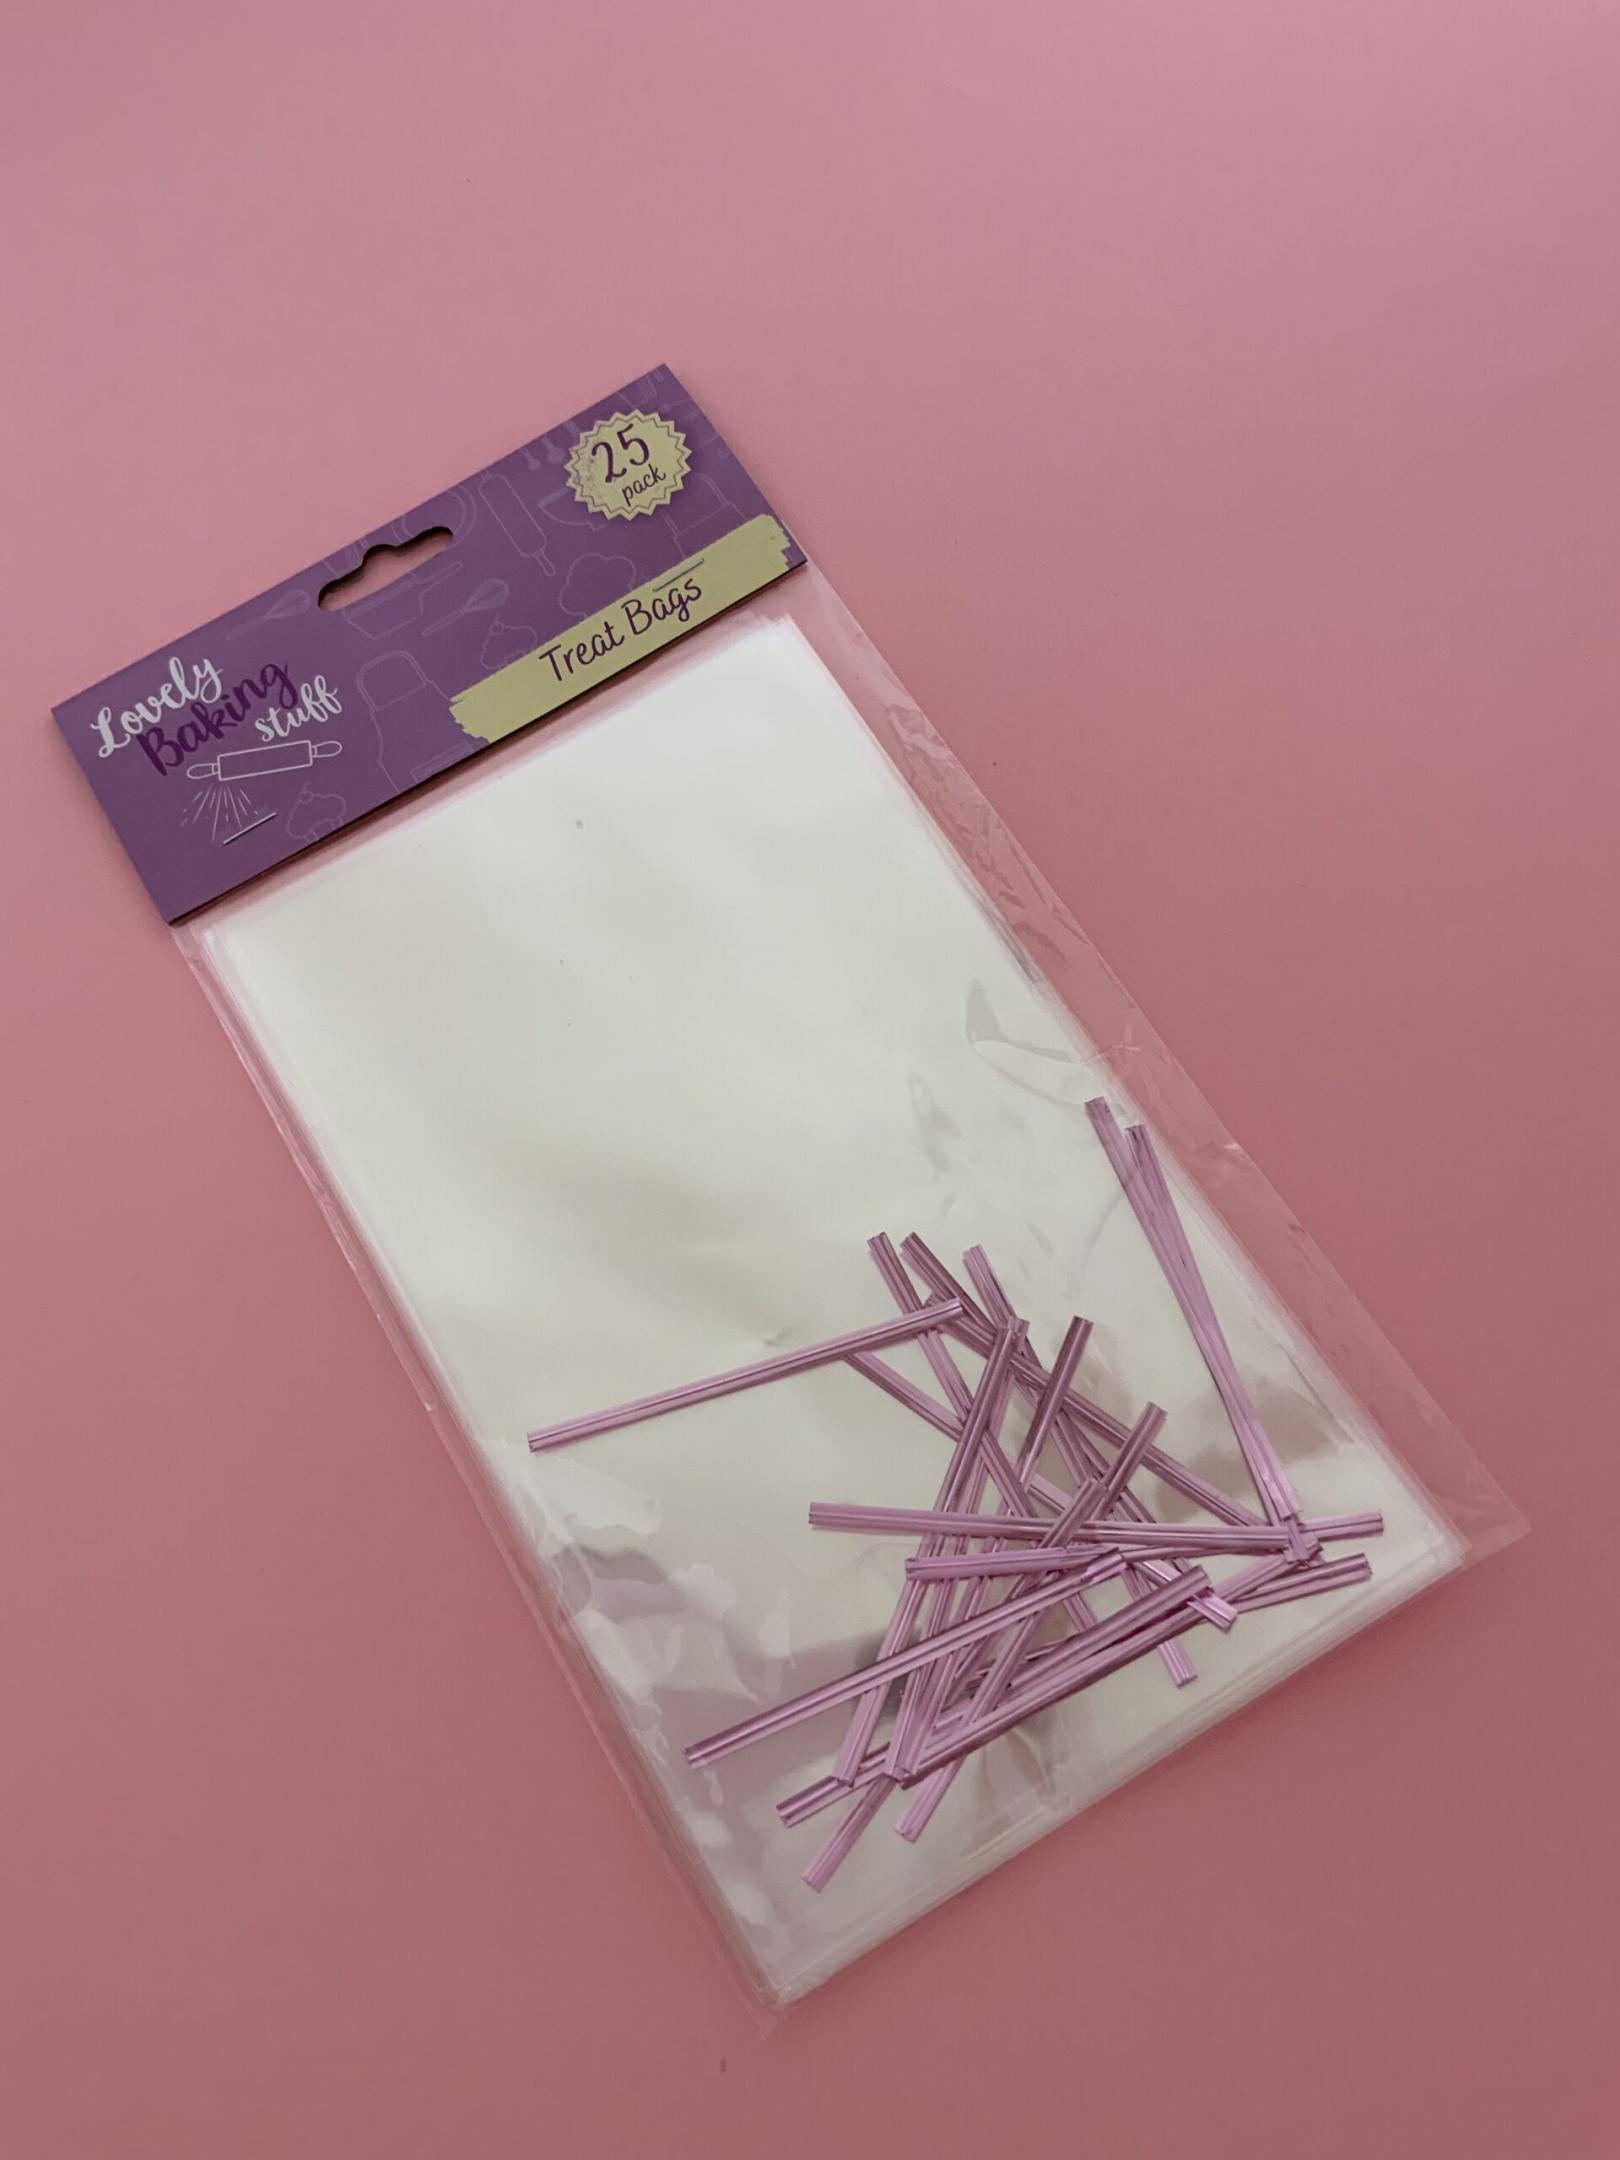
I also purchased some little plastic bags (sorry not very environmentally friendly!) for putting the slices of cake in for the party bags. So many times we have been given a piece of cake wrapped in a paper napkin and the cake has just stuck to the napkin and we have had to throw it away, so this way hopefully the cake didn’t go to waste.
Clam shells and Pearls
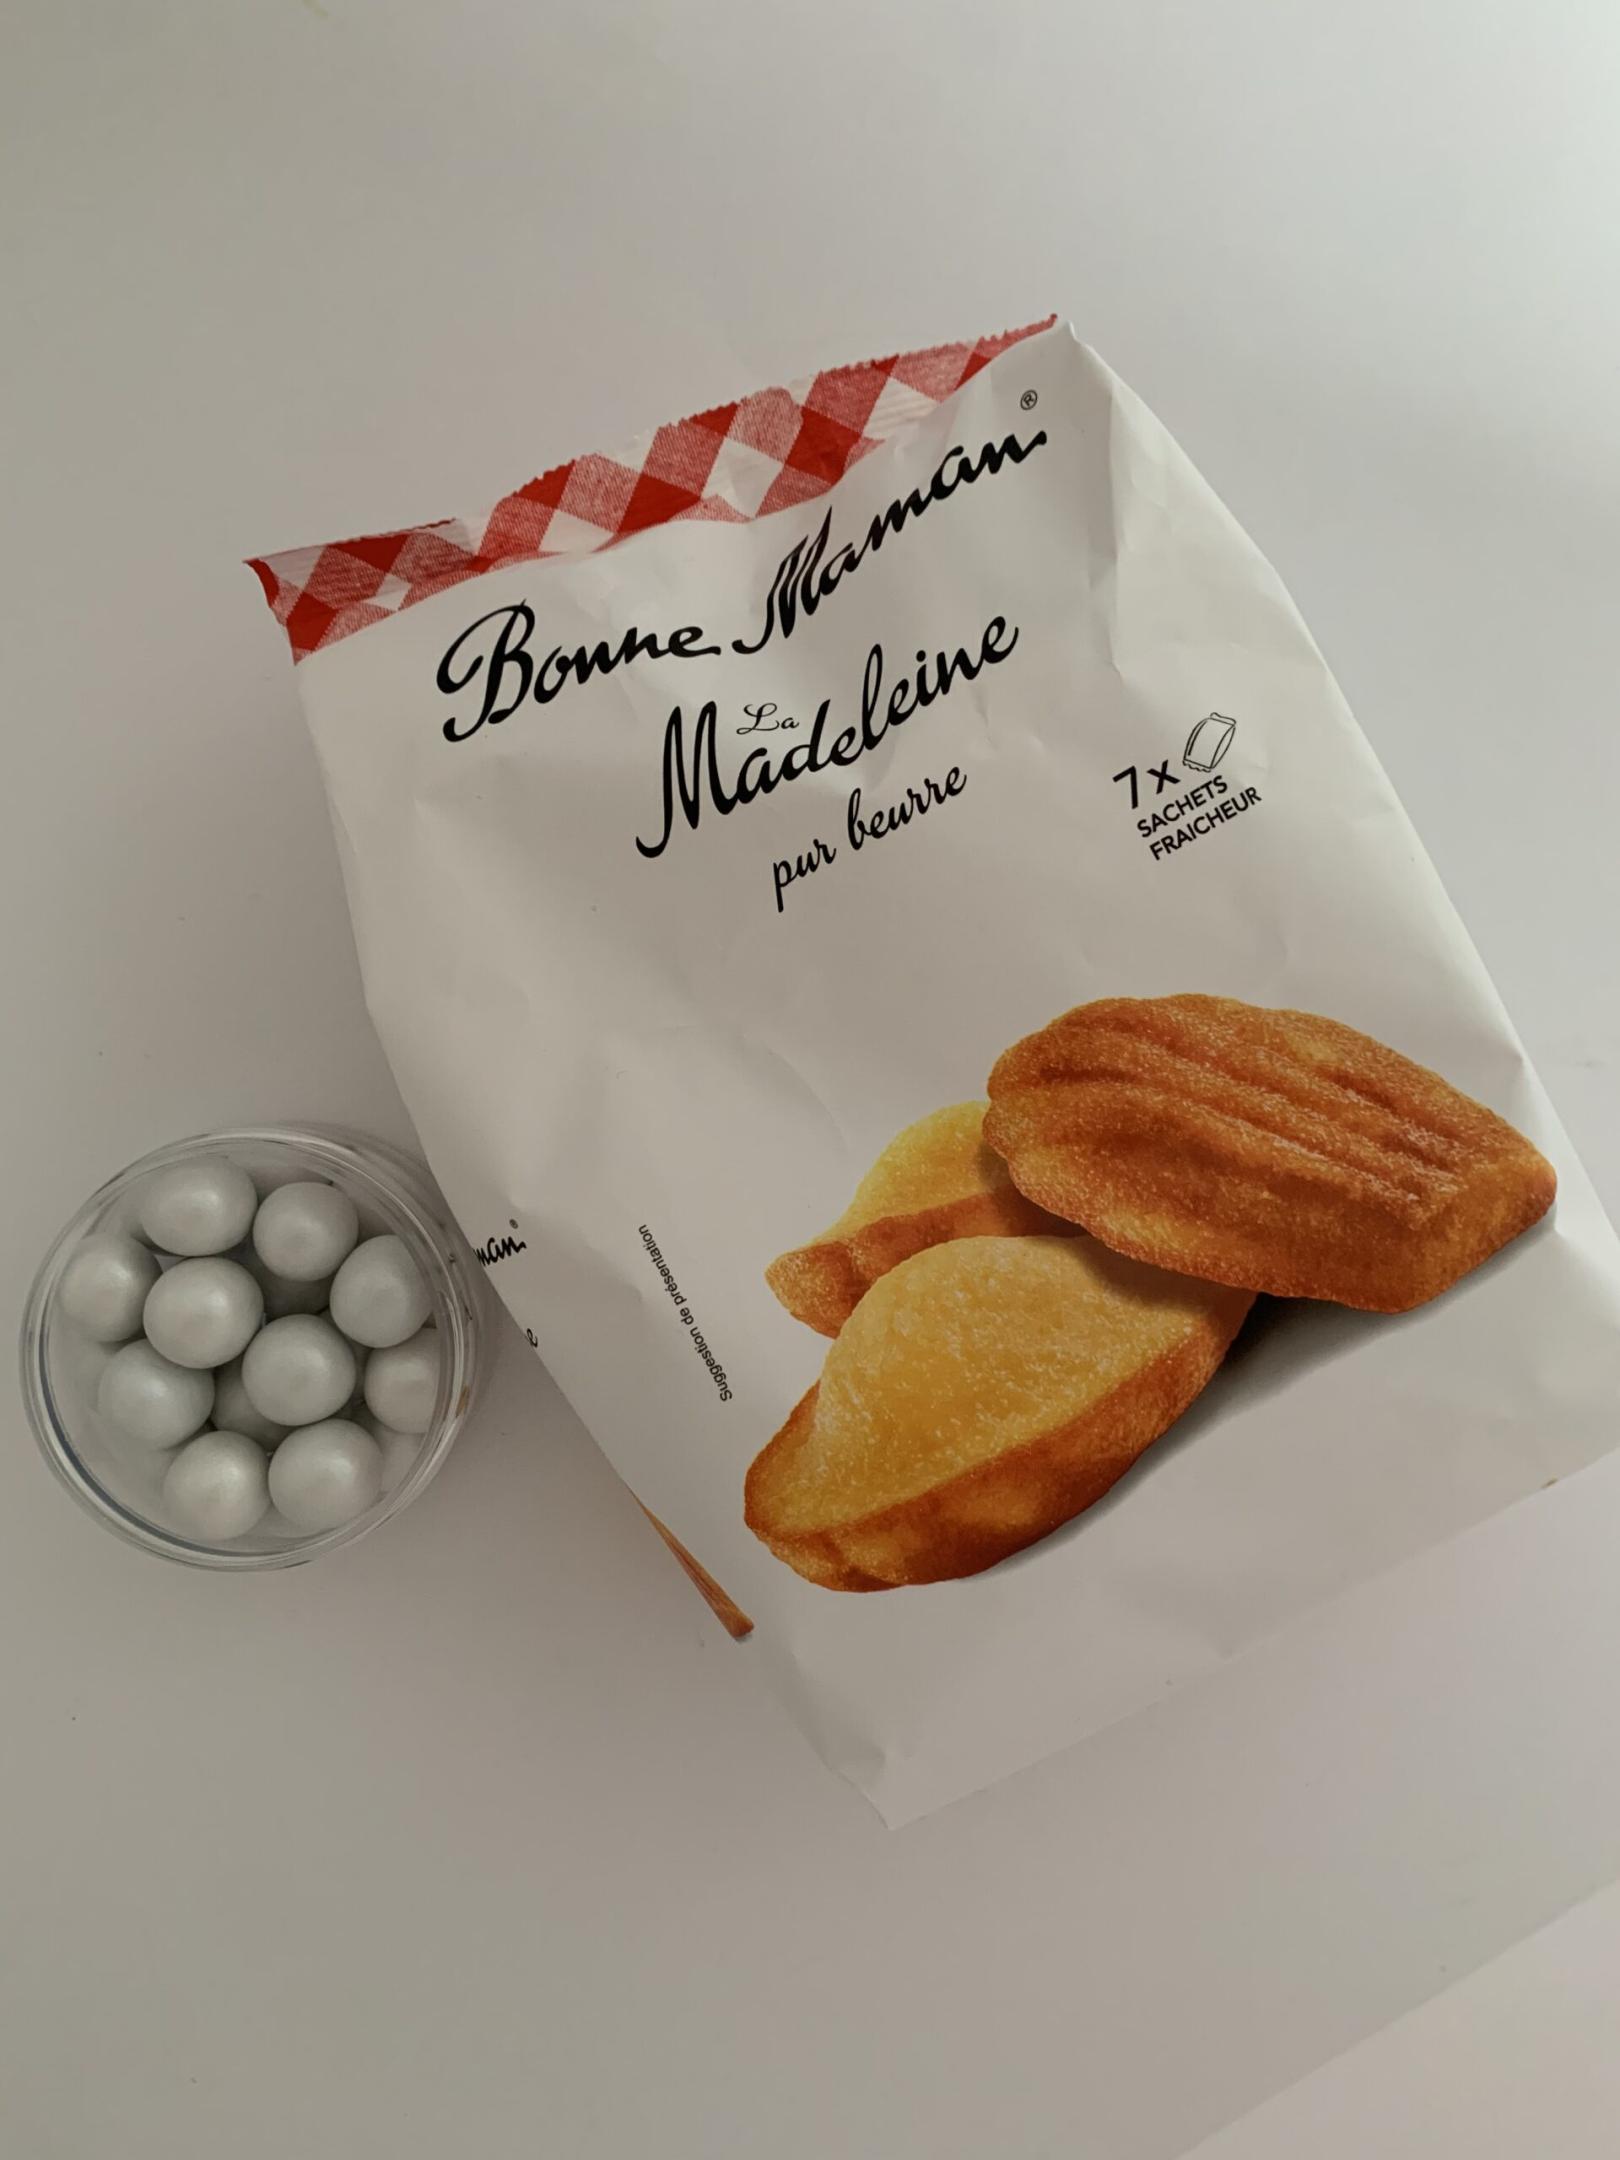
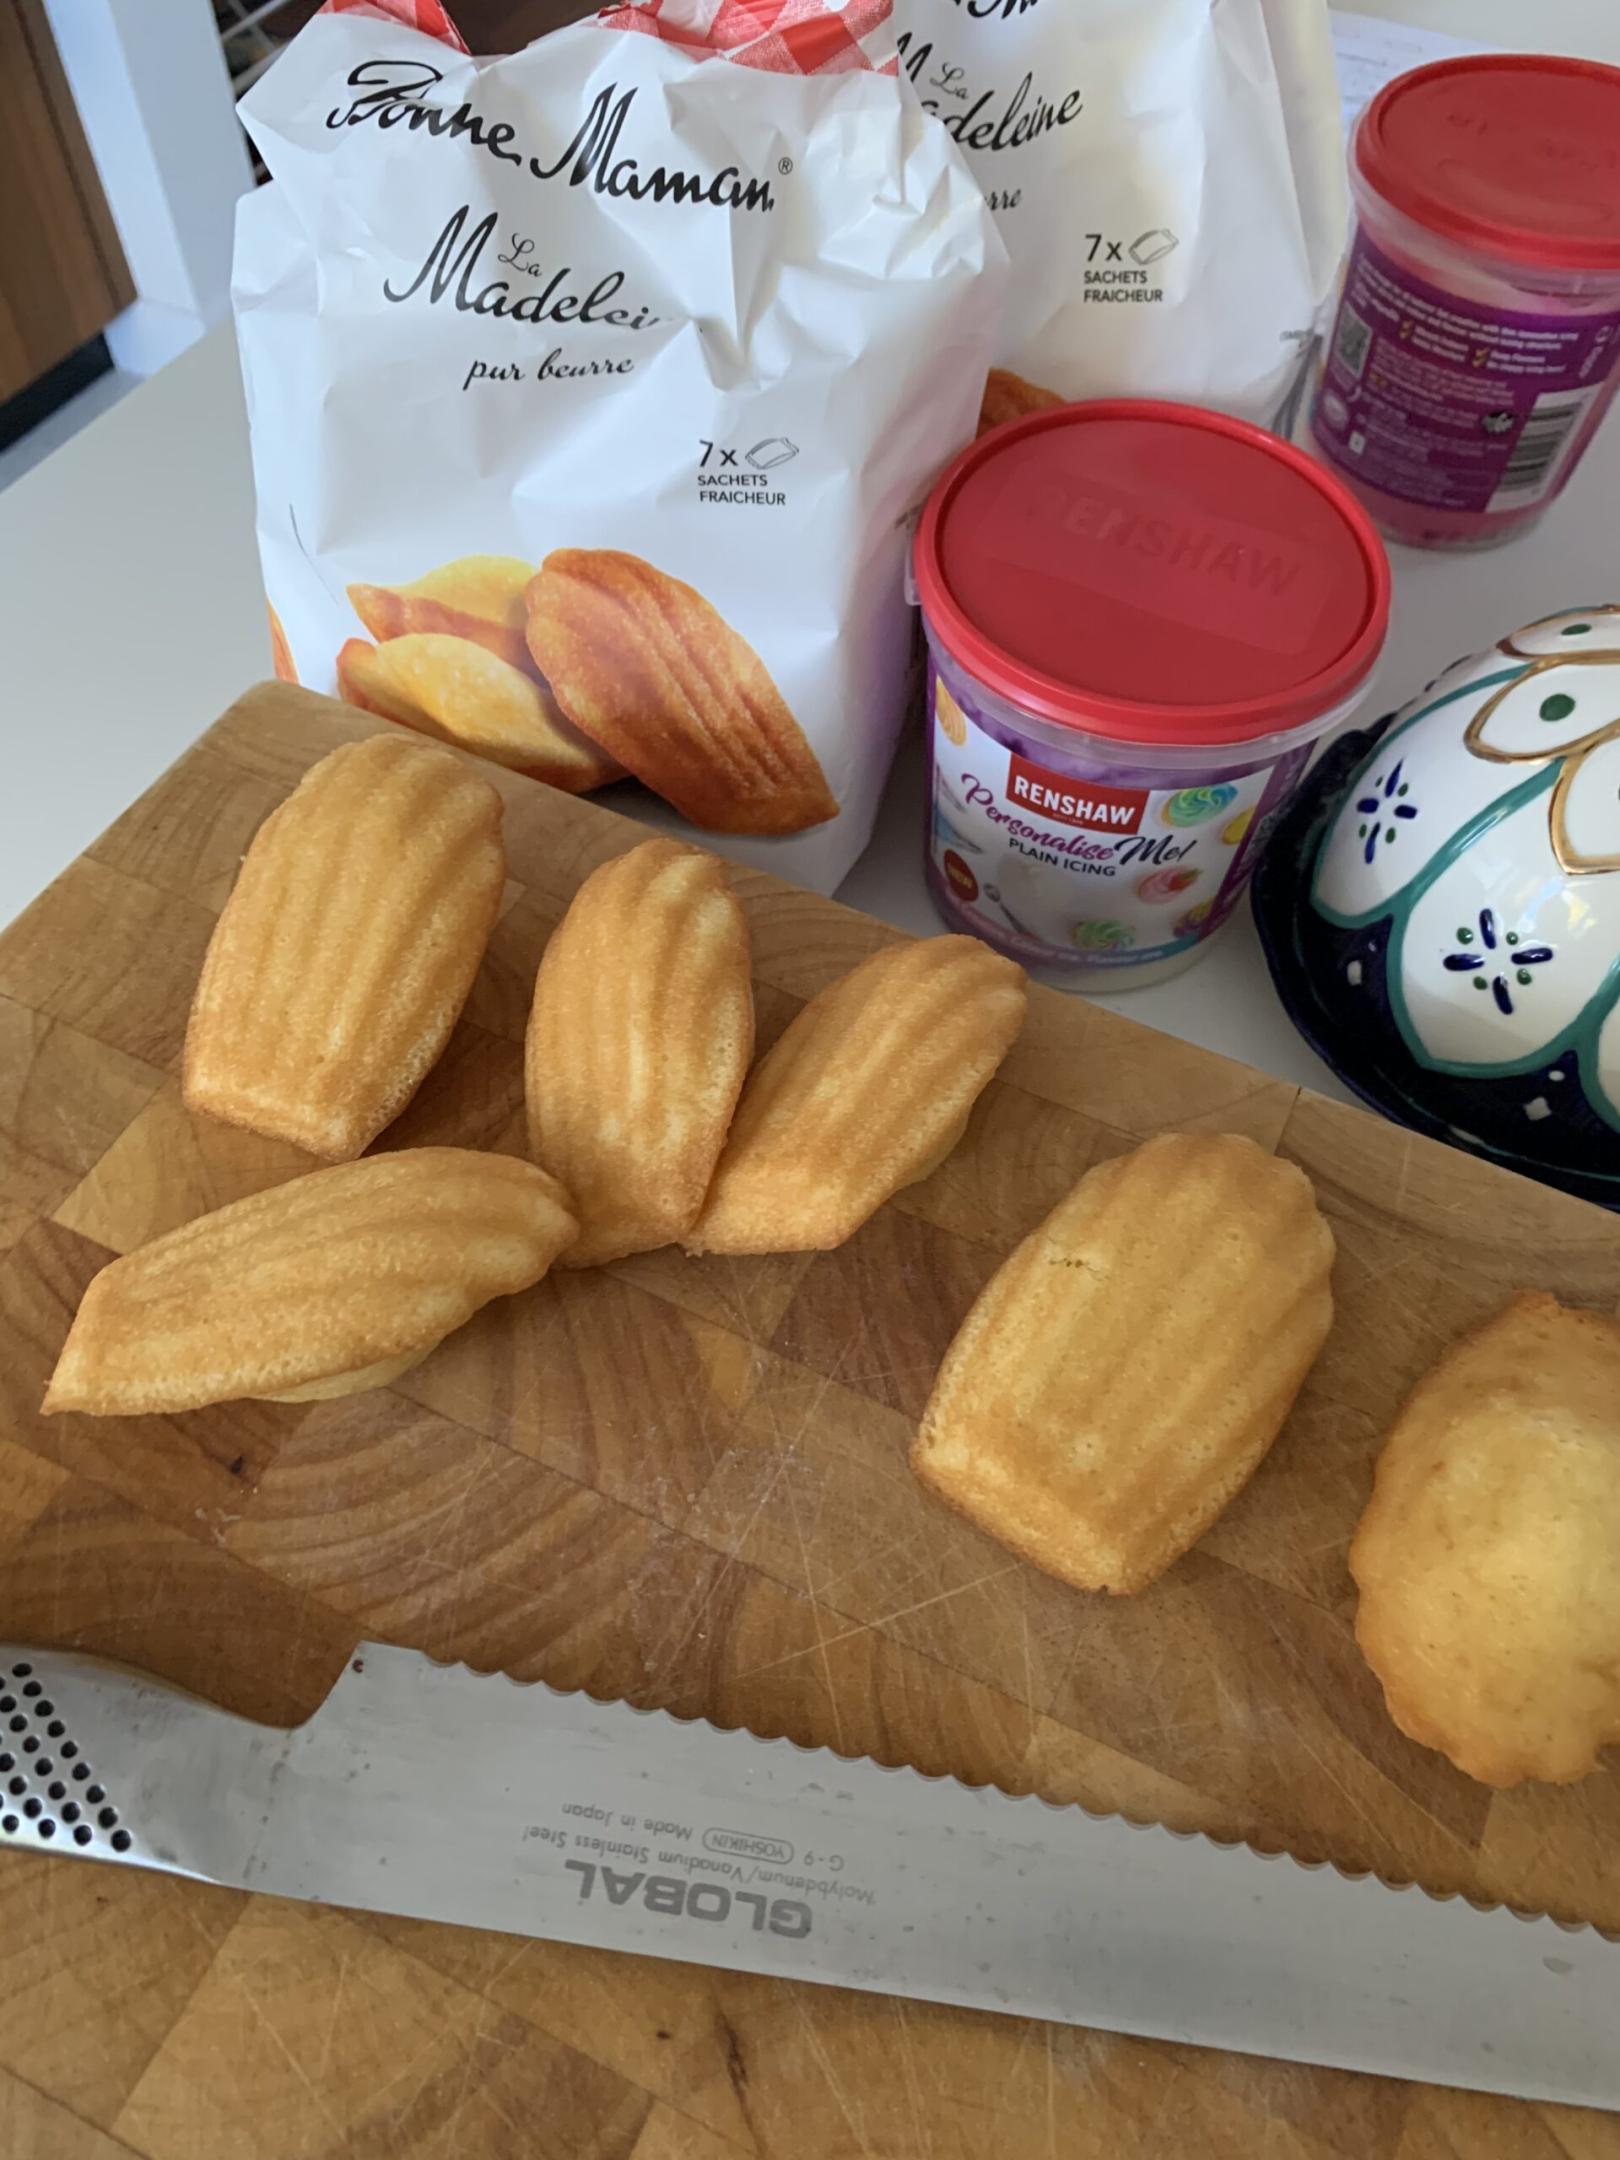
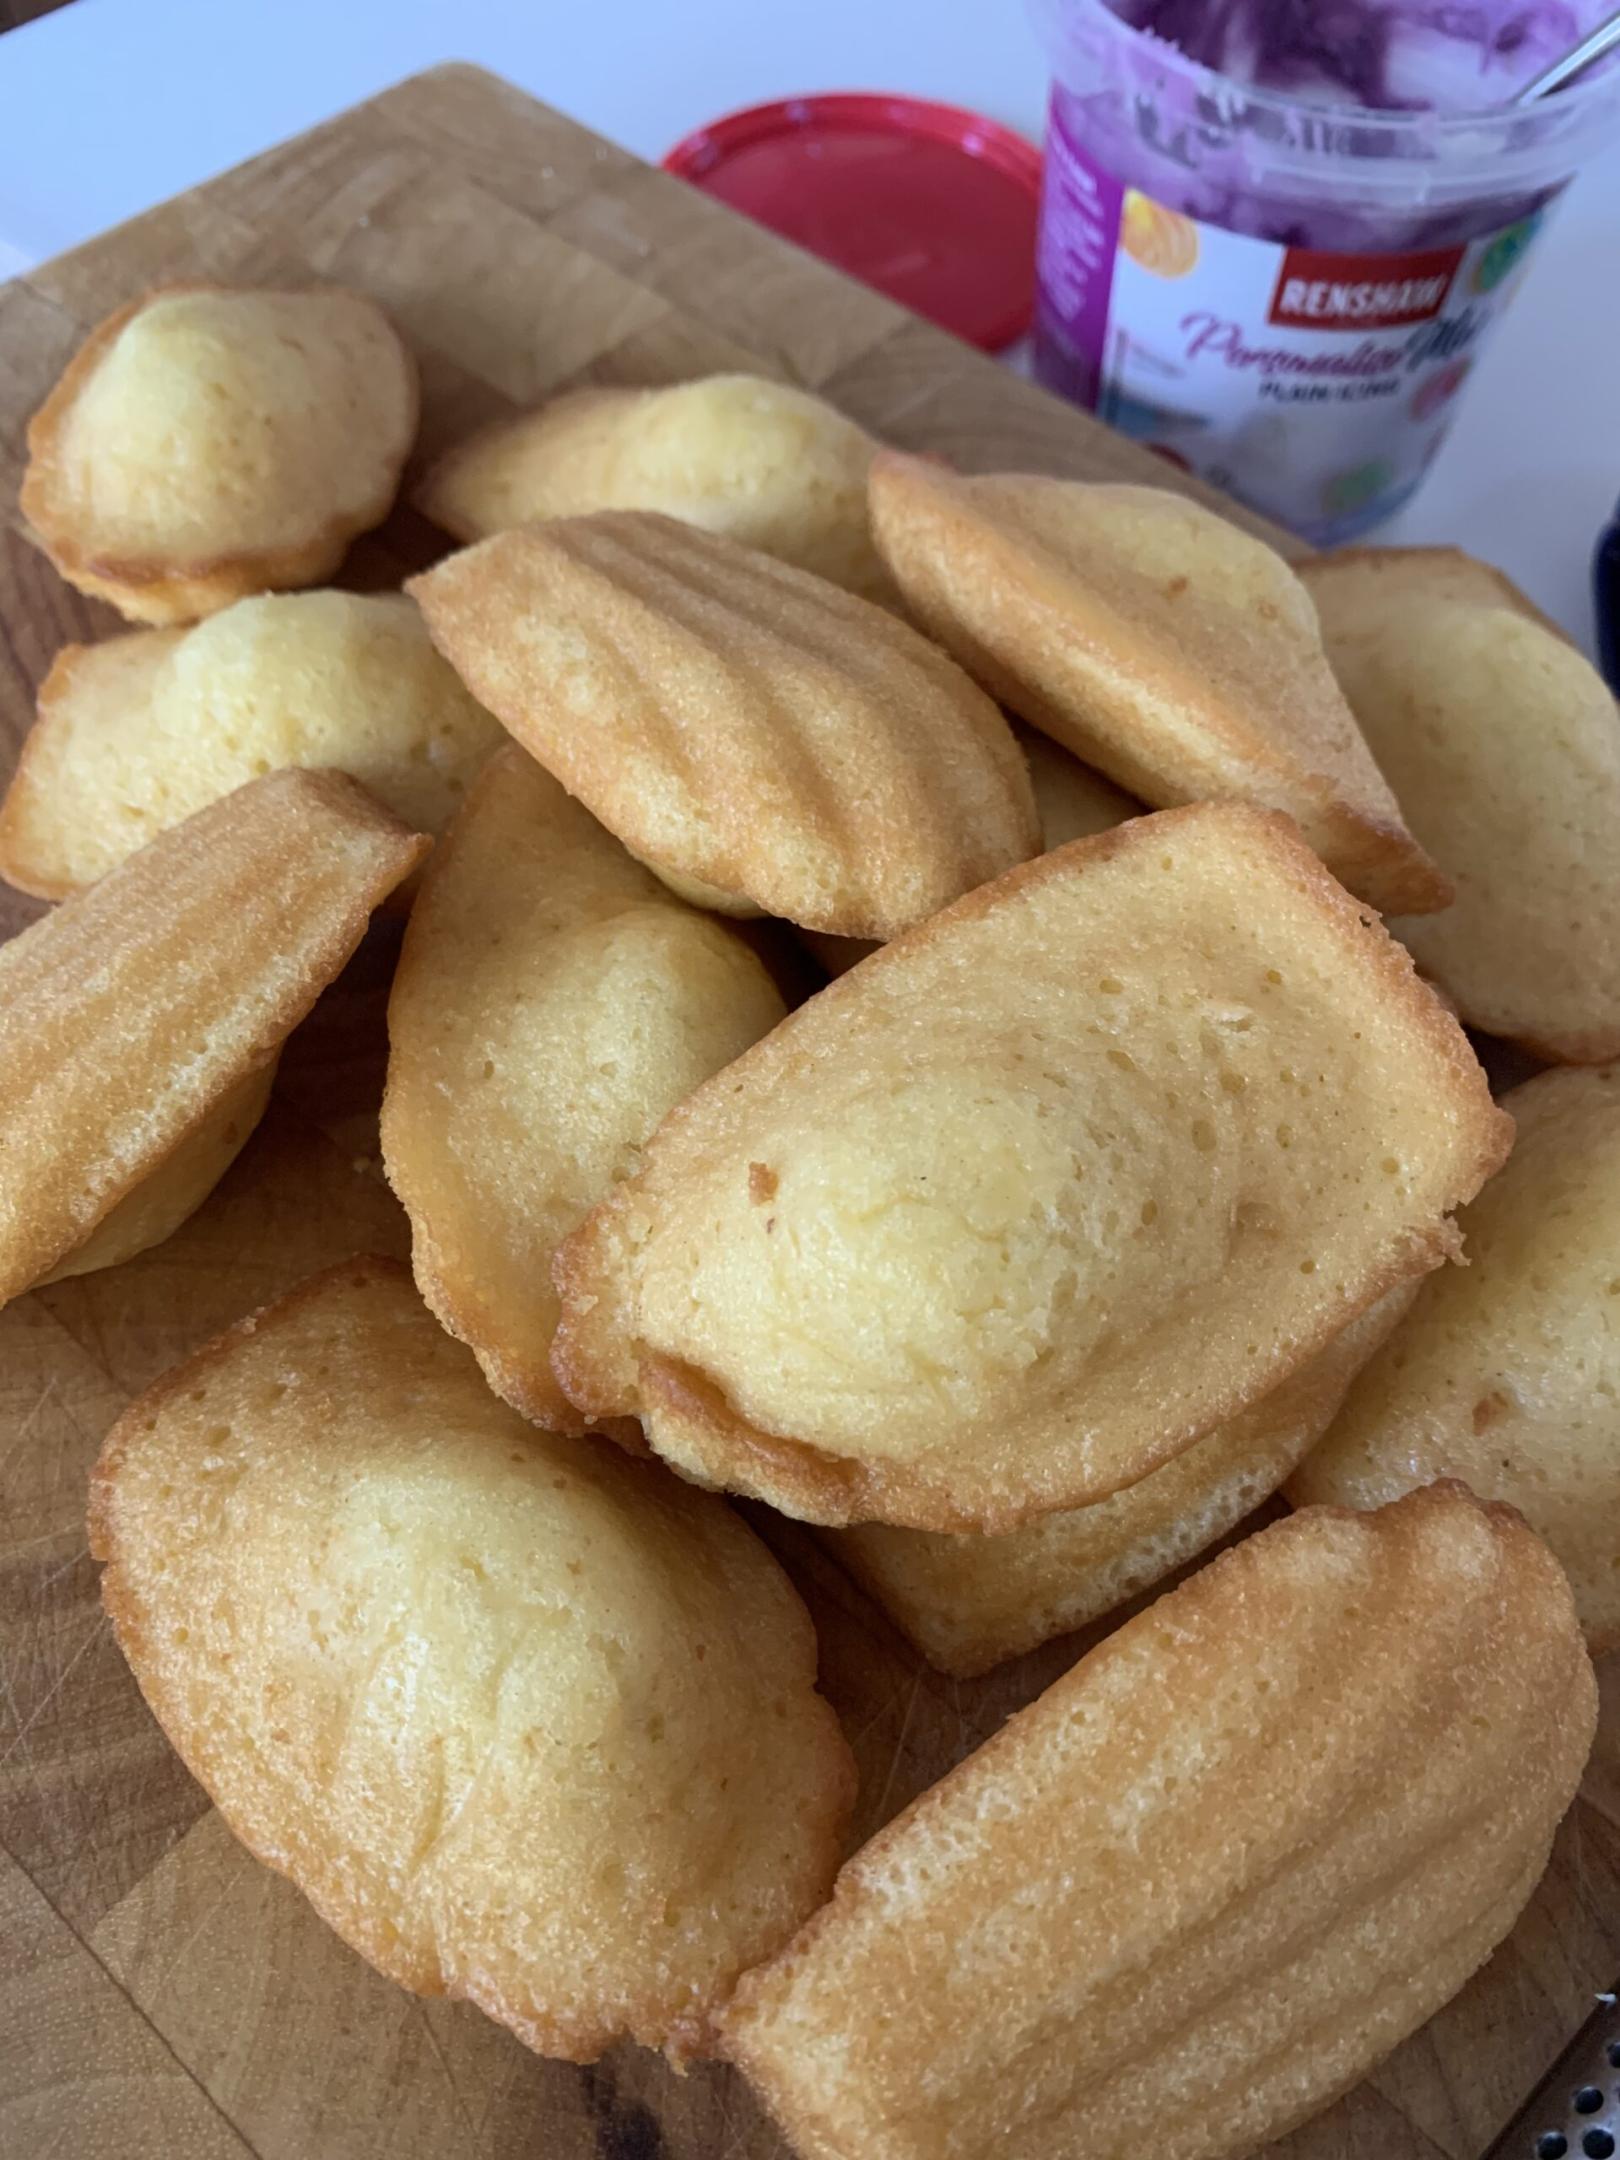
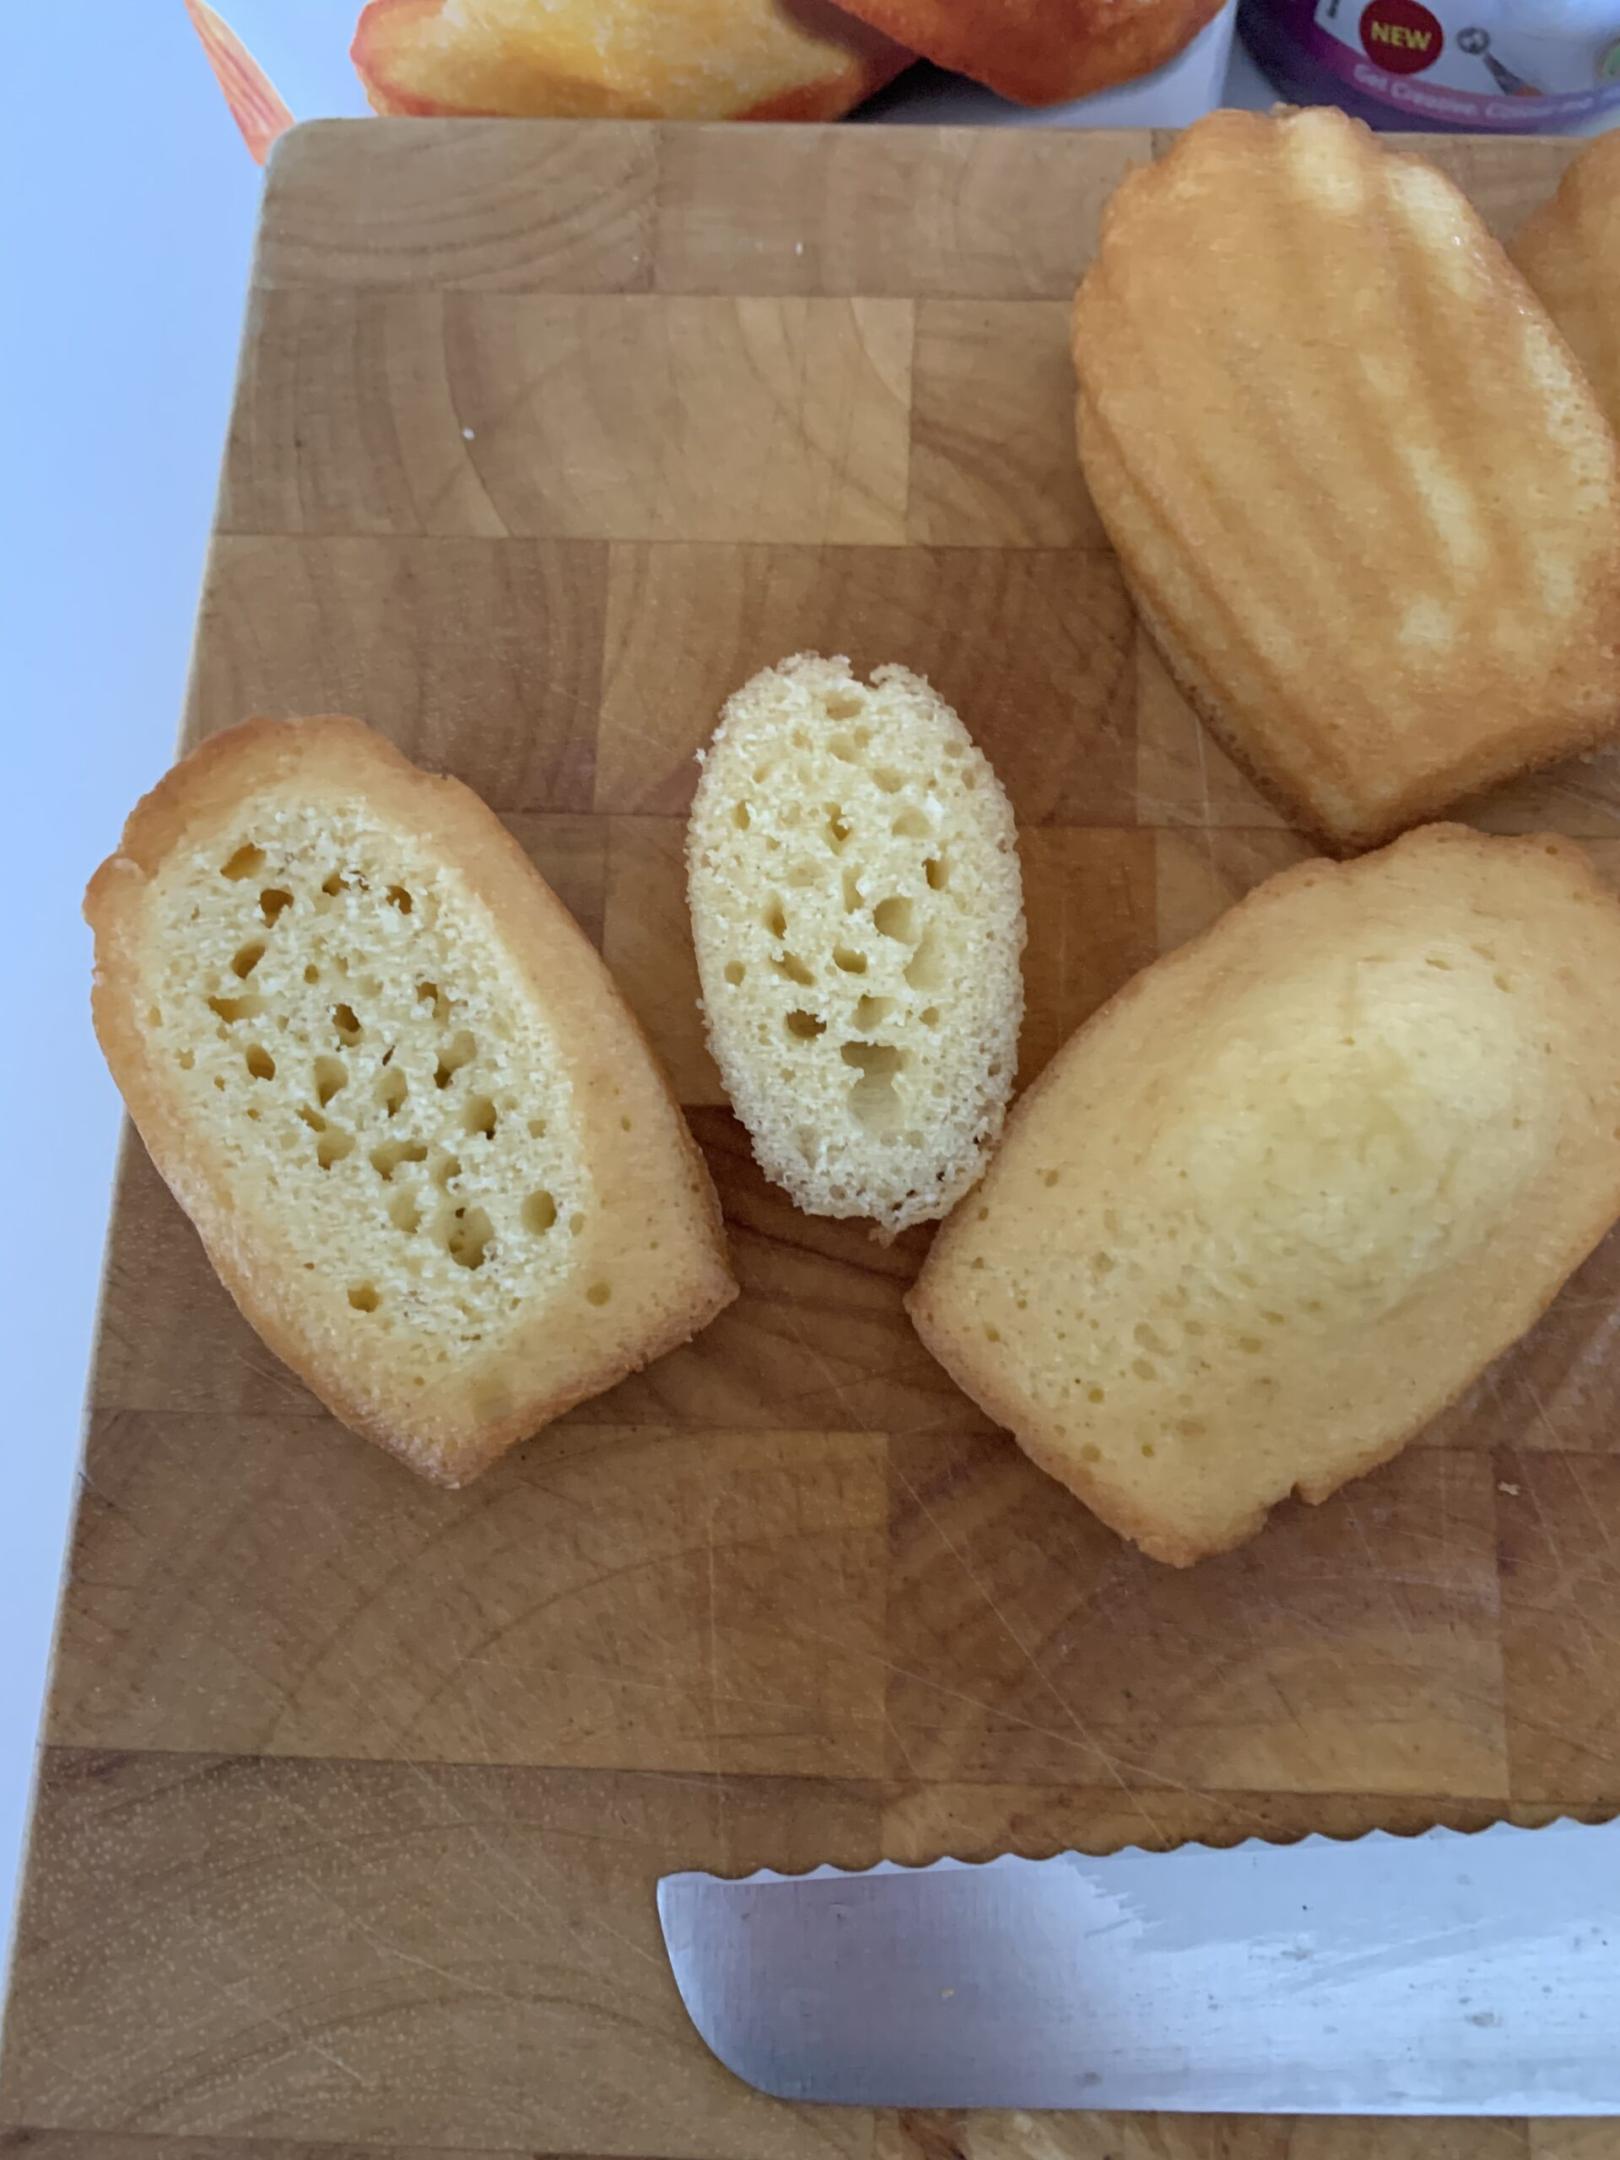
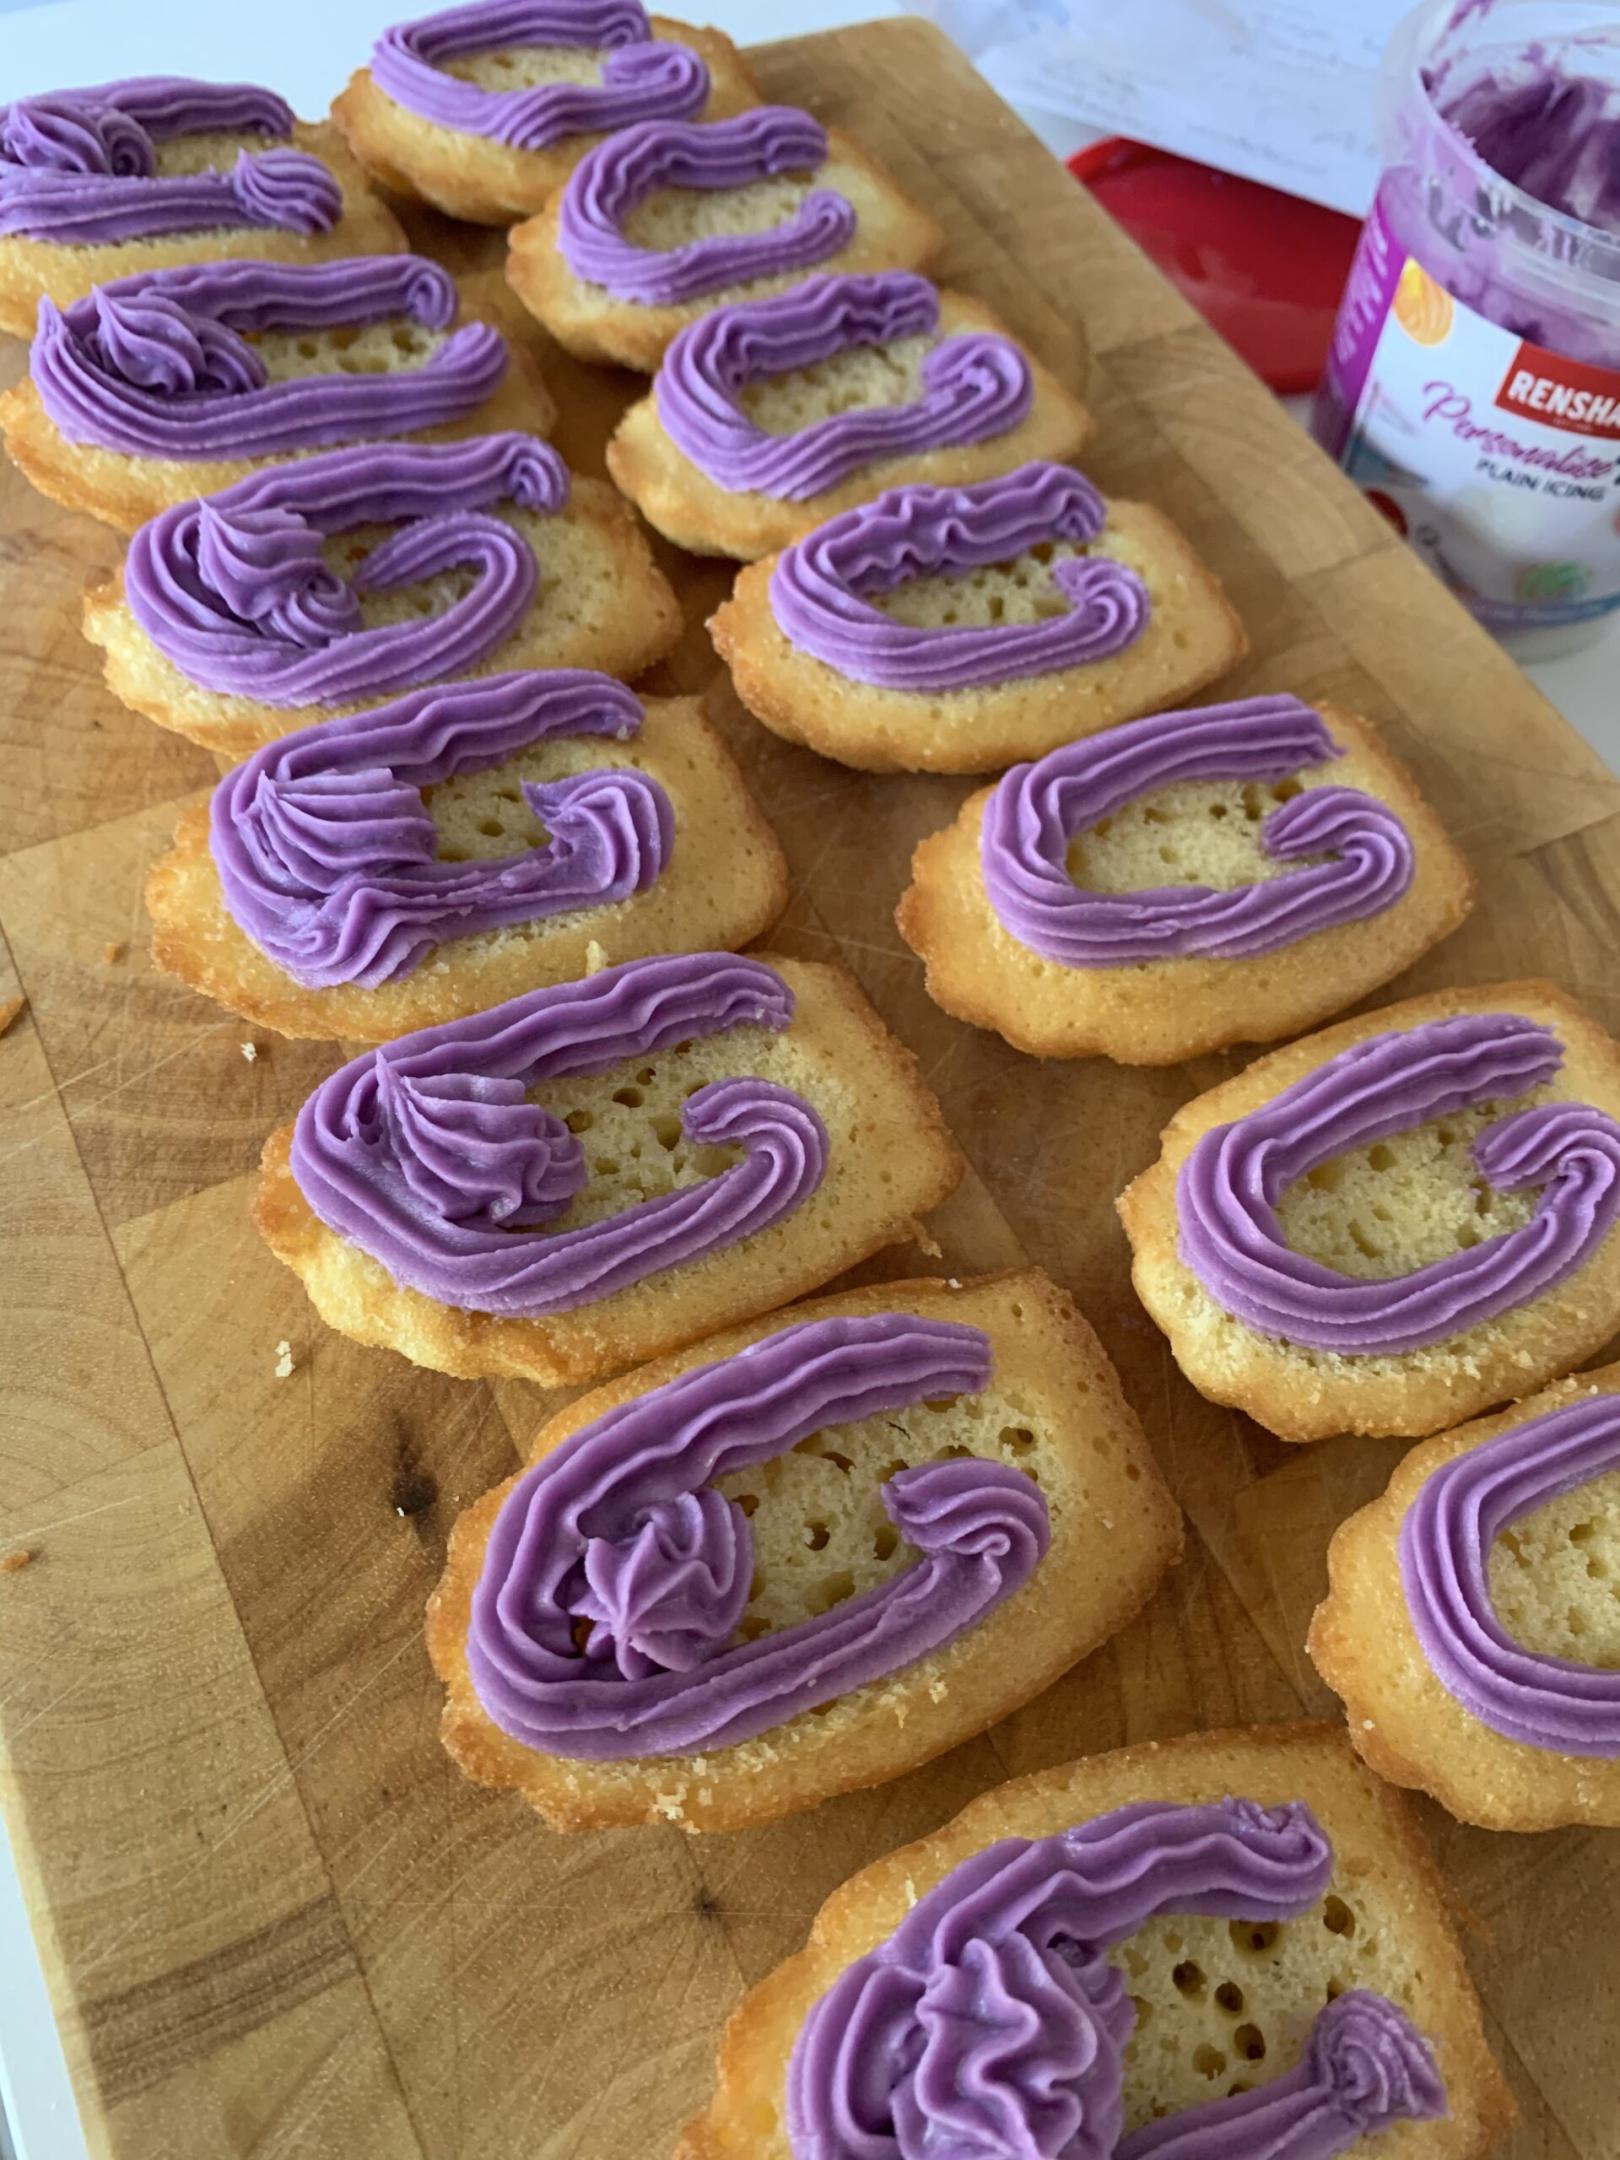
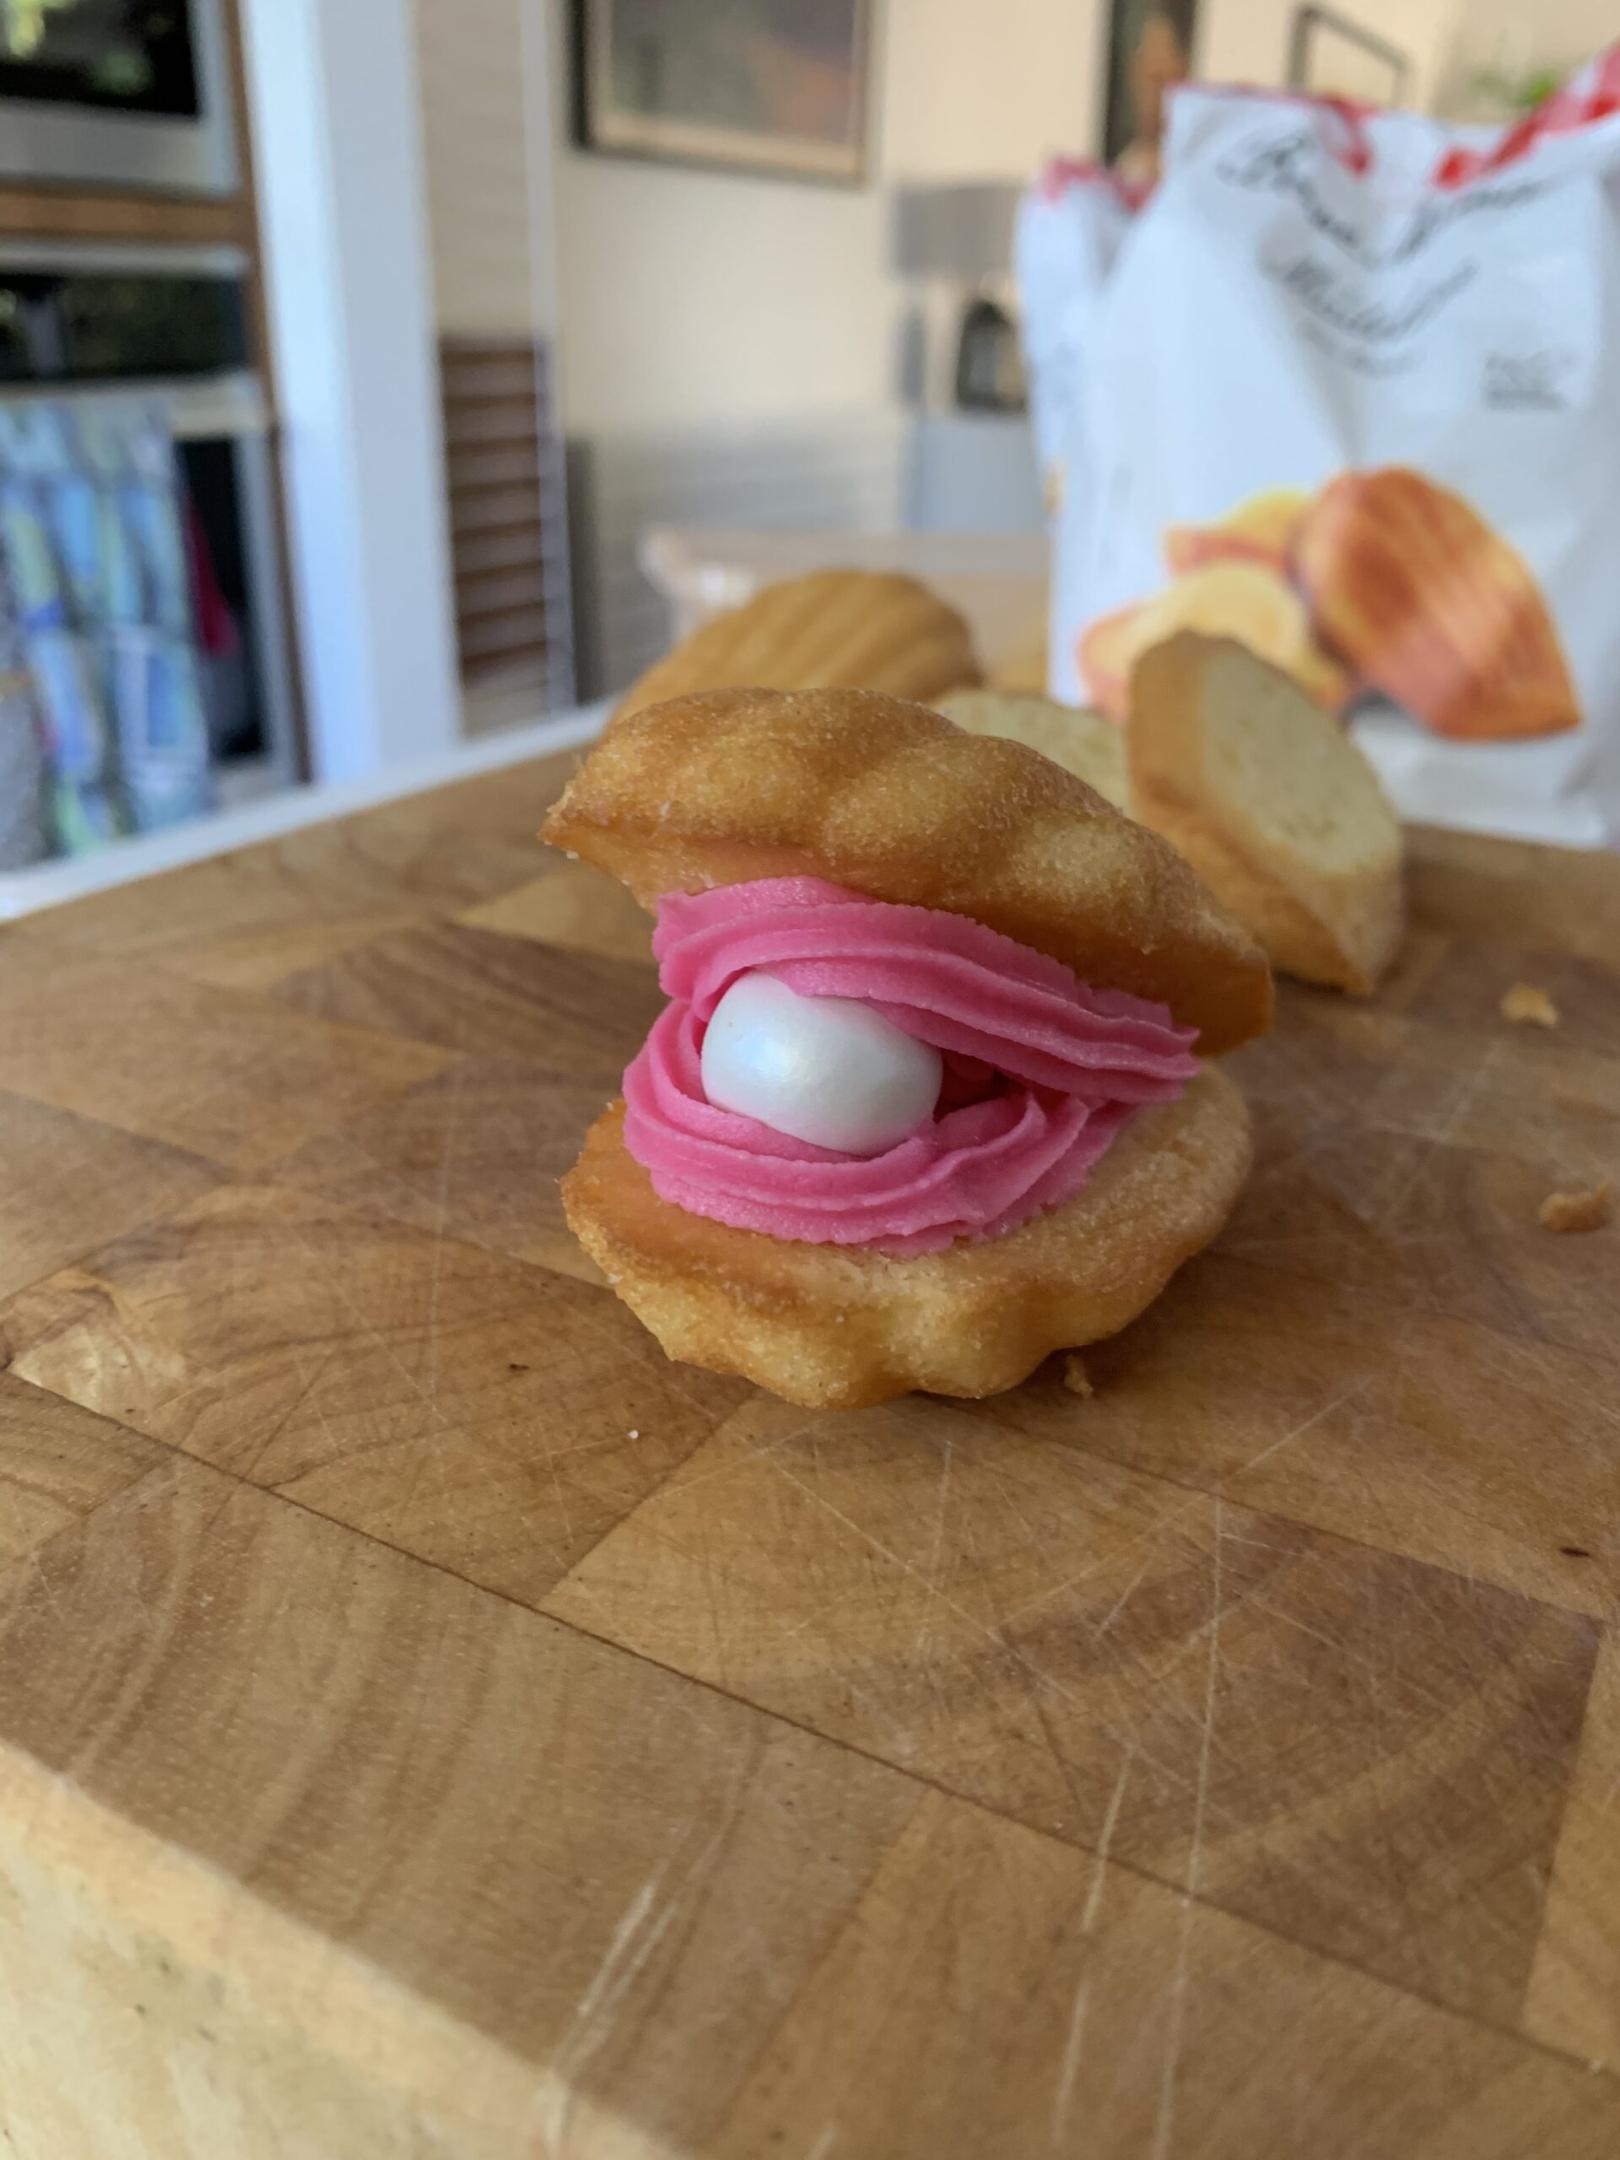
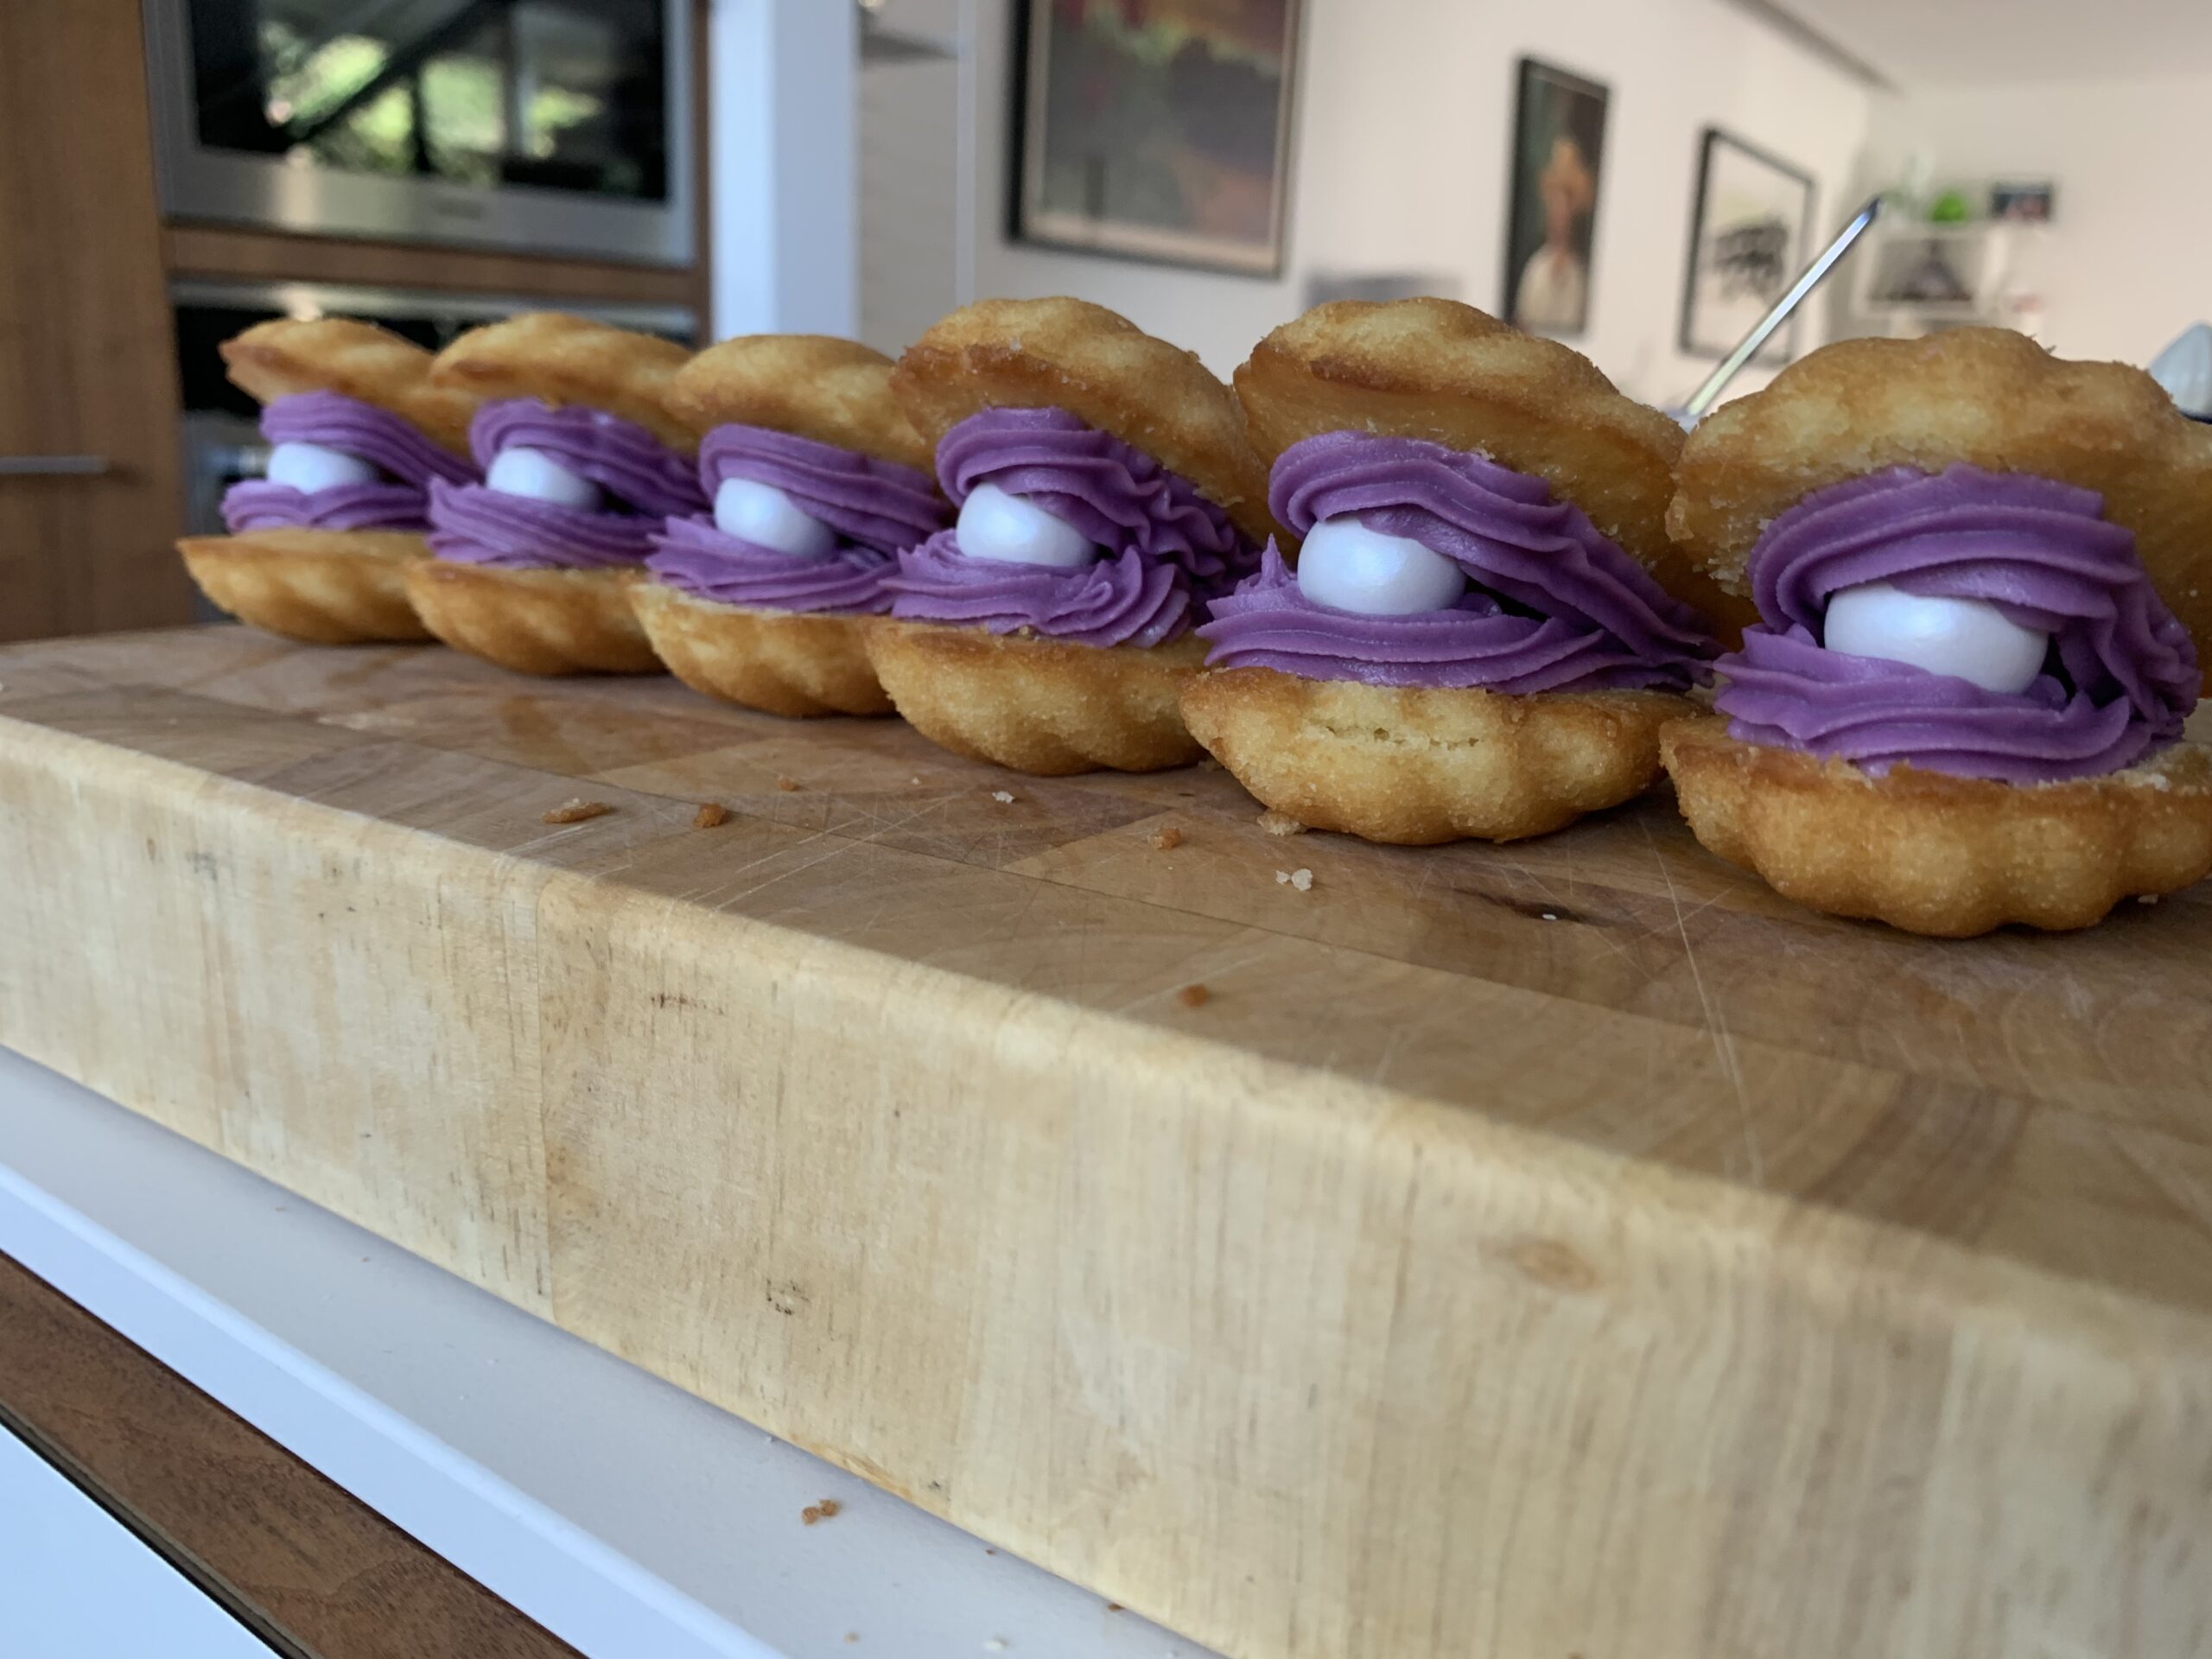
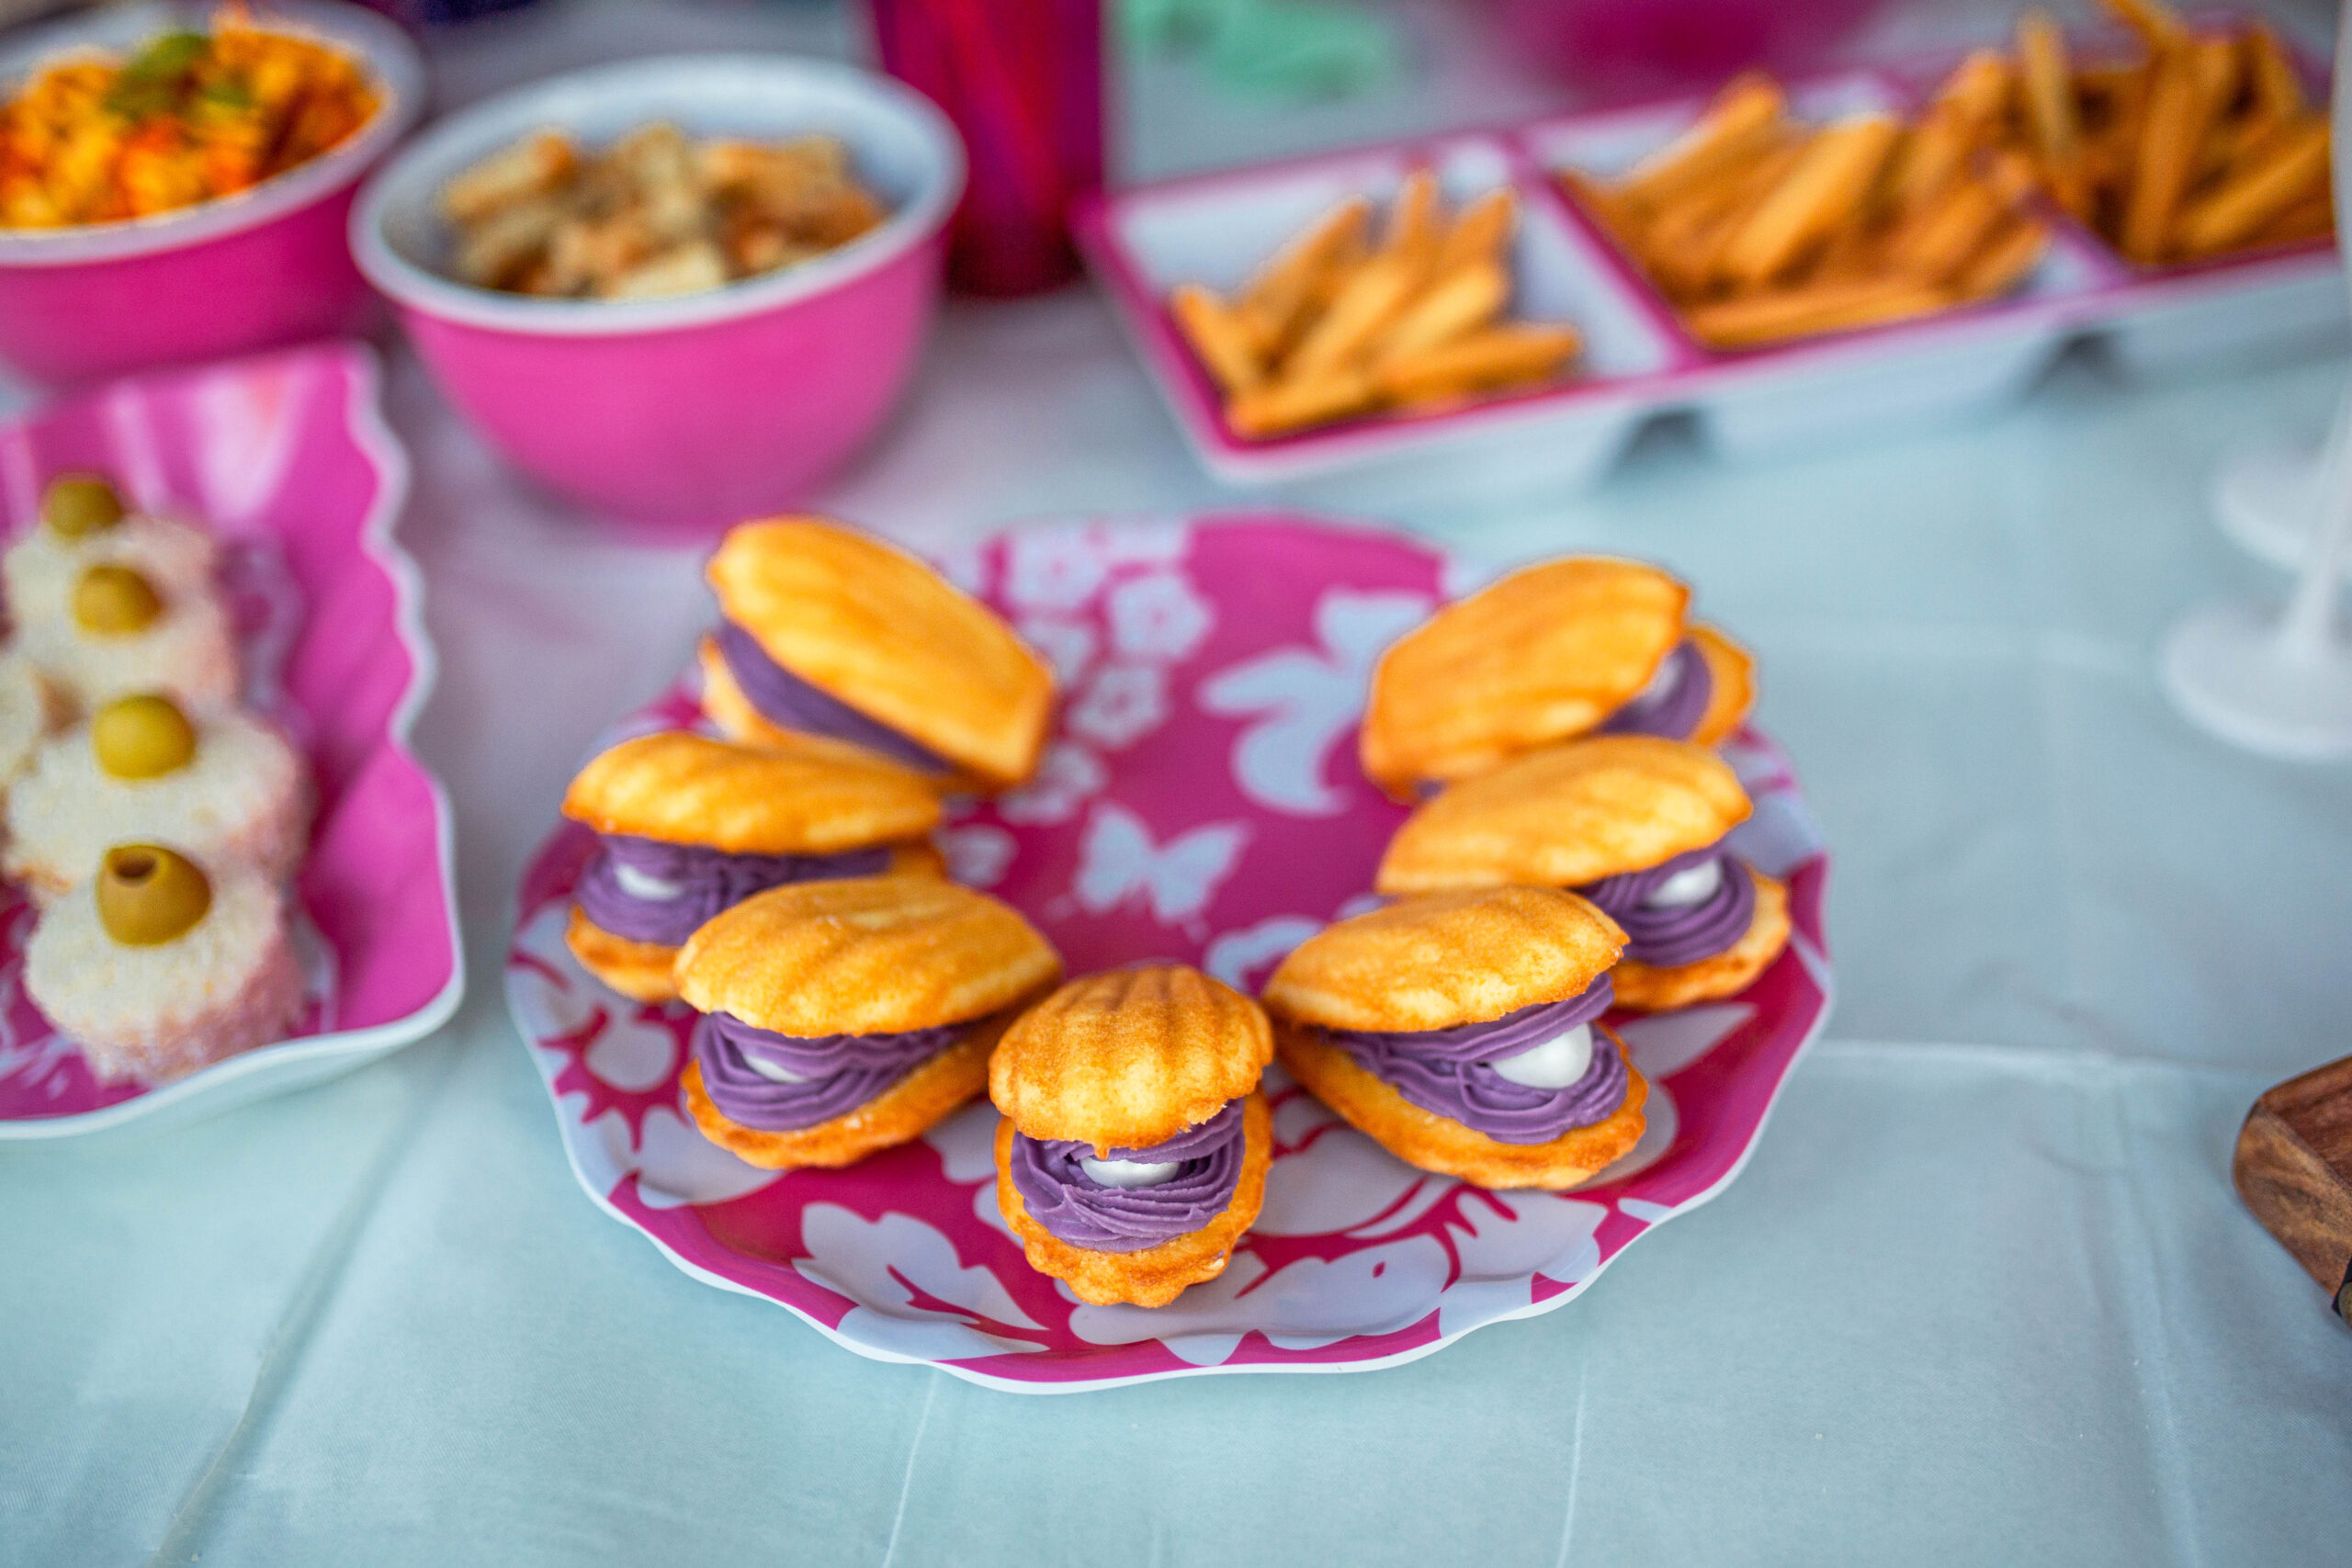
These were so easy to make and very effective. They were also the only thing on the food table that the kids demolished in their entirety! You just slice off the top of a madeleine cake and then with a little butter icing and a large chocolate filled pearl cake sprinkle, you put two of the cakes together to create a clam shell. My icing piping is not the neatest, as you can see, but they came out looking pretty good.
Costumes
The Mermaids
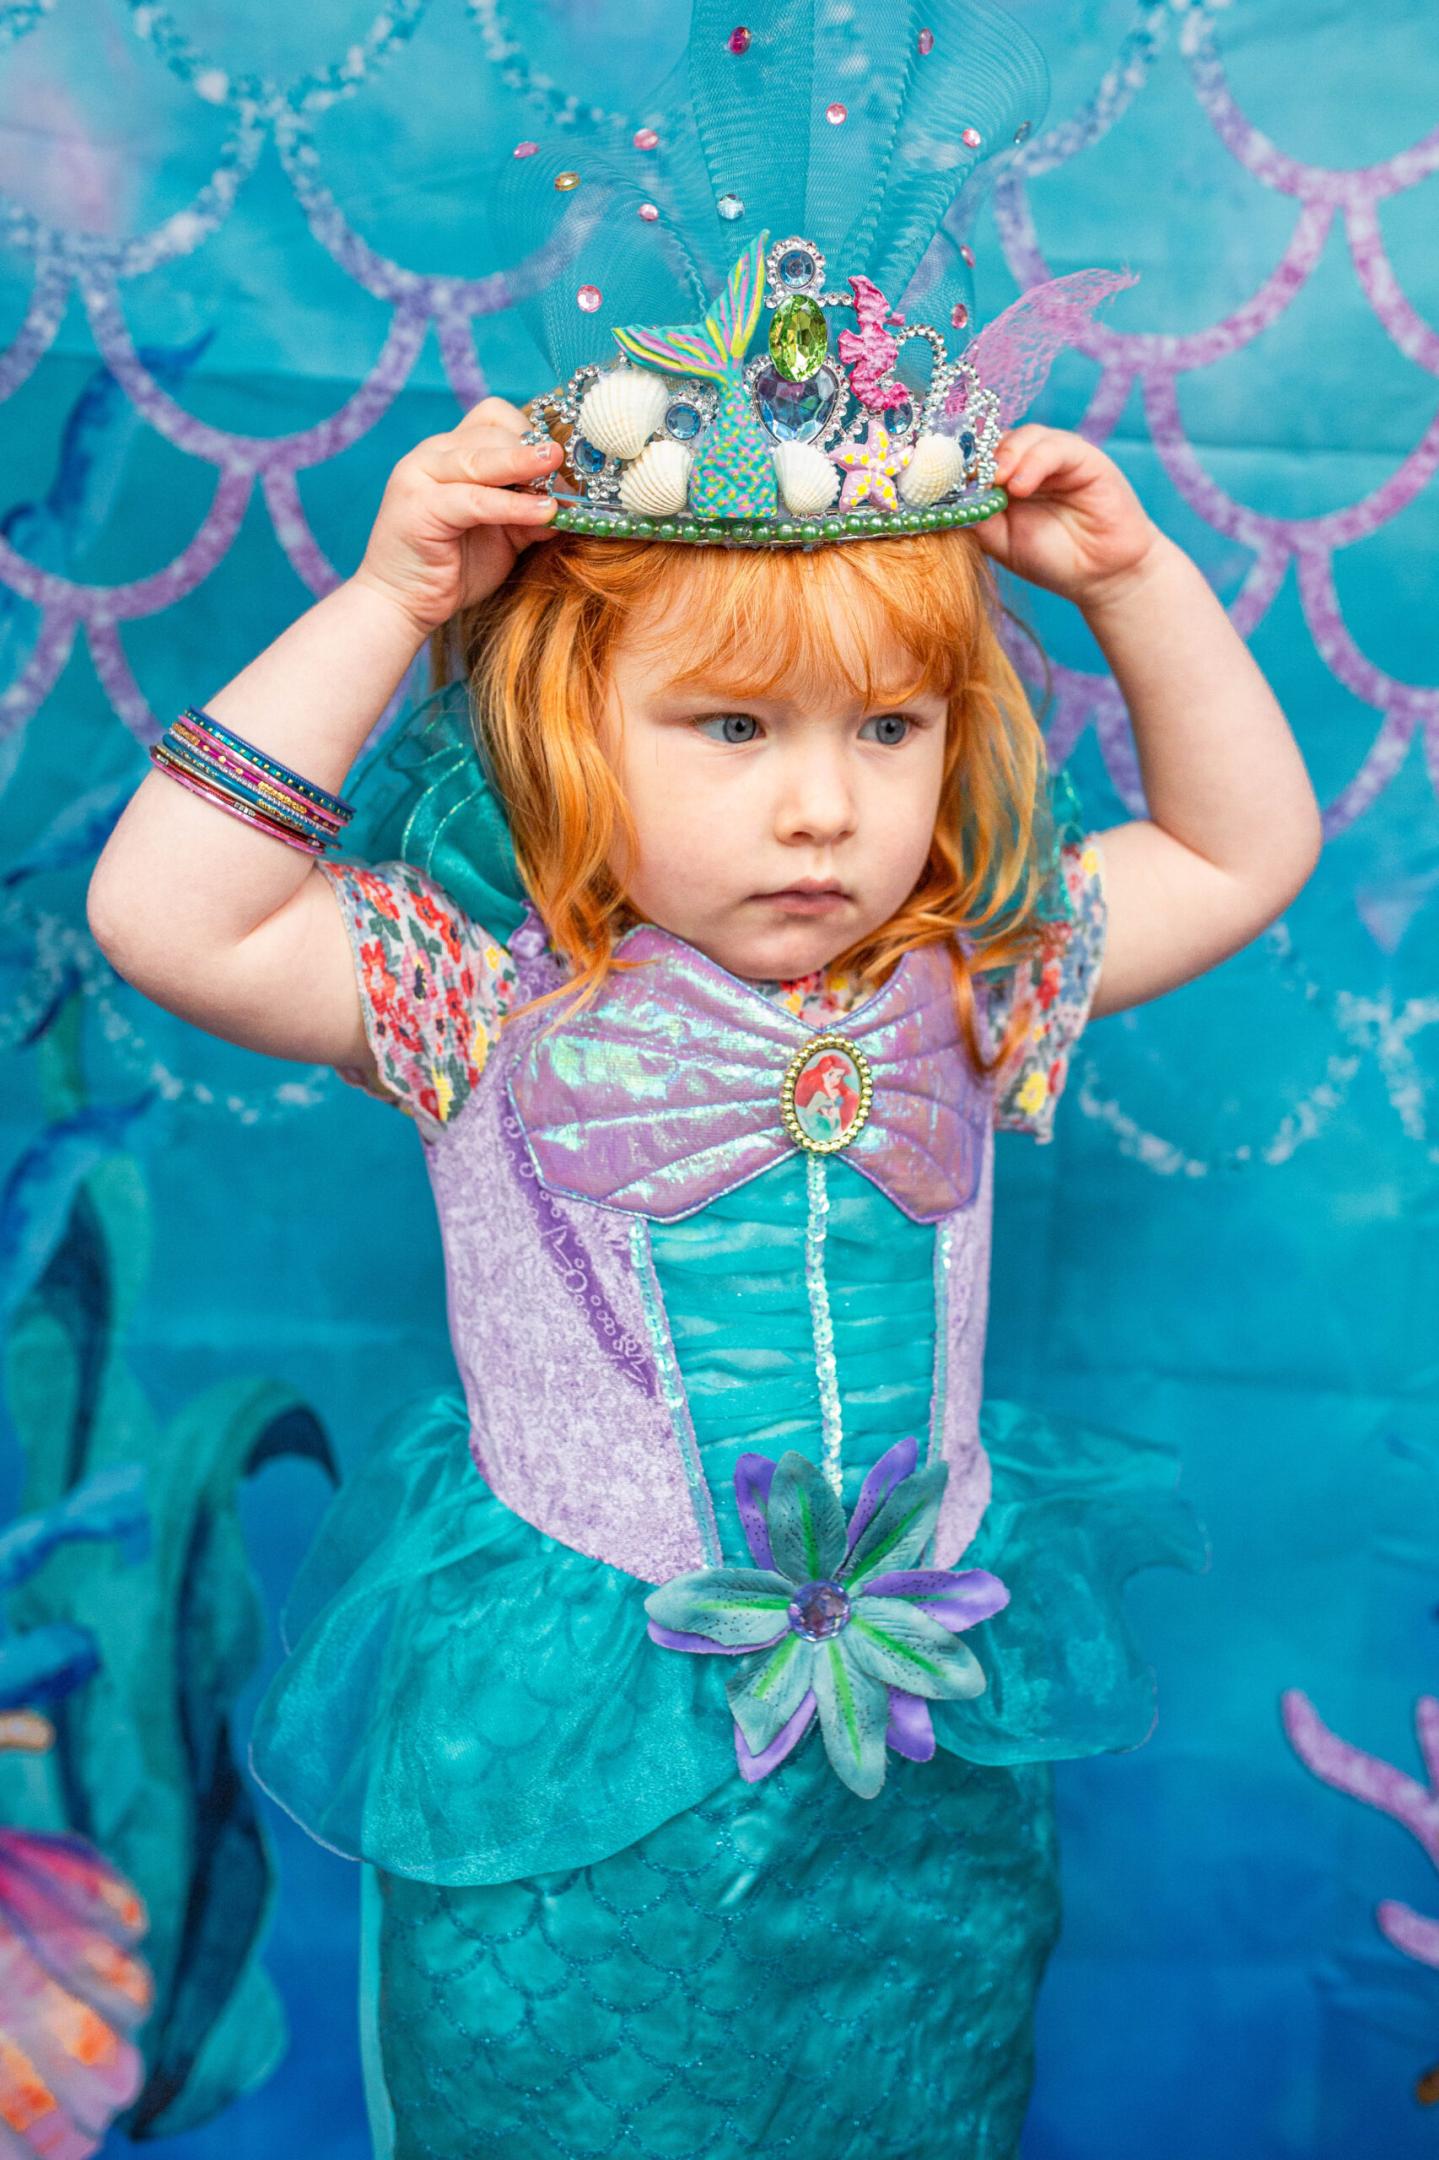
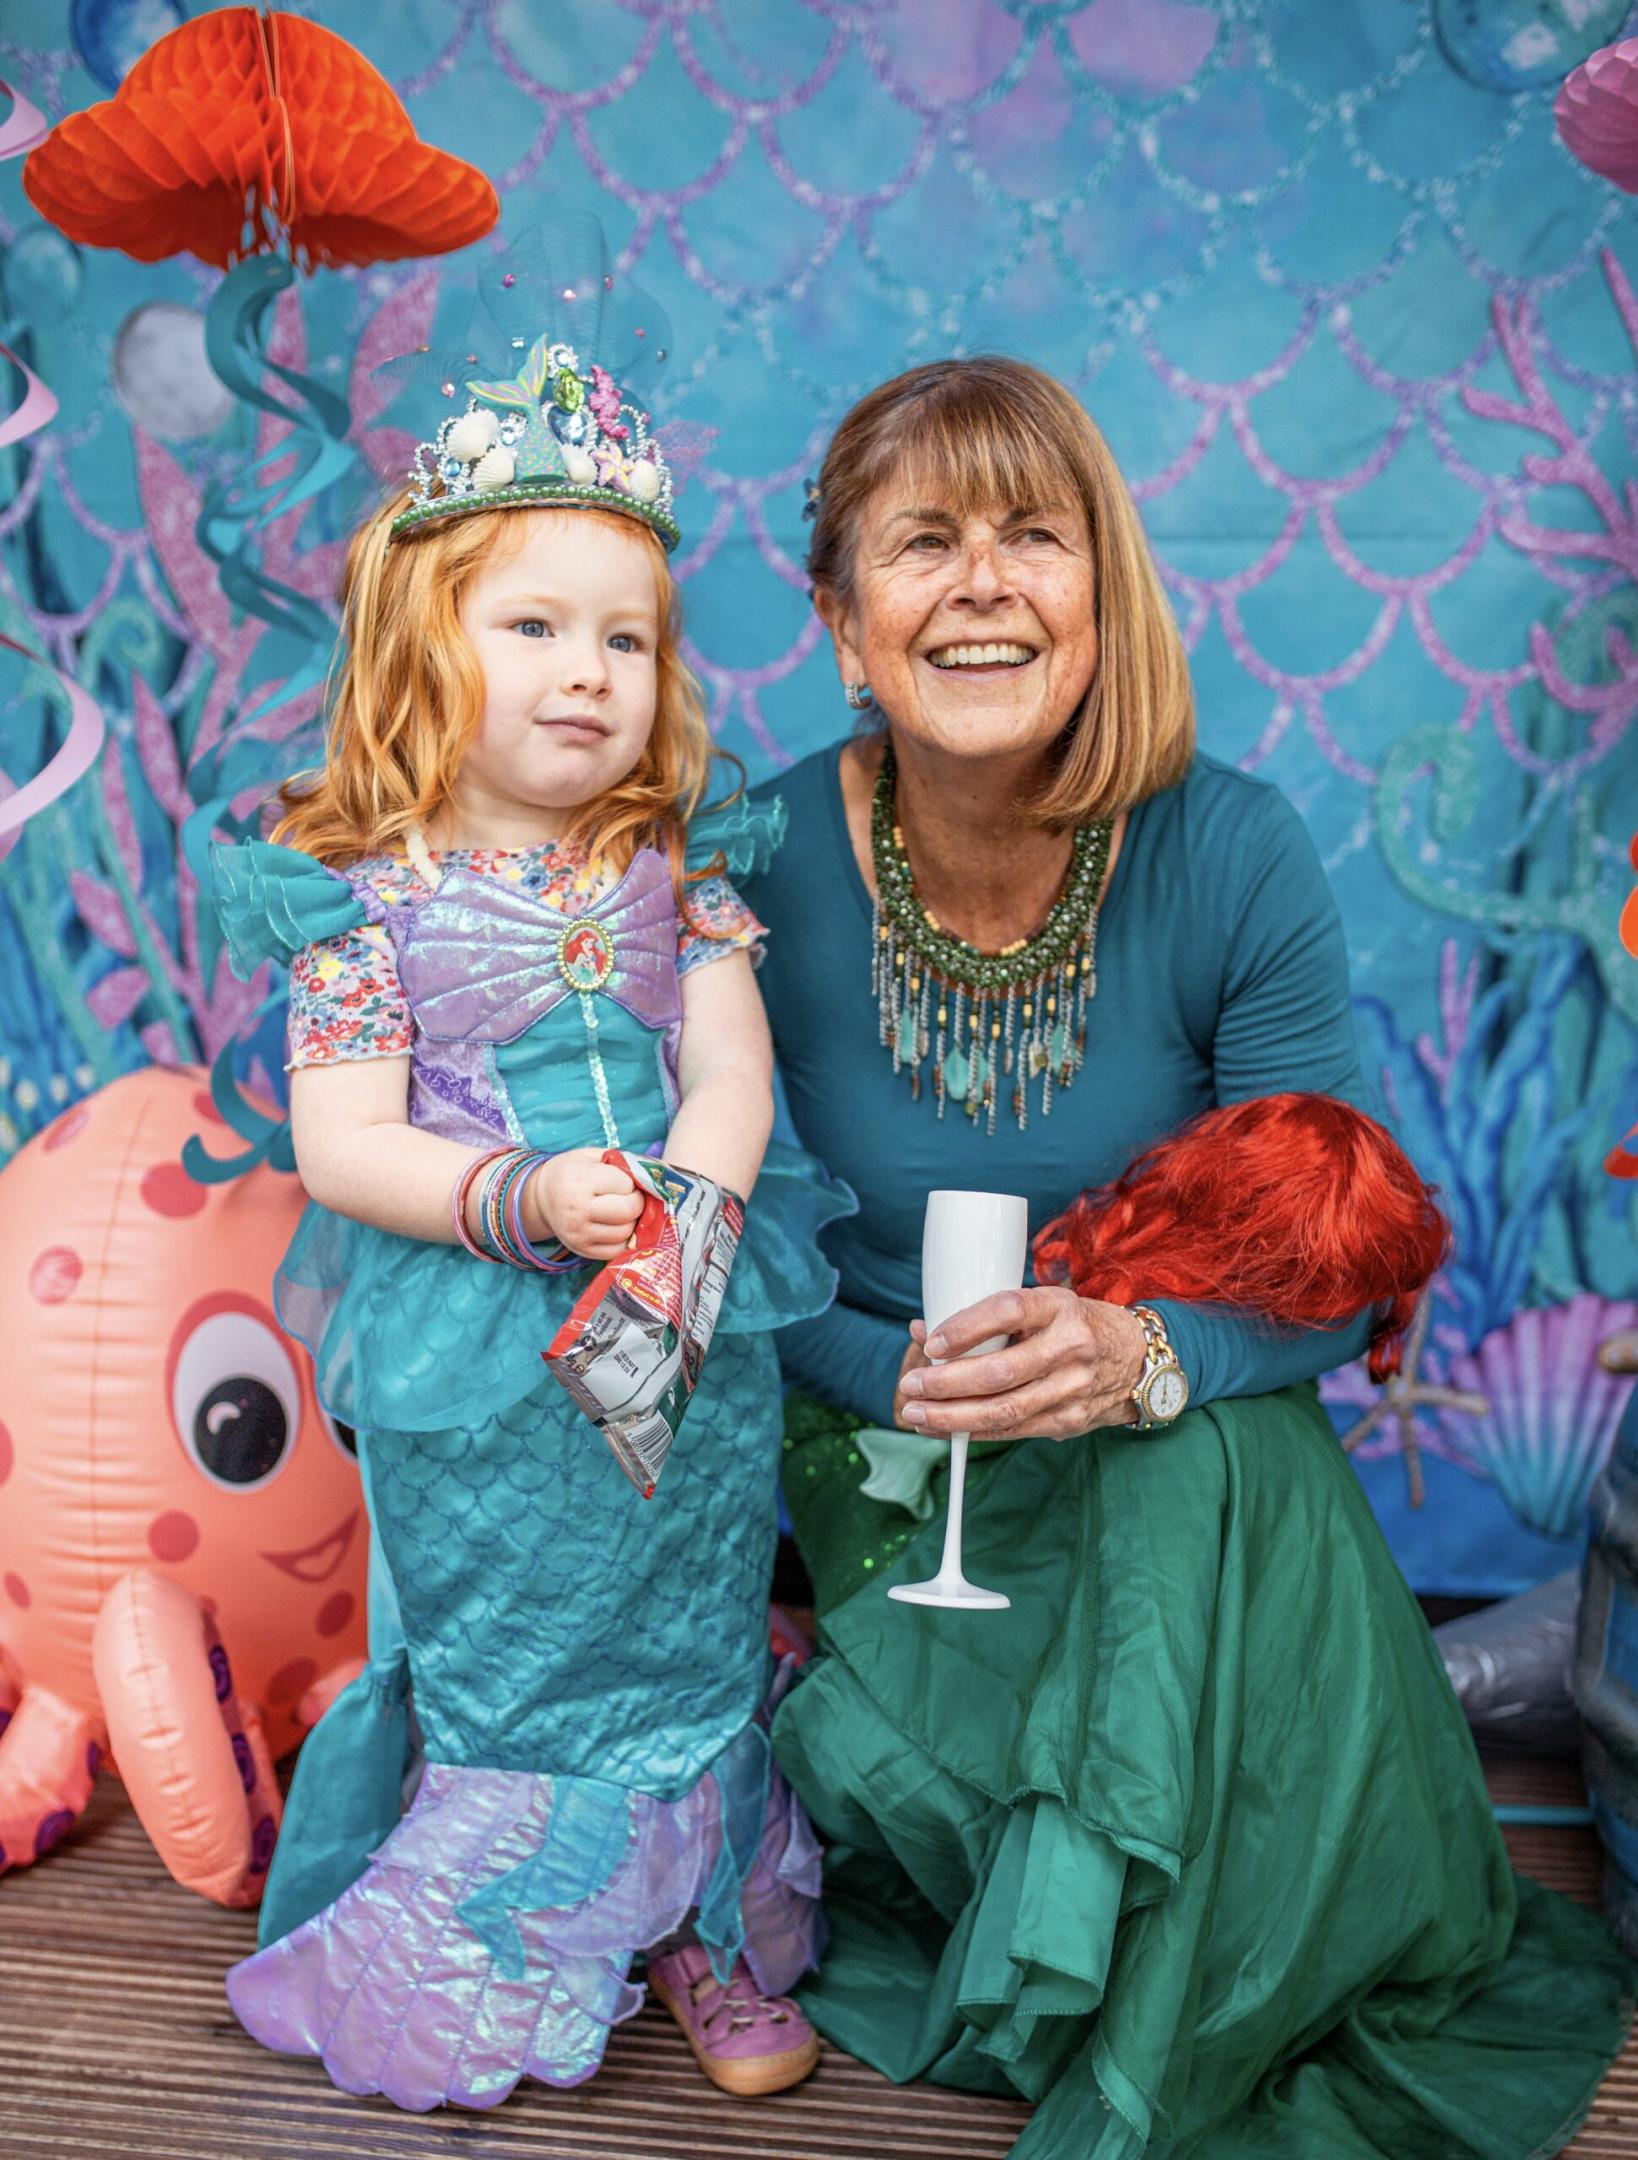
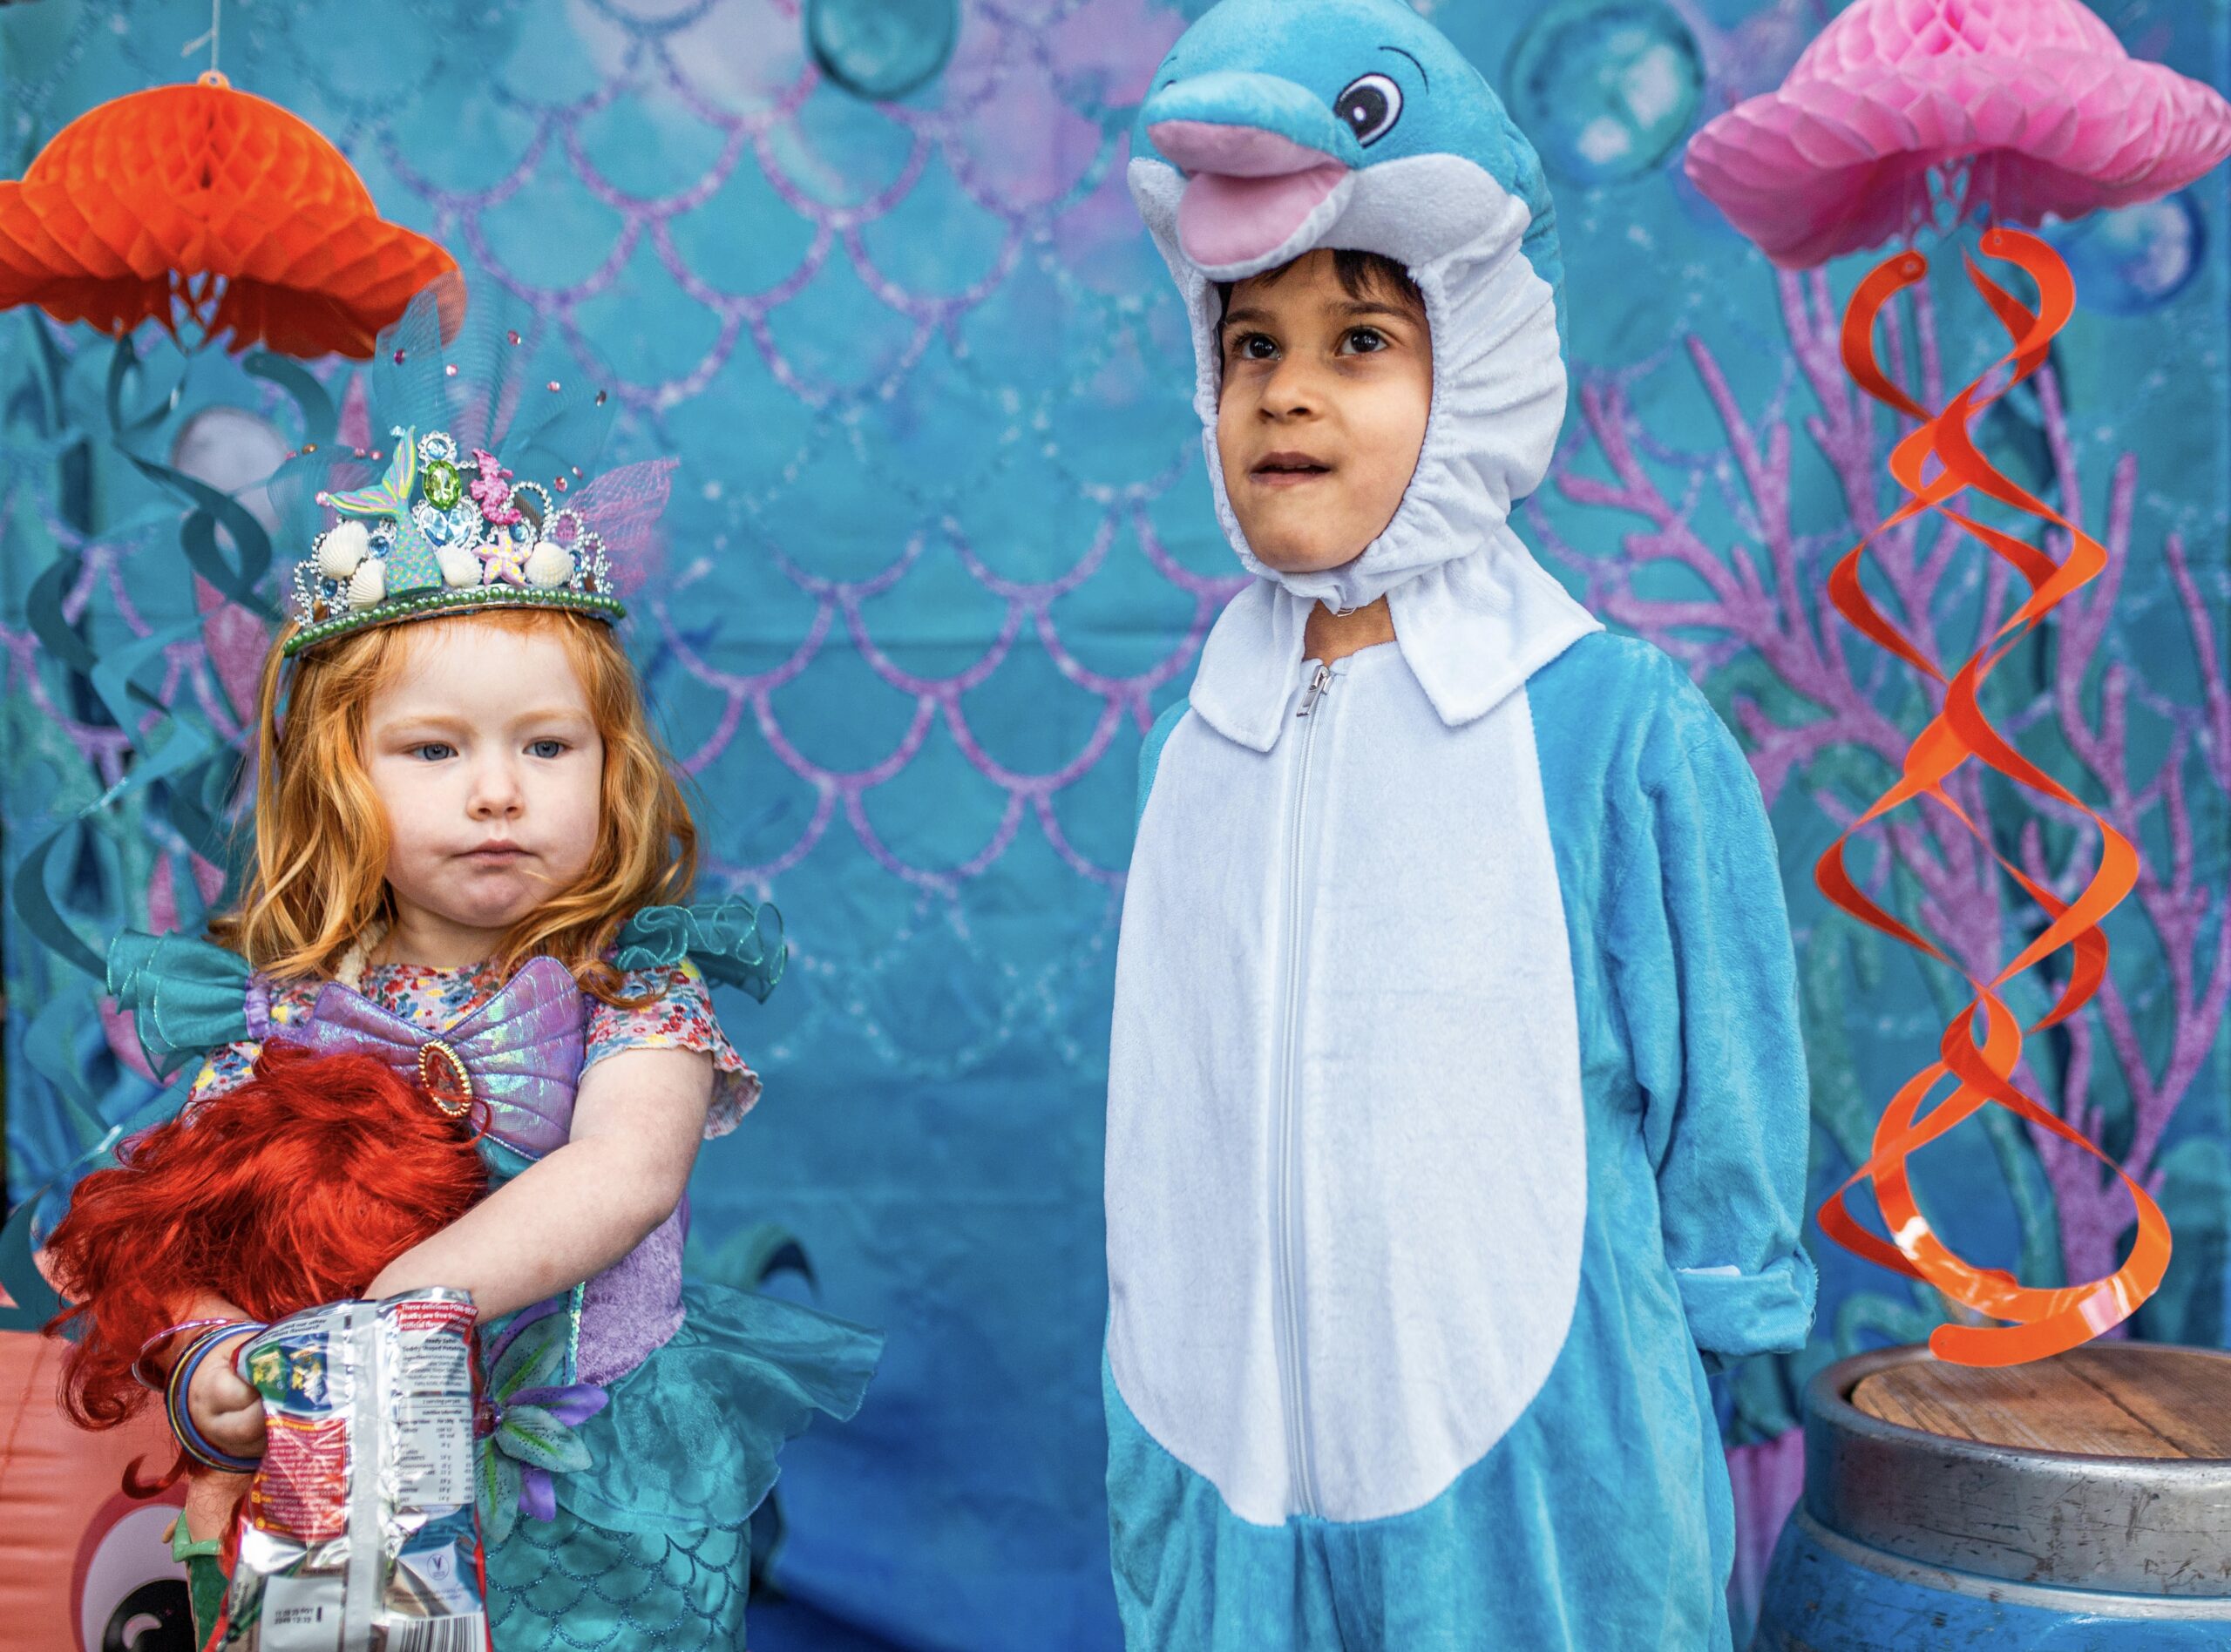
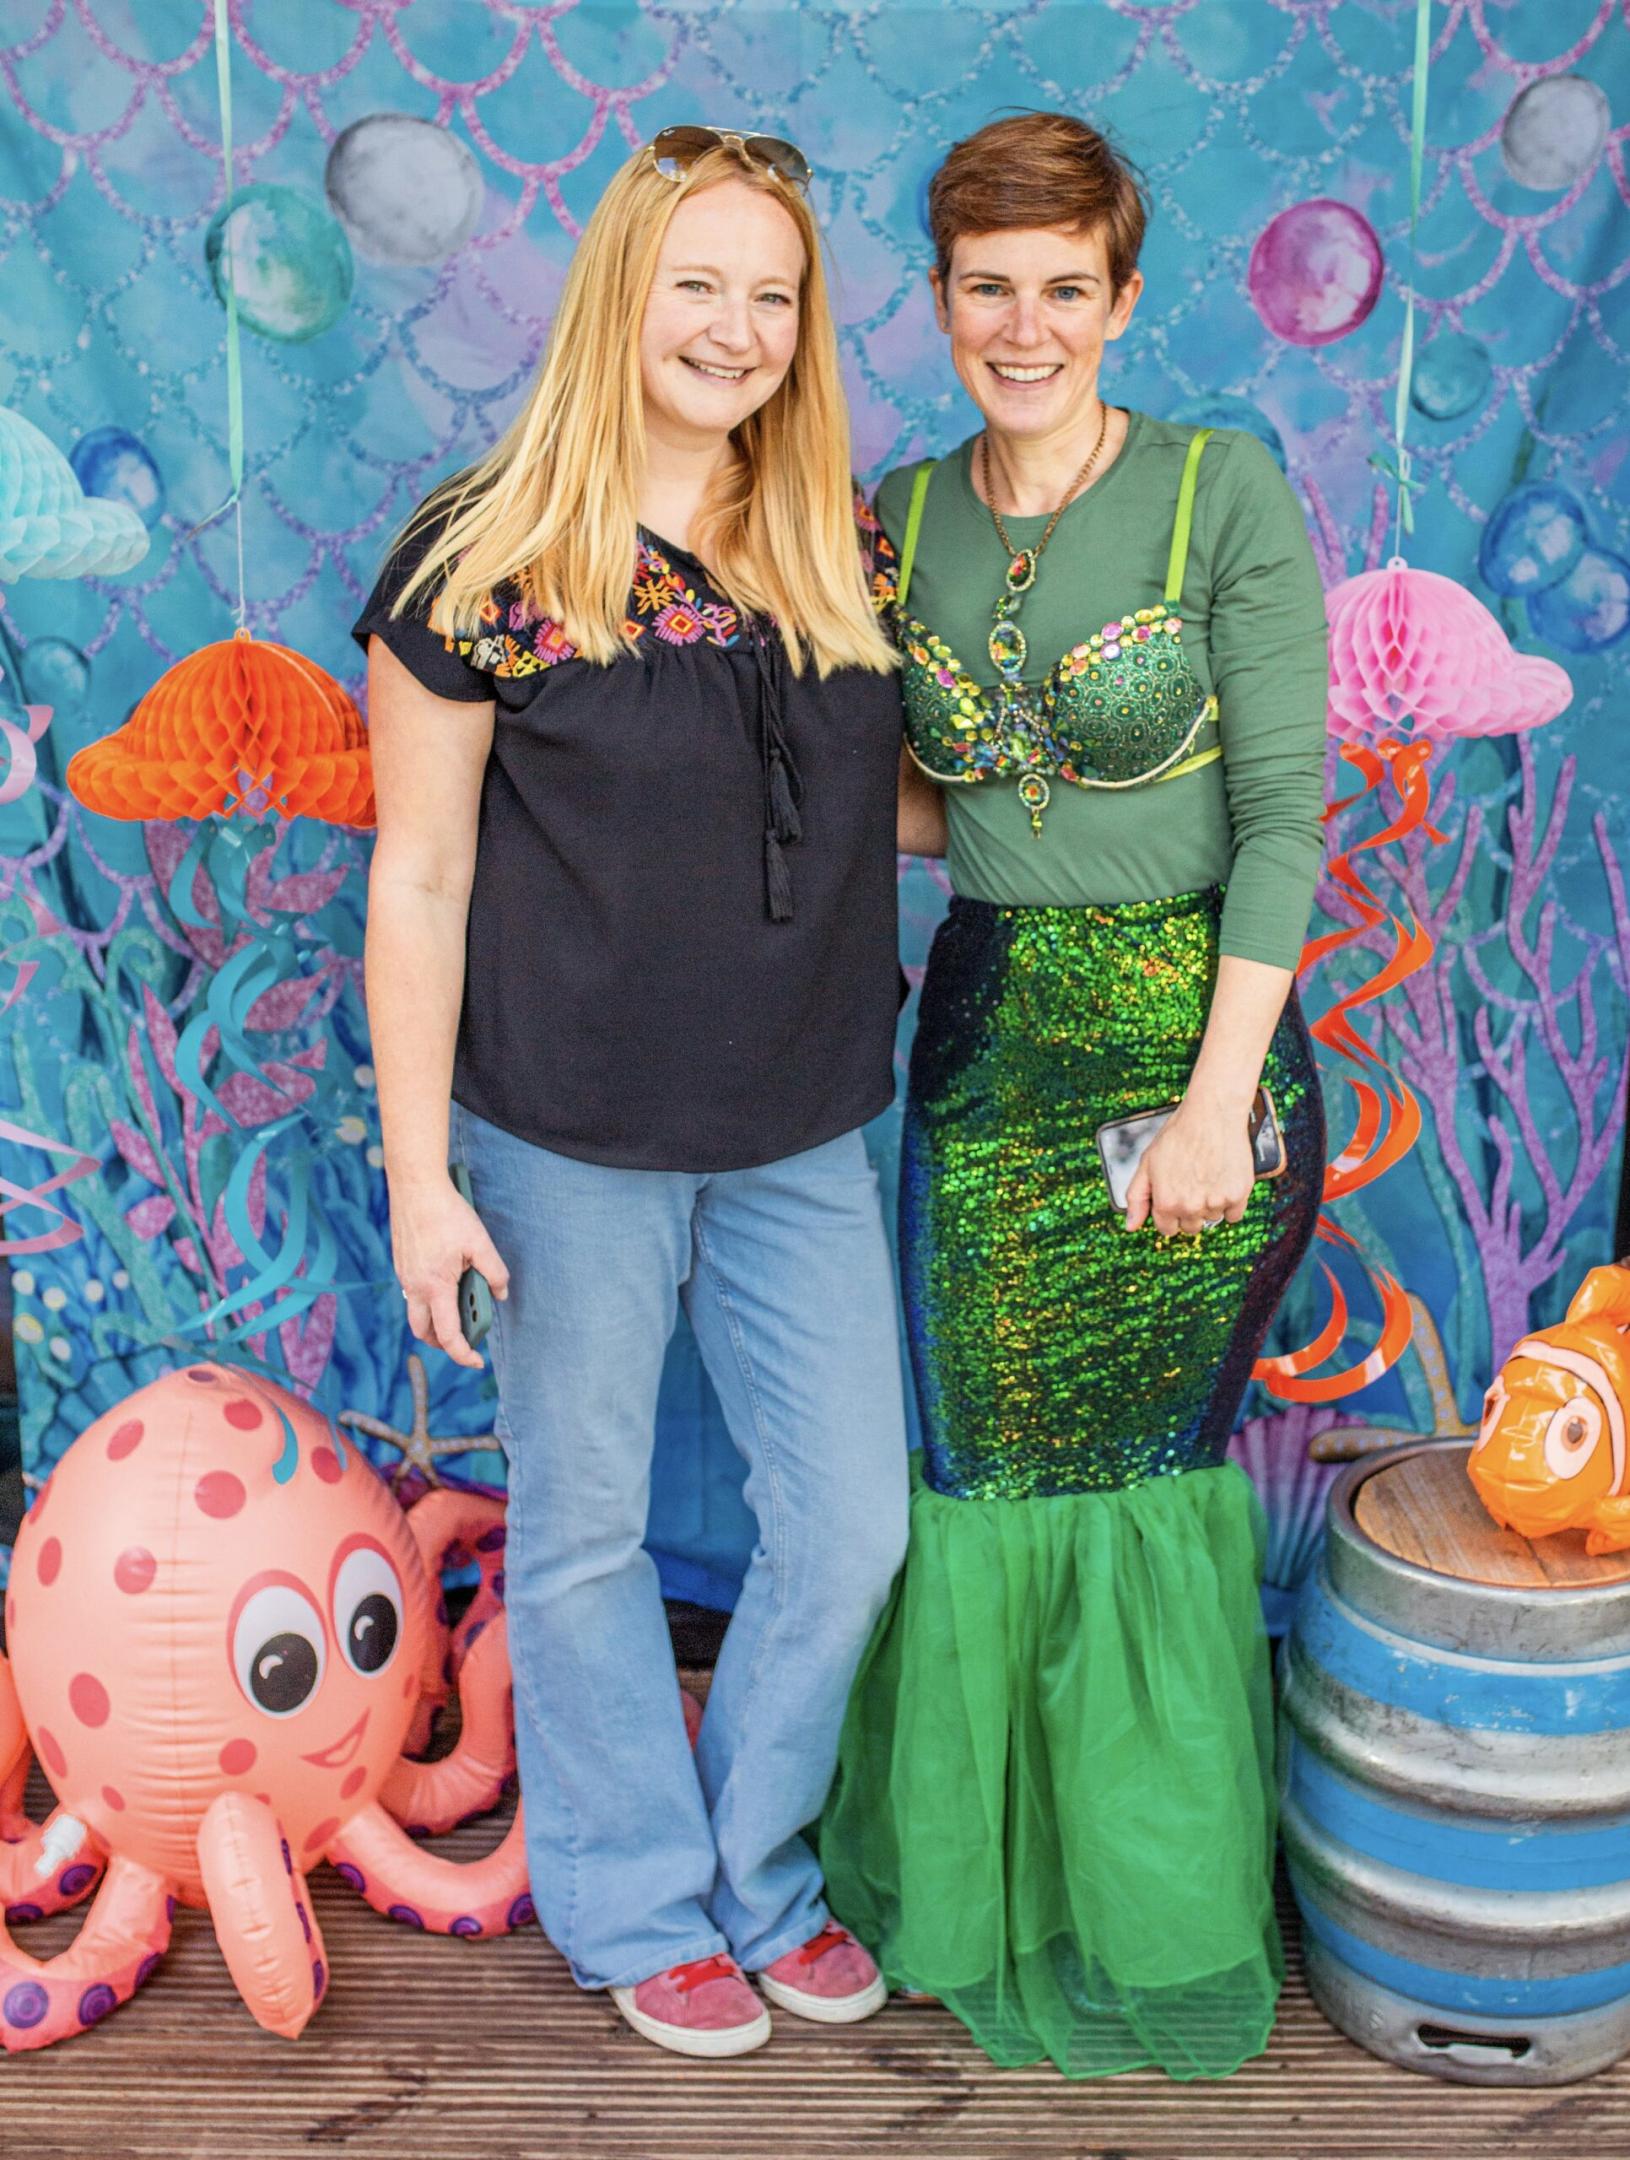
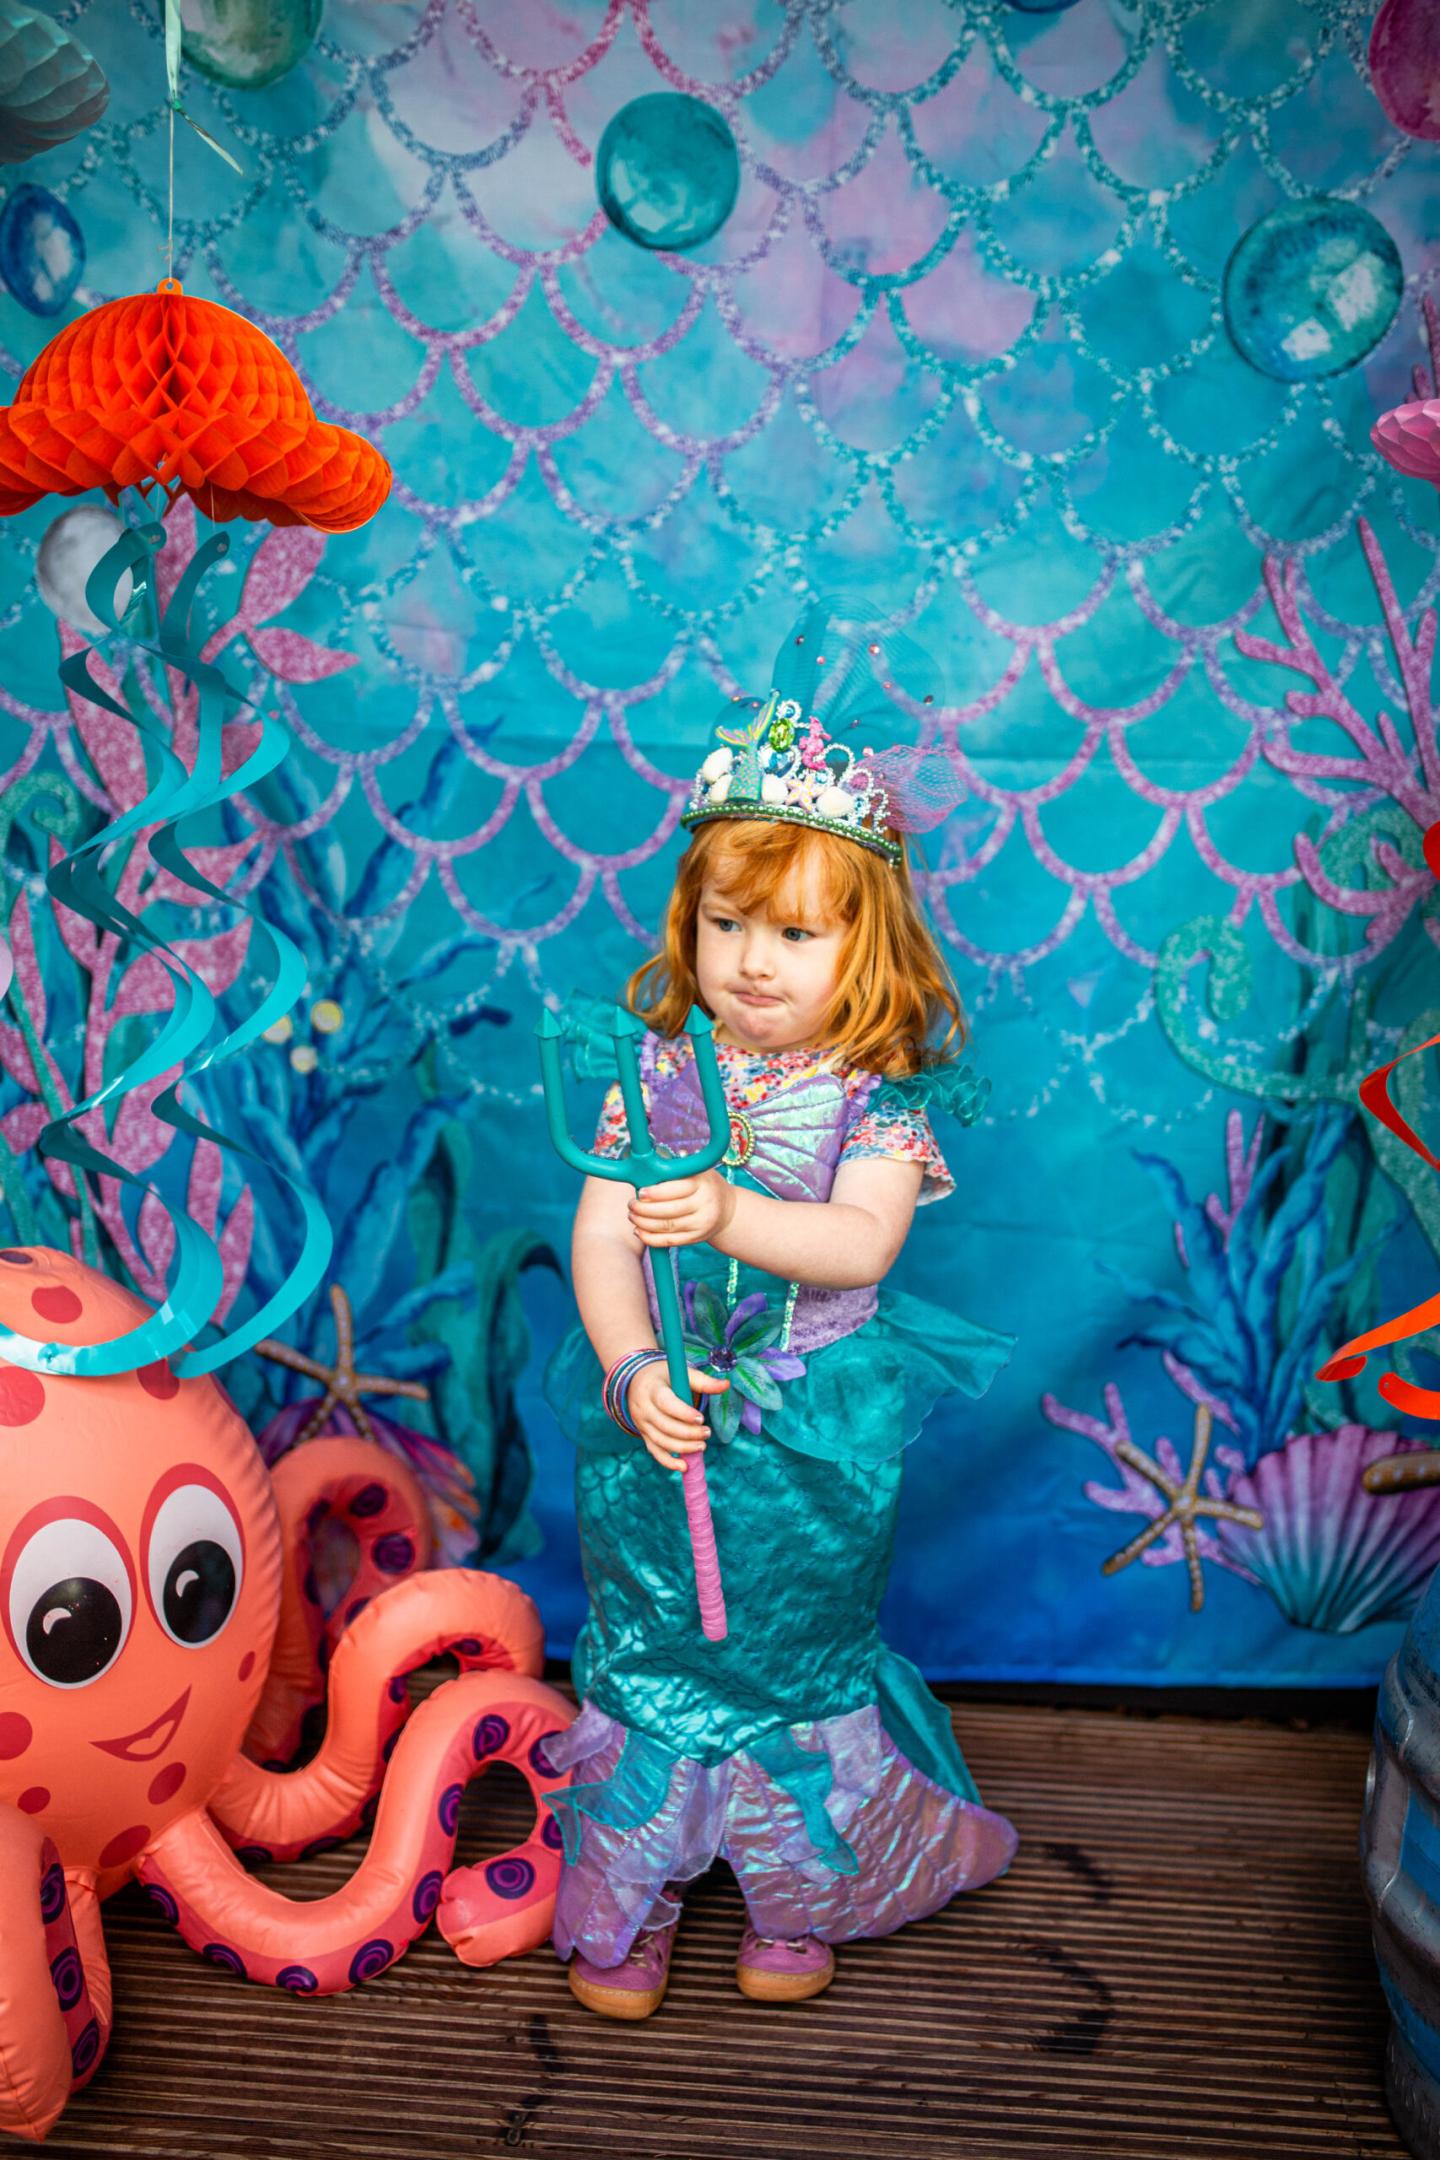
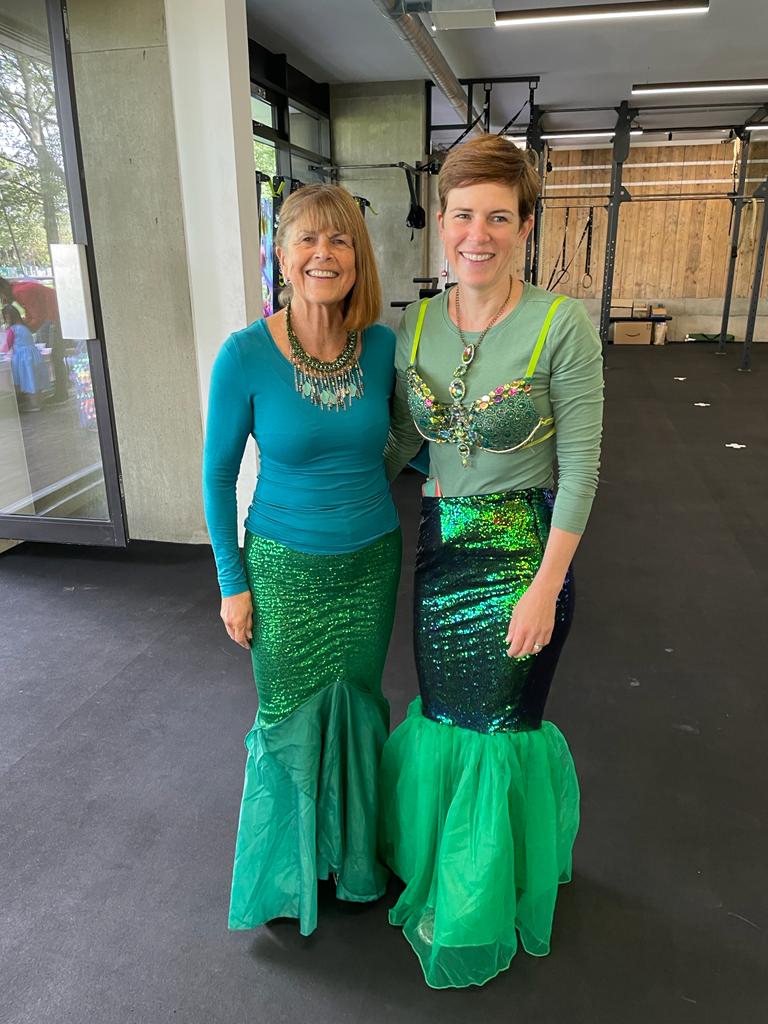
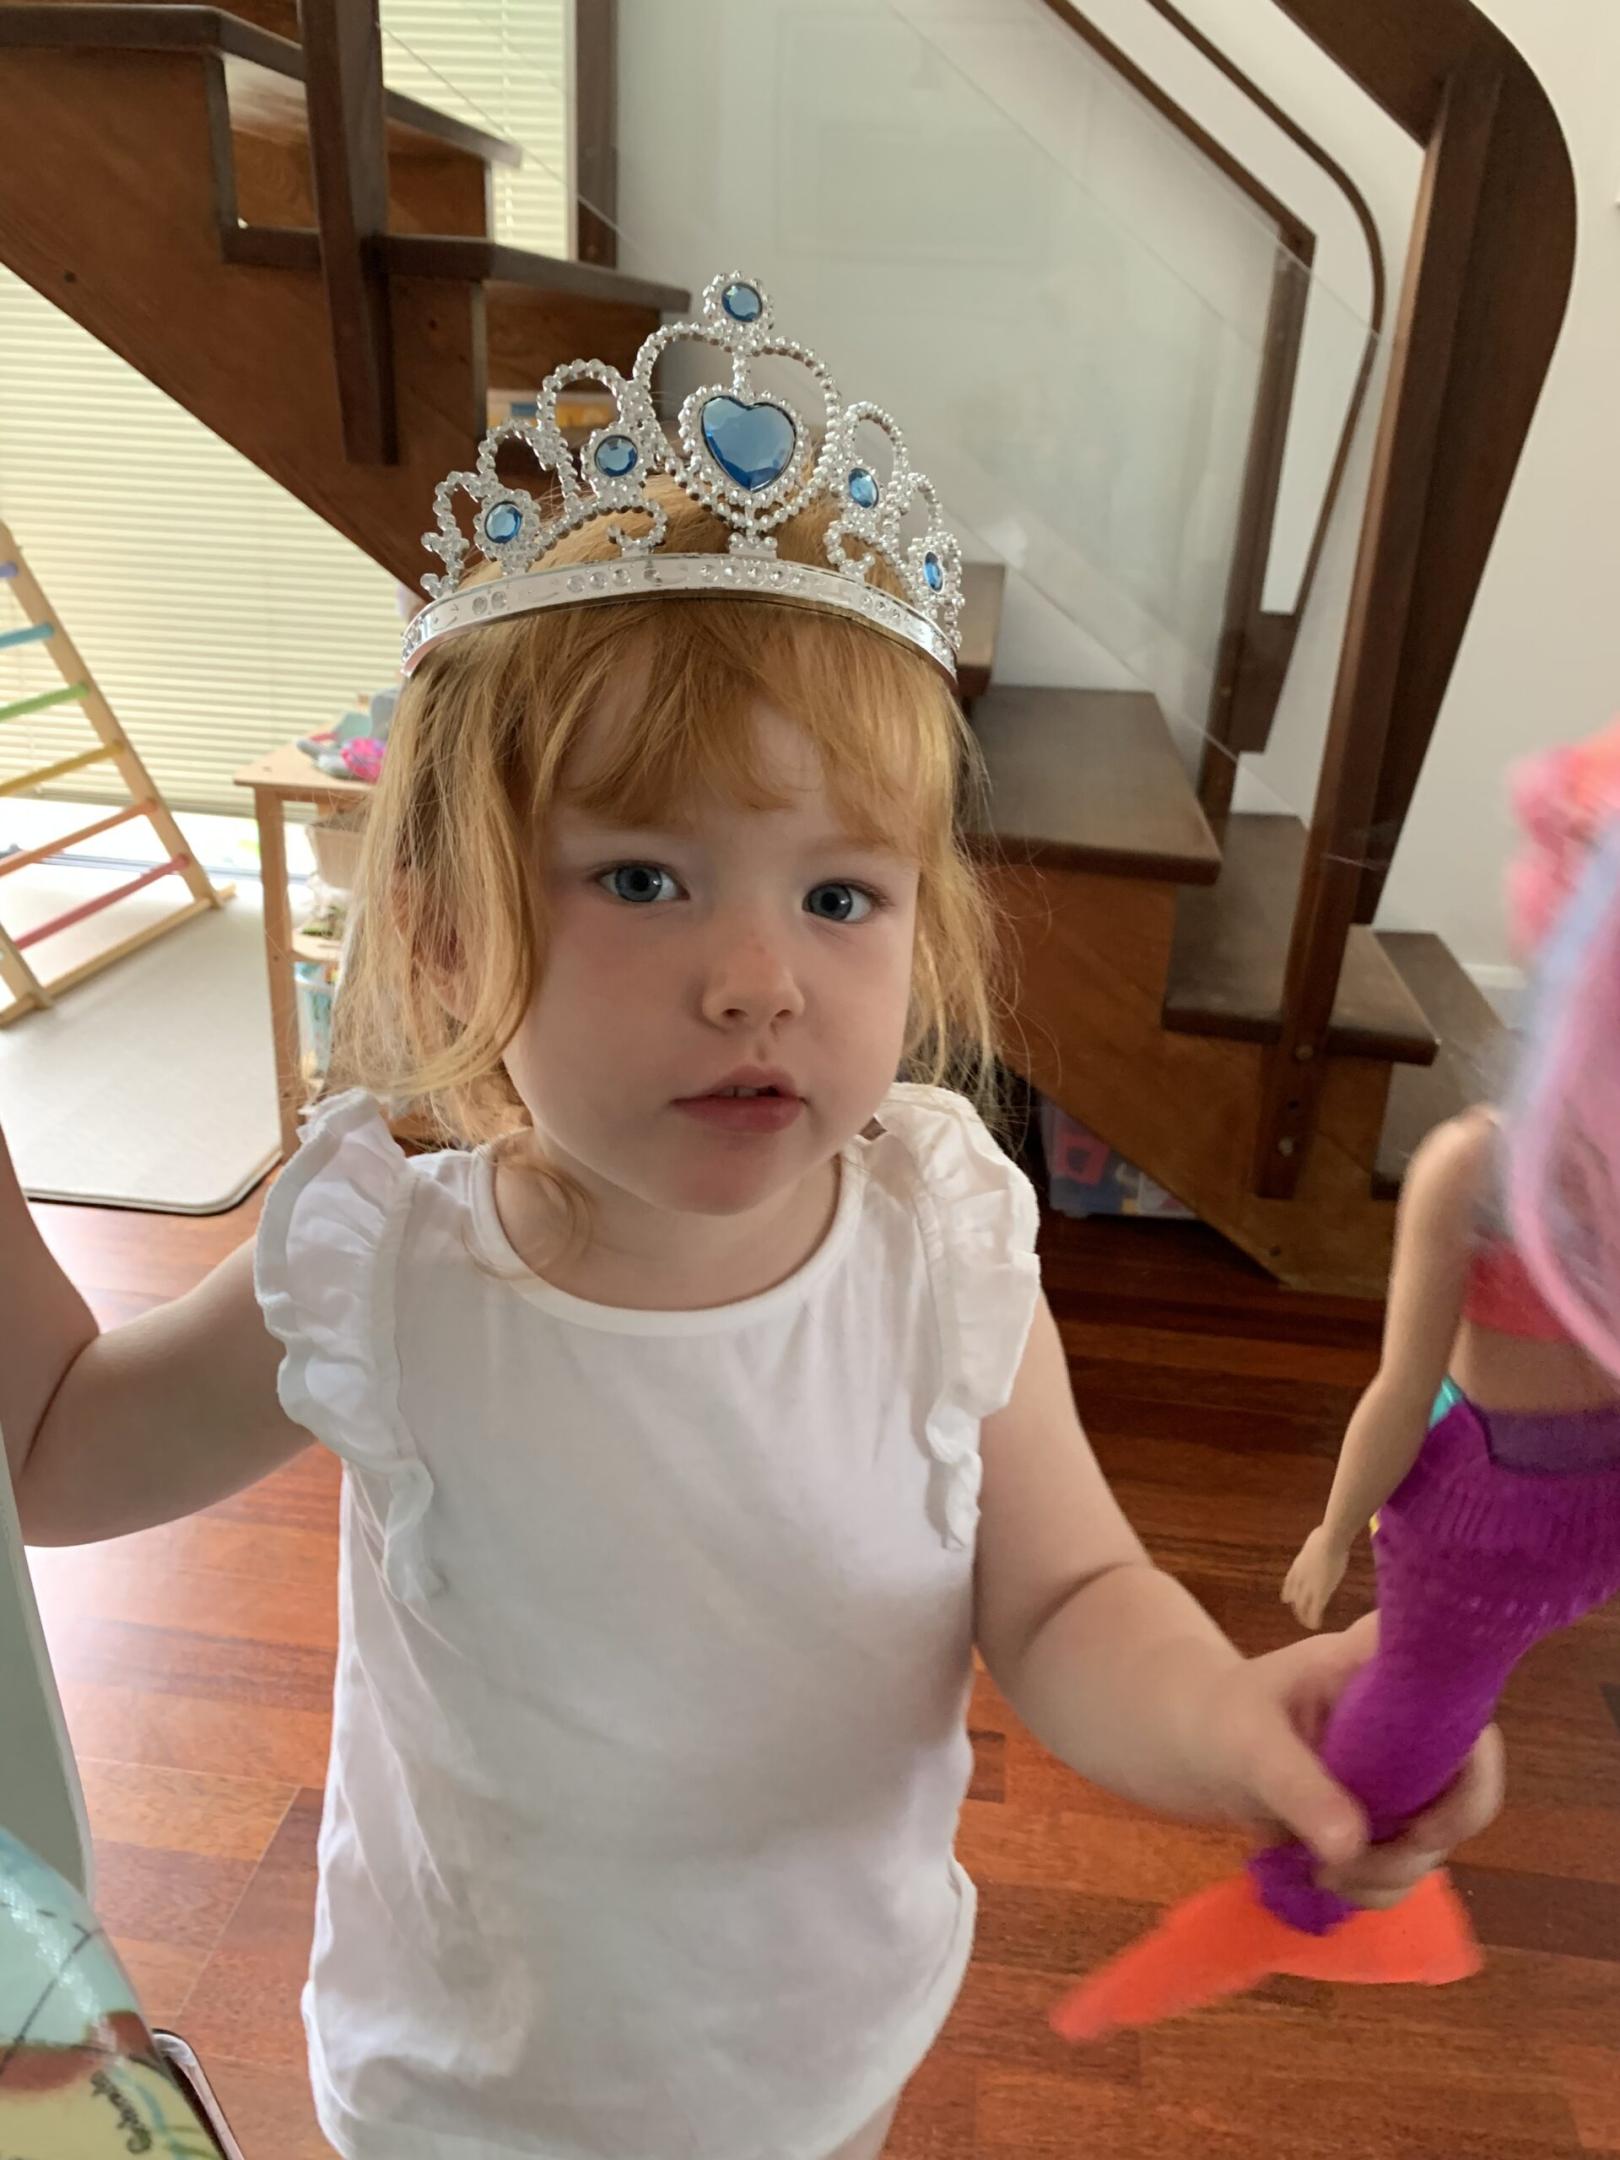
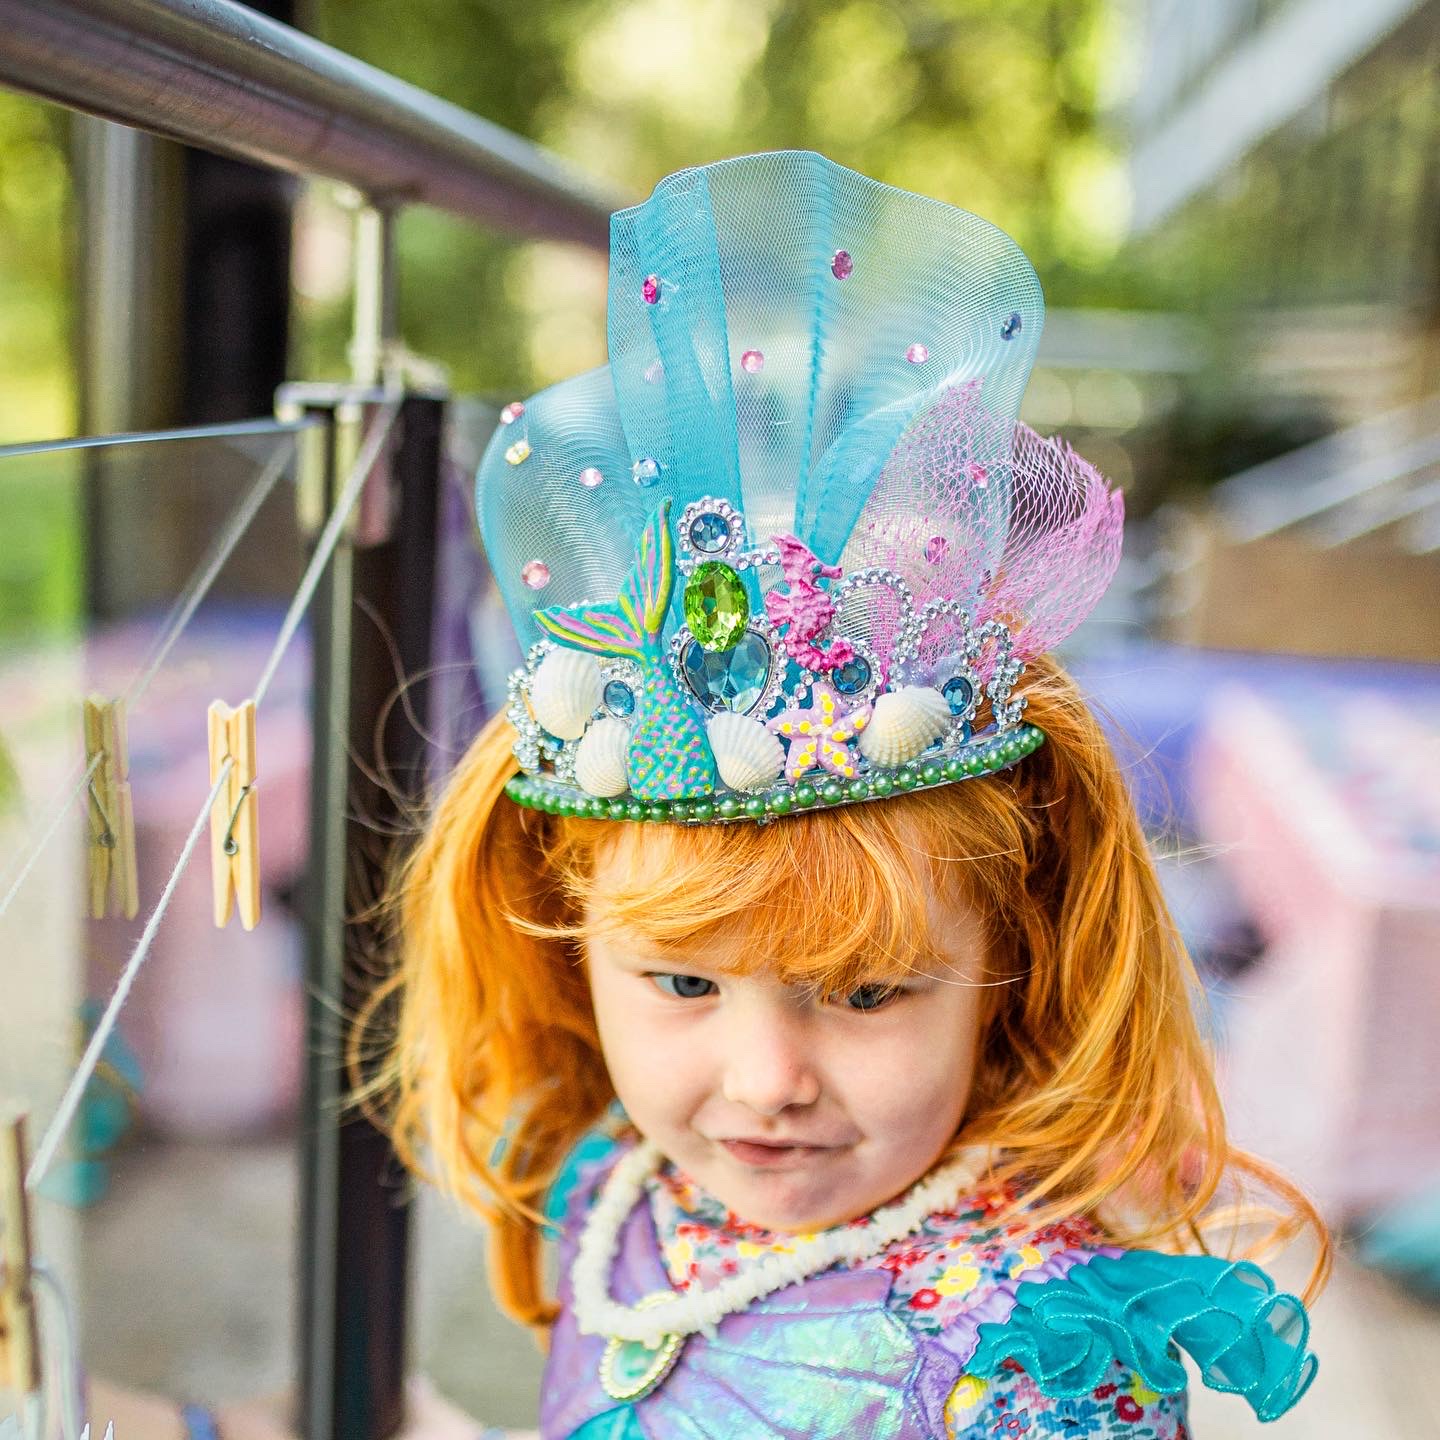
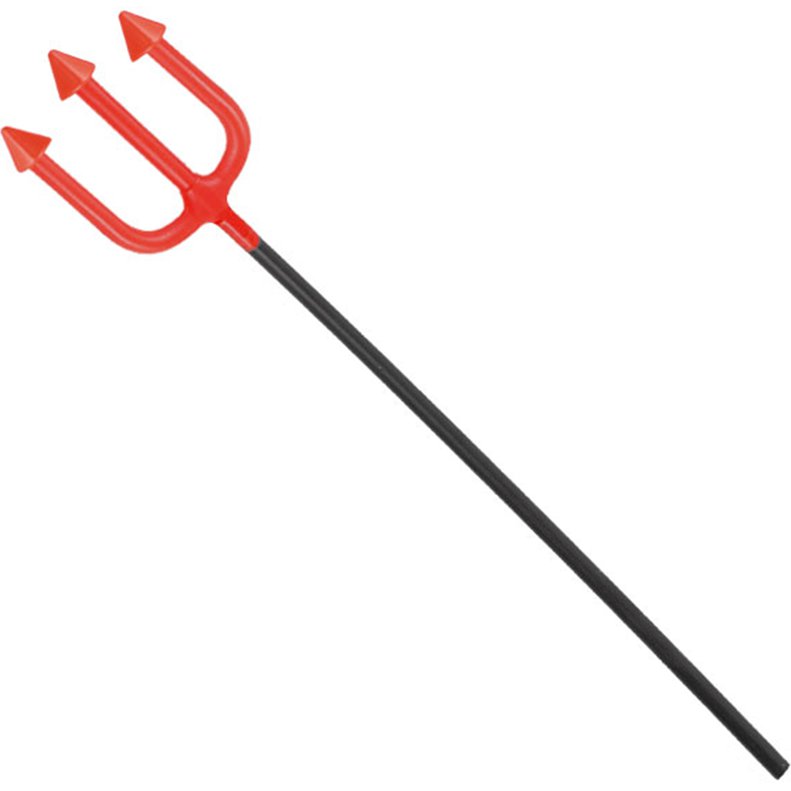
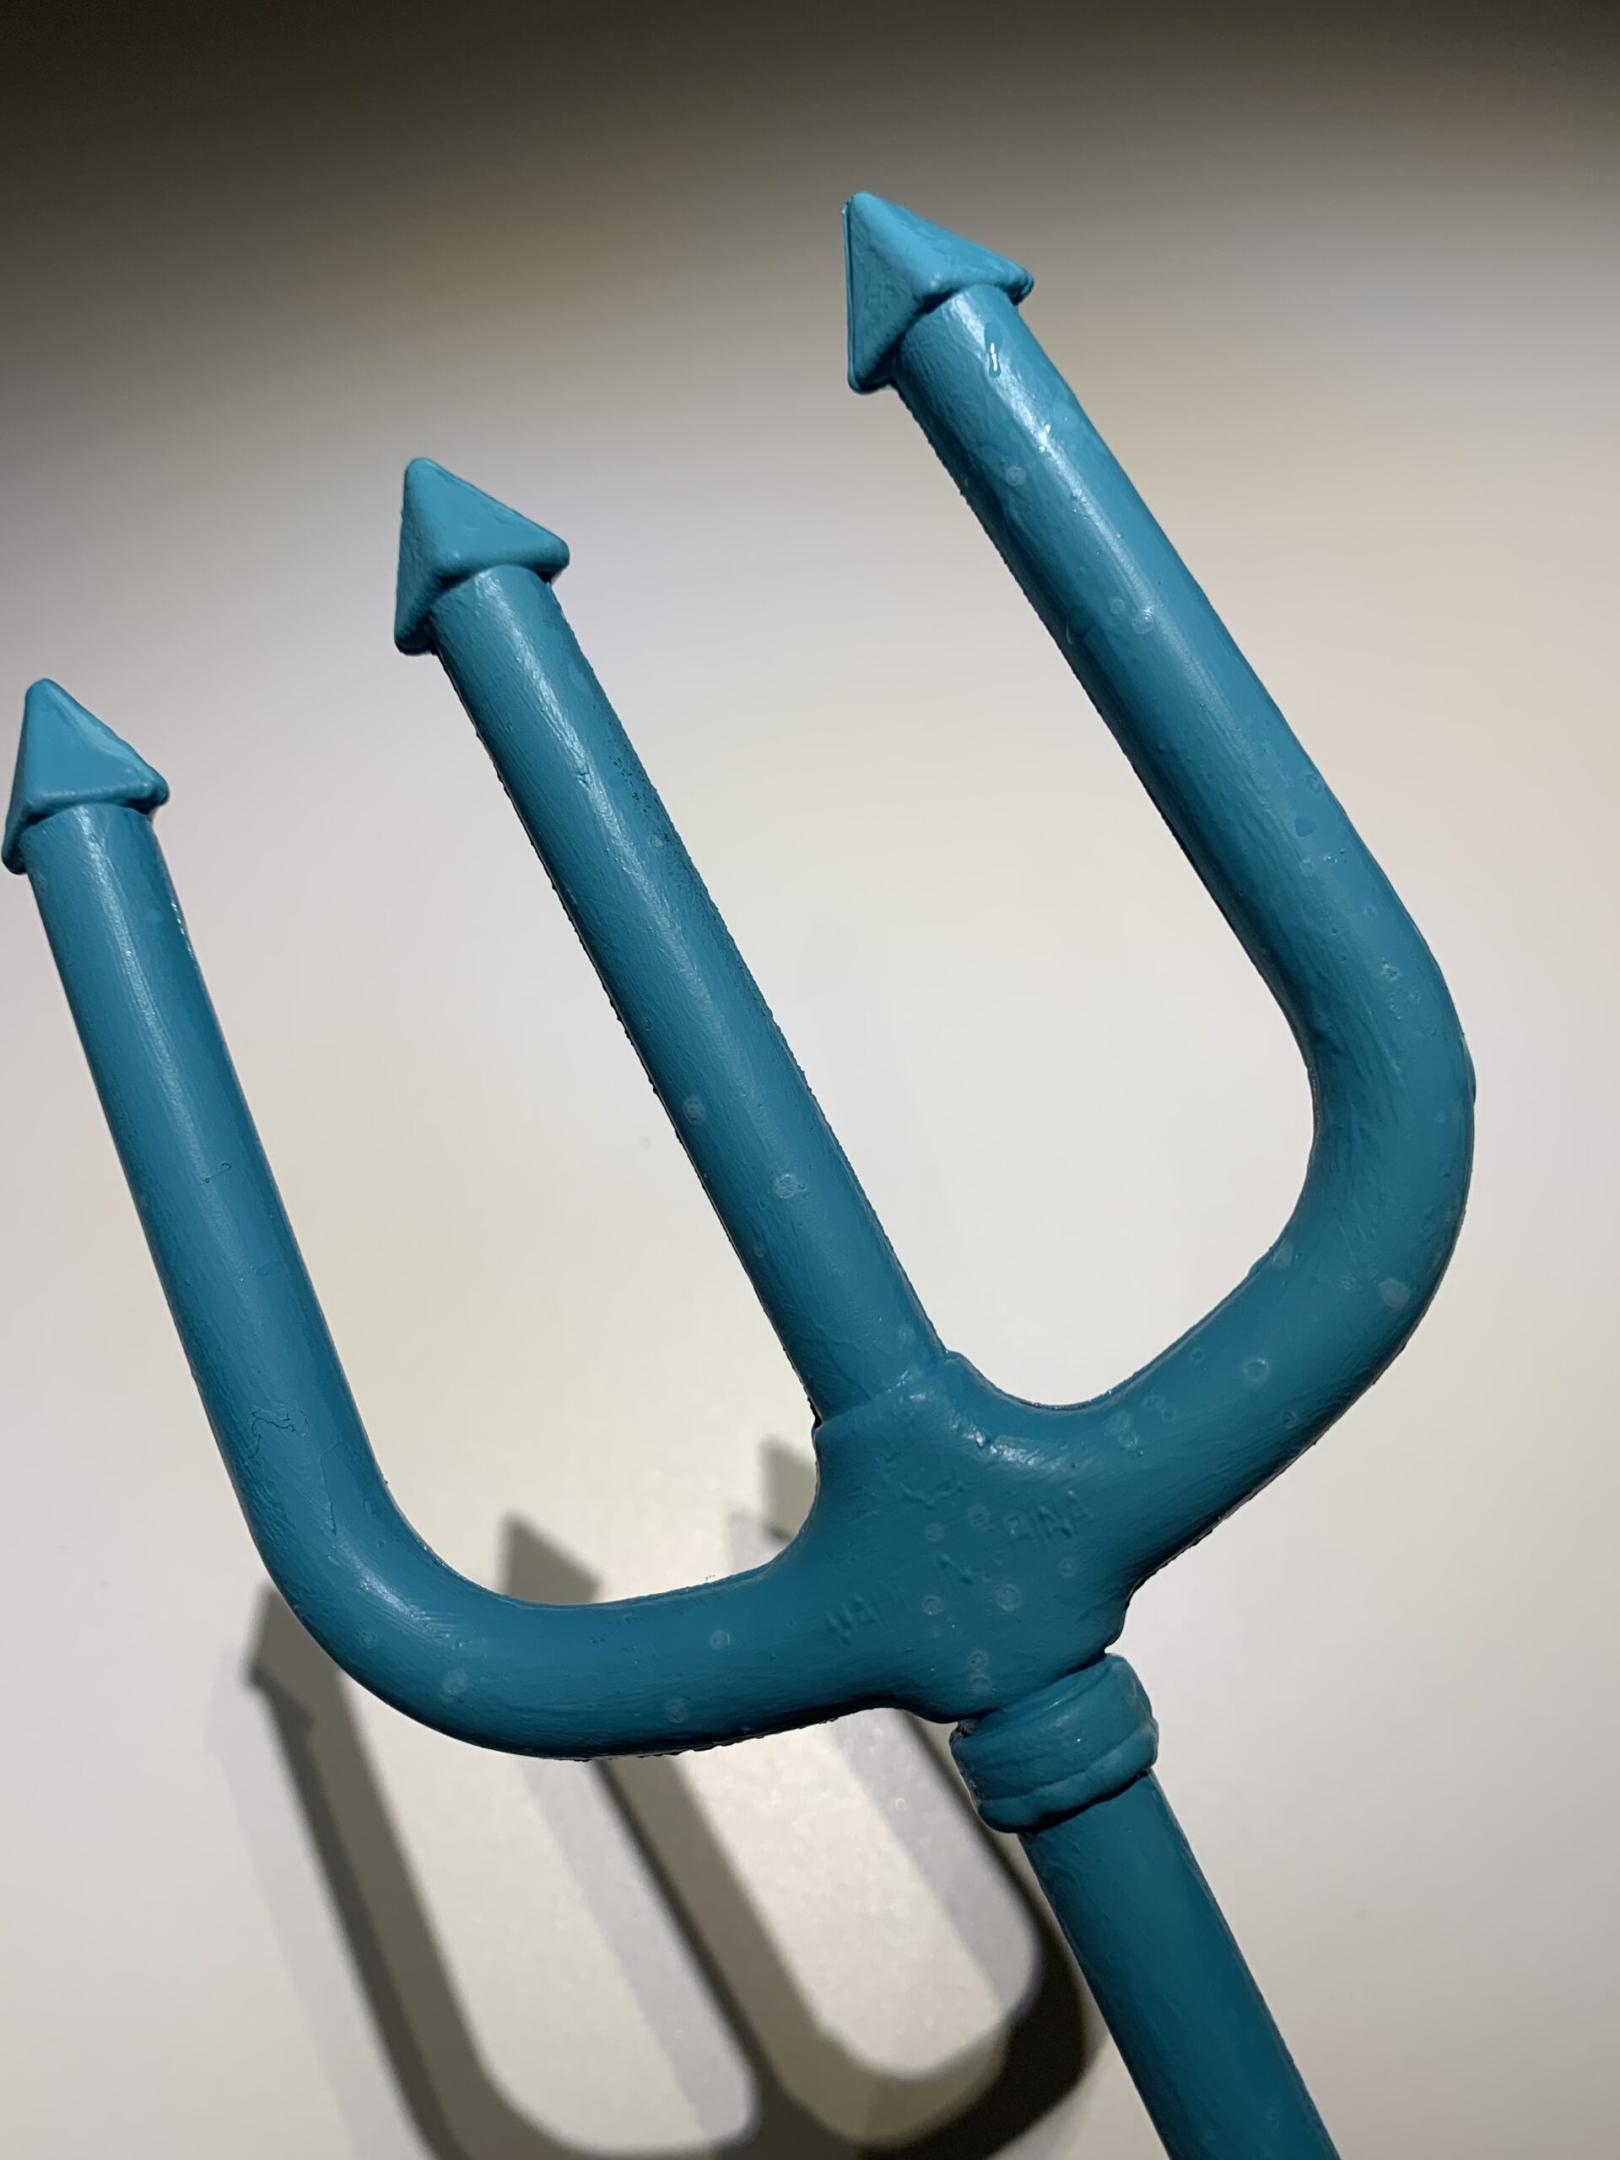
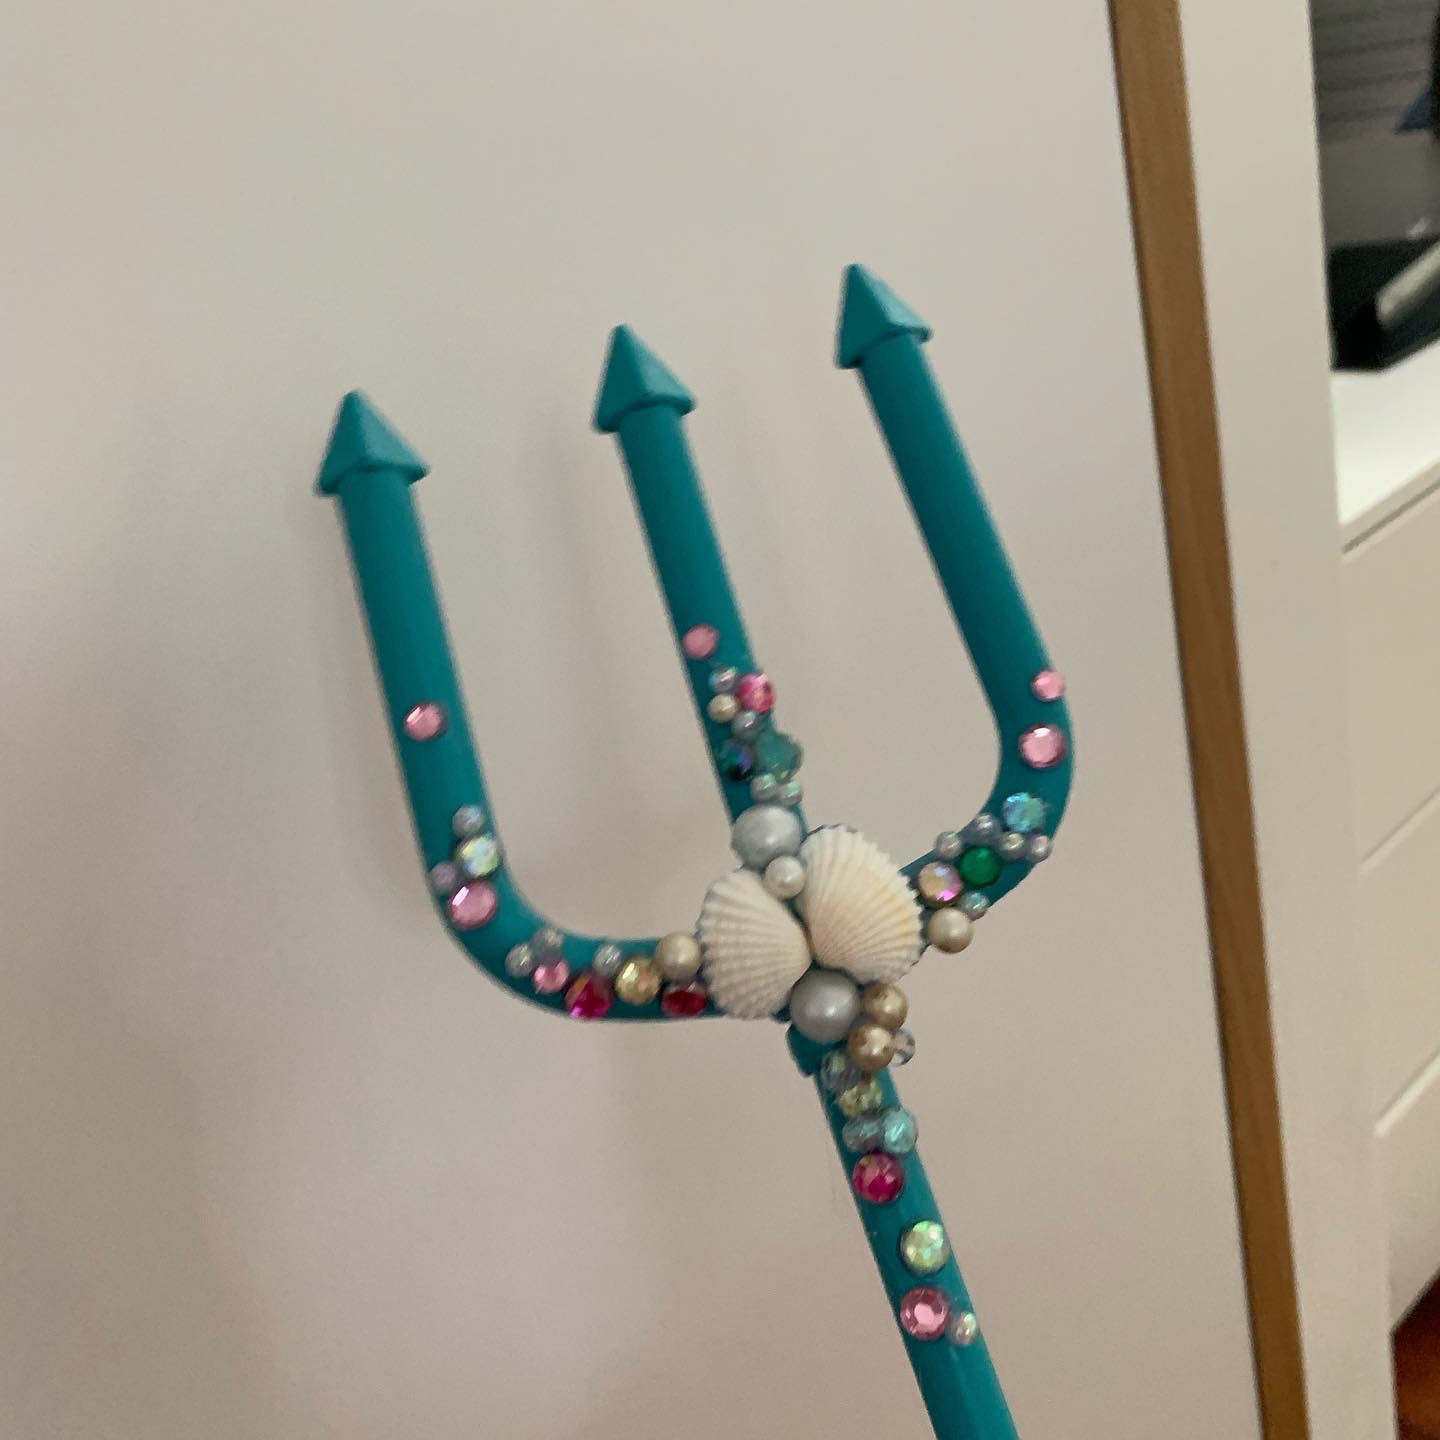
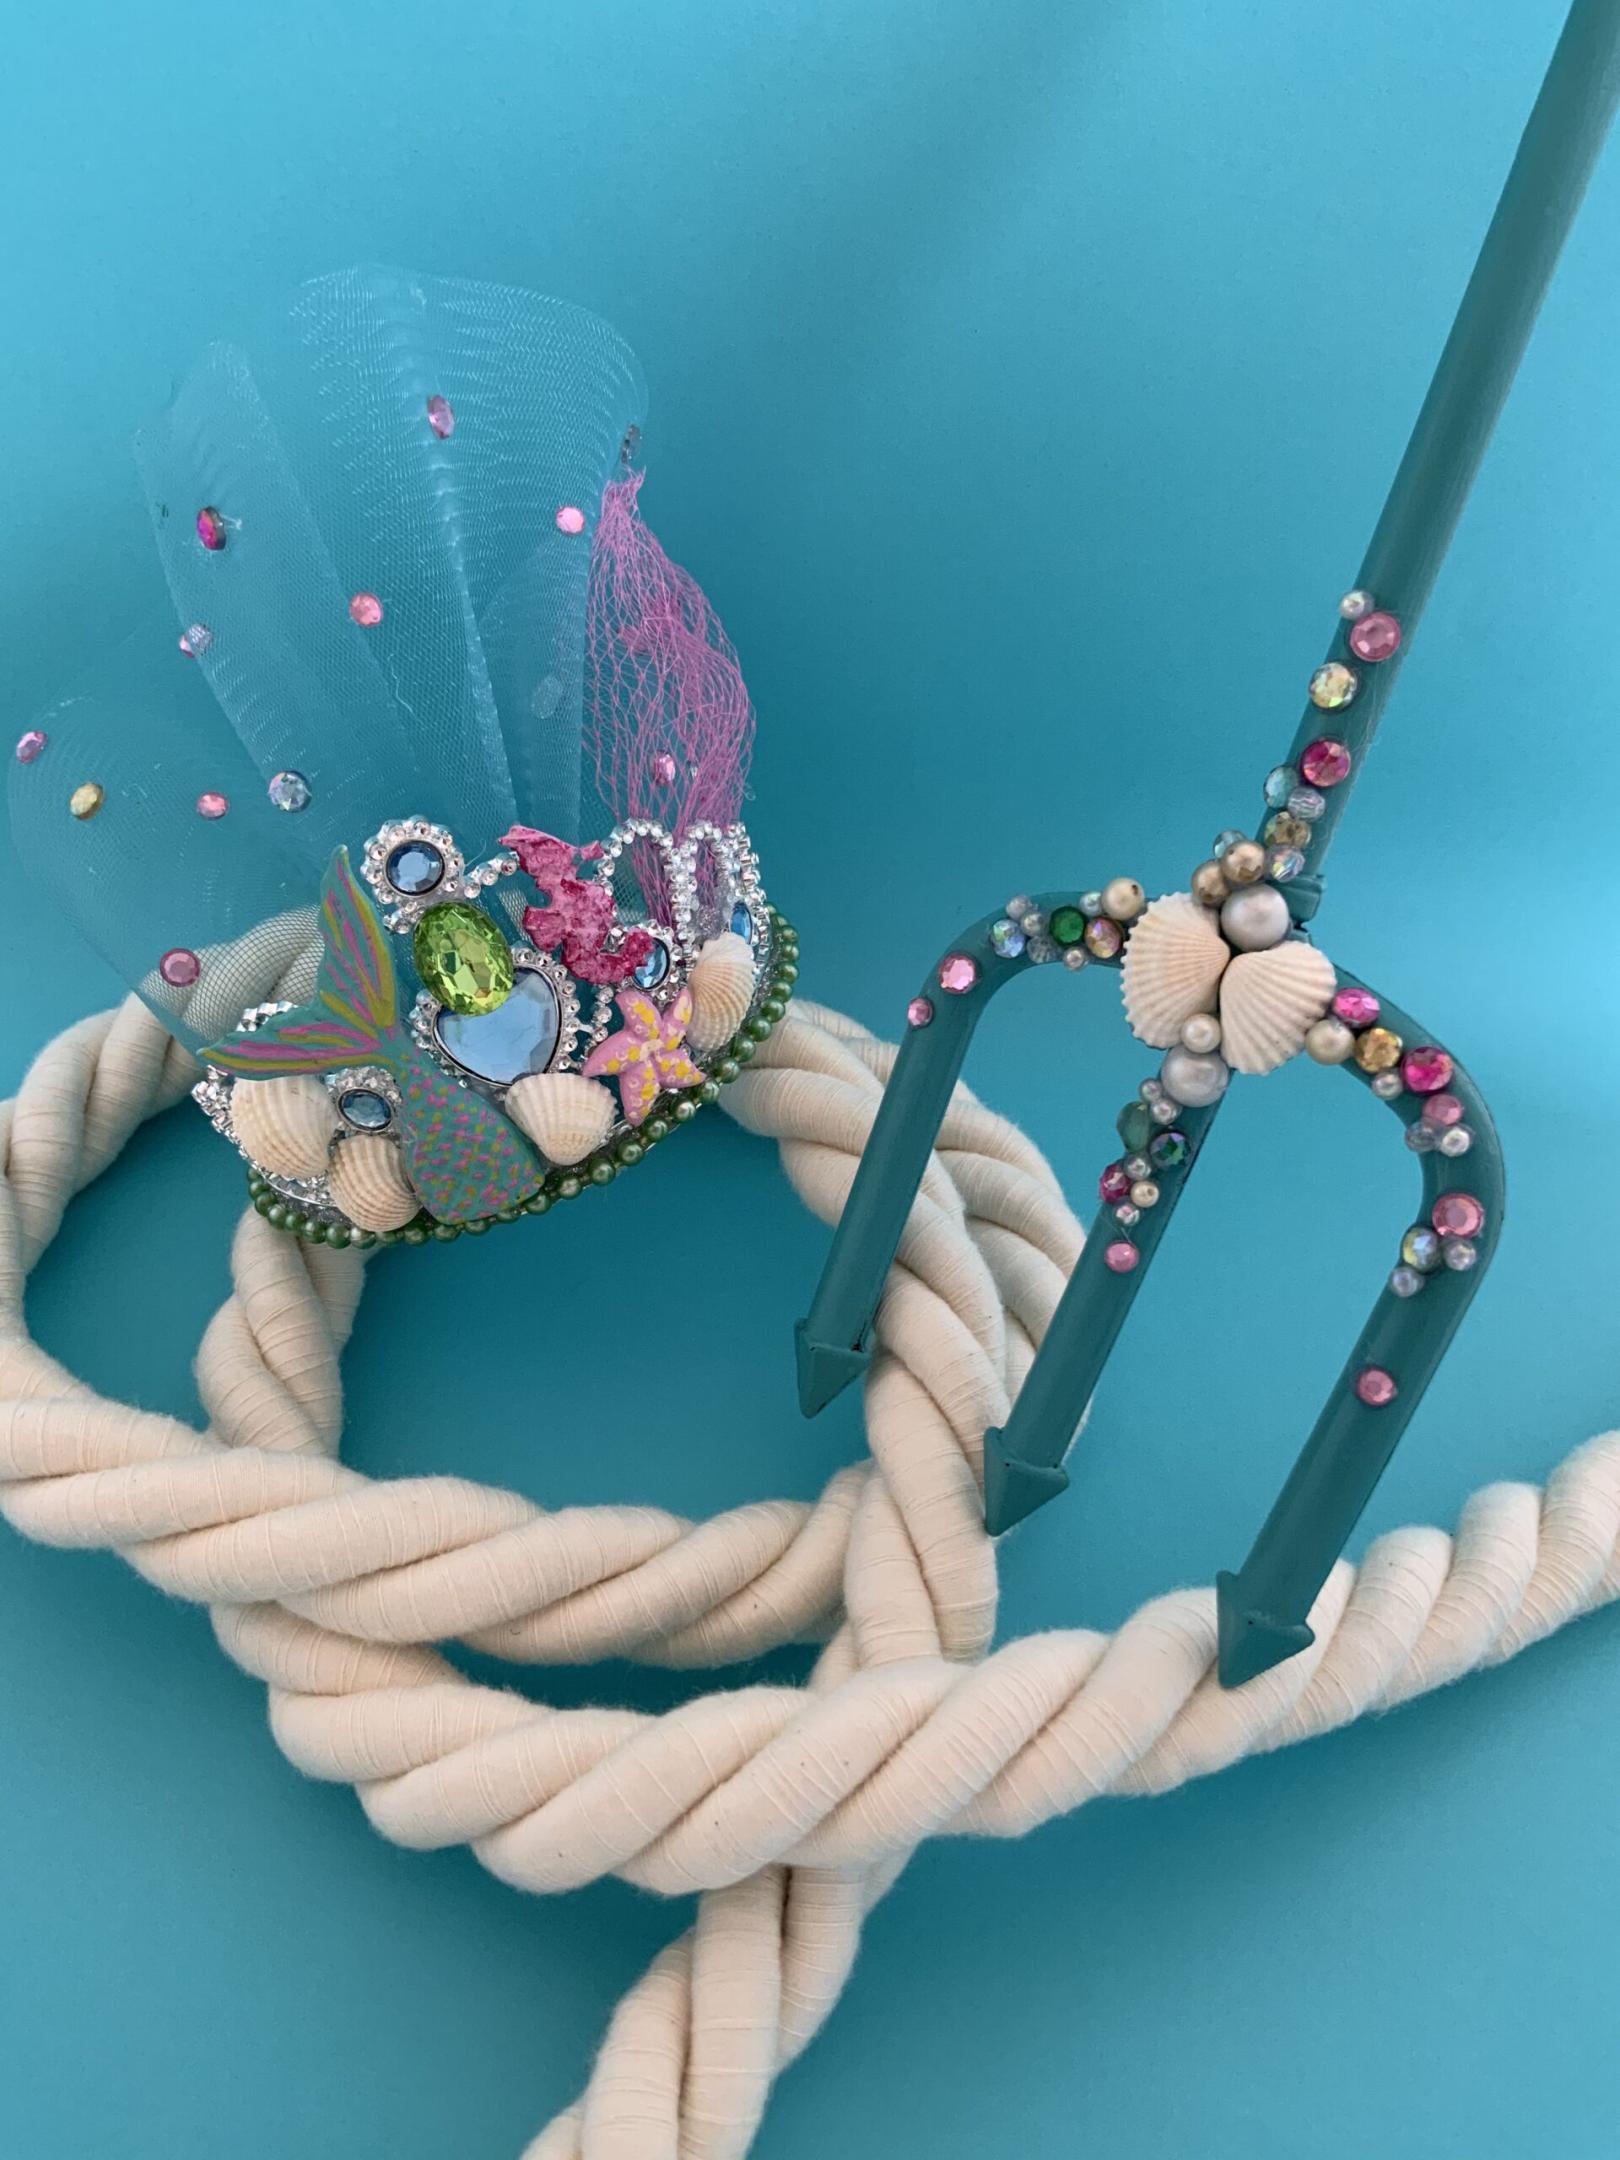
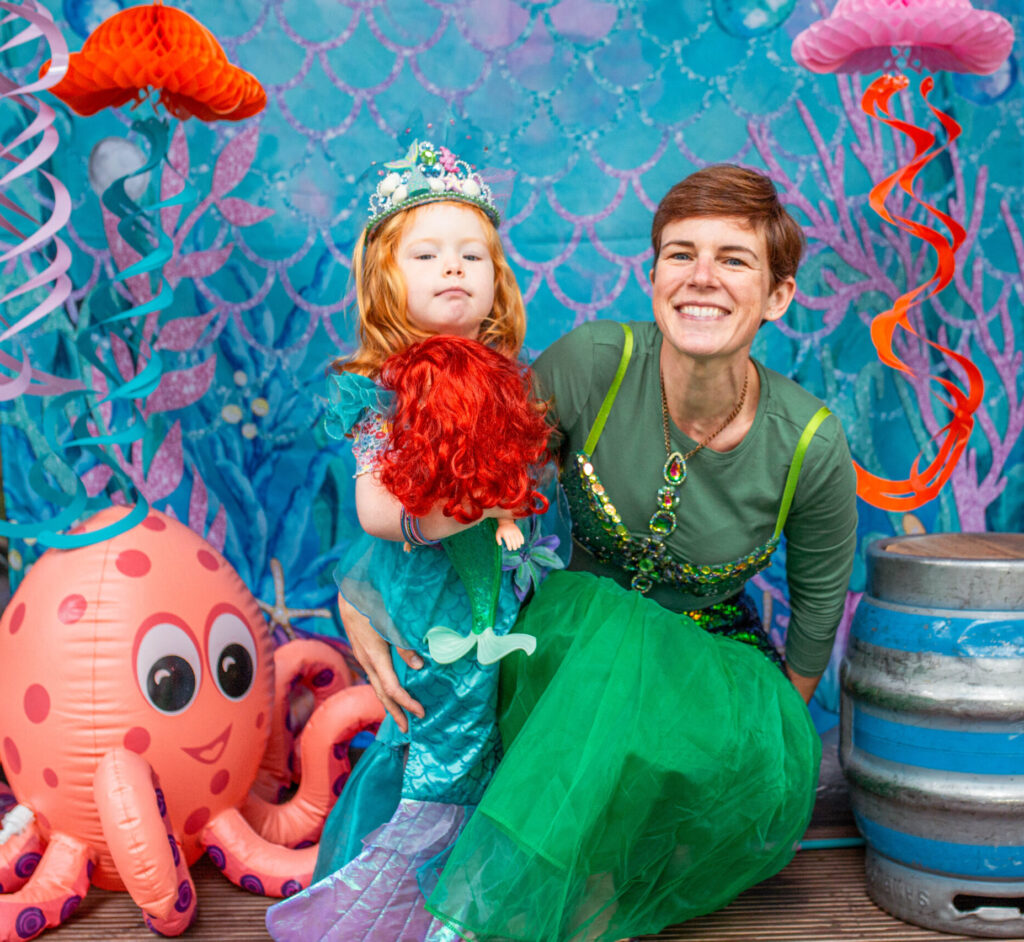
The mermaid tails for my mum and I were both purchased off Vinted and I had the green embellished bra left over from Carnival. Lily’s mermaid dress came off of Facebook Marketplace and I made her crown and trident. The crown was a simple princess crown from Flying Tiger and the trident was a red a black devils fork from Party Delights; I painted and decorated them both with jewels, shells and pearls, using a glue gun.
Face Painting
Doing it for ourselves…
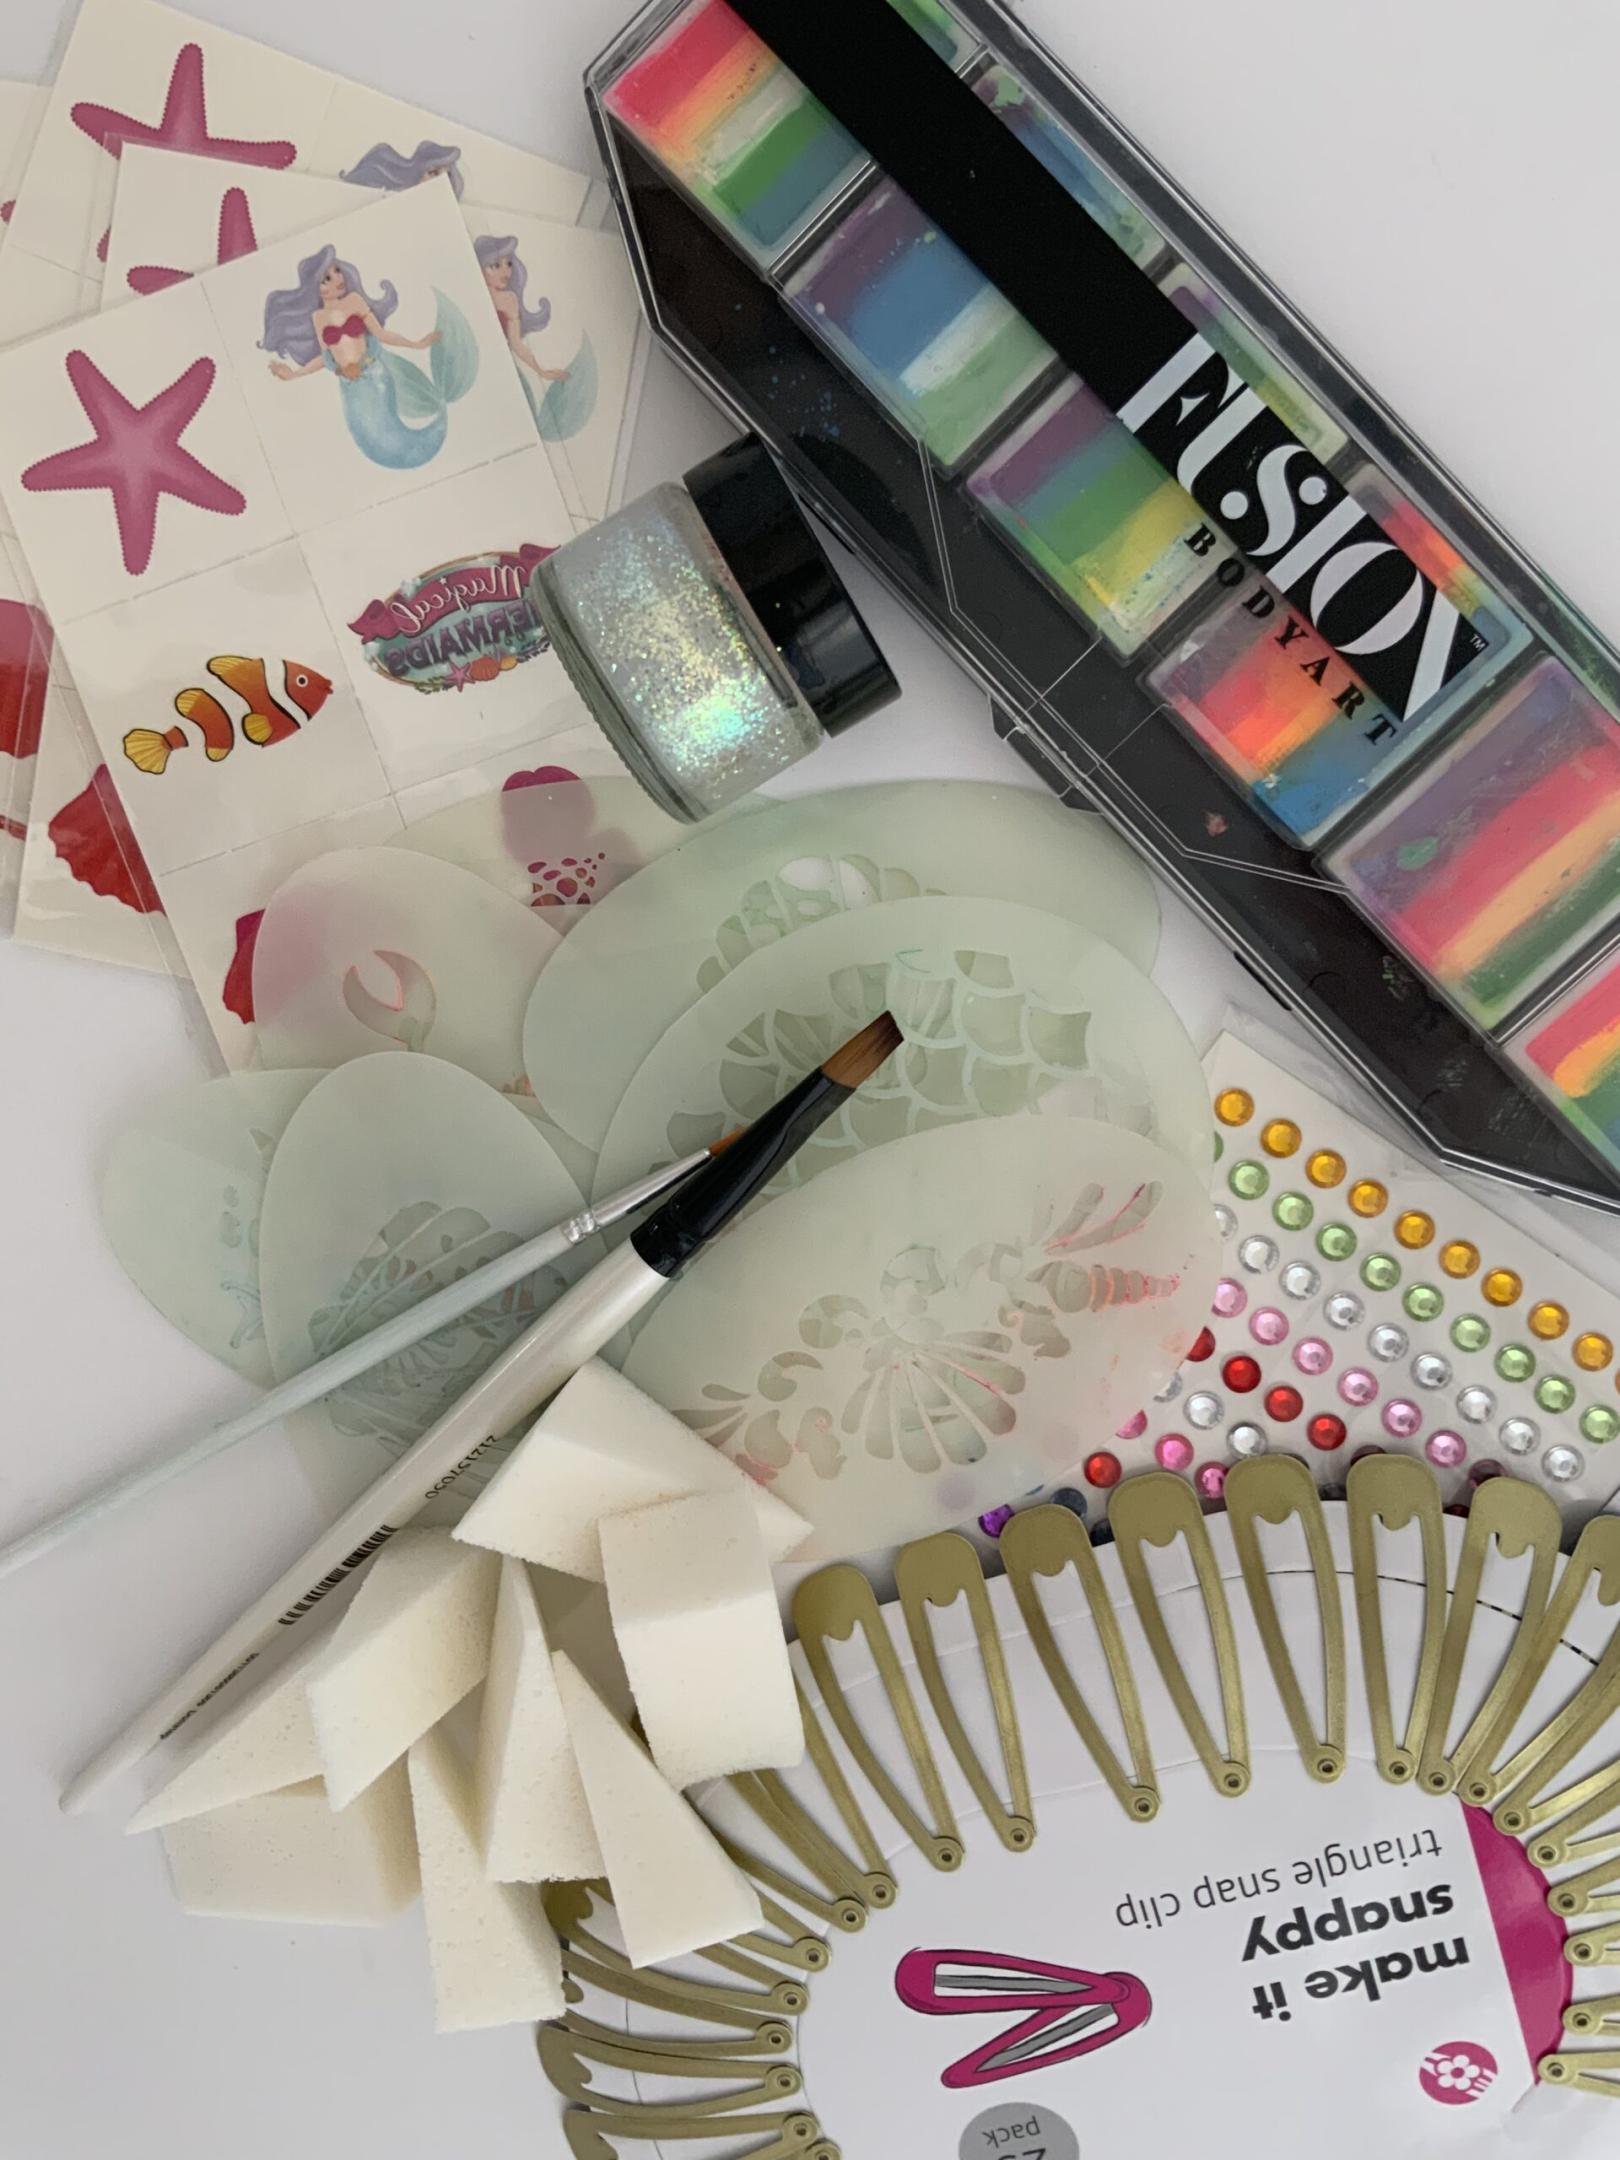
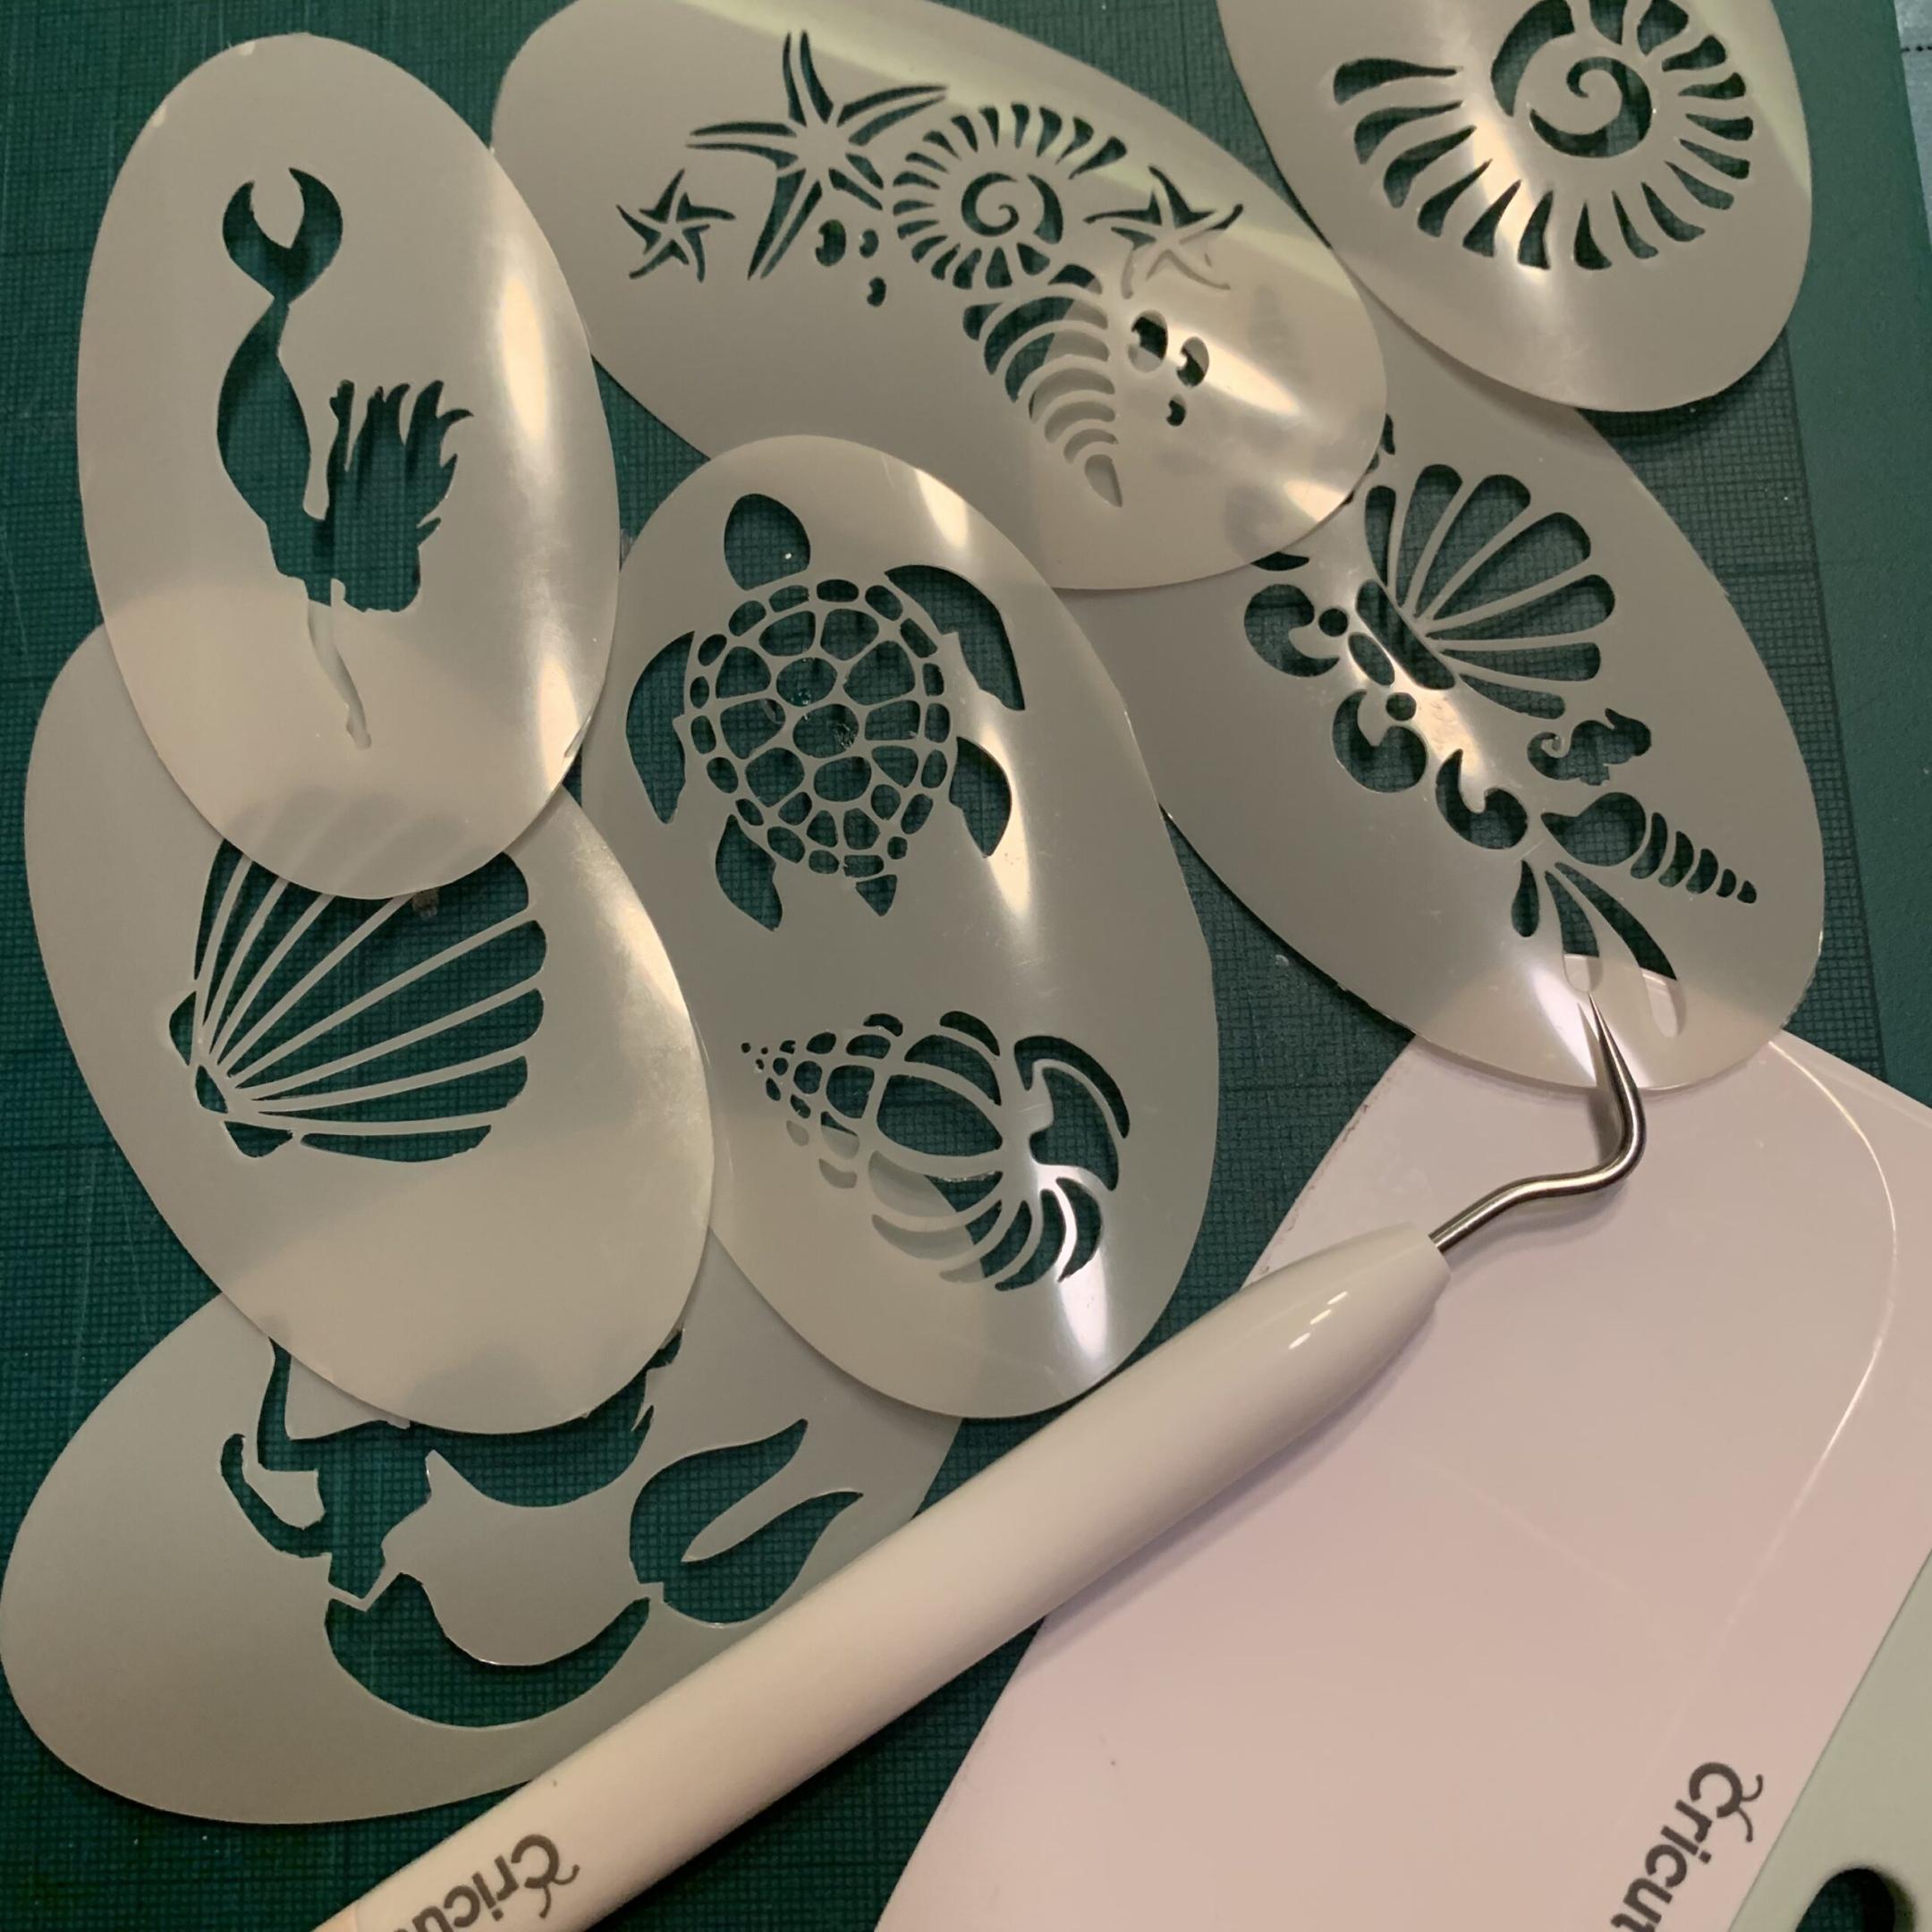
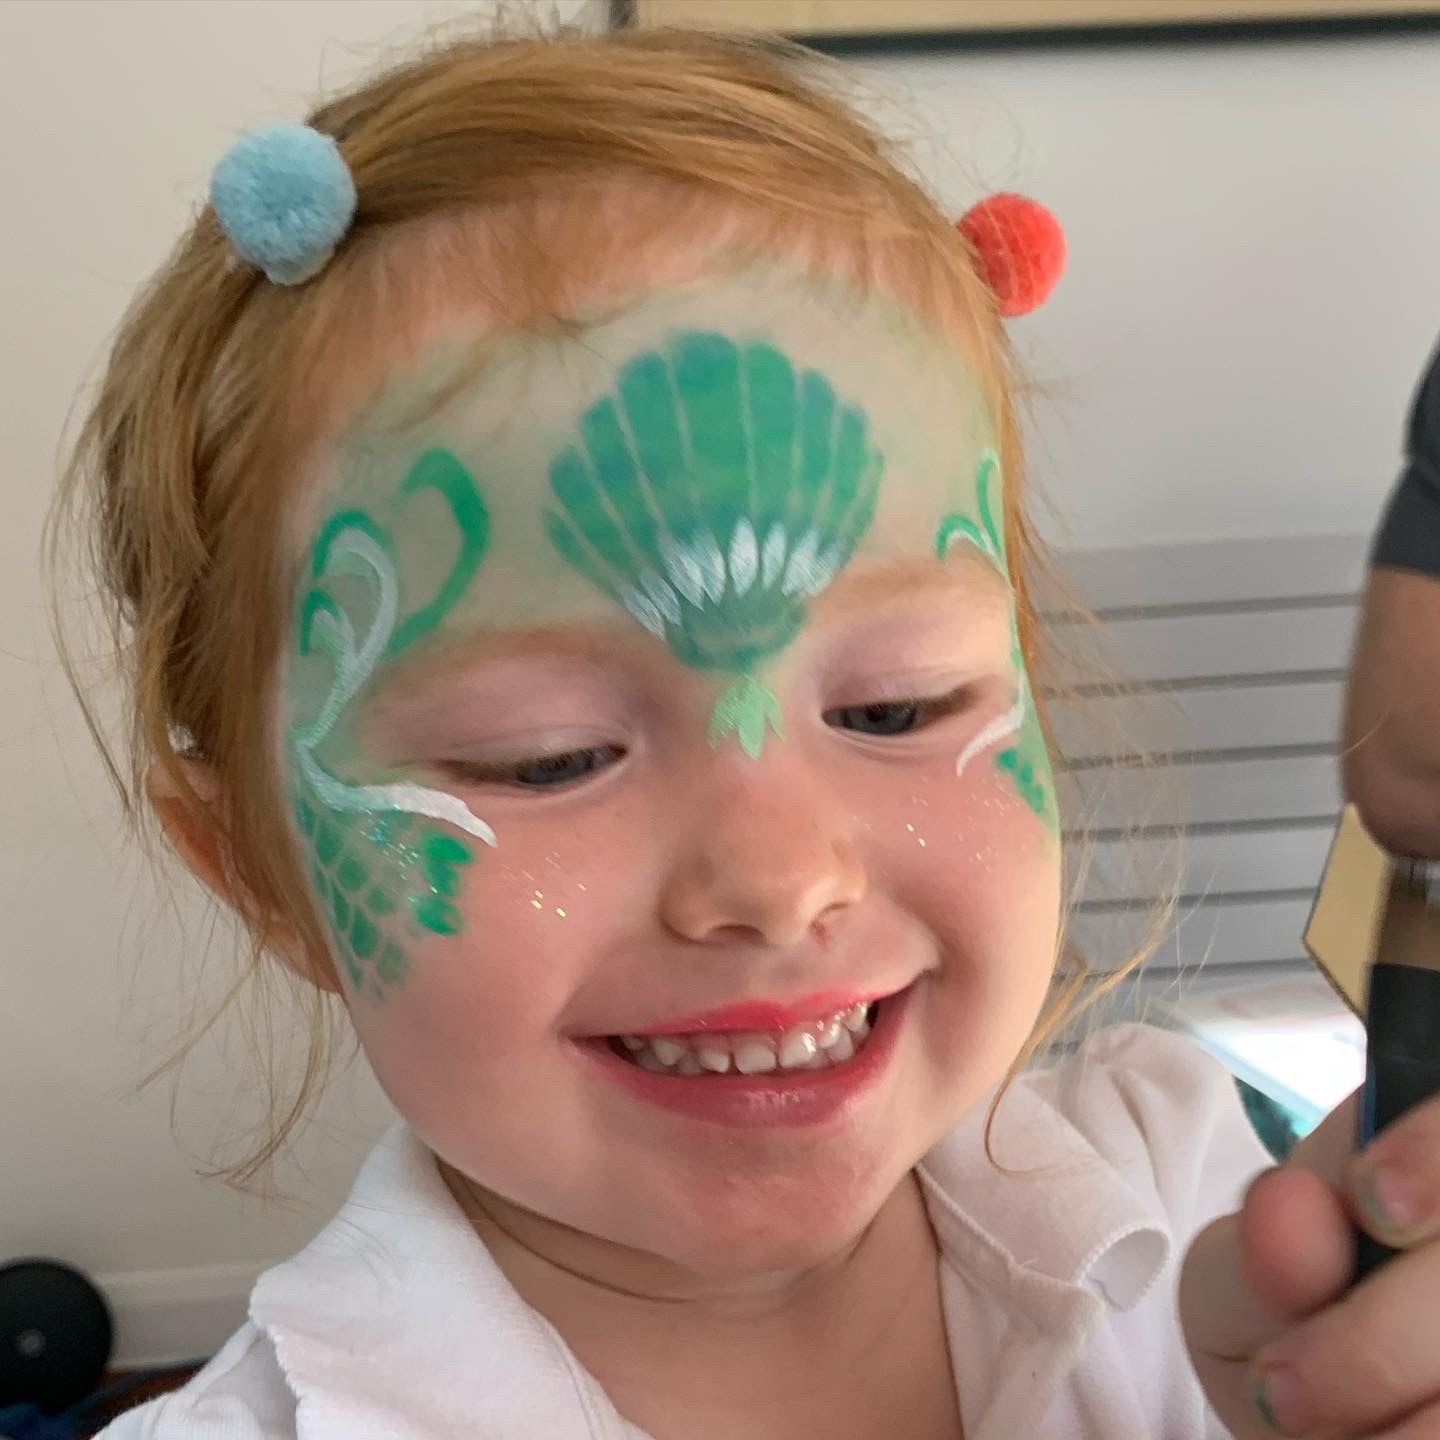
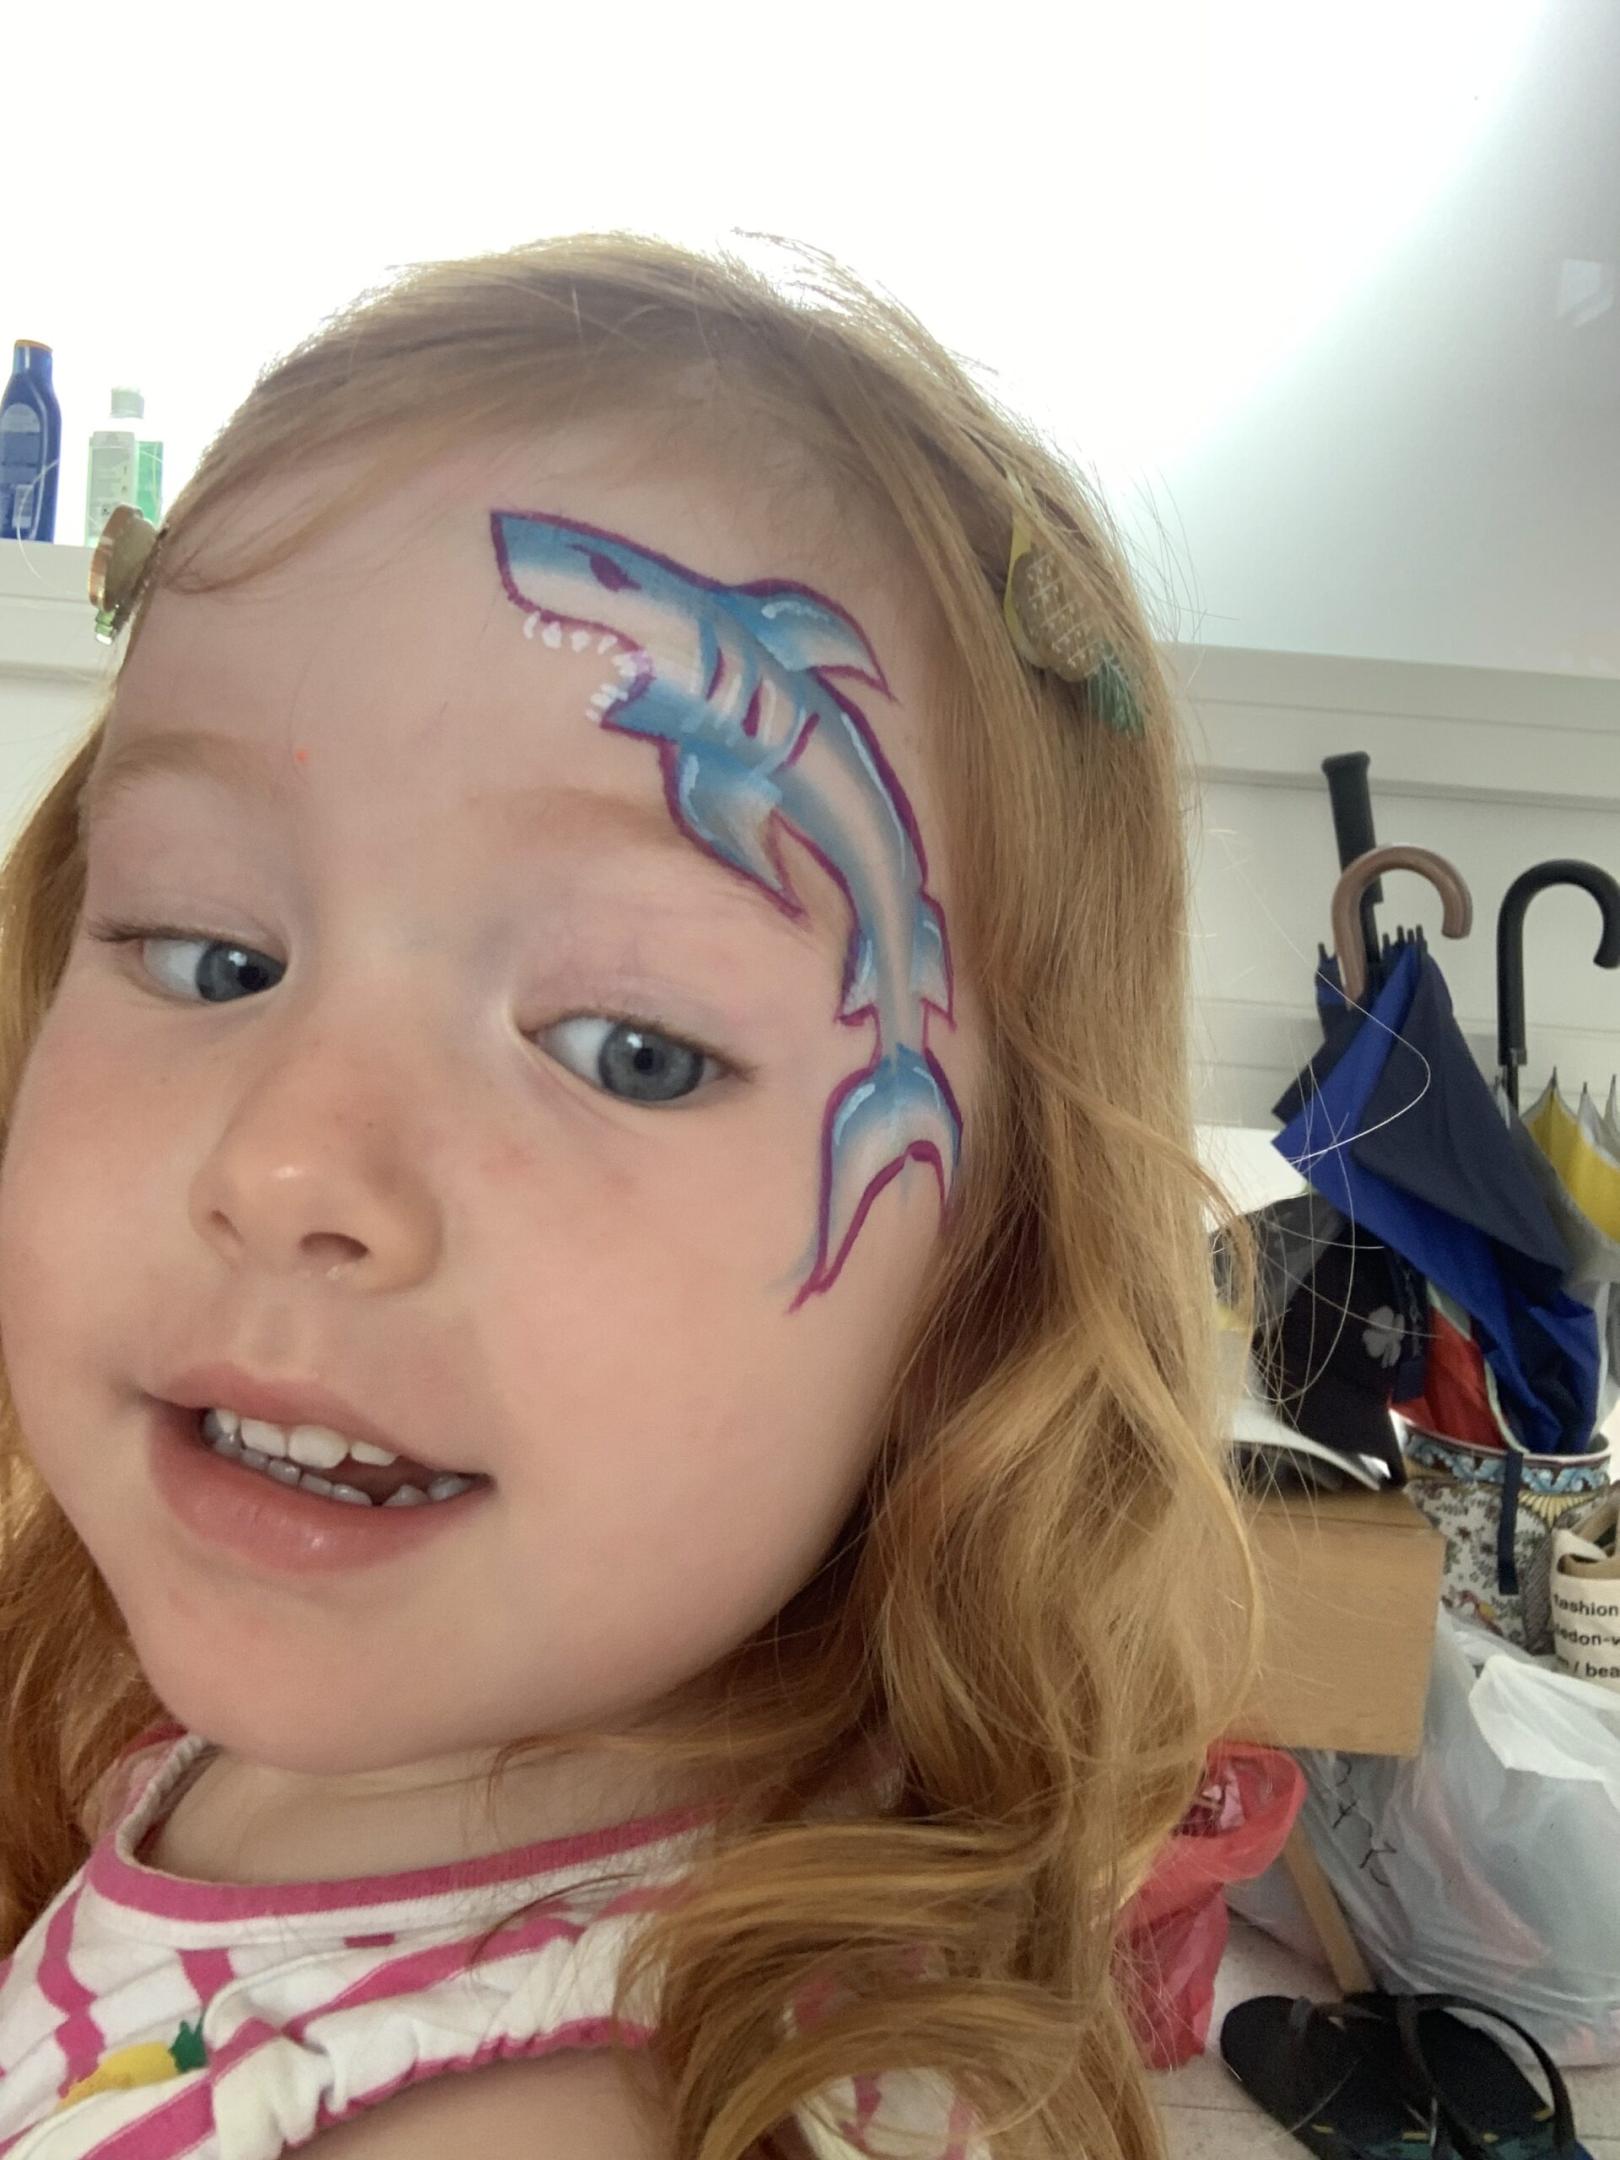
I decided that my mum and I would give the face painting a go ourselves. I even cut all the stencils myself on my Cricut machine. Lily had her face painted quite a few times in the weeks leading up to her party so I could practice. I thought I was getting the hang of it, until the pressure of the big day – it’s quite tough doing so many children on the spot.
Party Activities
Under the Sea themed craft activities
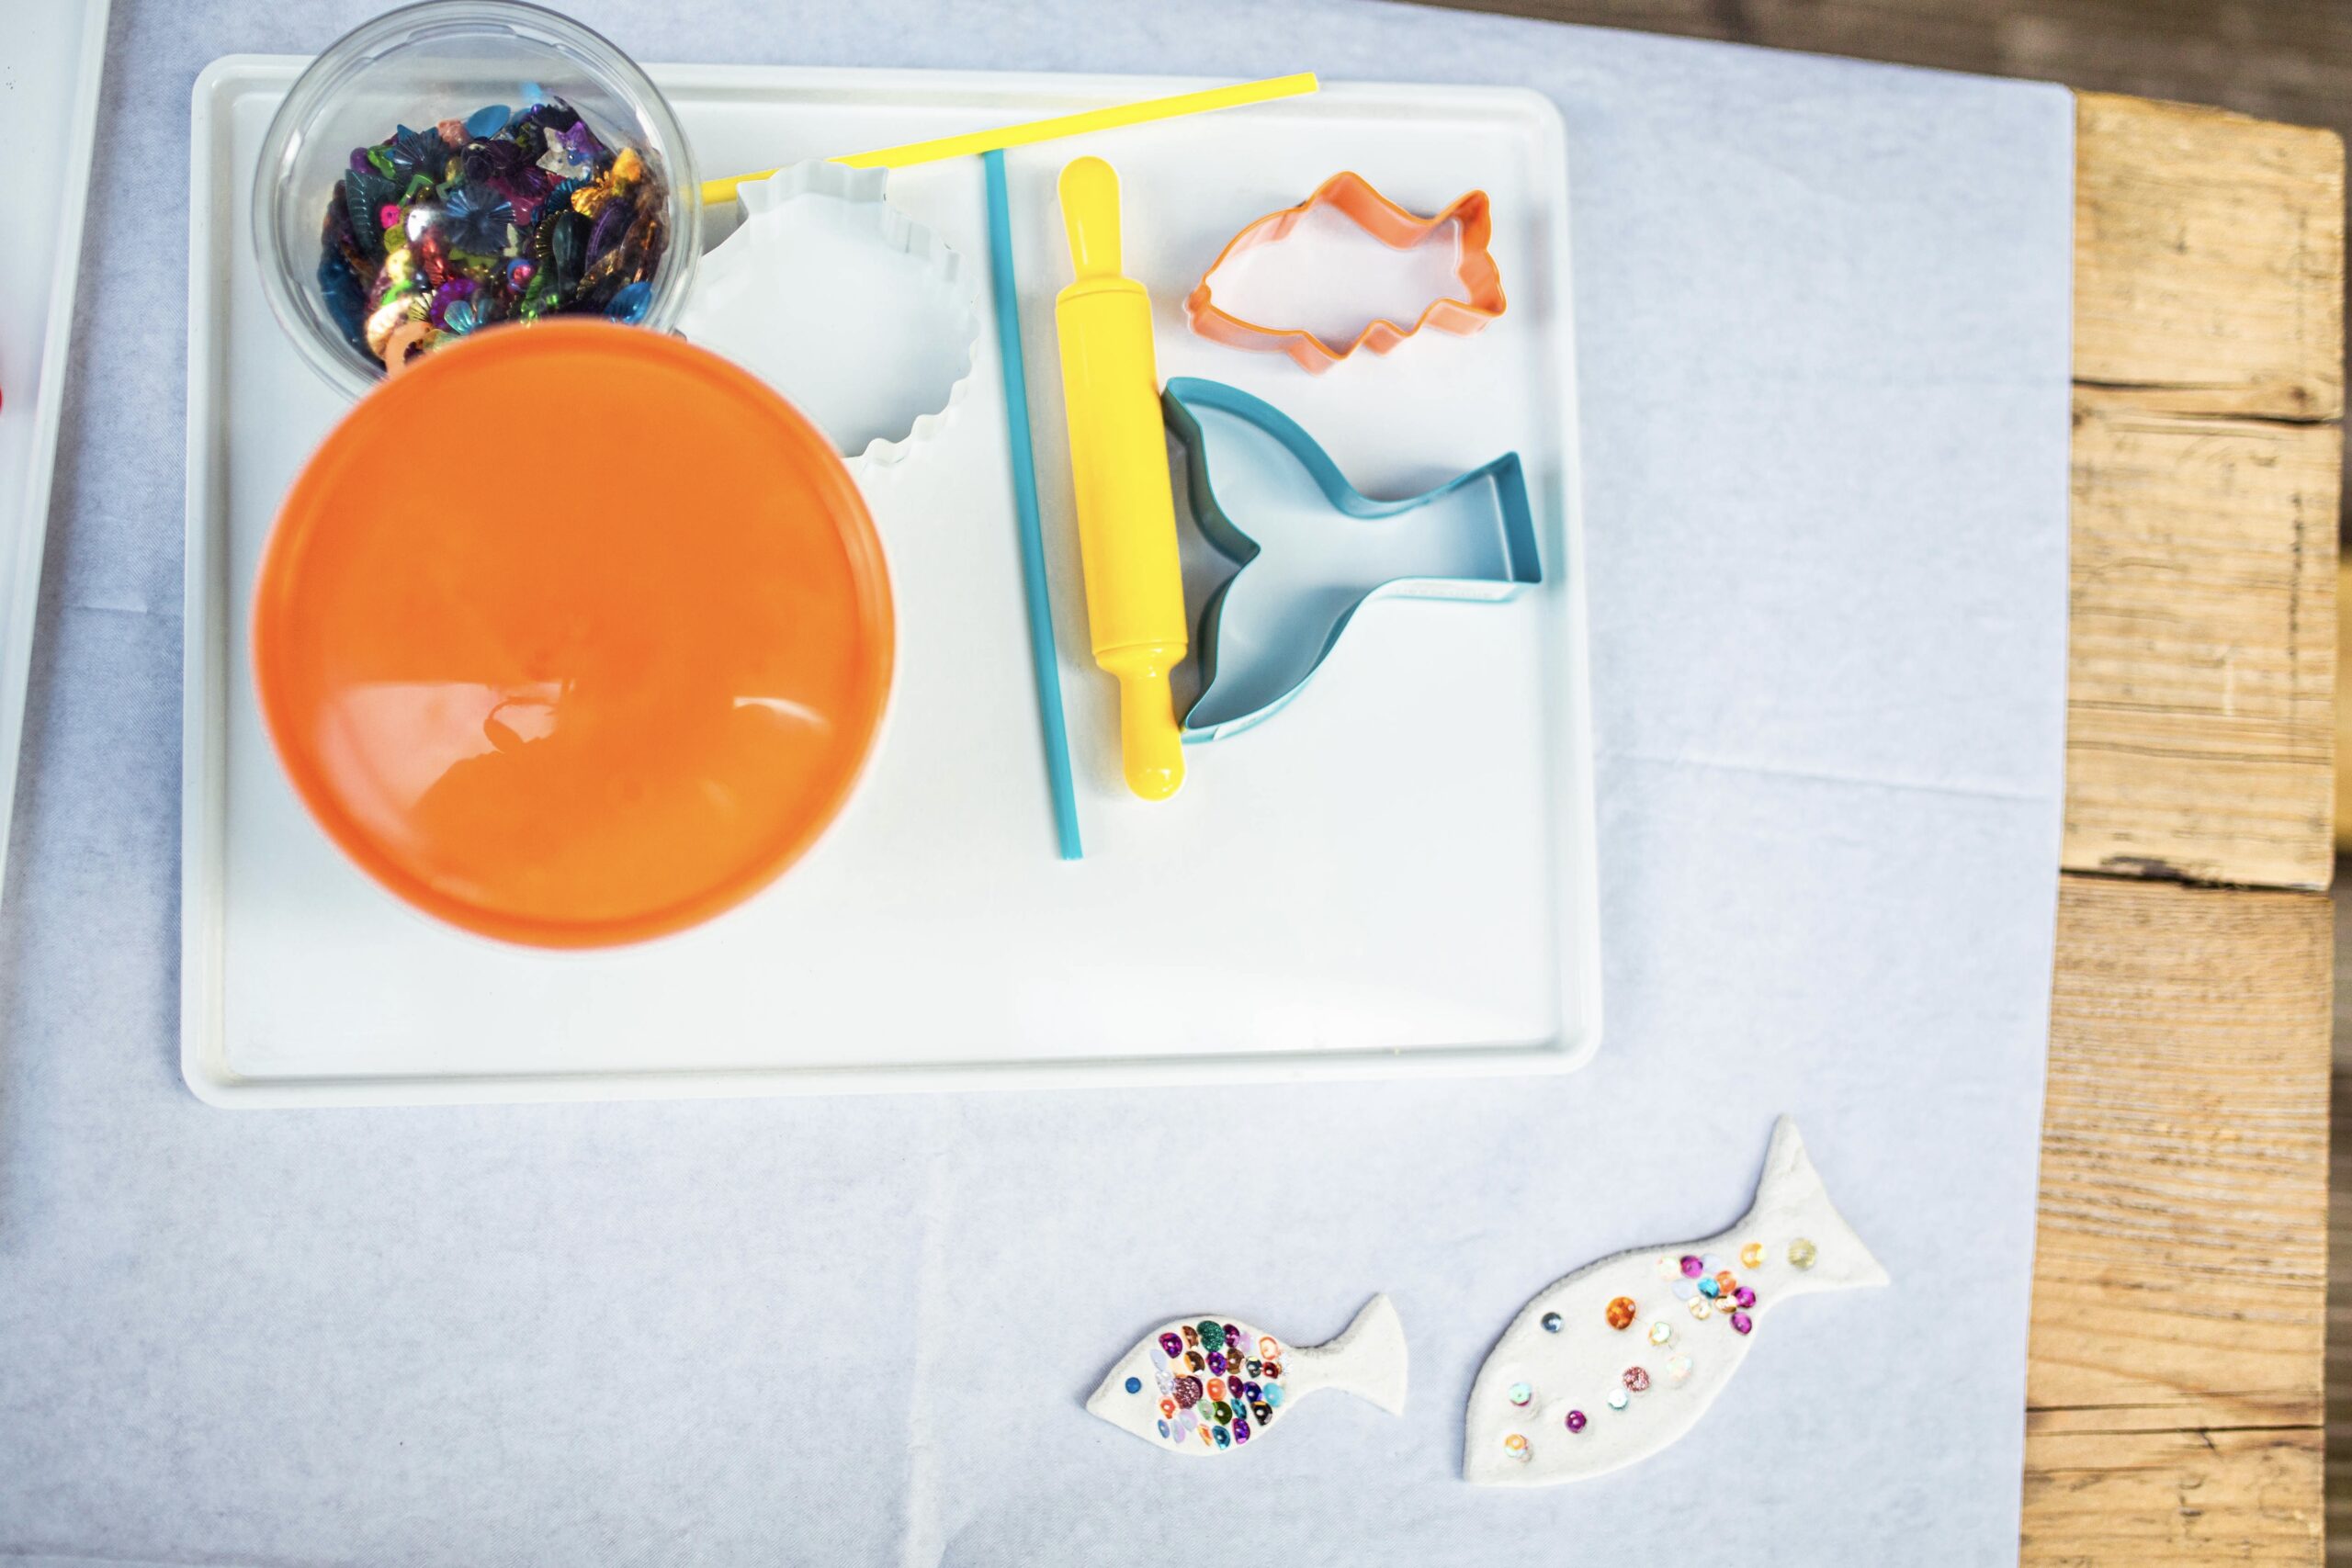
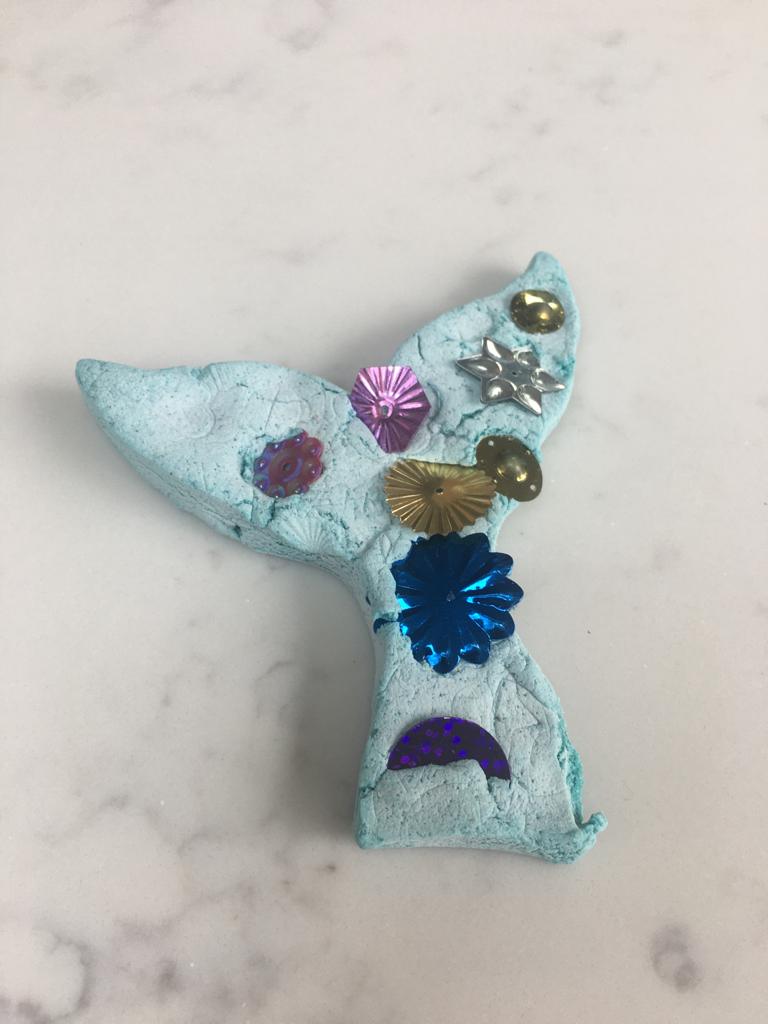
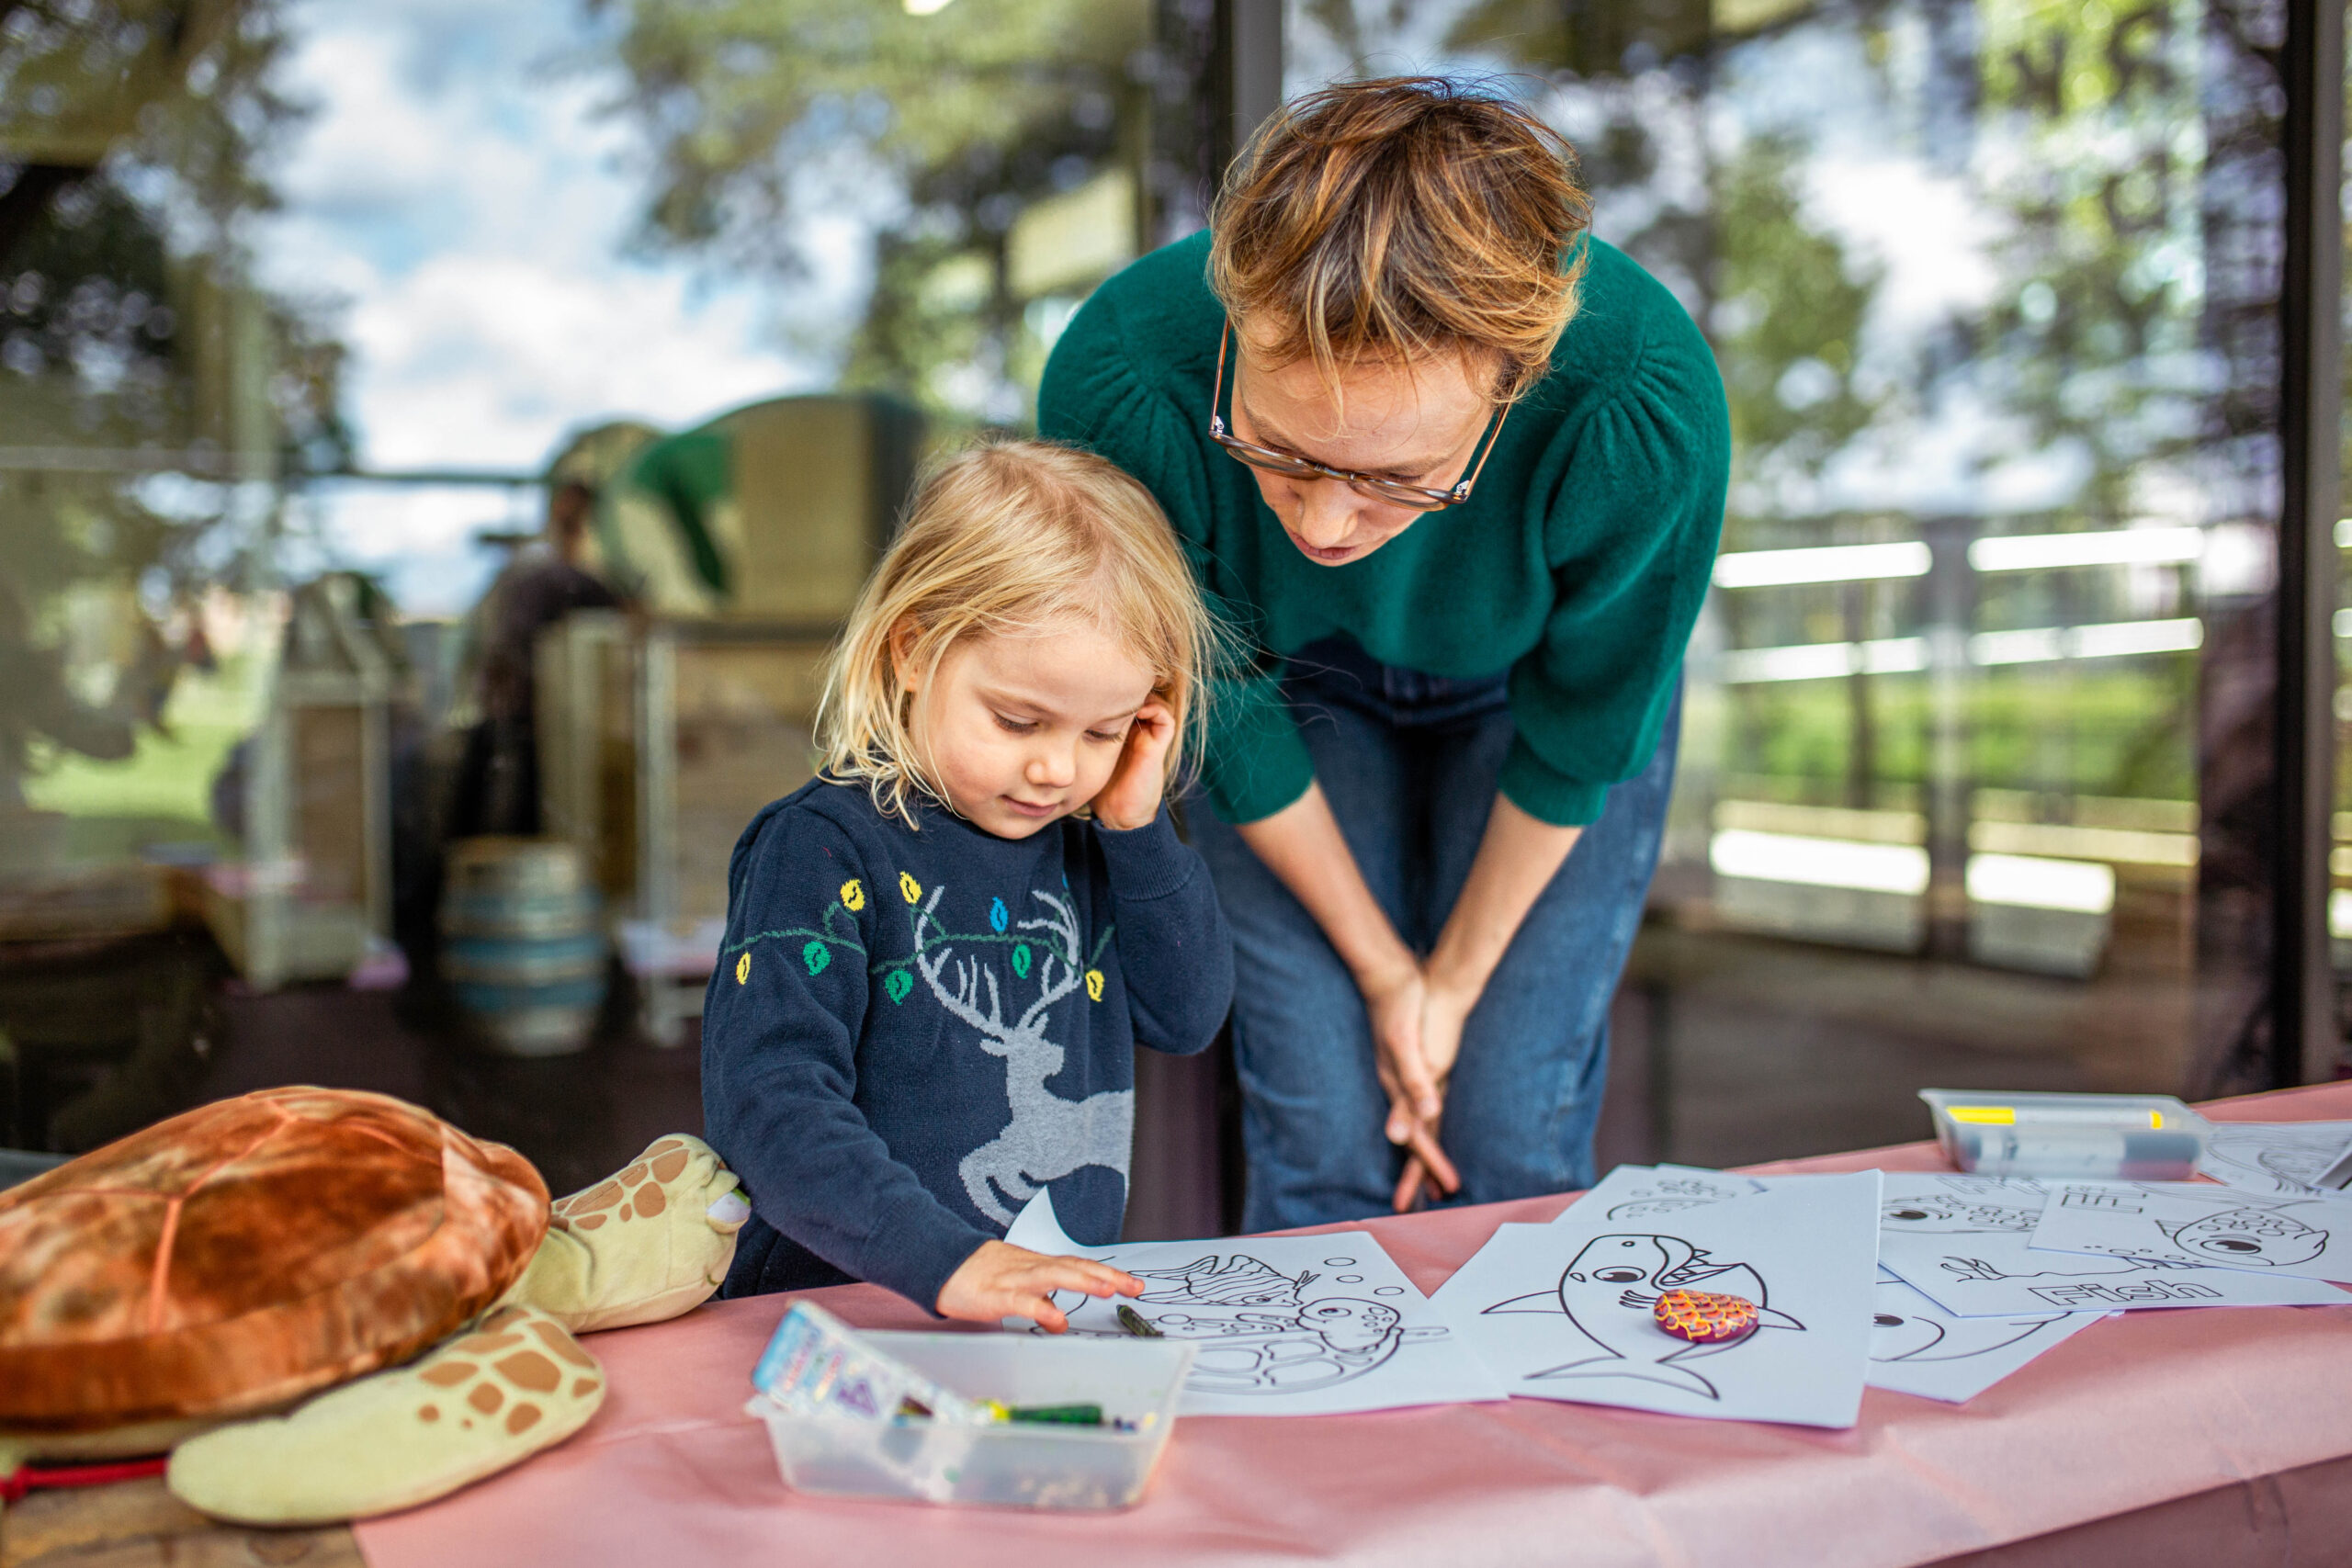
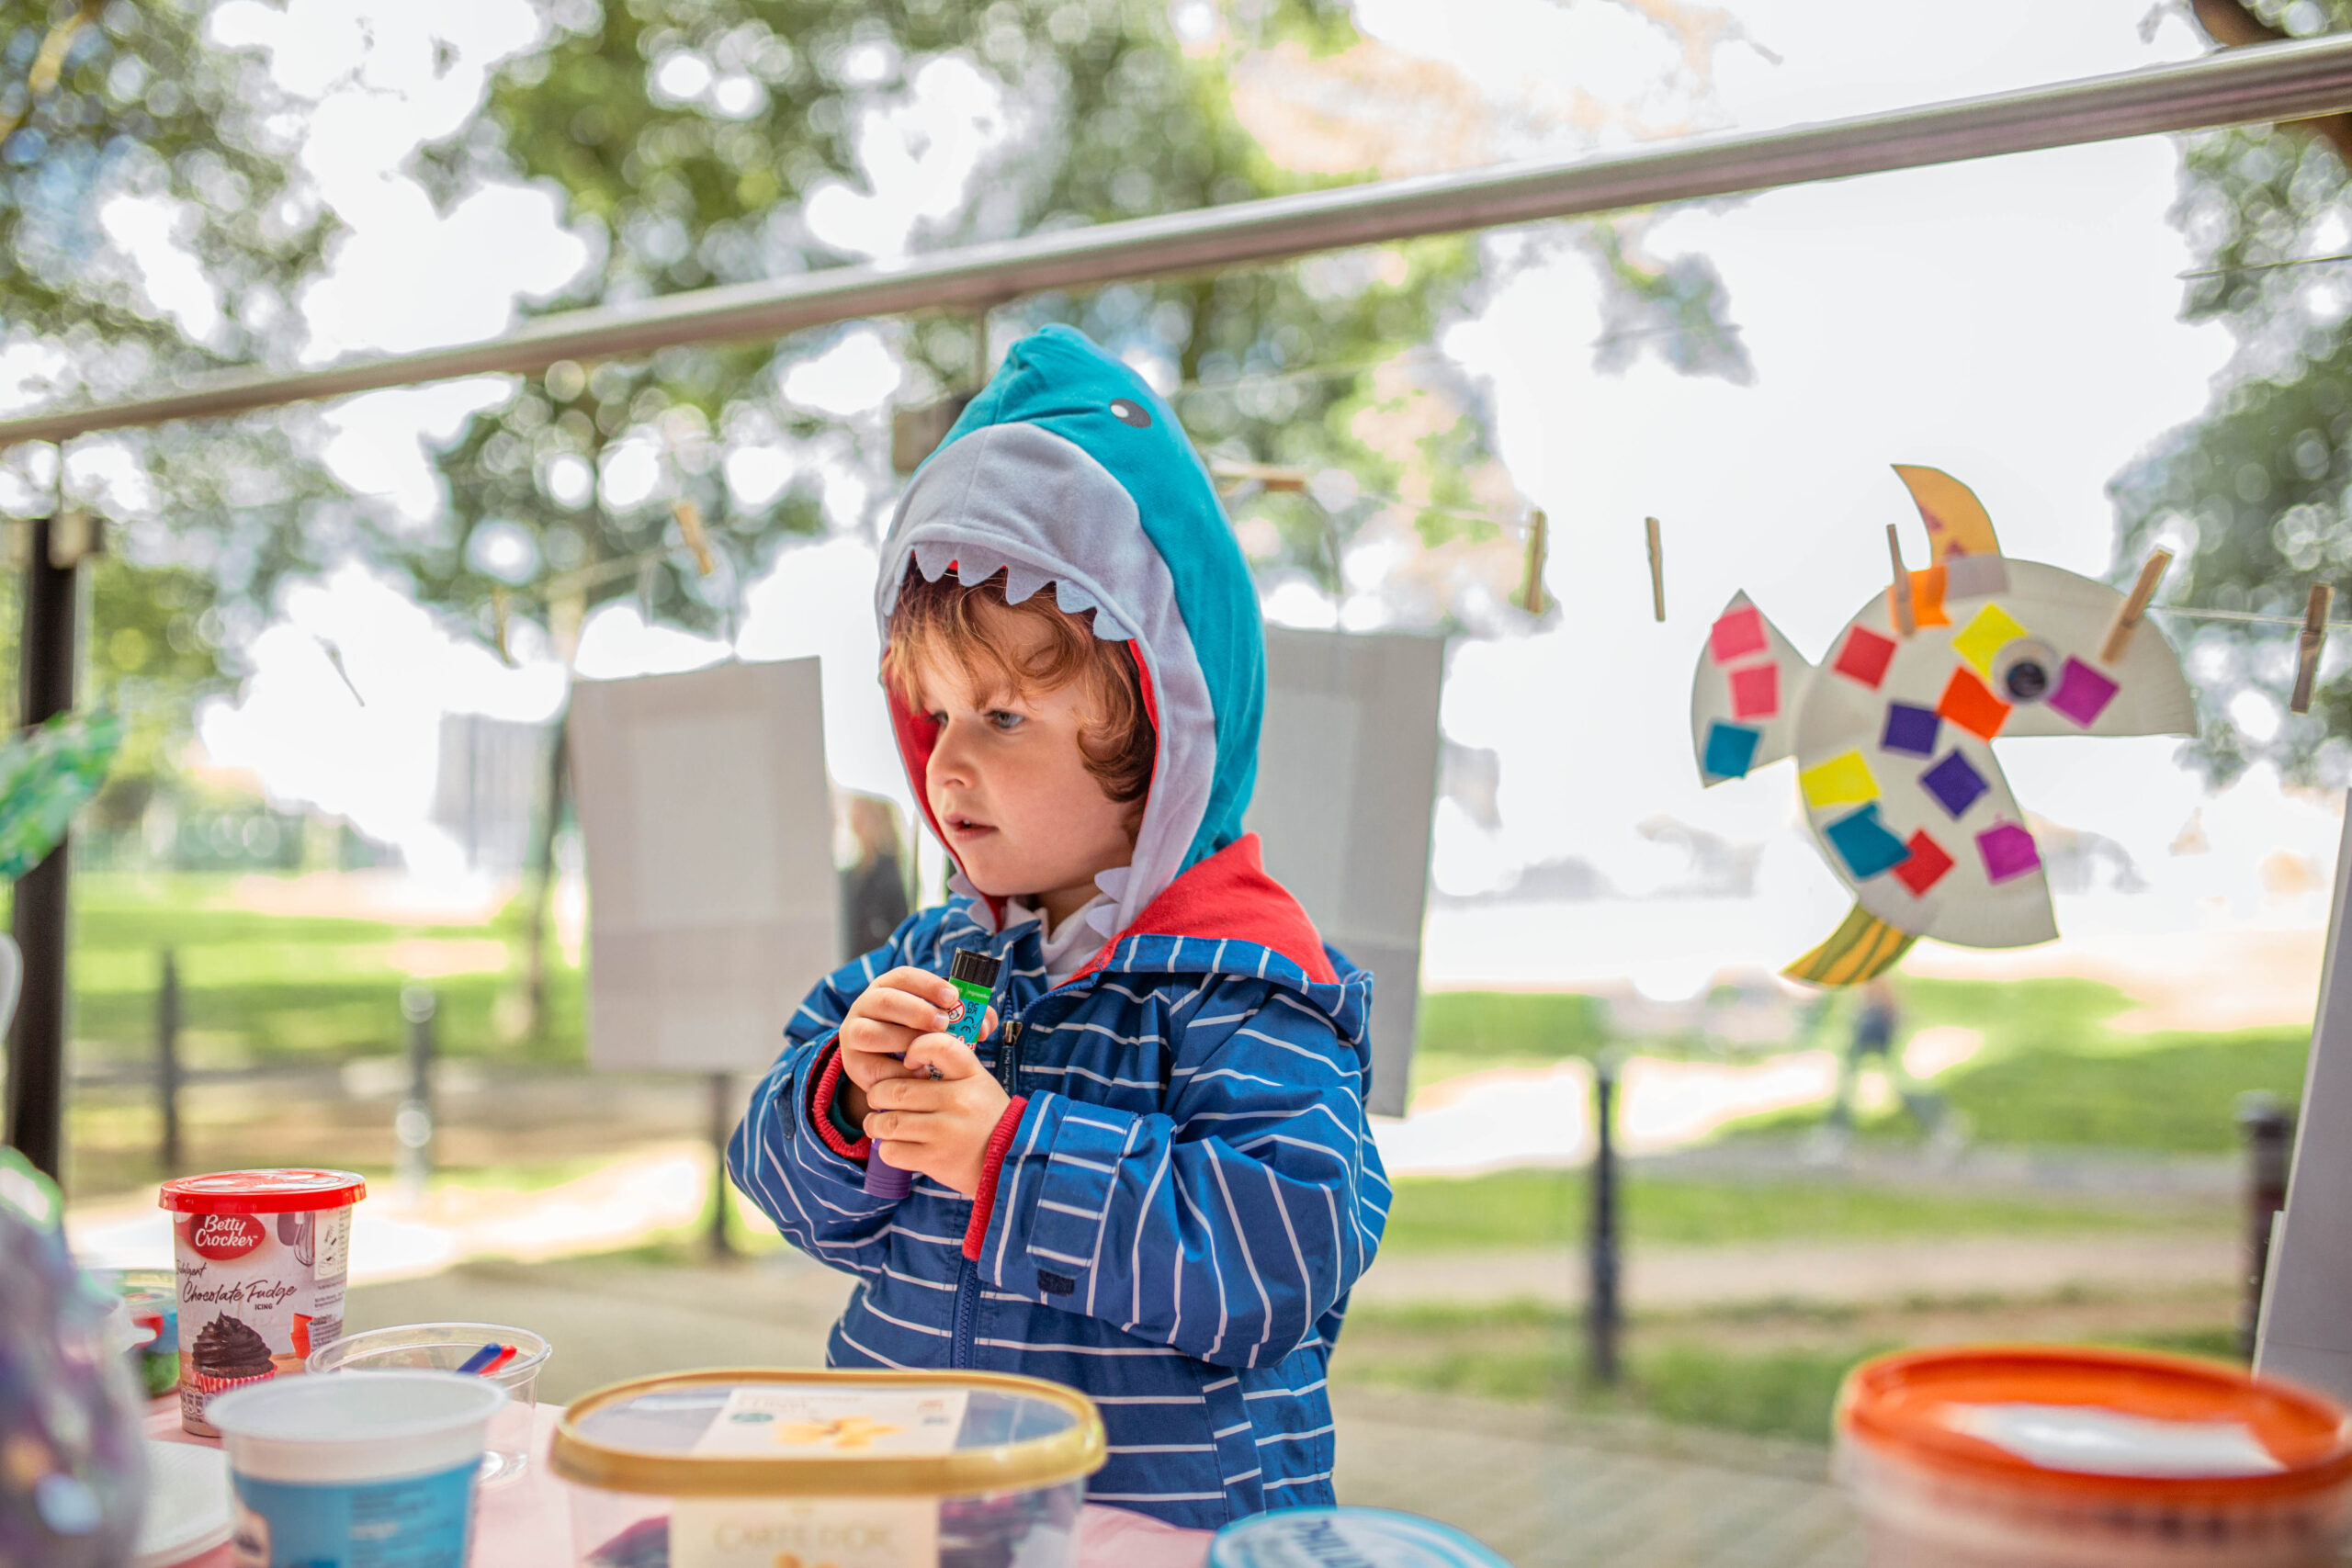
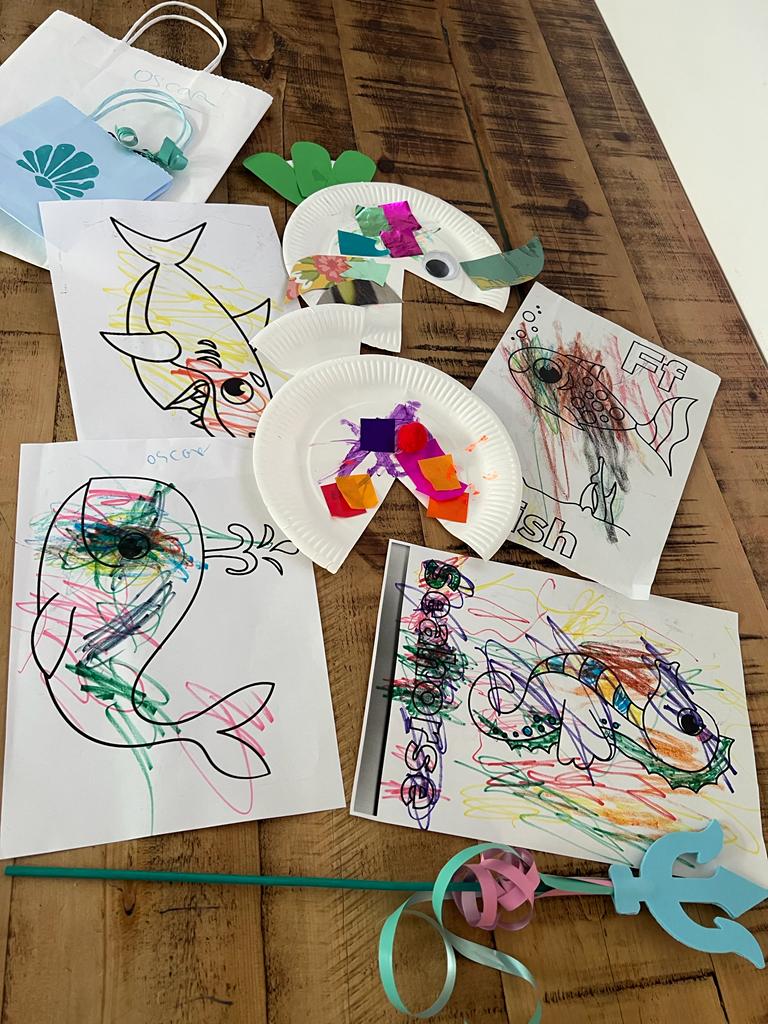
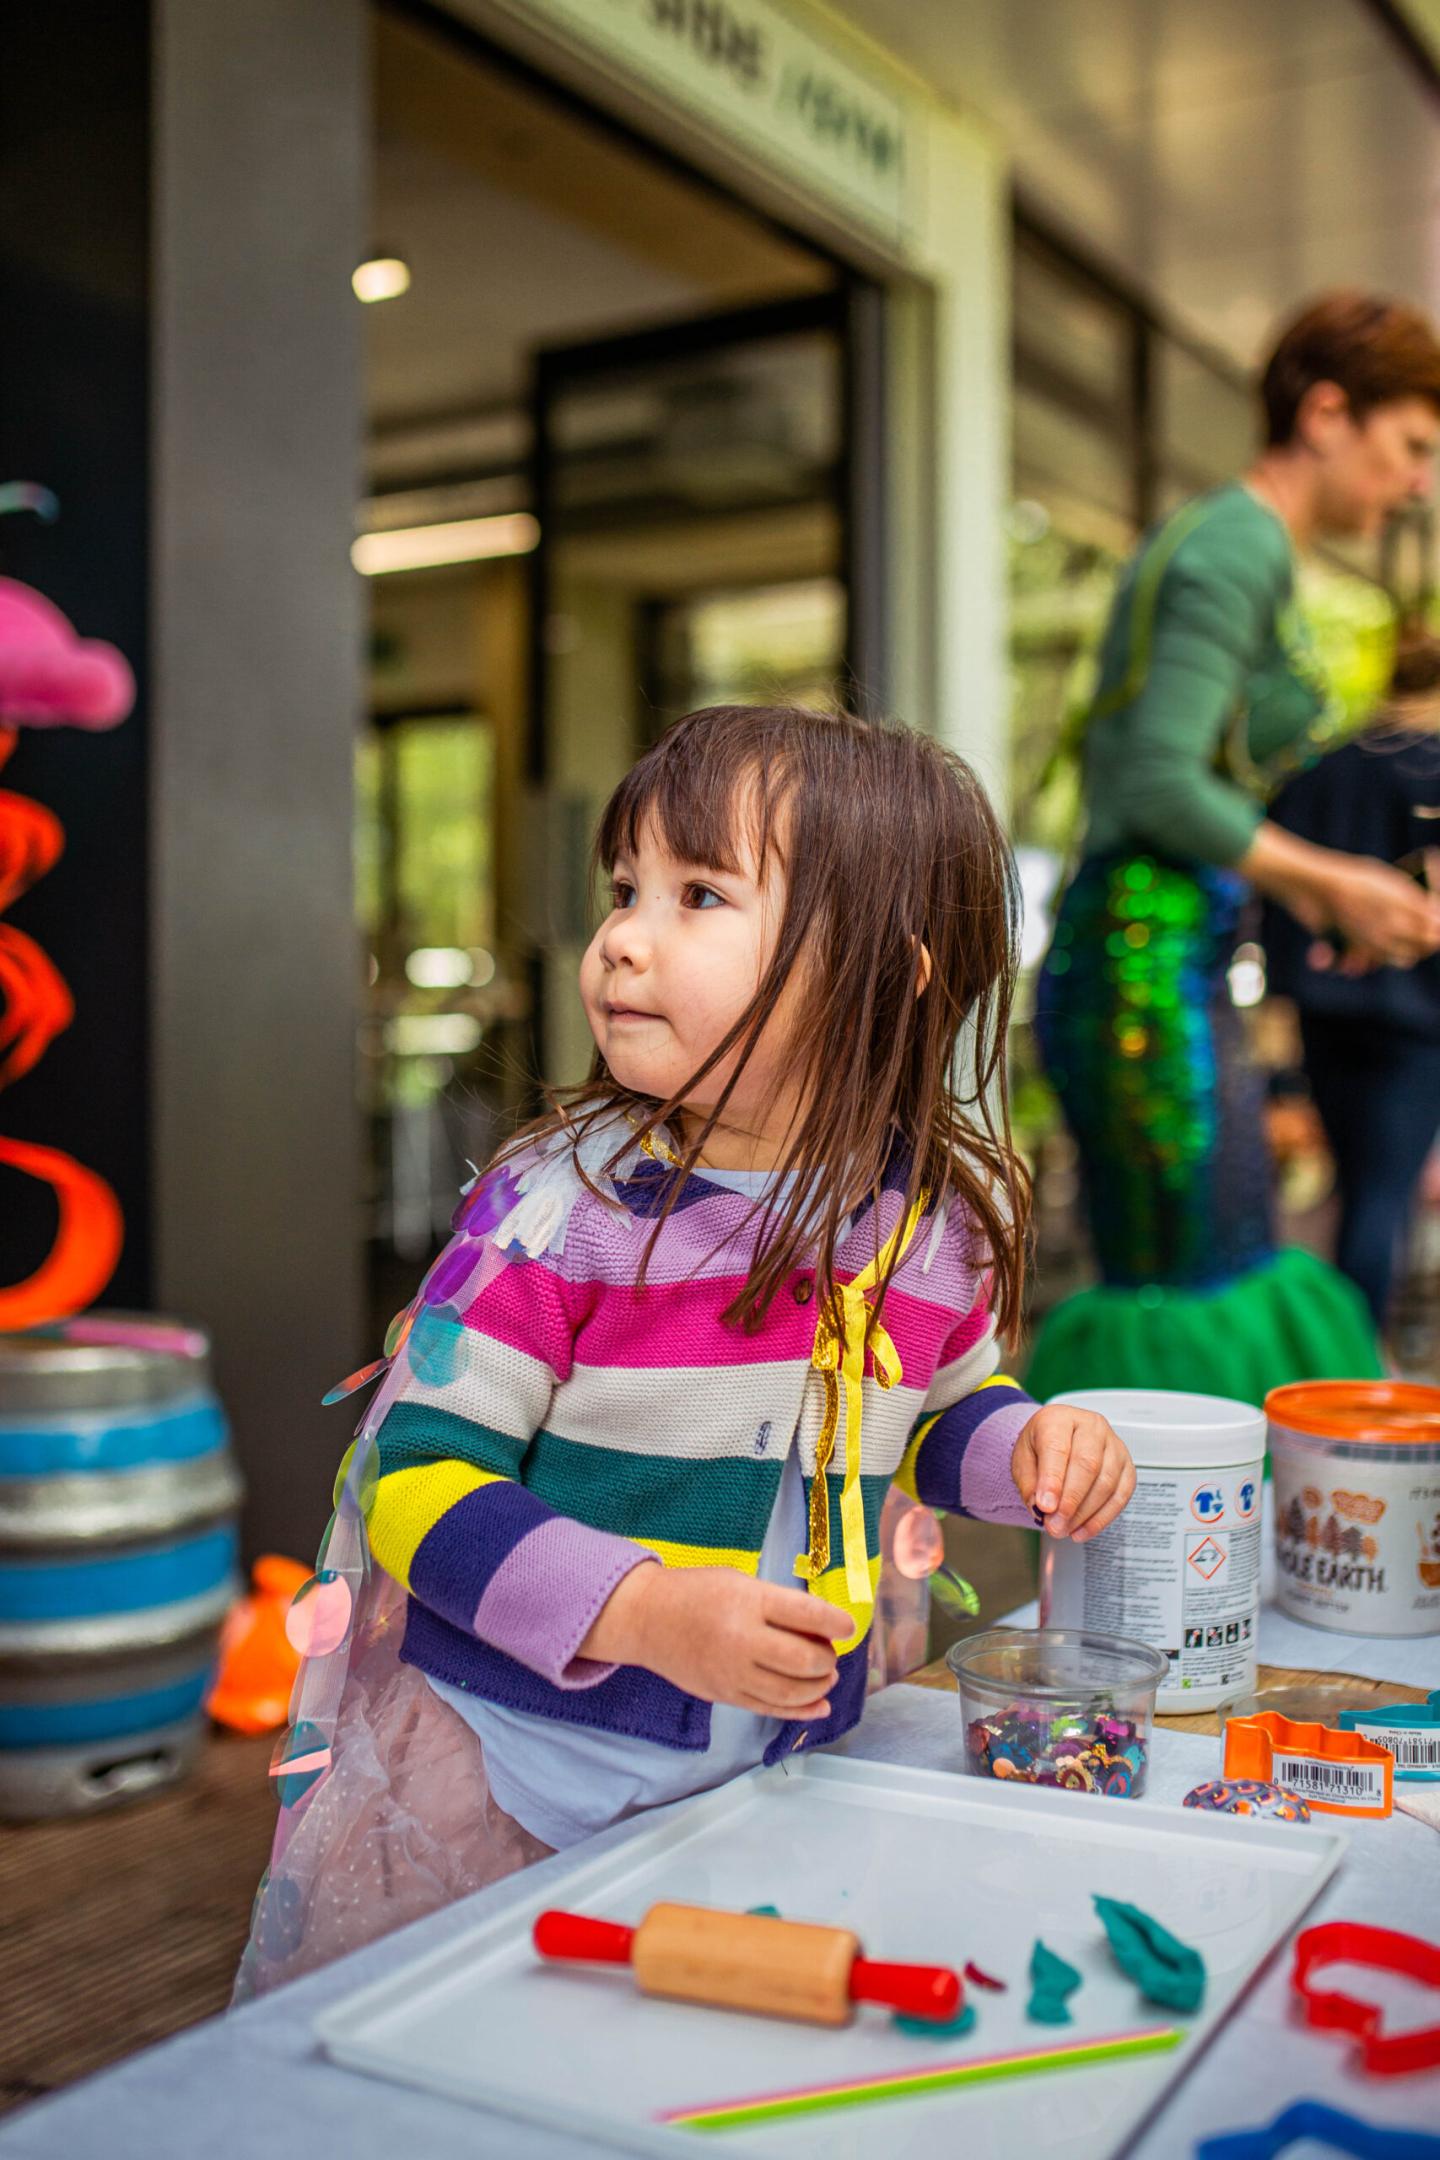
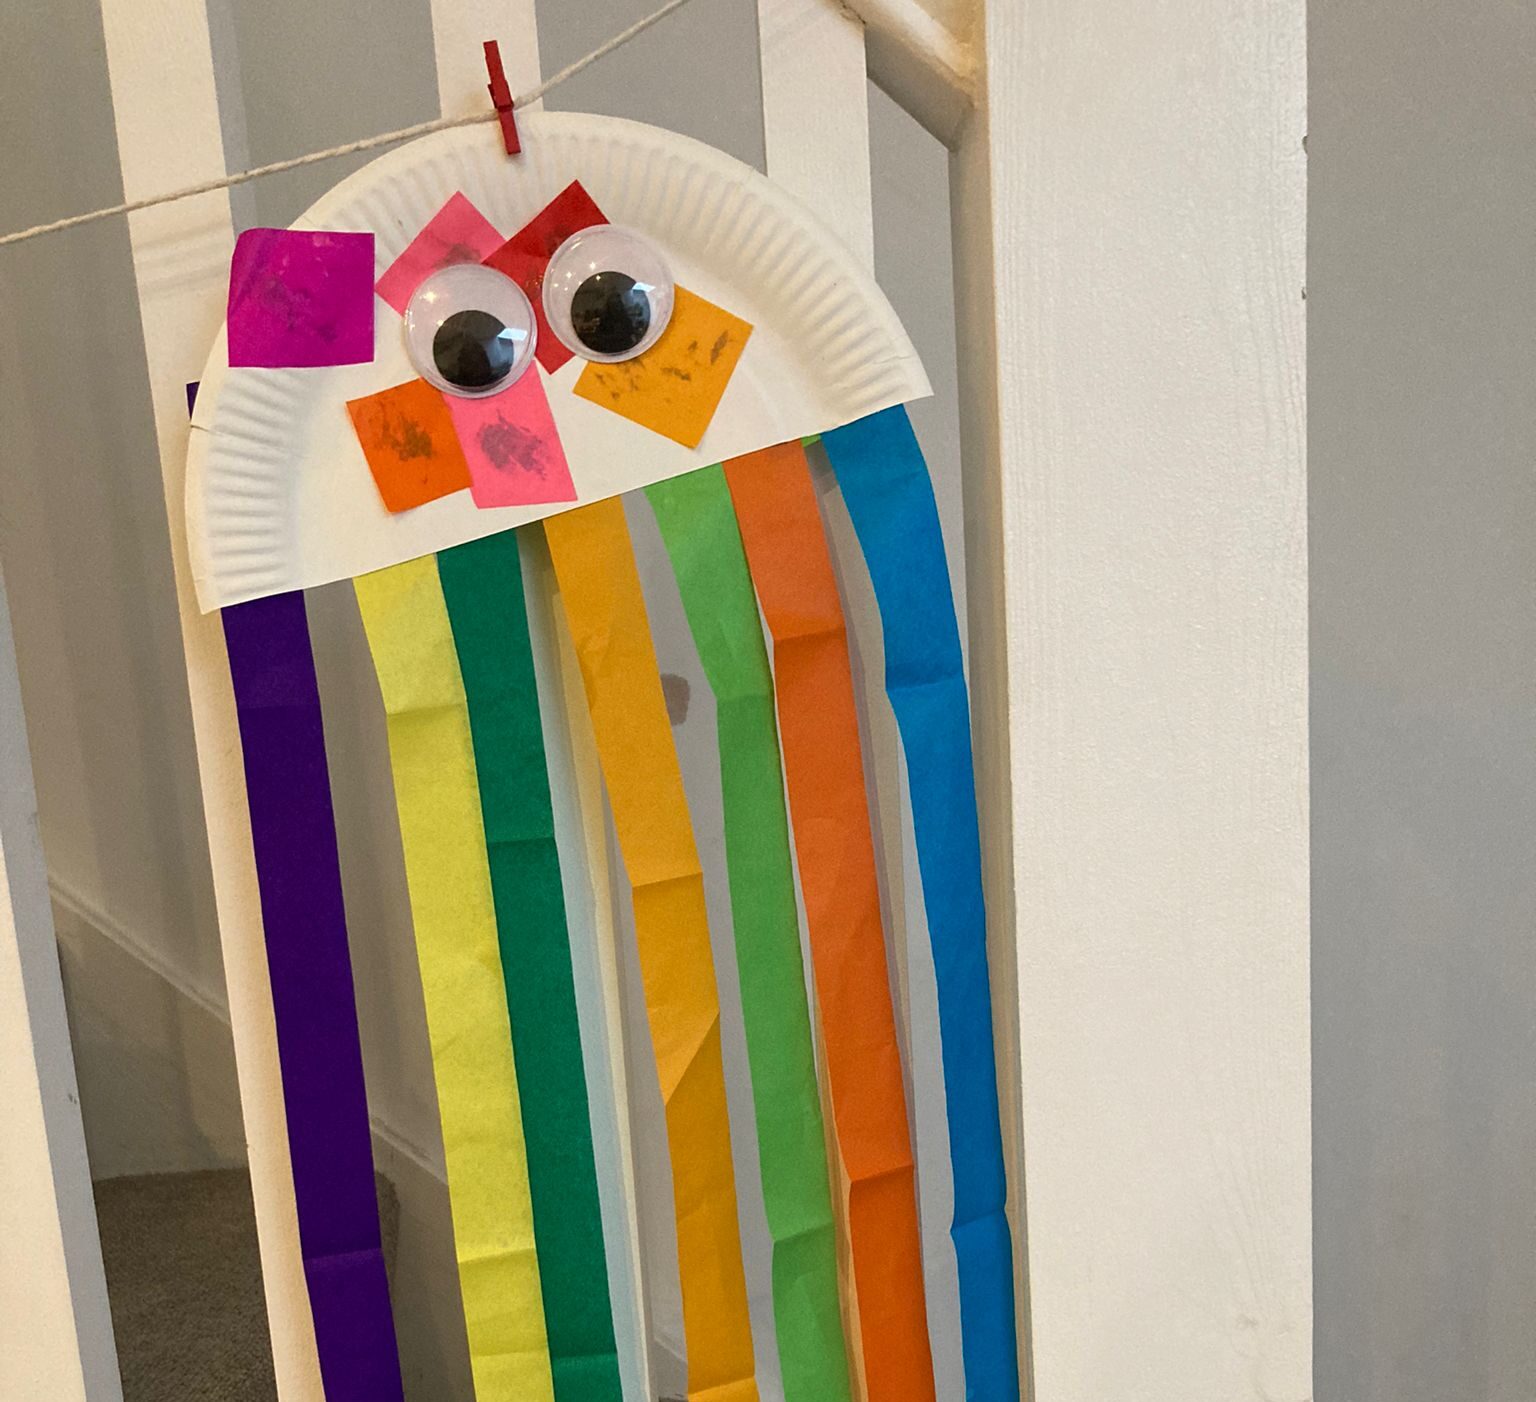
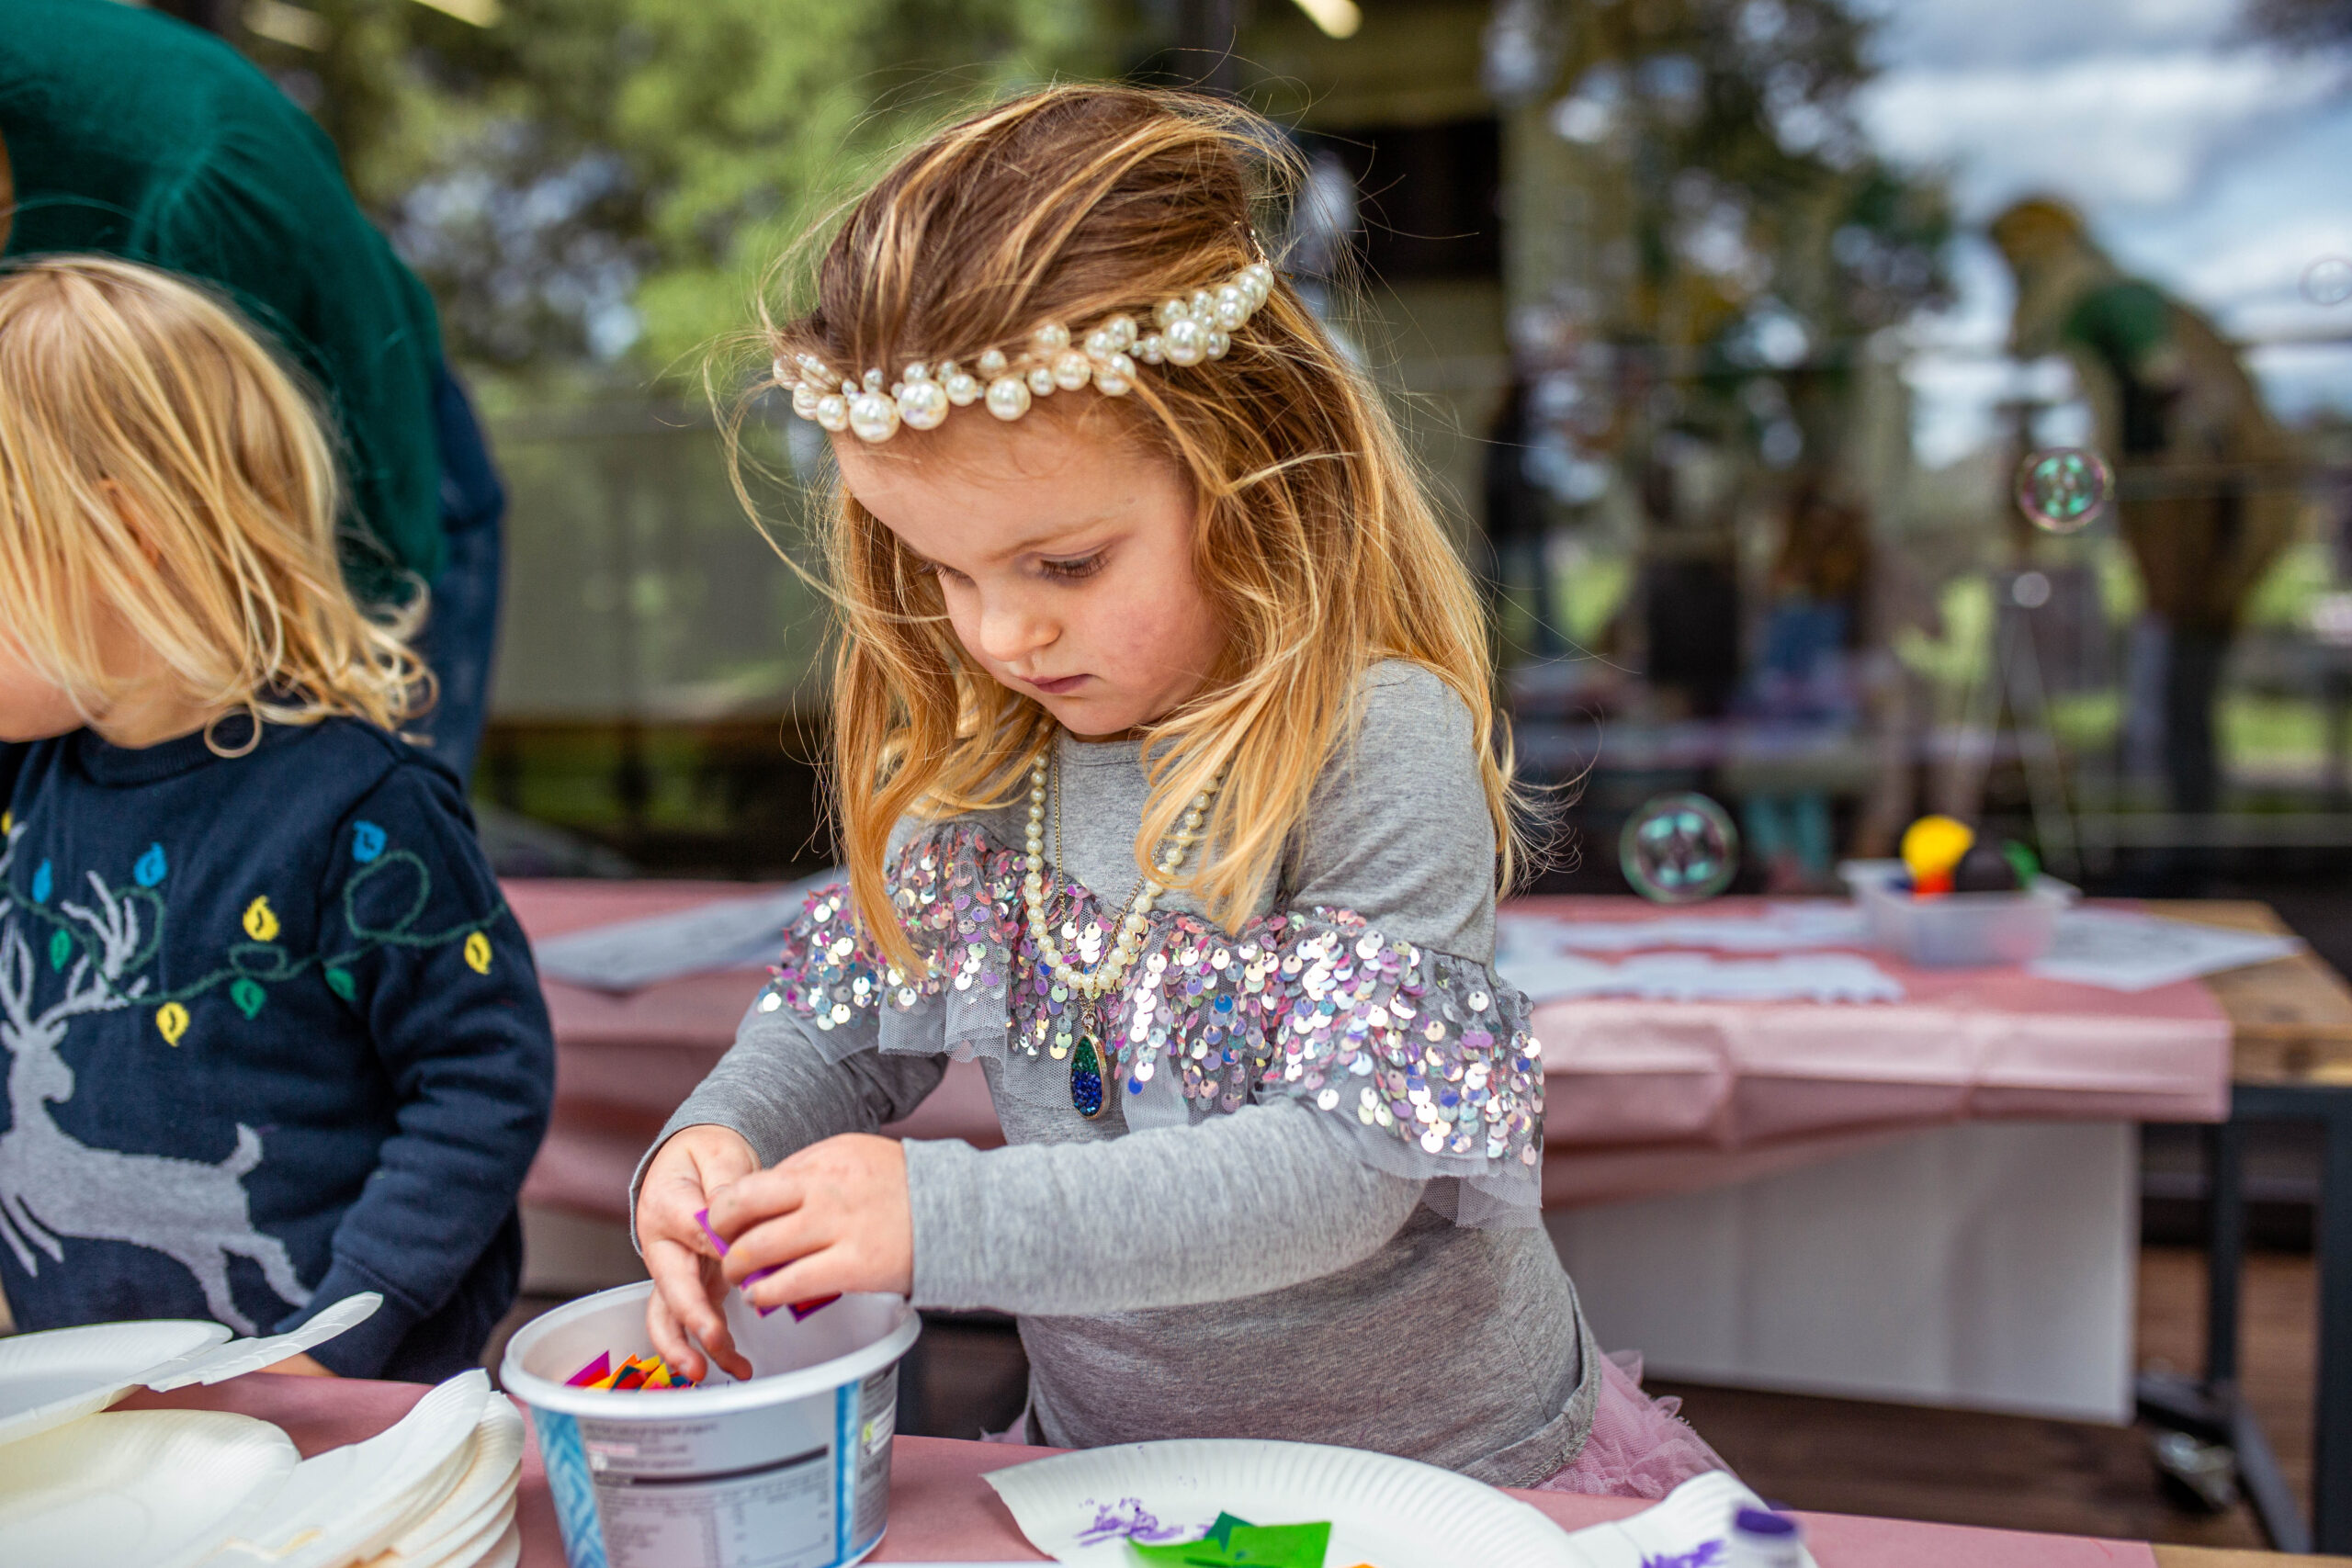
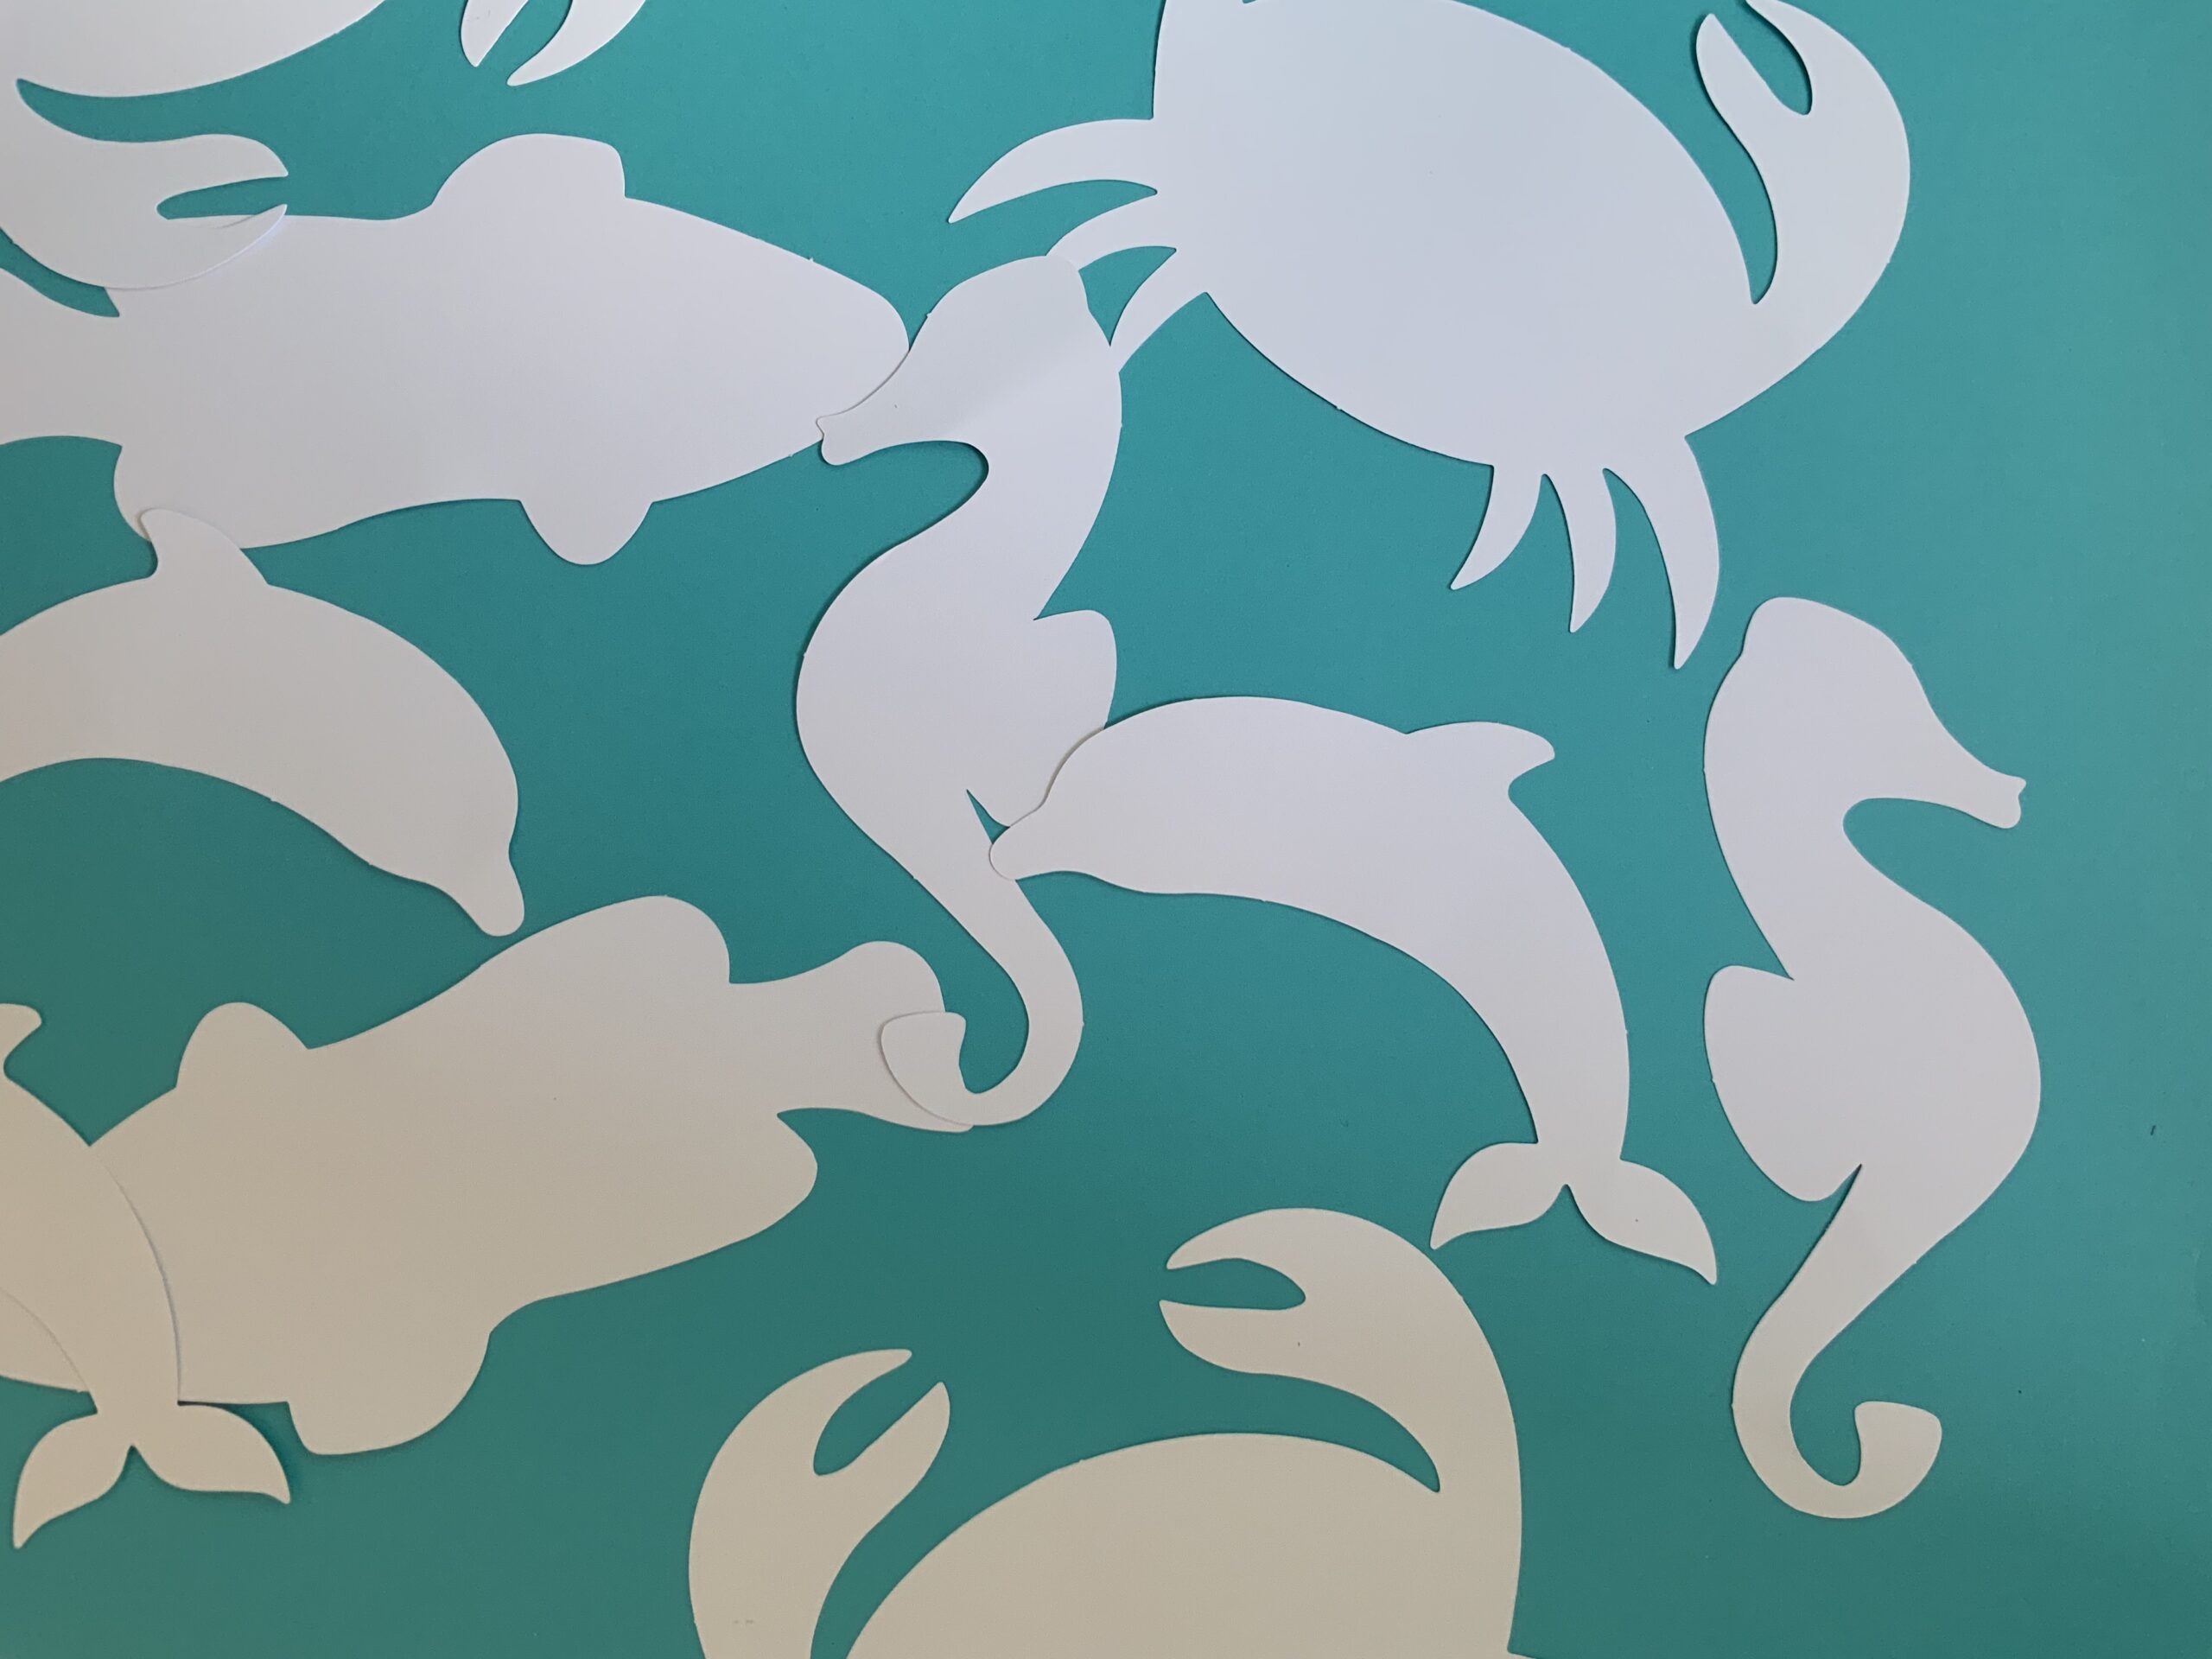
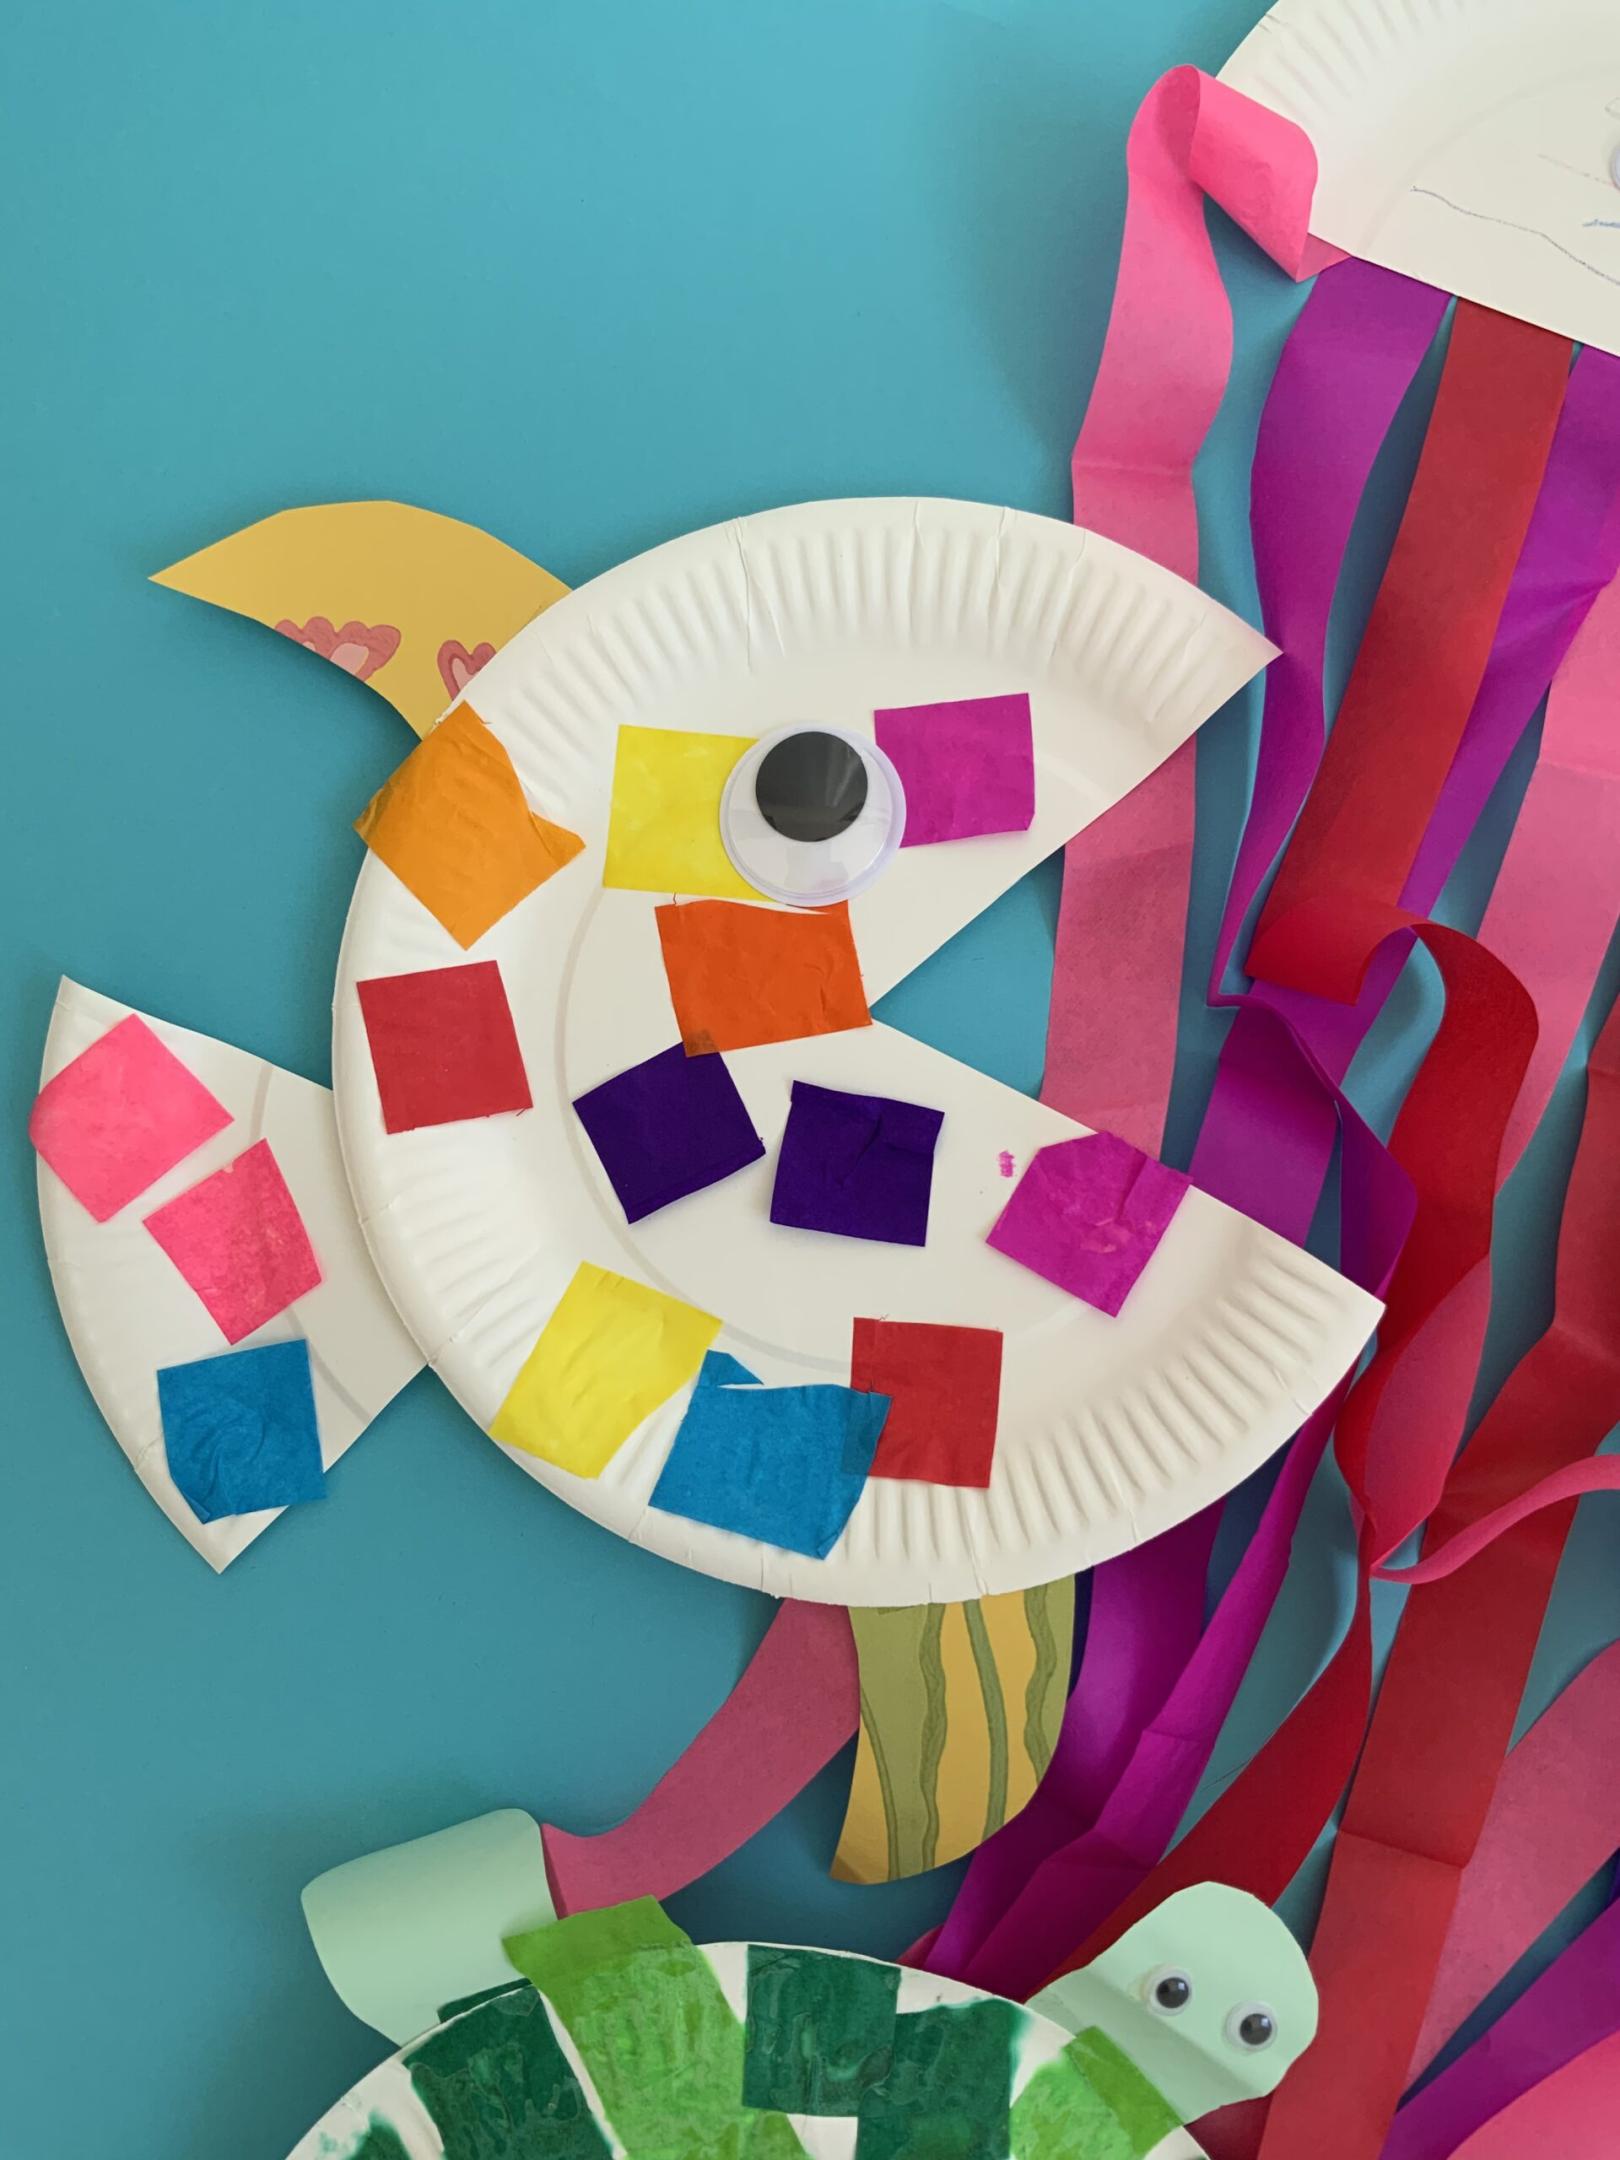
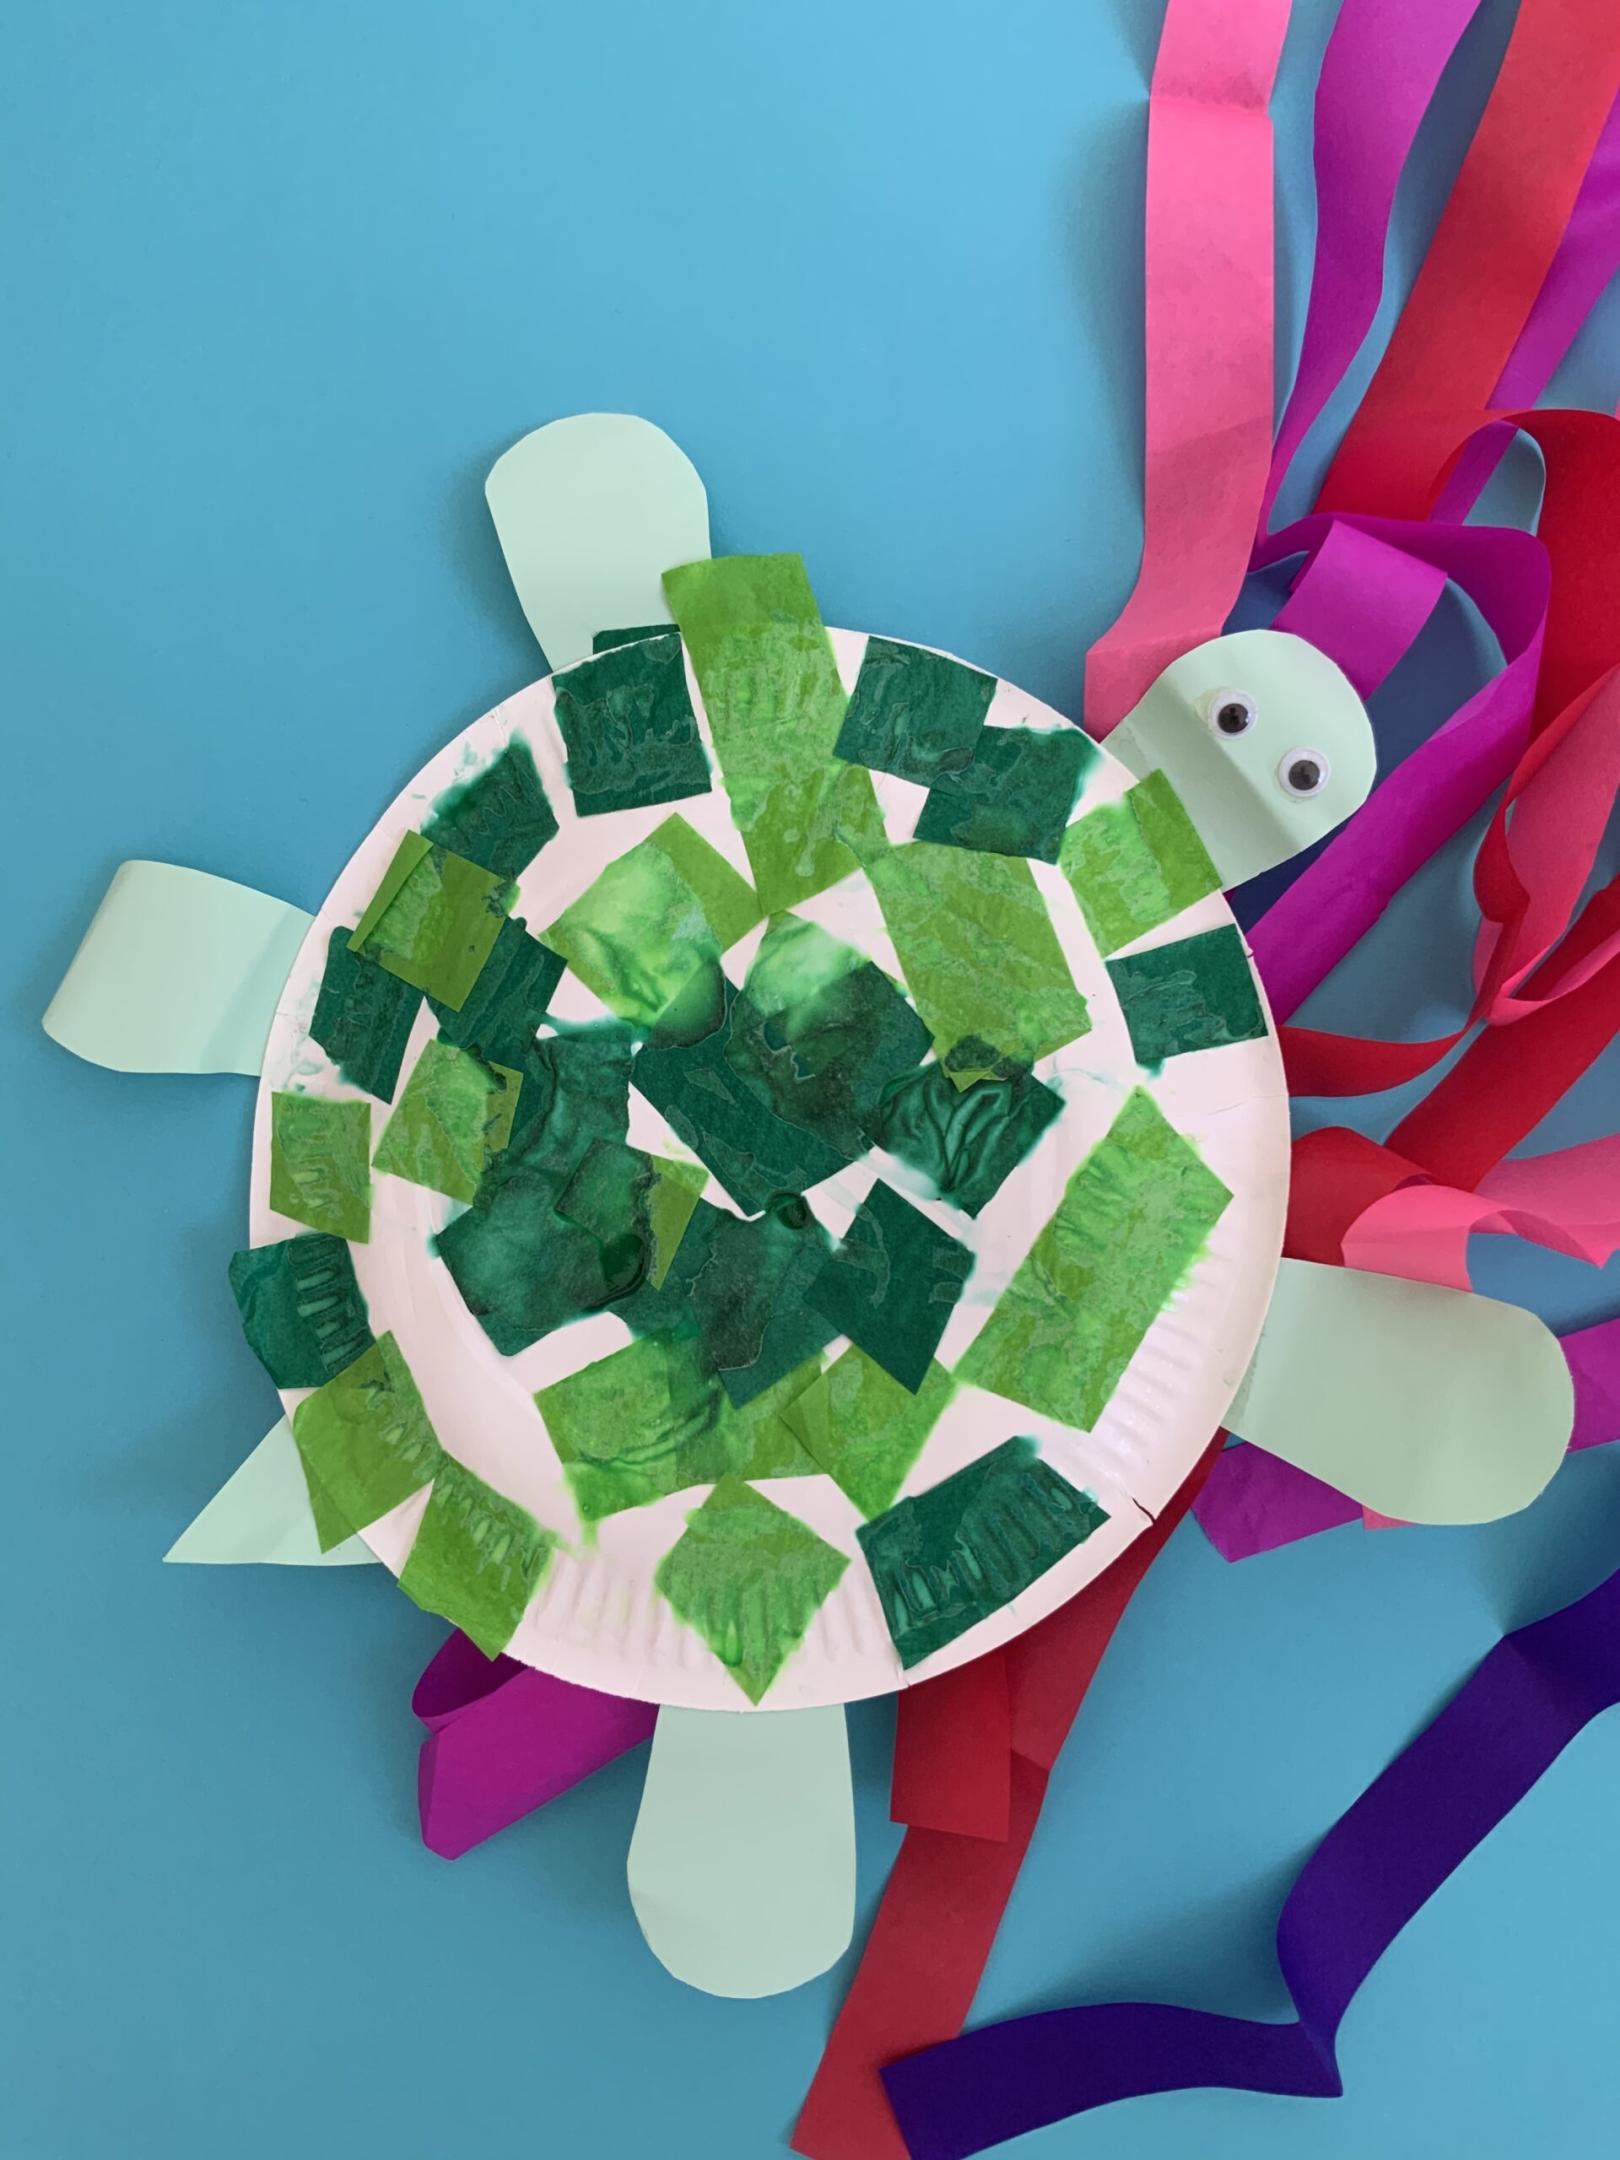
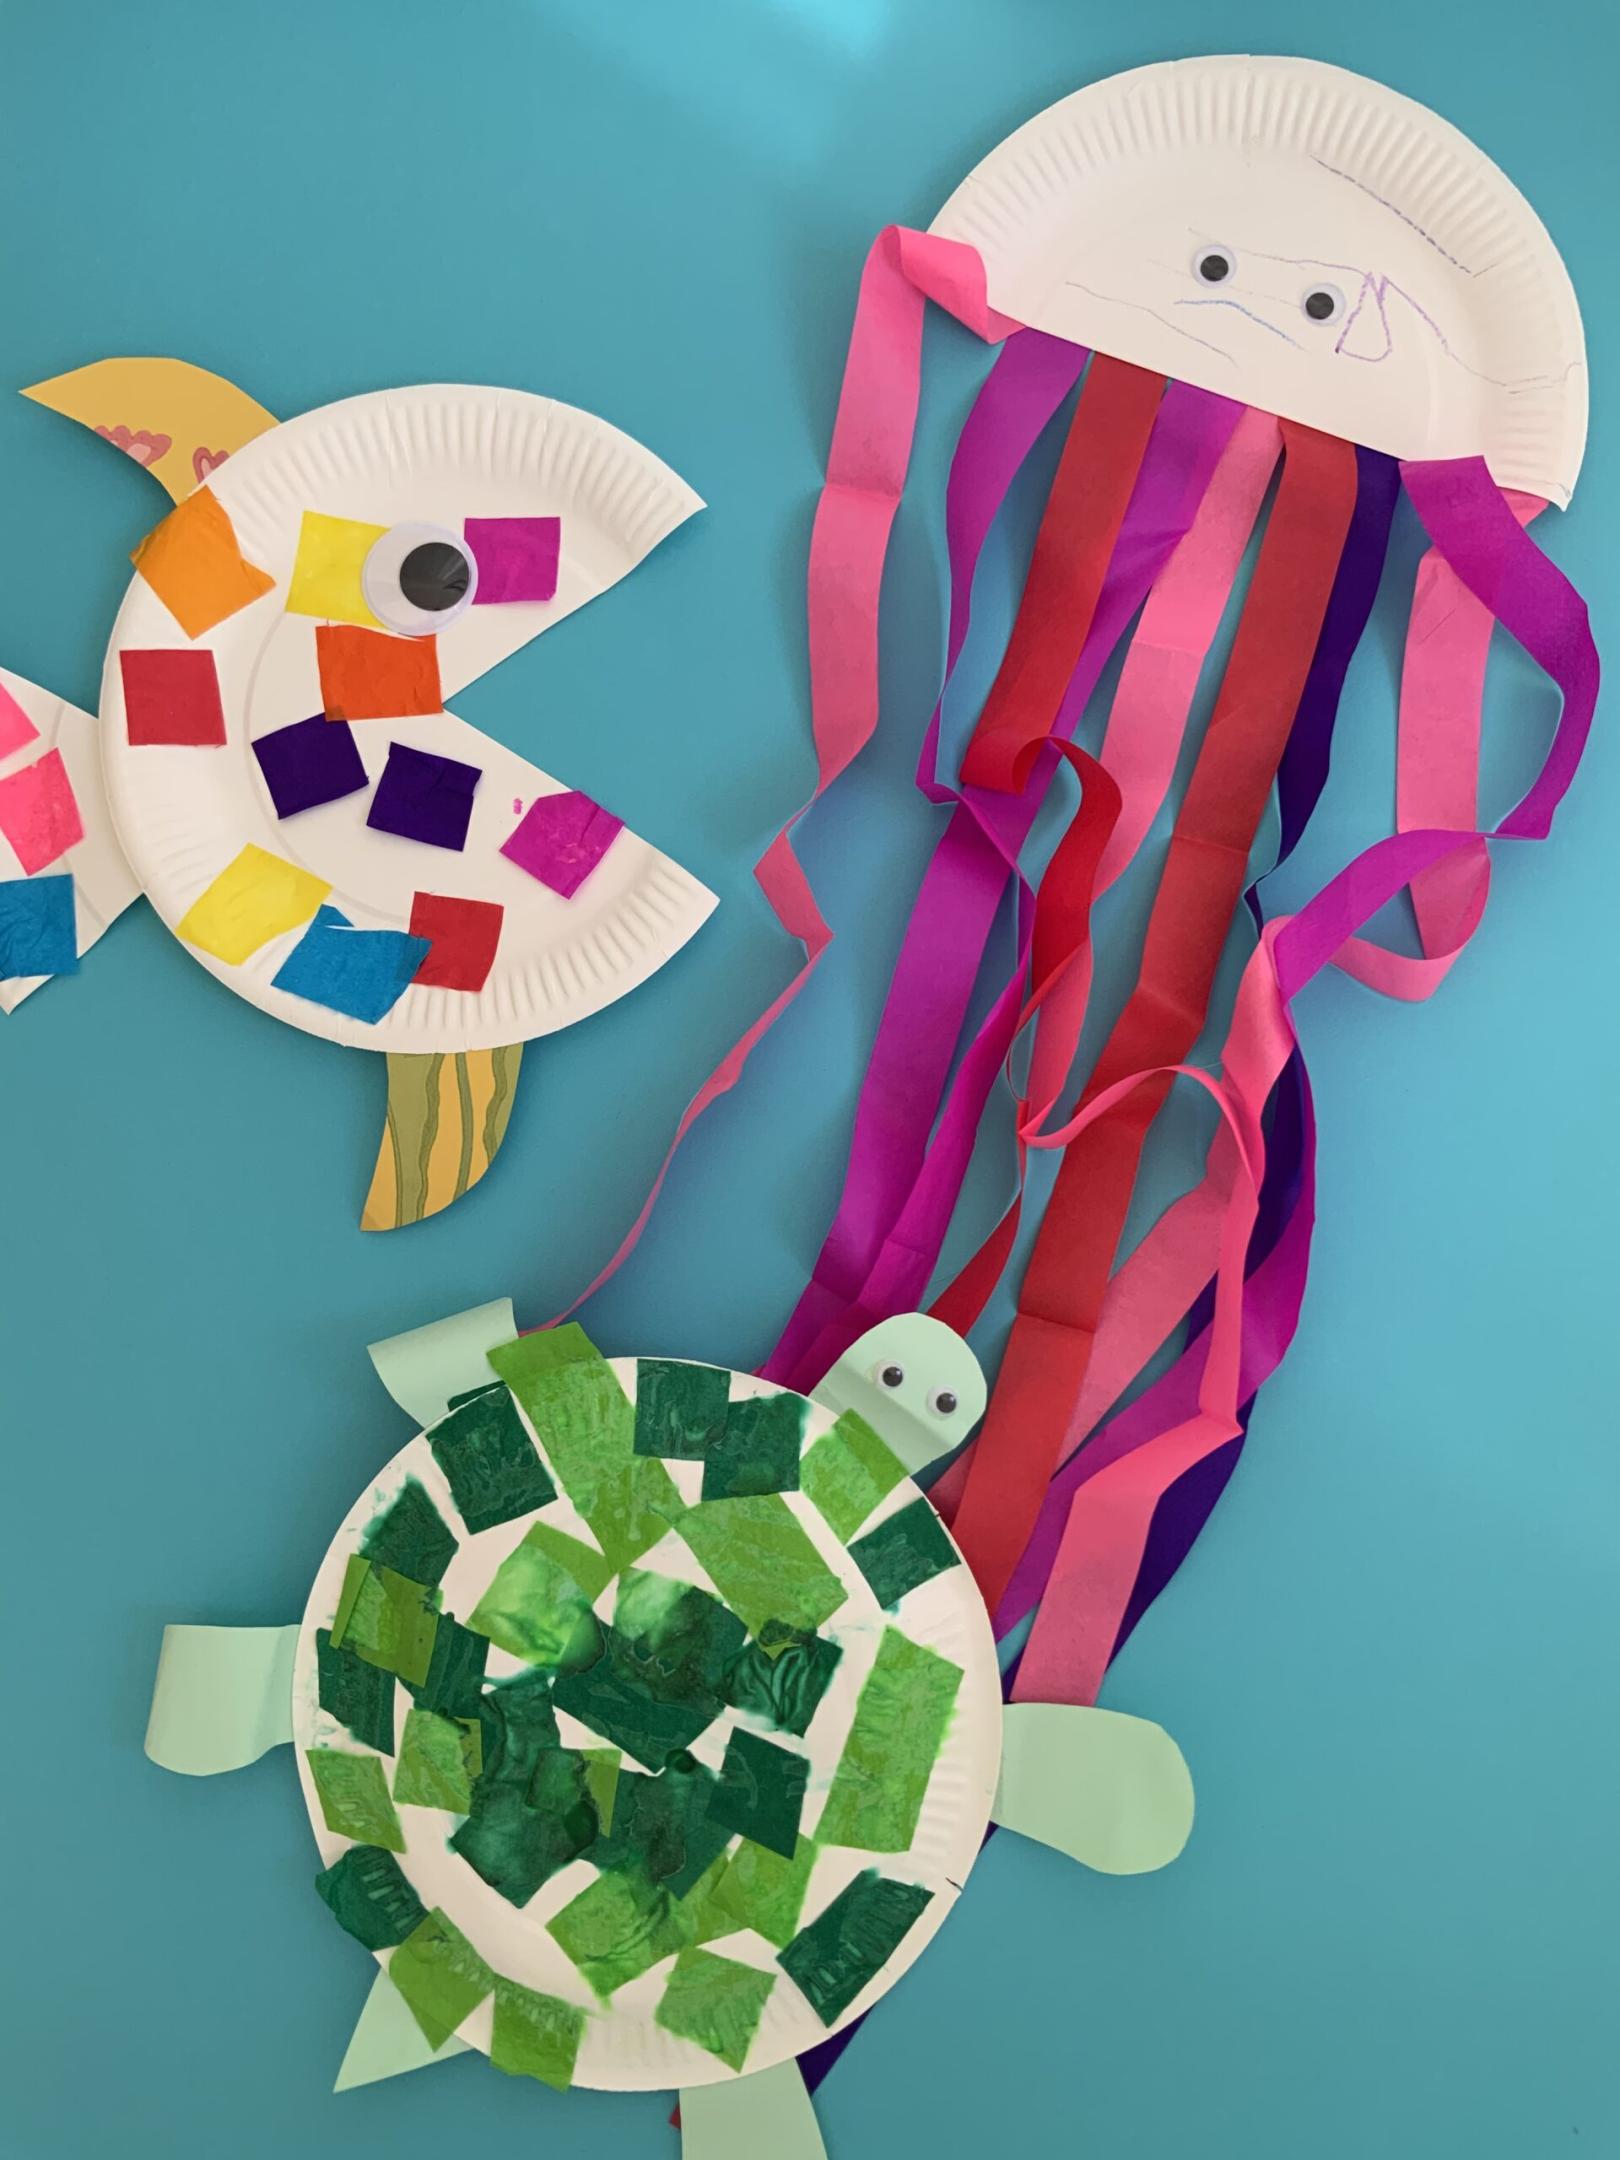
I prepped lots of craft activities in advance so everything was ready for the kids to get creating as soon as they arrived! Lily and I made blue salt dough and there were mermaid tail and sea creature cookie cutters for the kids to make their masterpieces. There were also colouring sheets, sea life shapes, cupcake case mermaid tails and paper plates to make turtles, fish and jelly fish.
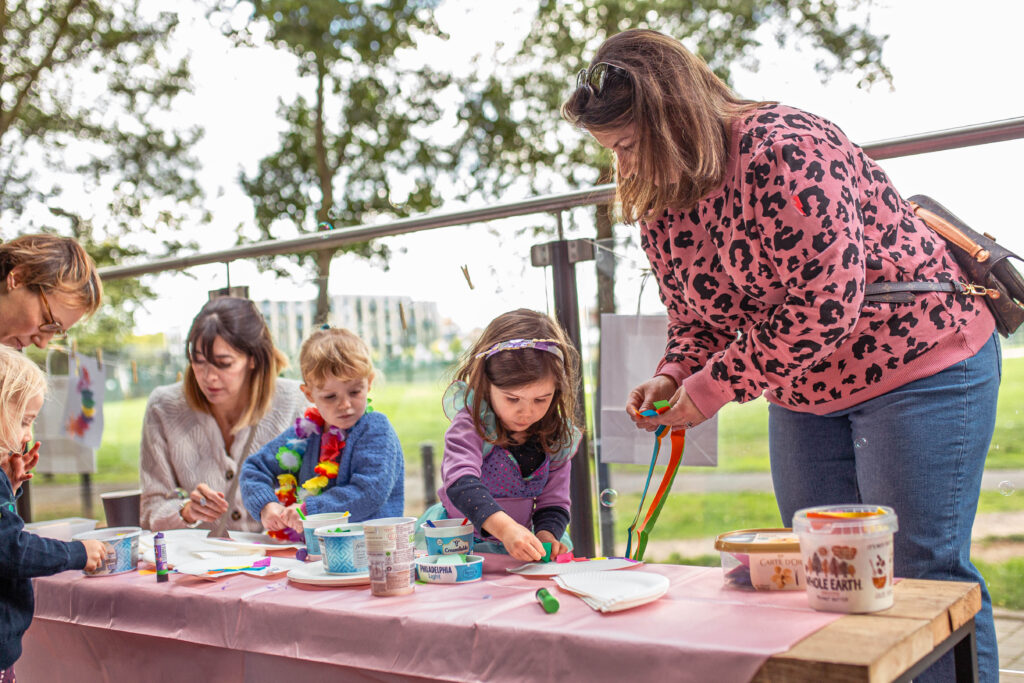
All the kids and their parents got stuck into the craft activities.
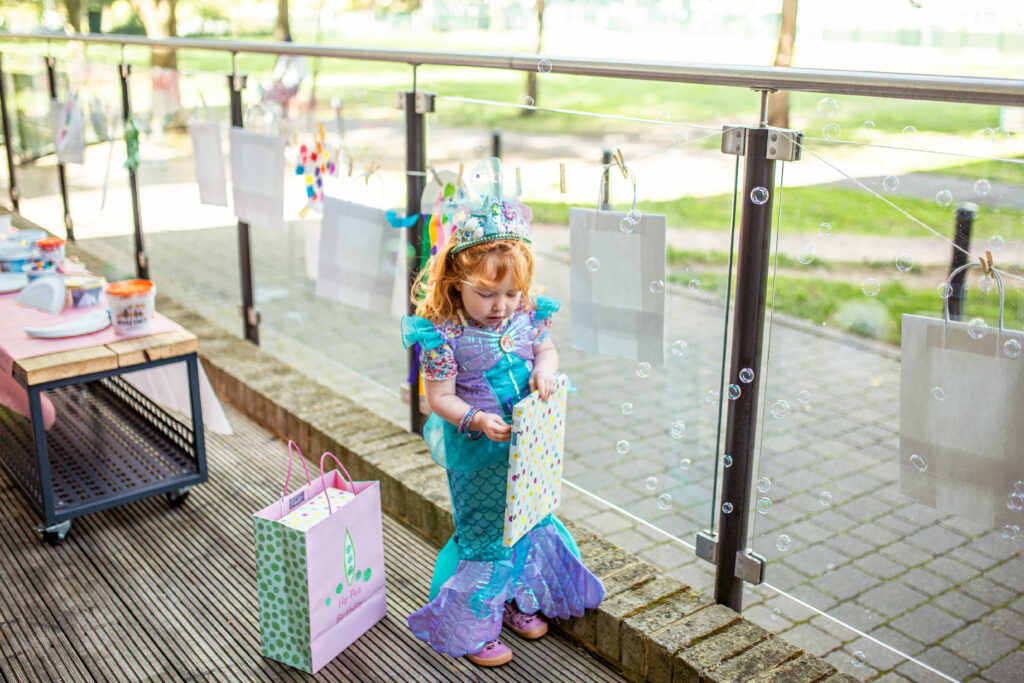
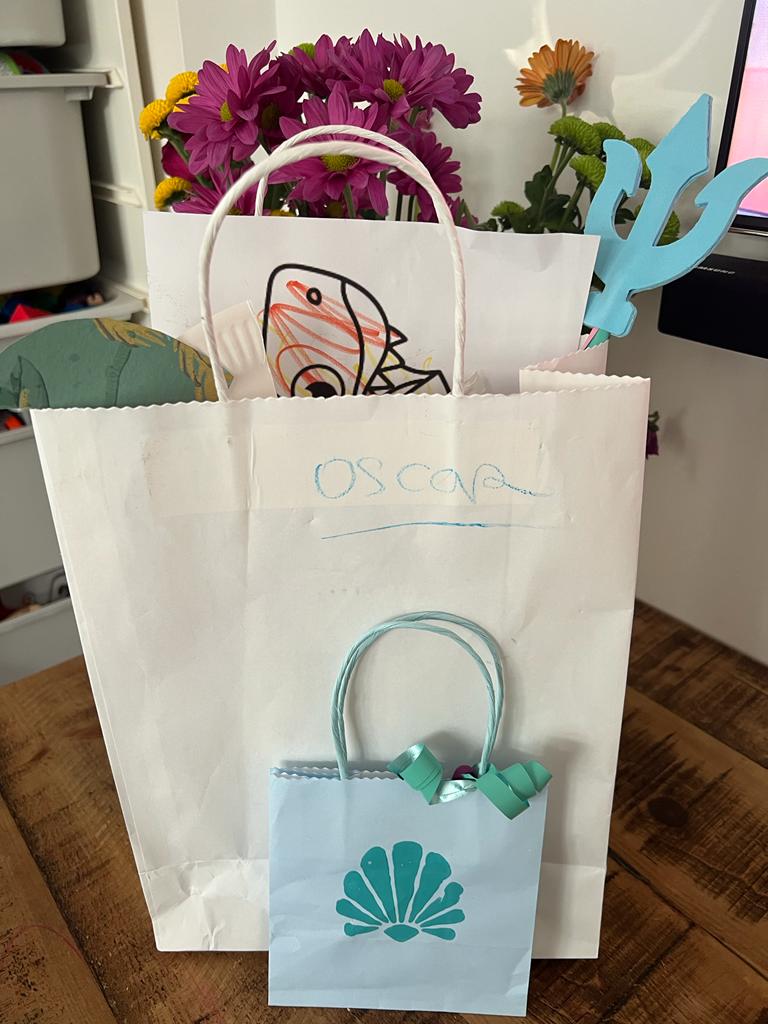
I hung a washing line along the balcony for the children to peg up any of their artwork that needed to dry. I also pegged up samples of the crafts that Lily and I had made in advance as examples and white paper bags for the children to decorate to take their crafts home in.
Party Bags and Fillers
The Party Bags
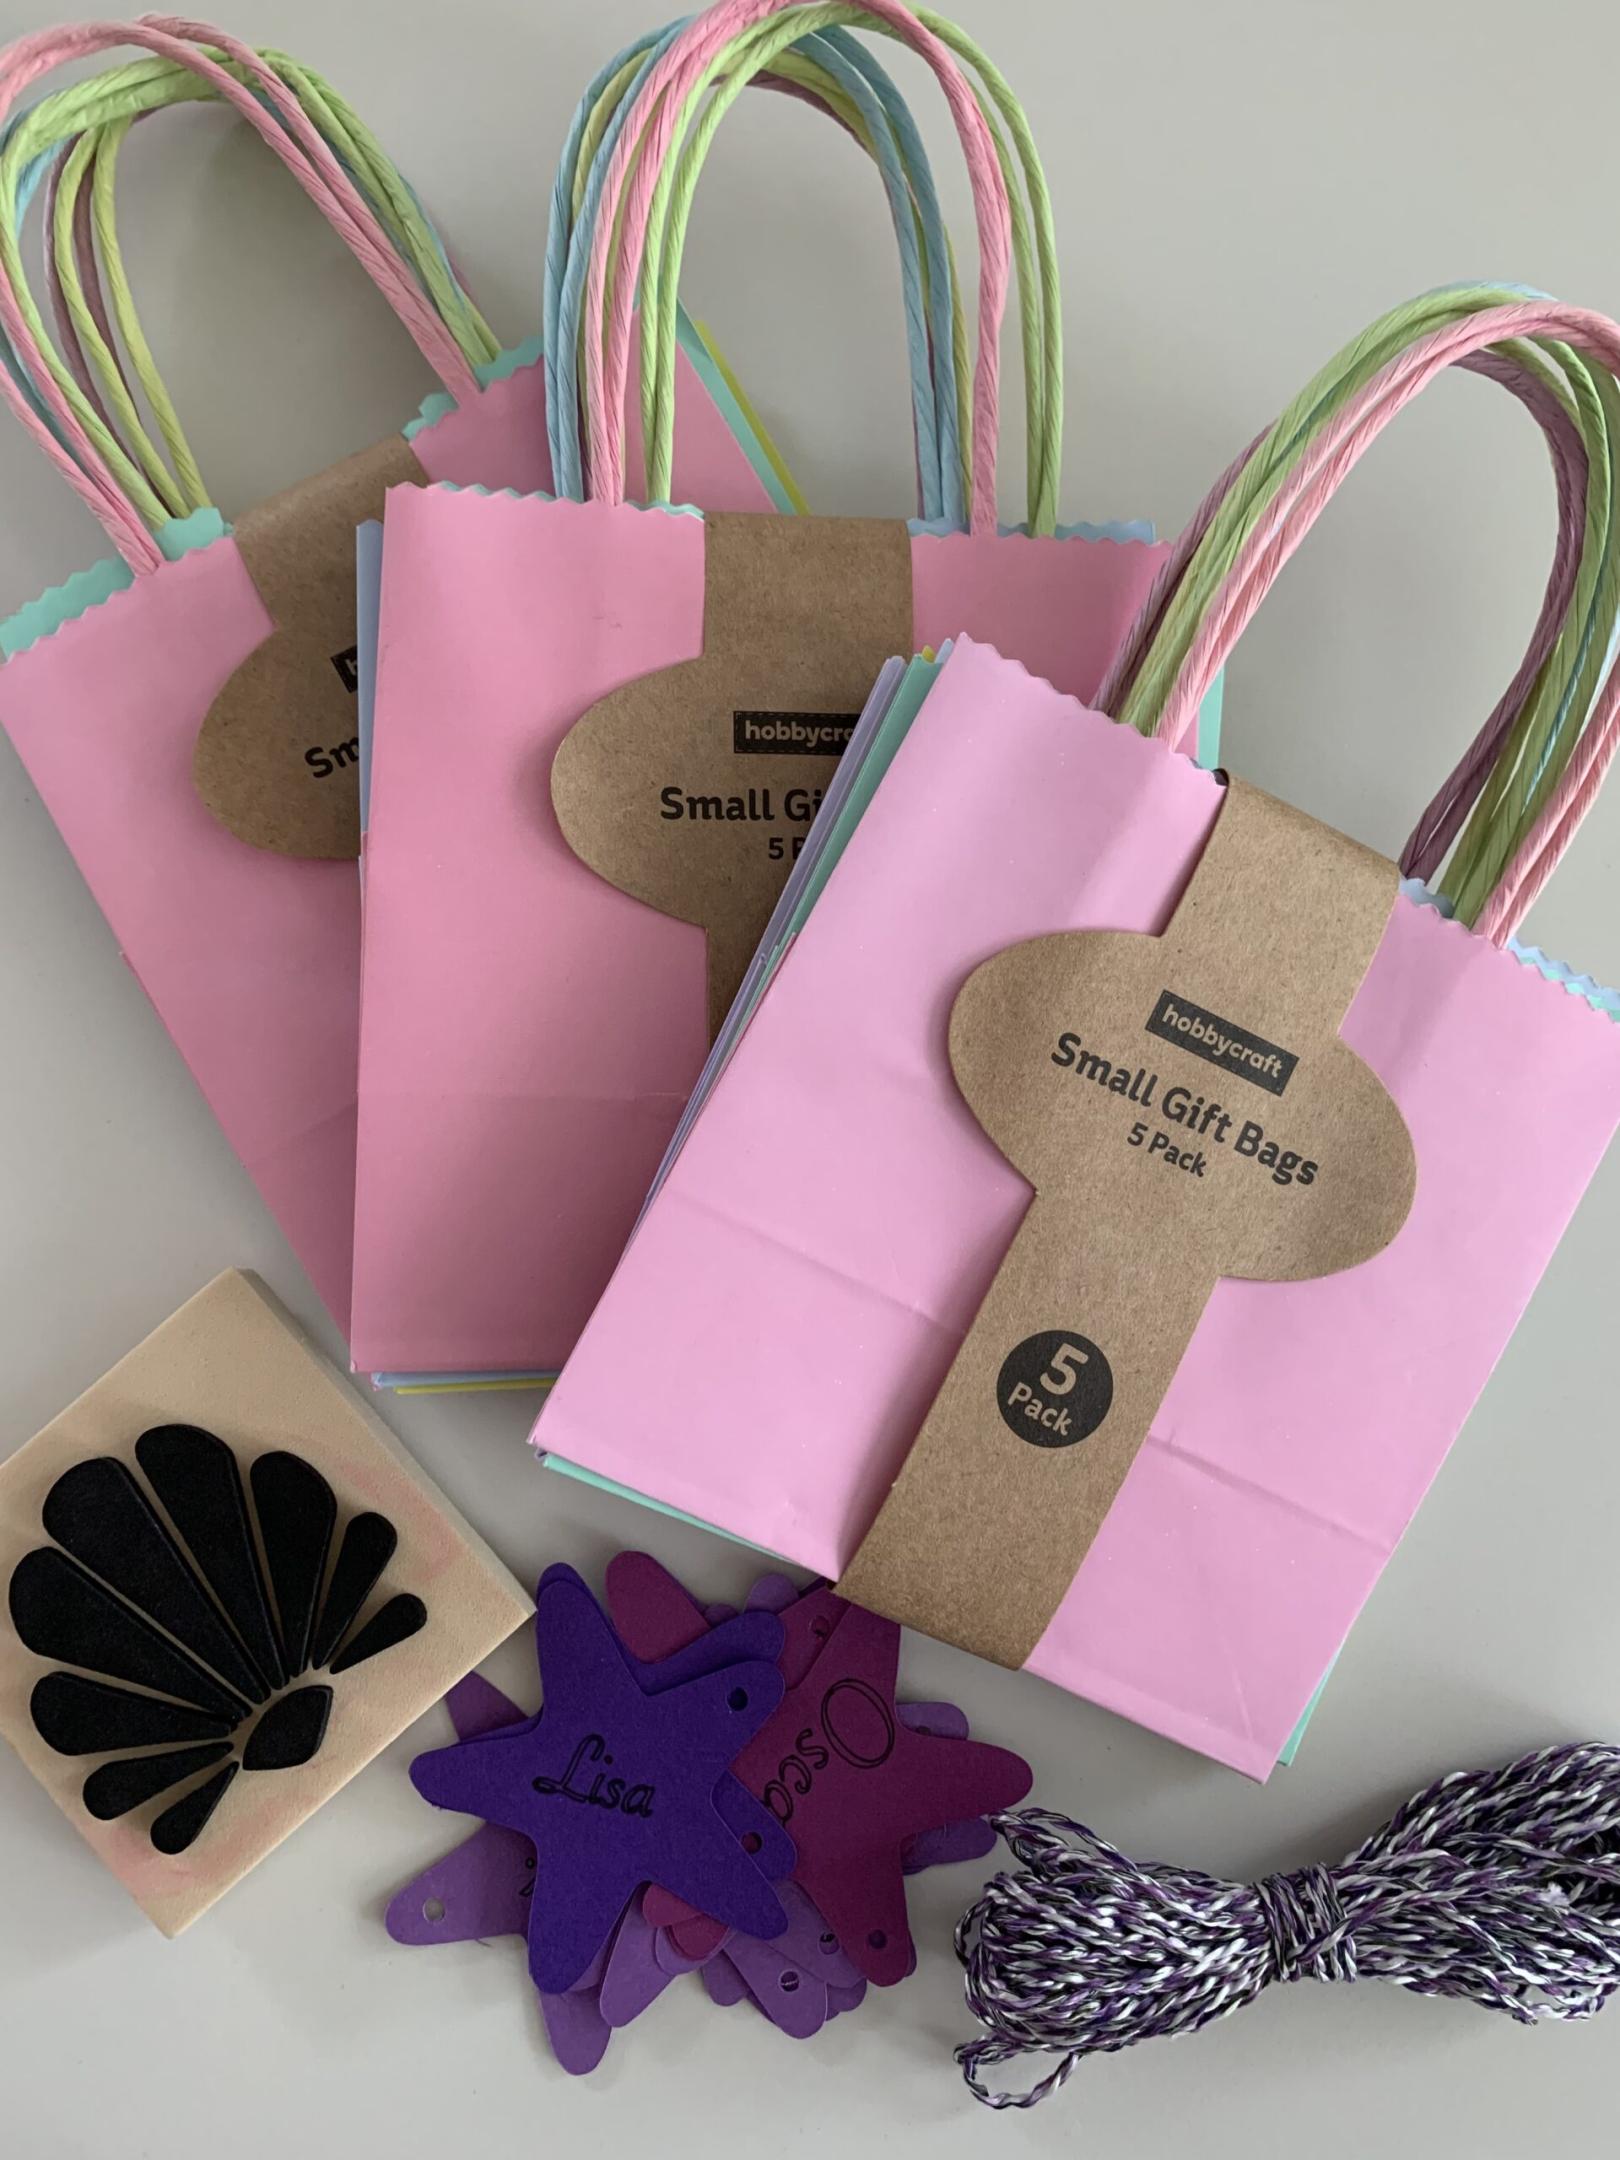
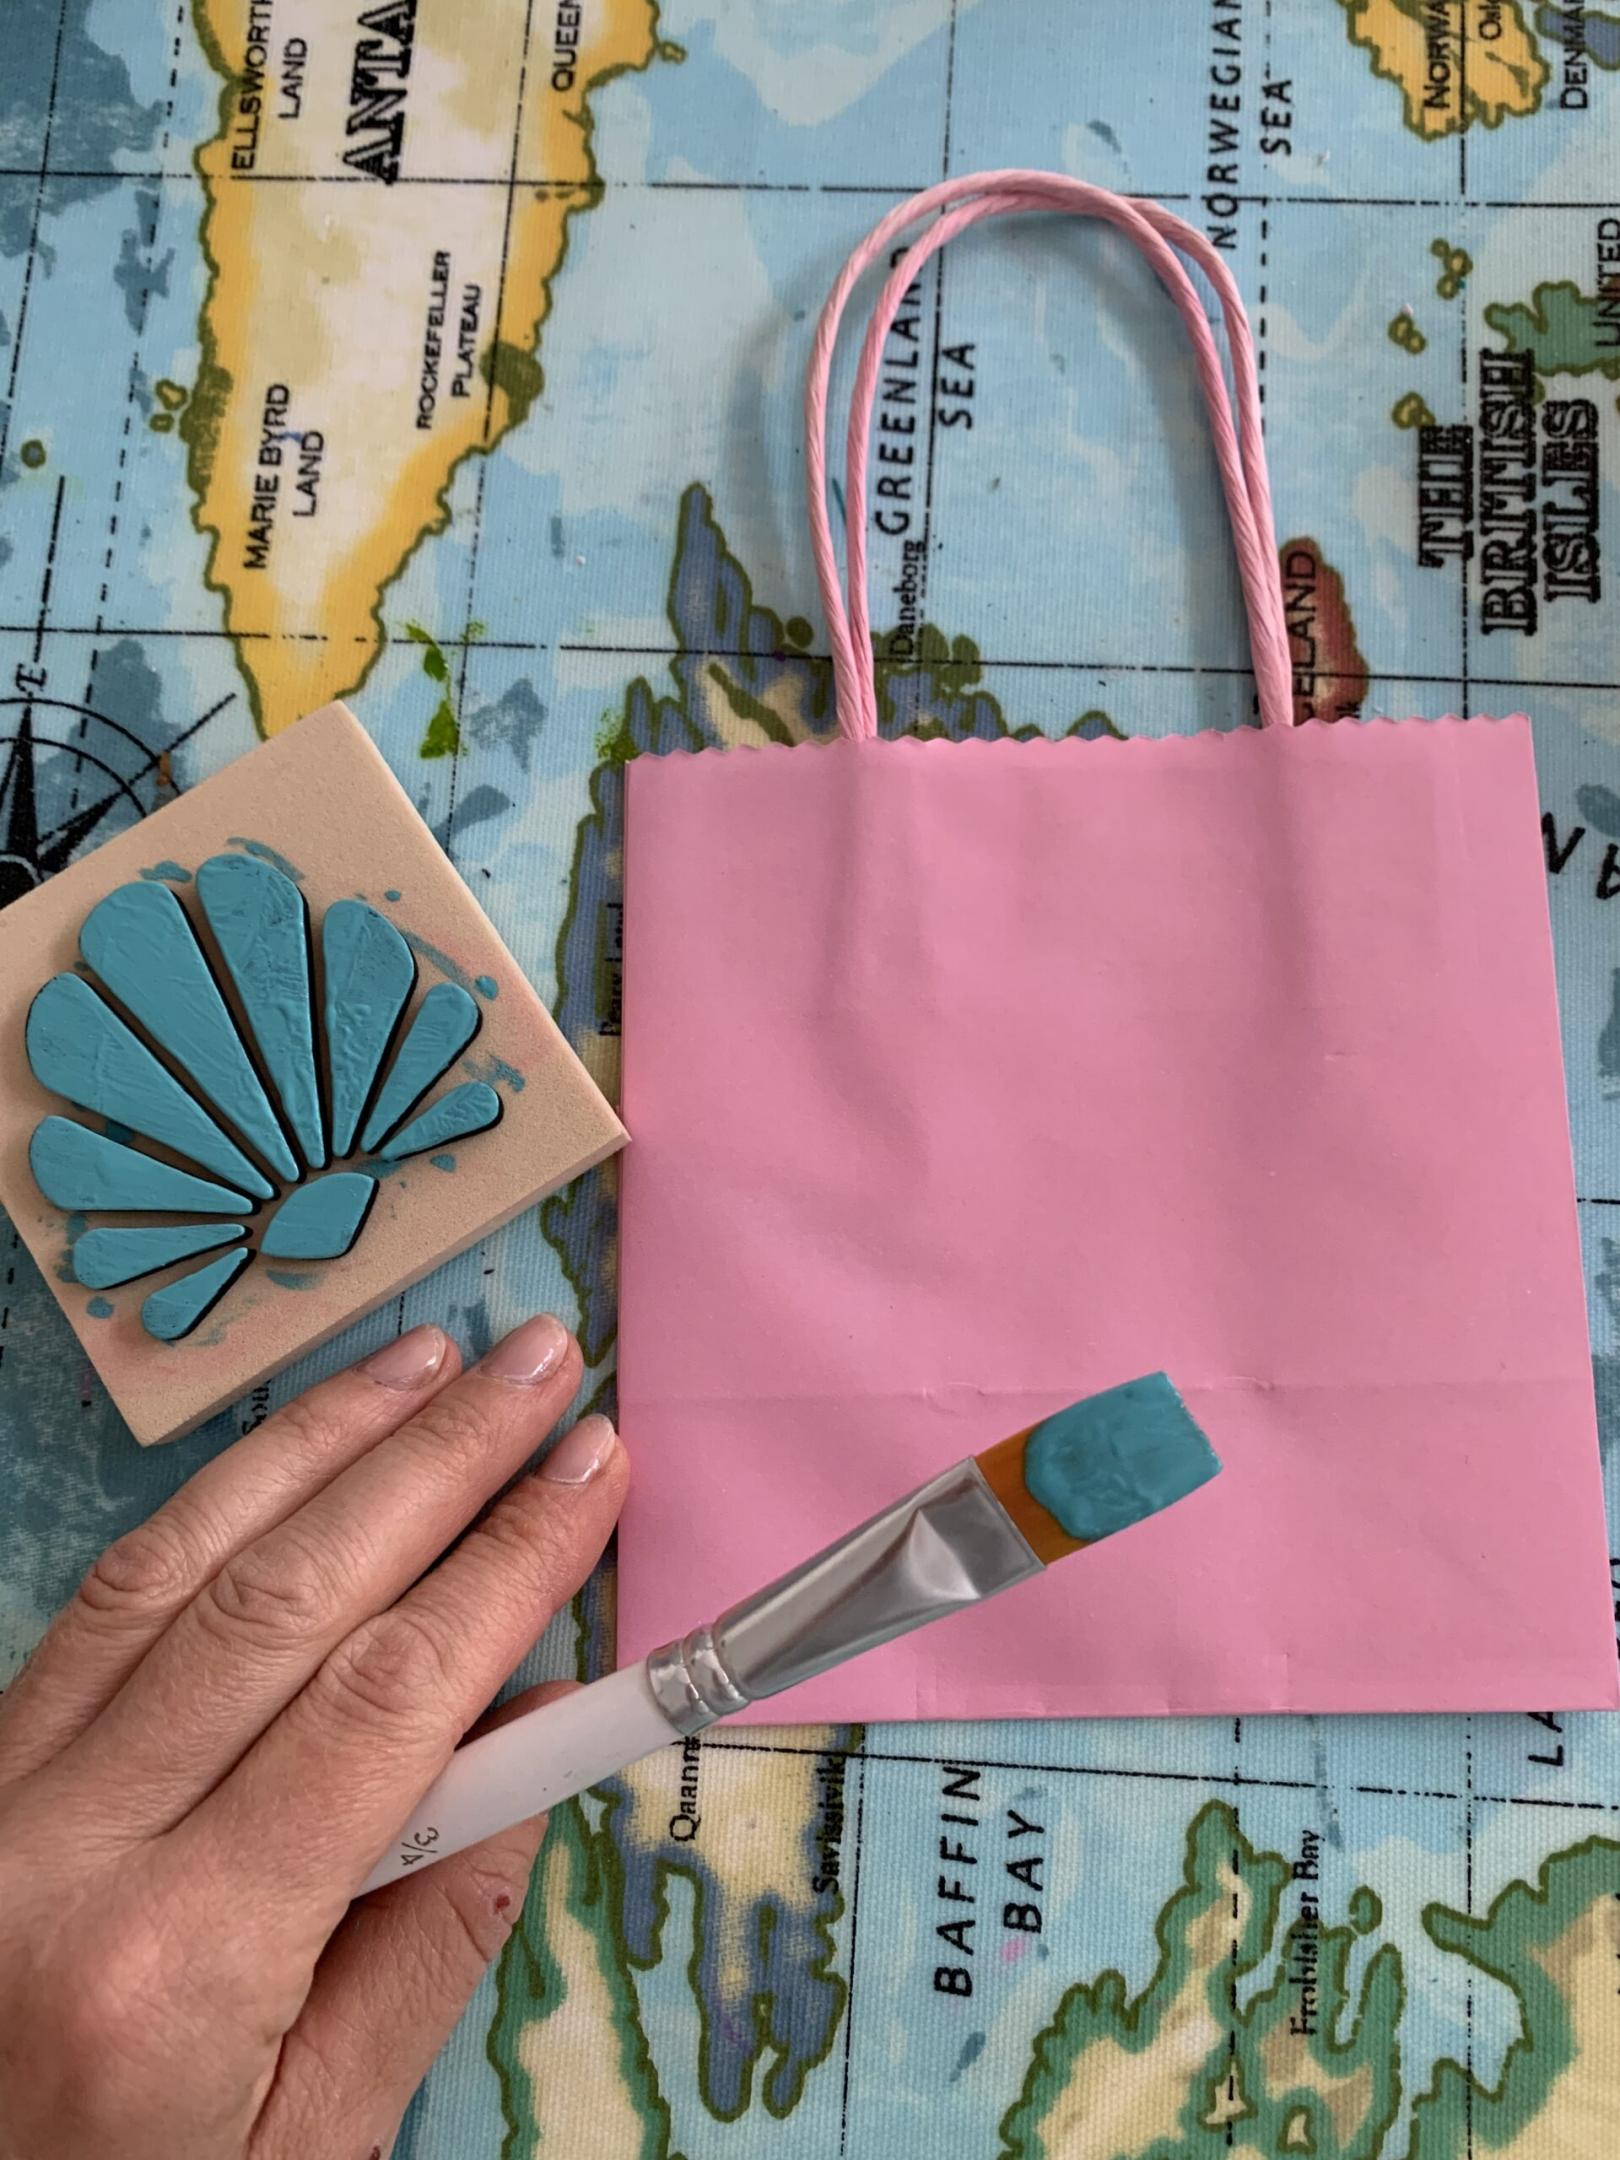
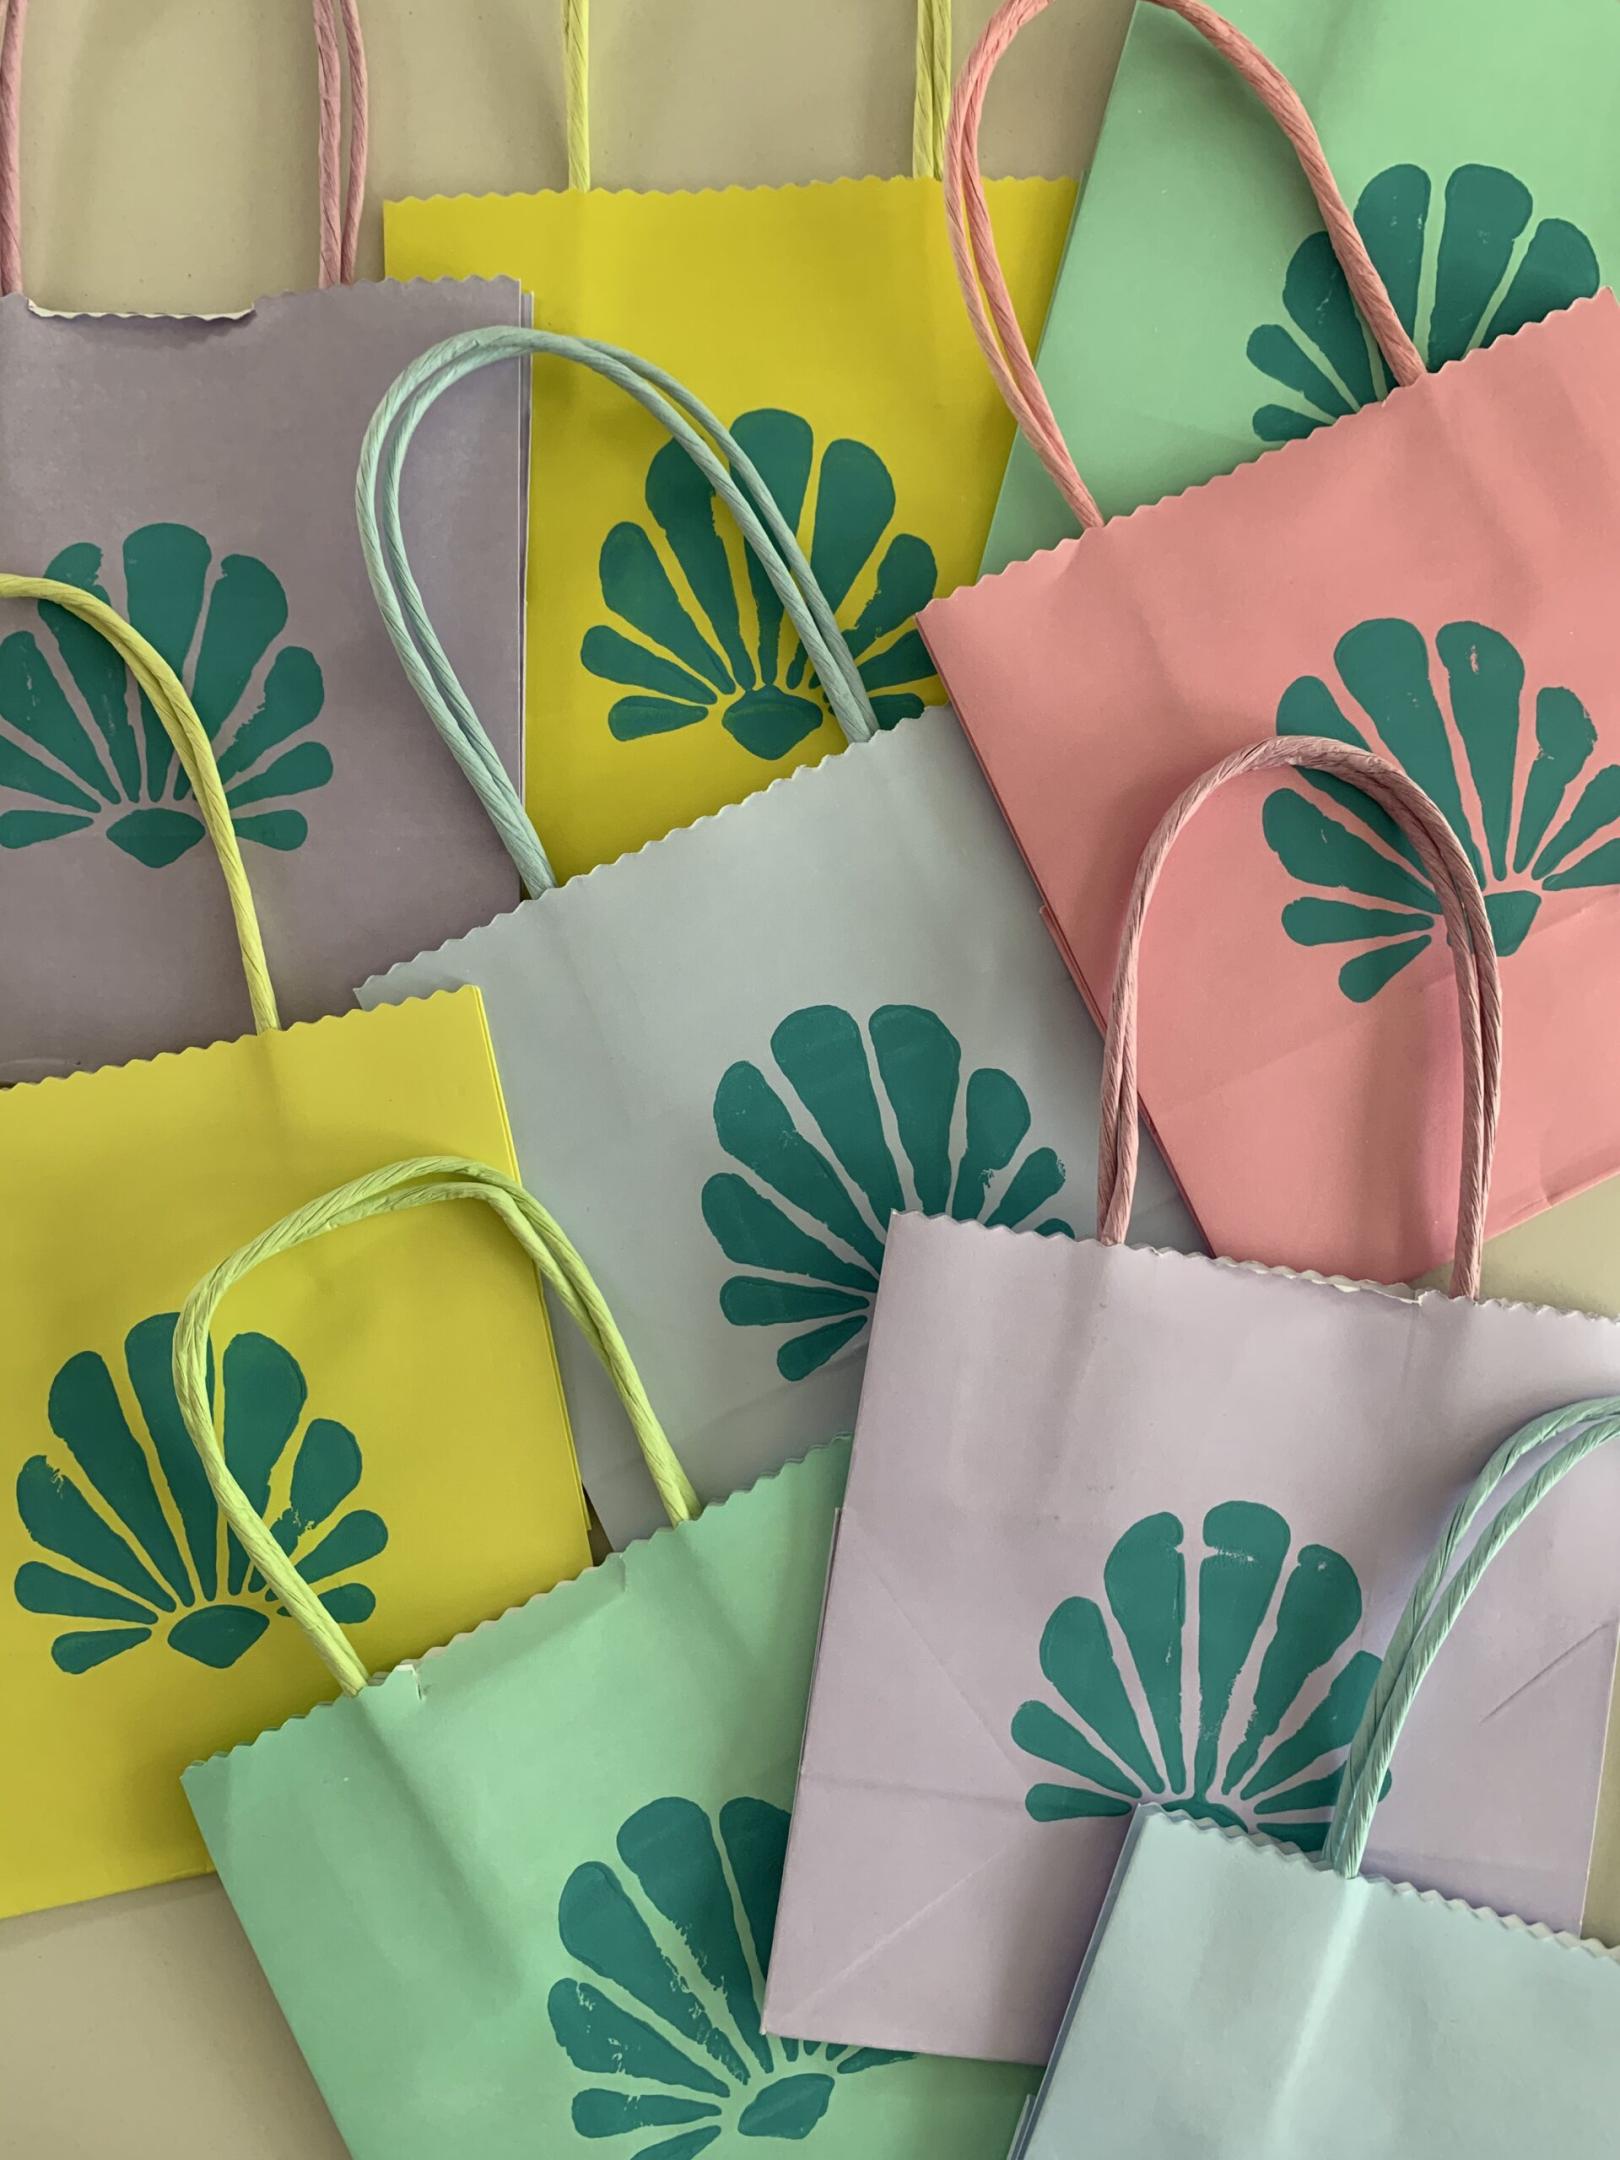
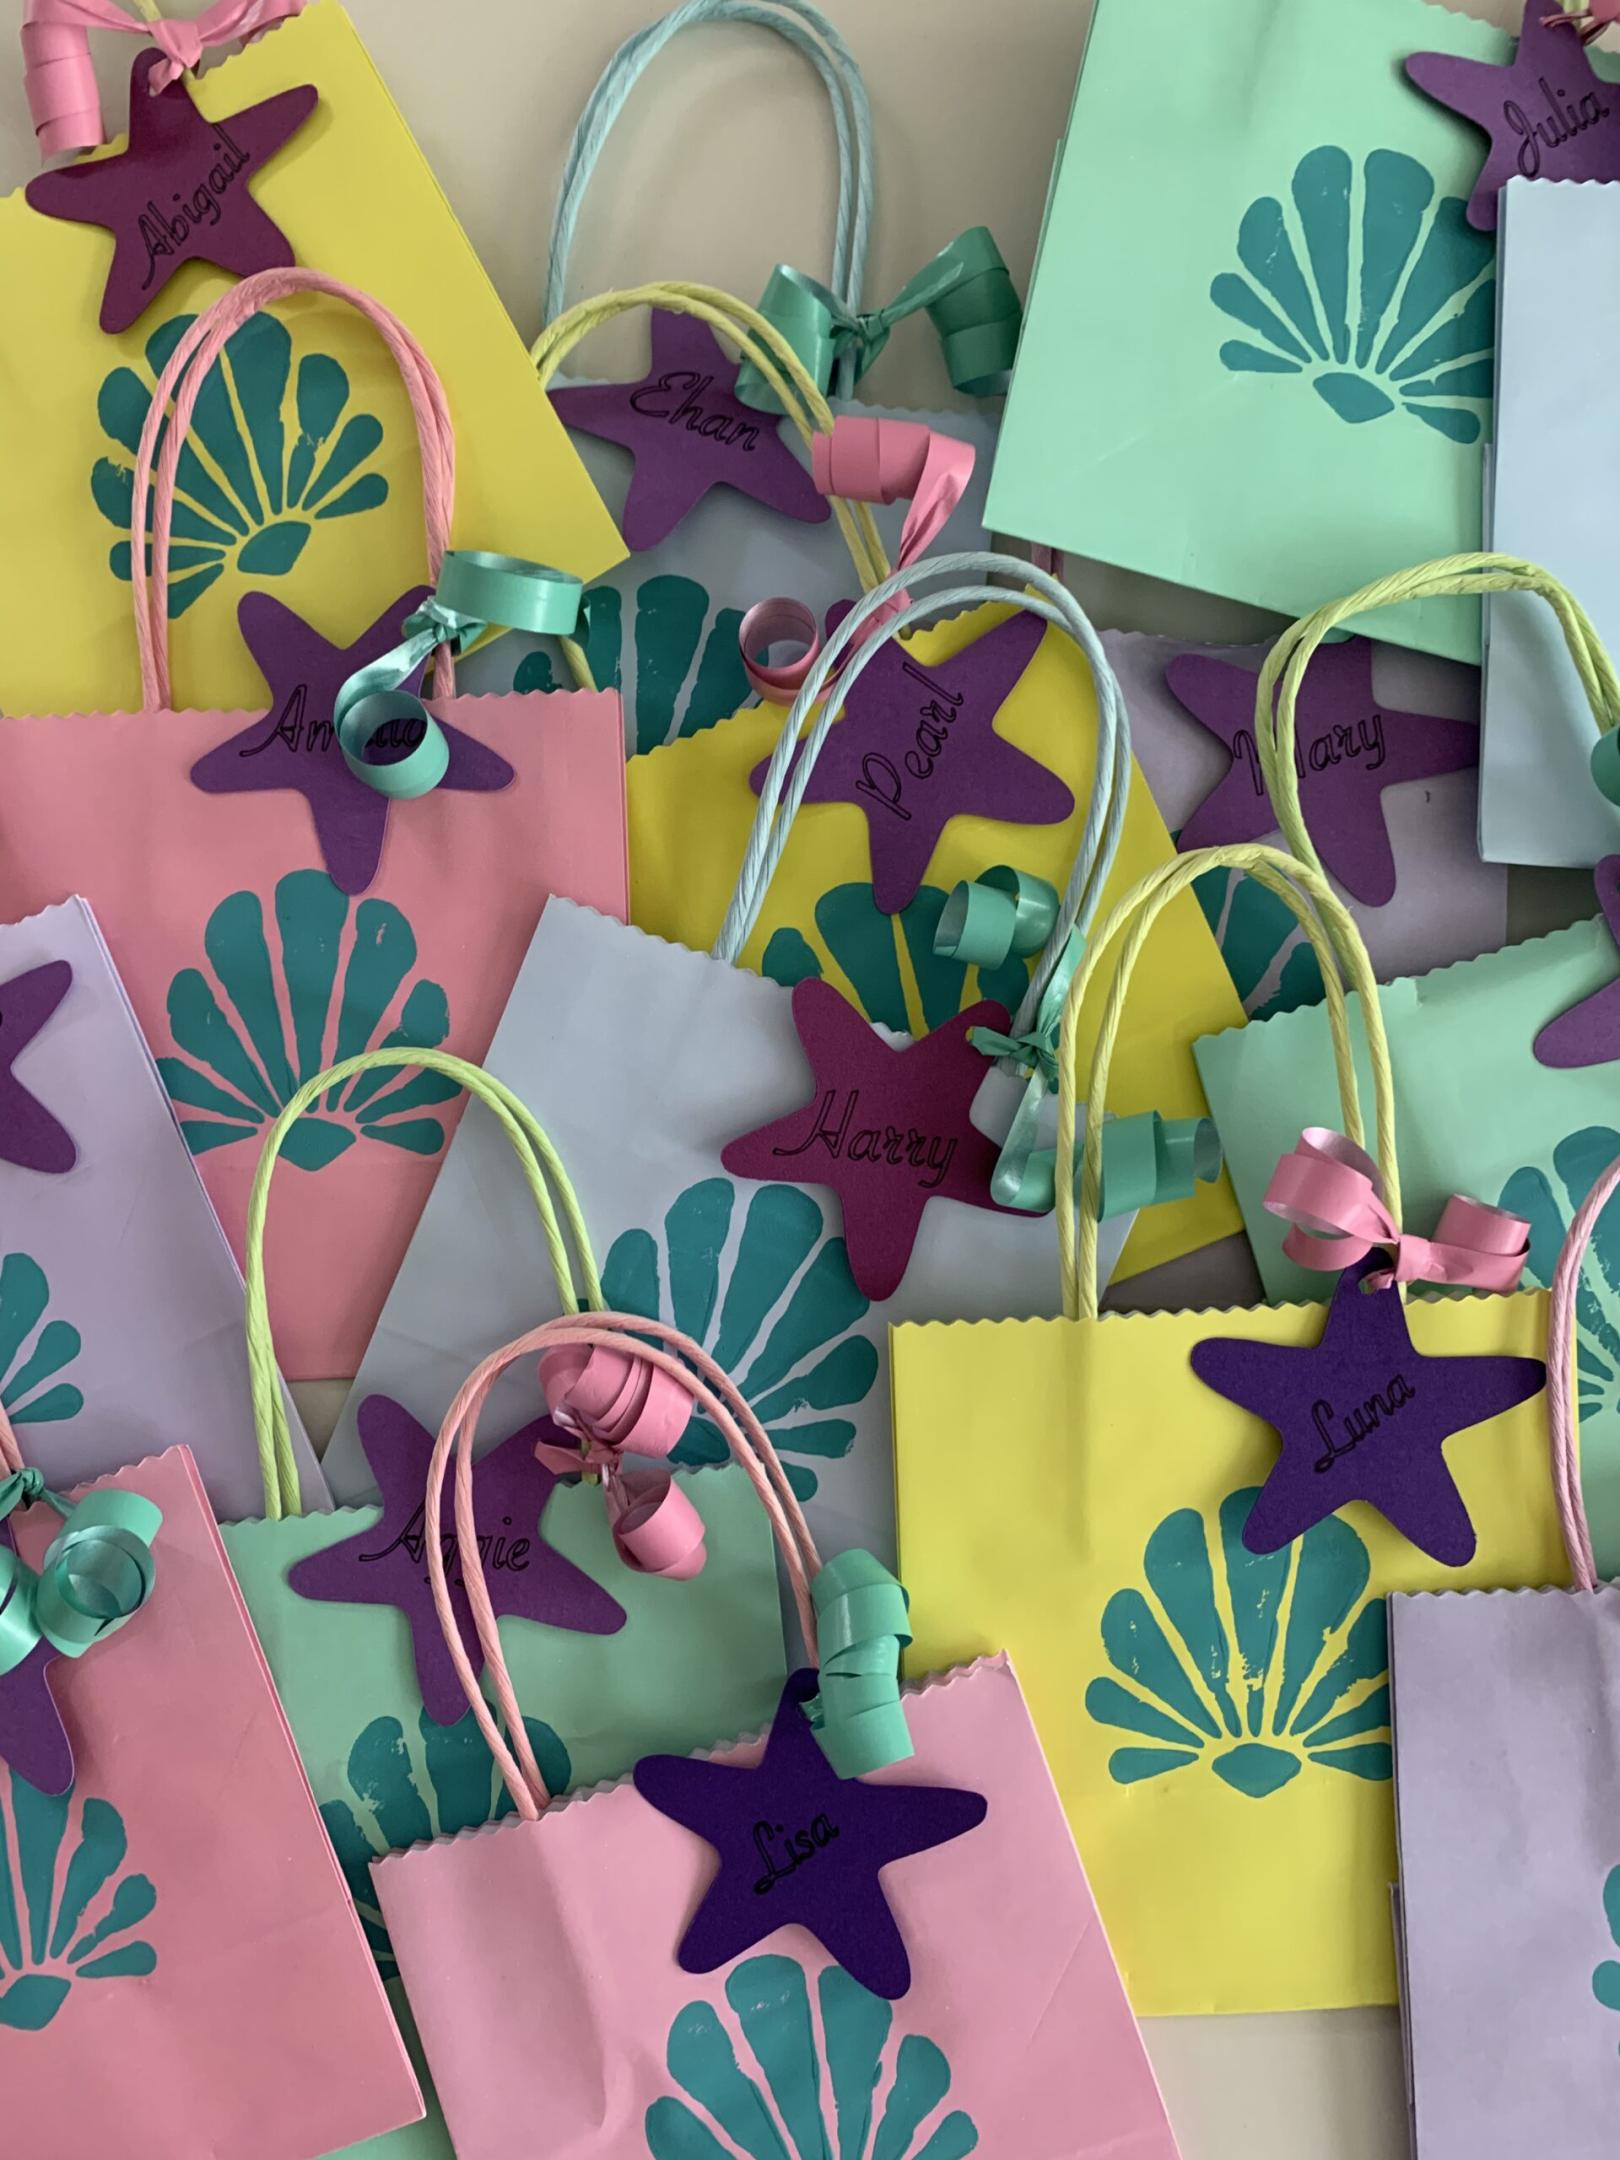
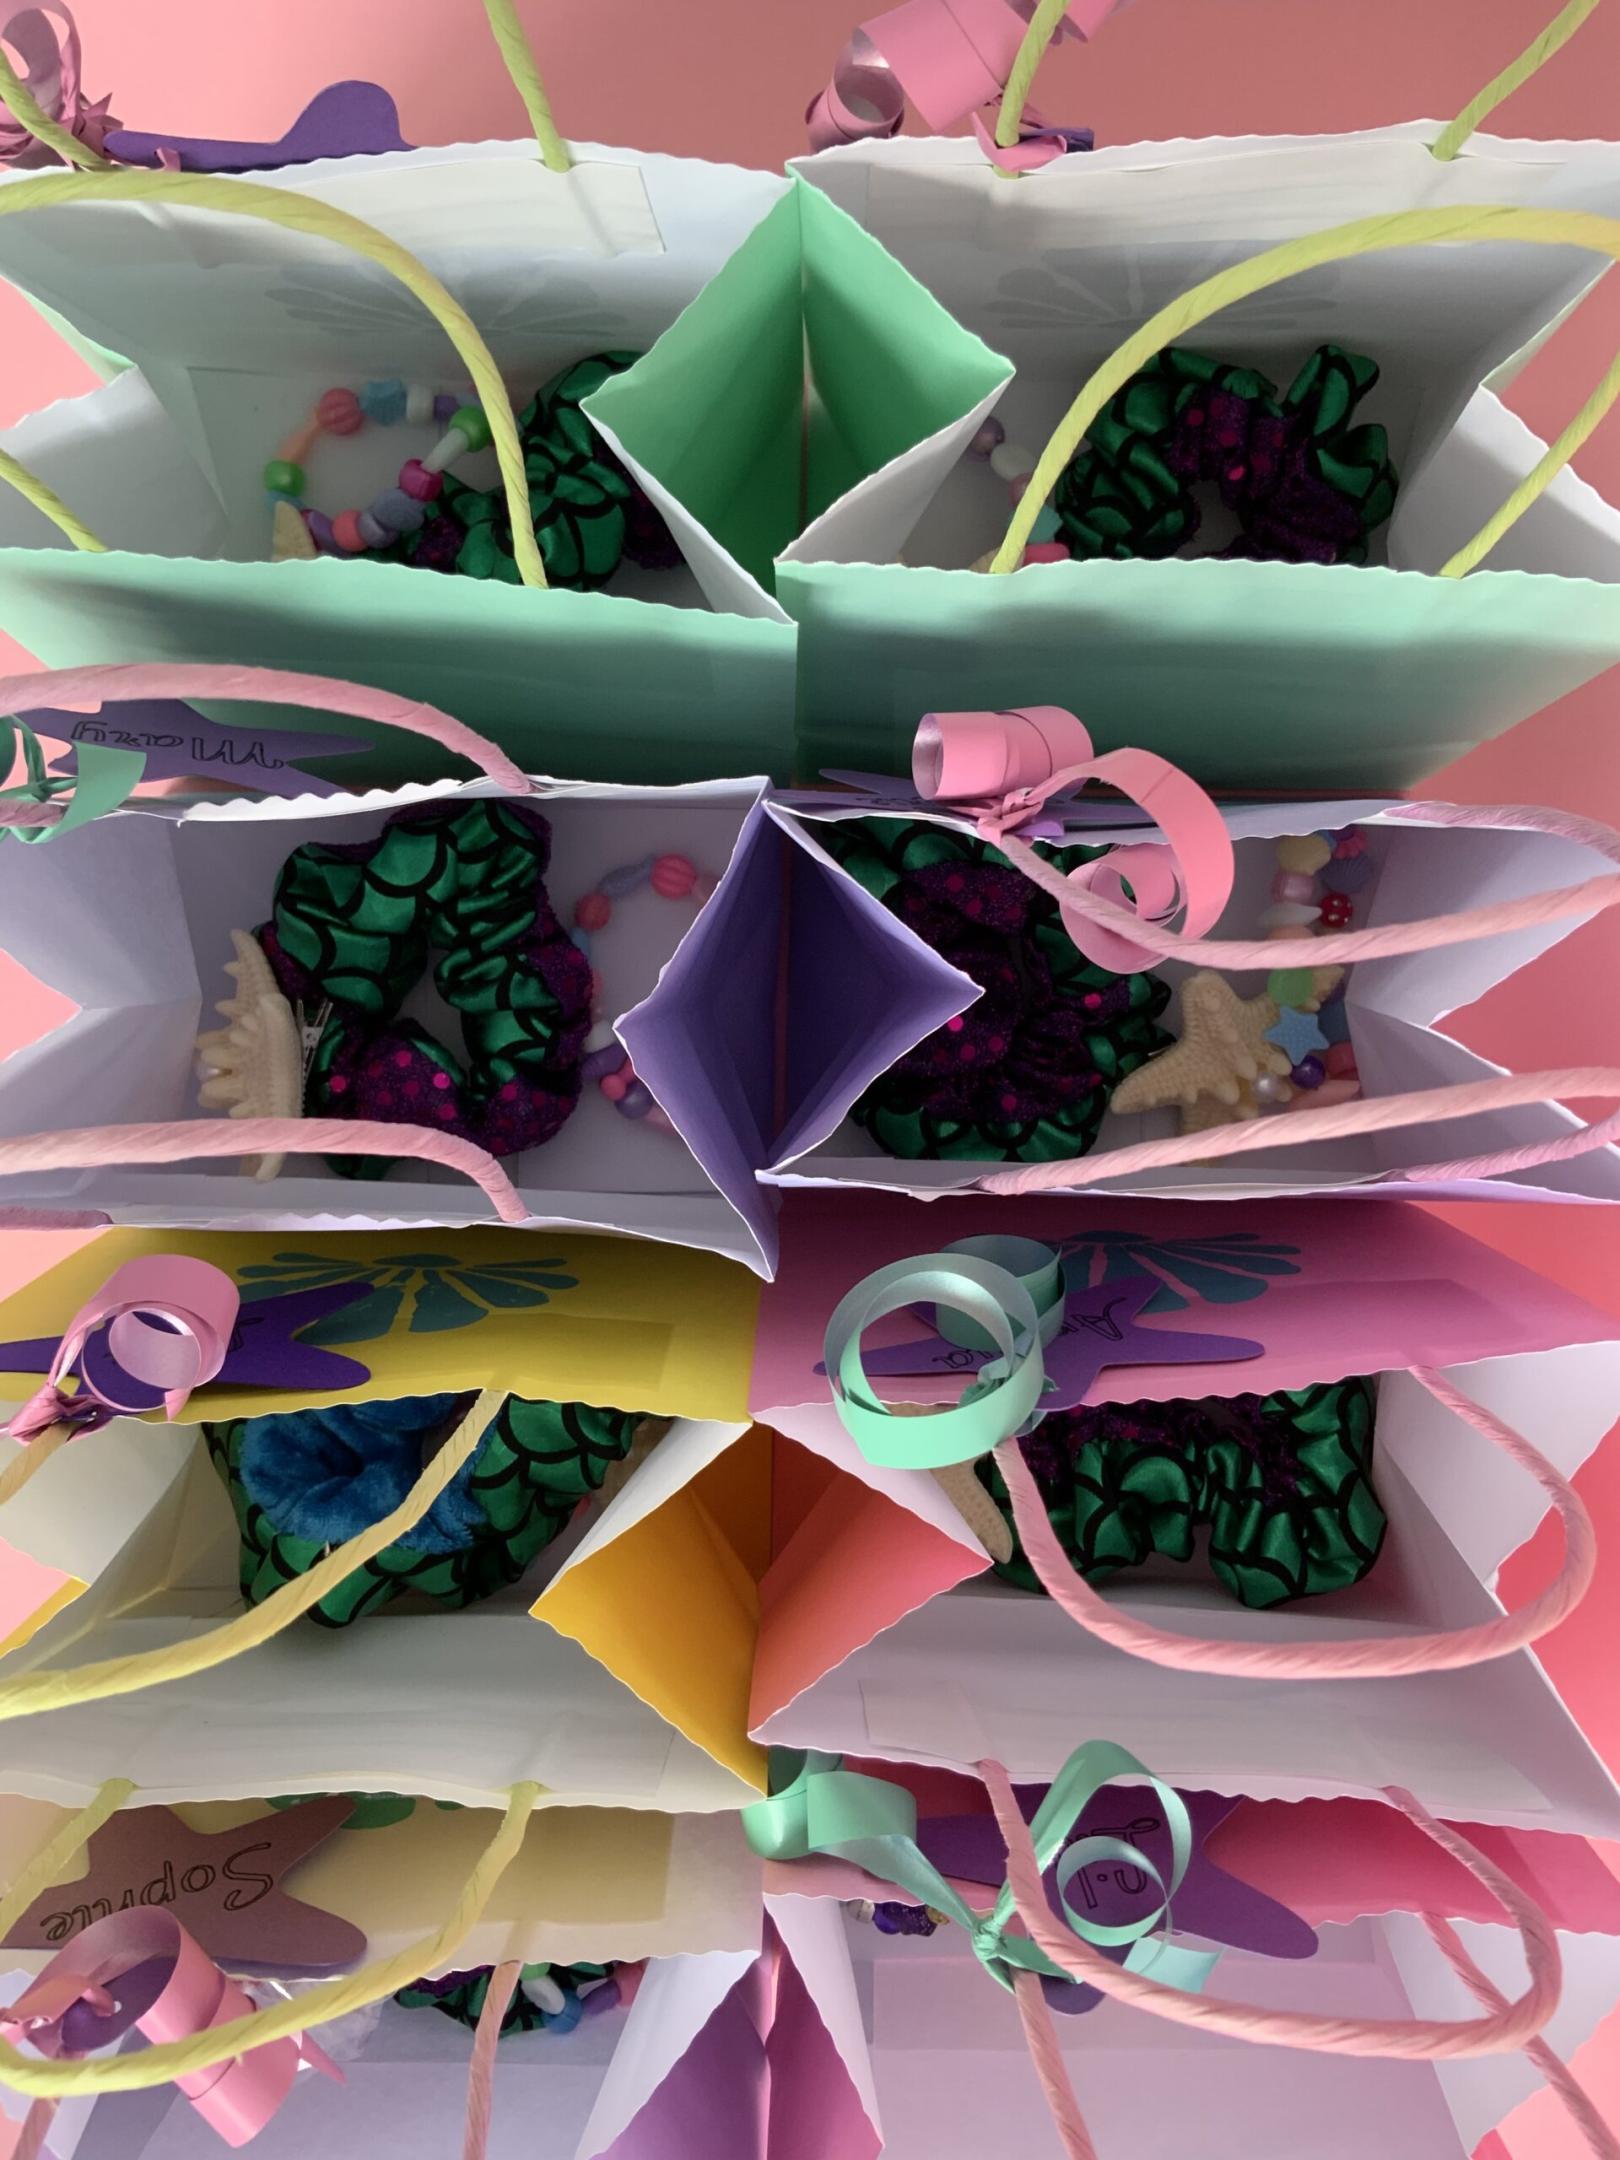
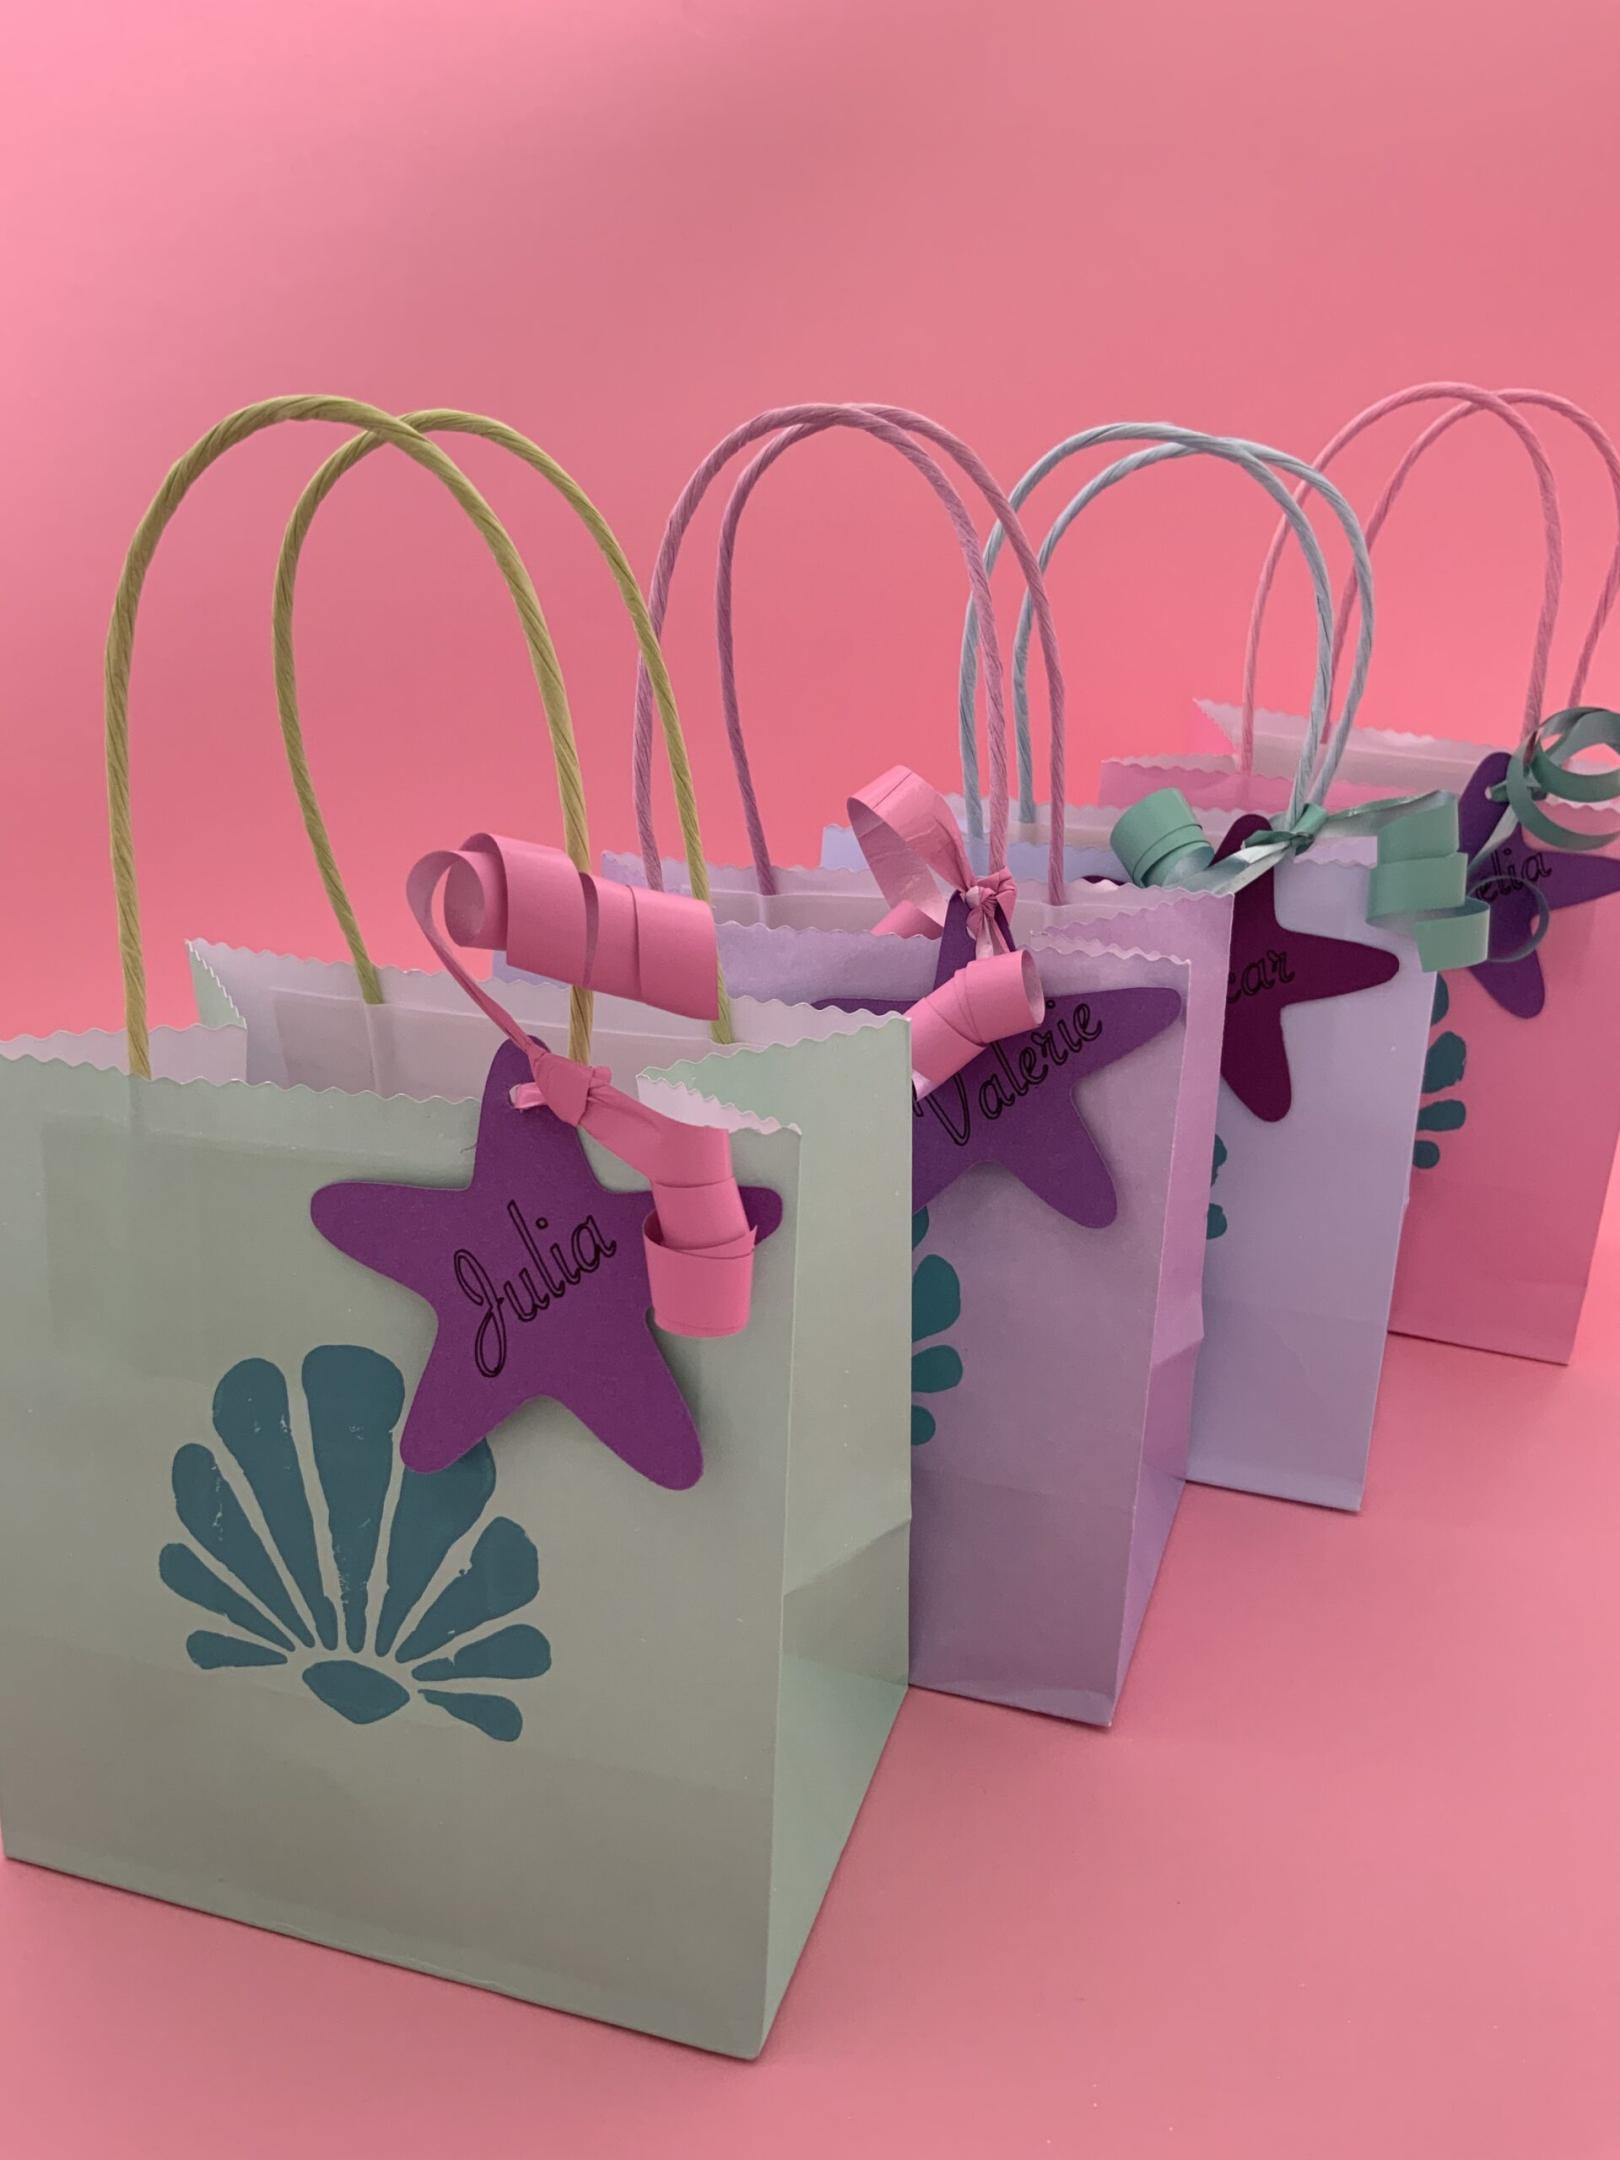
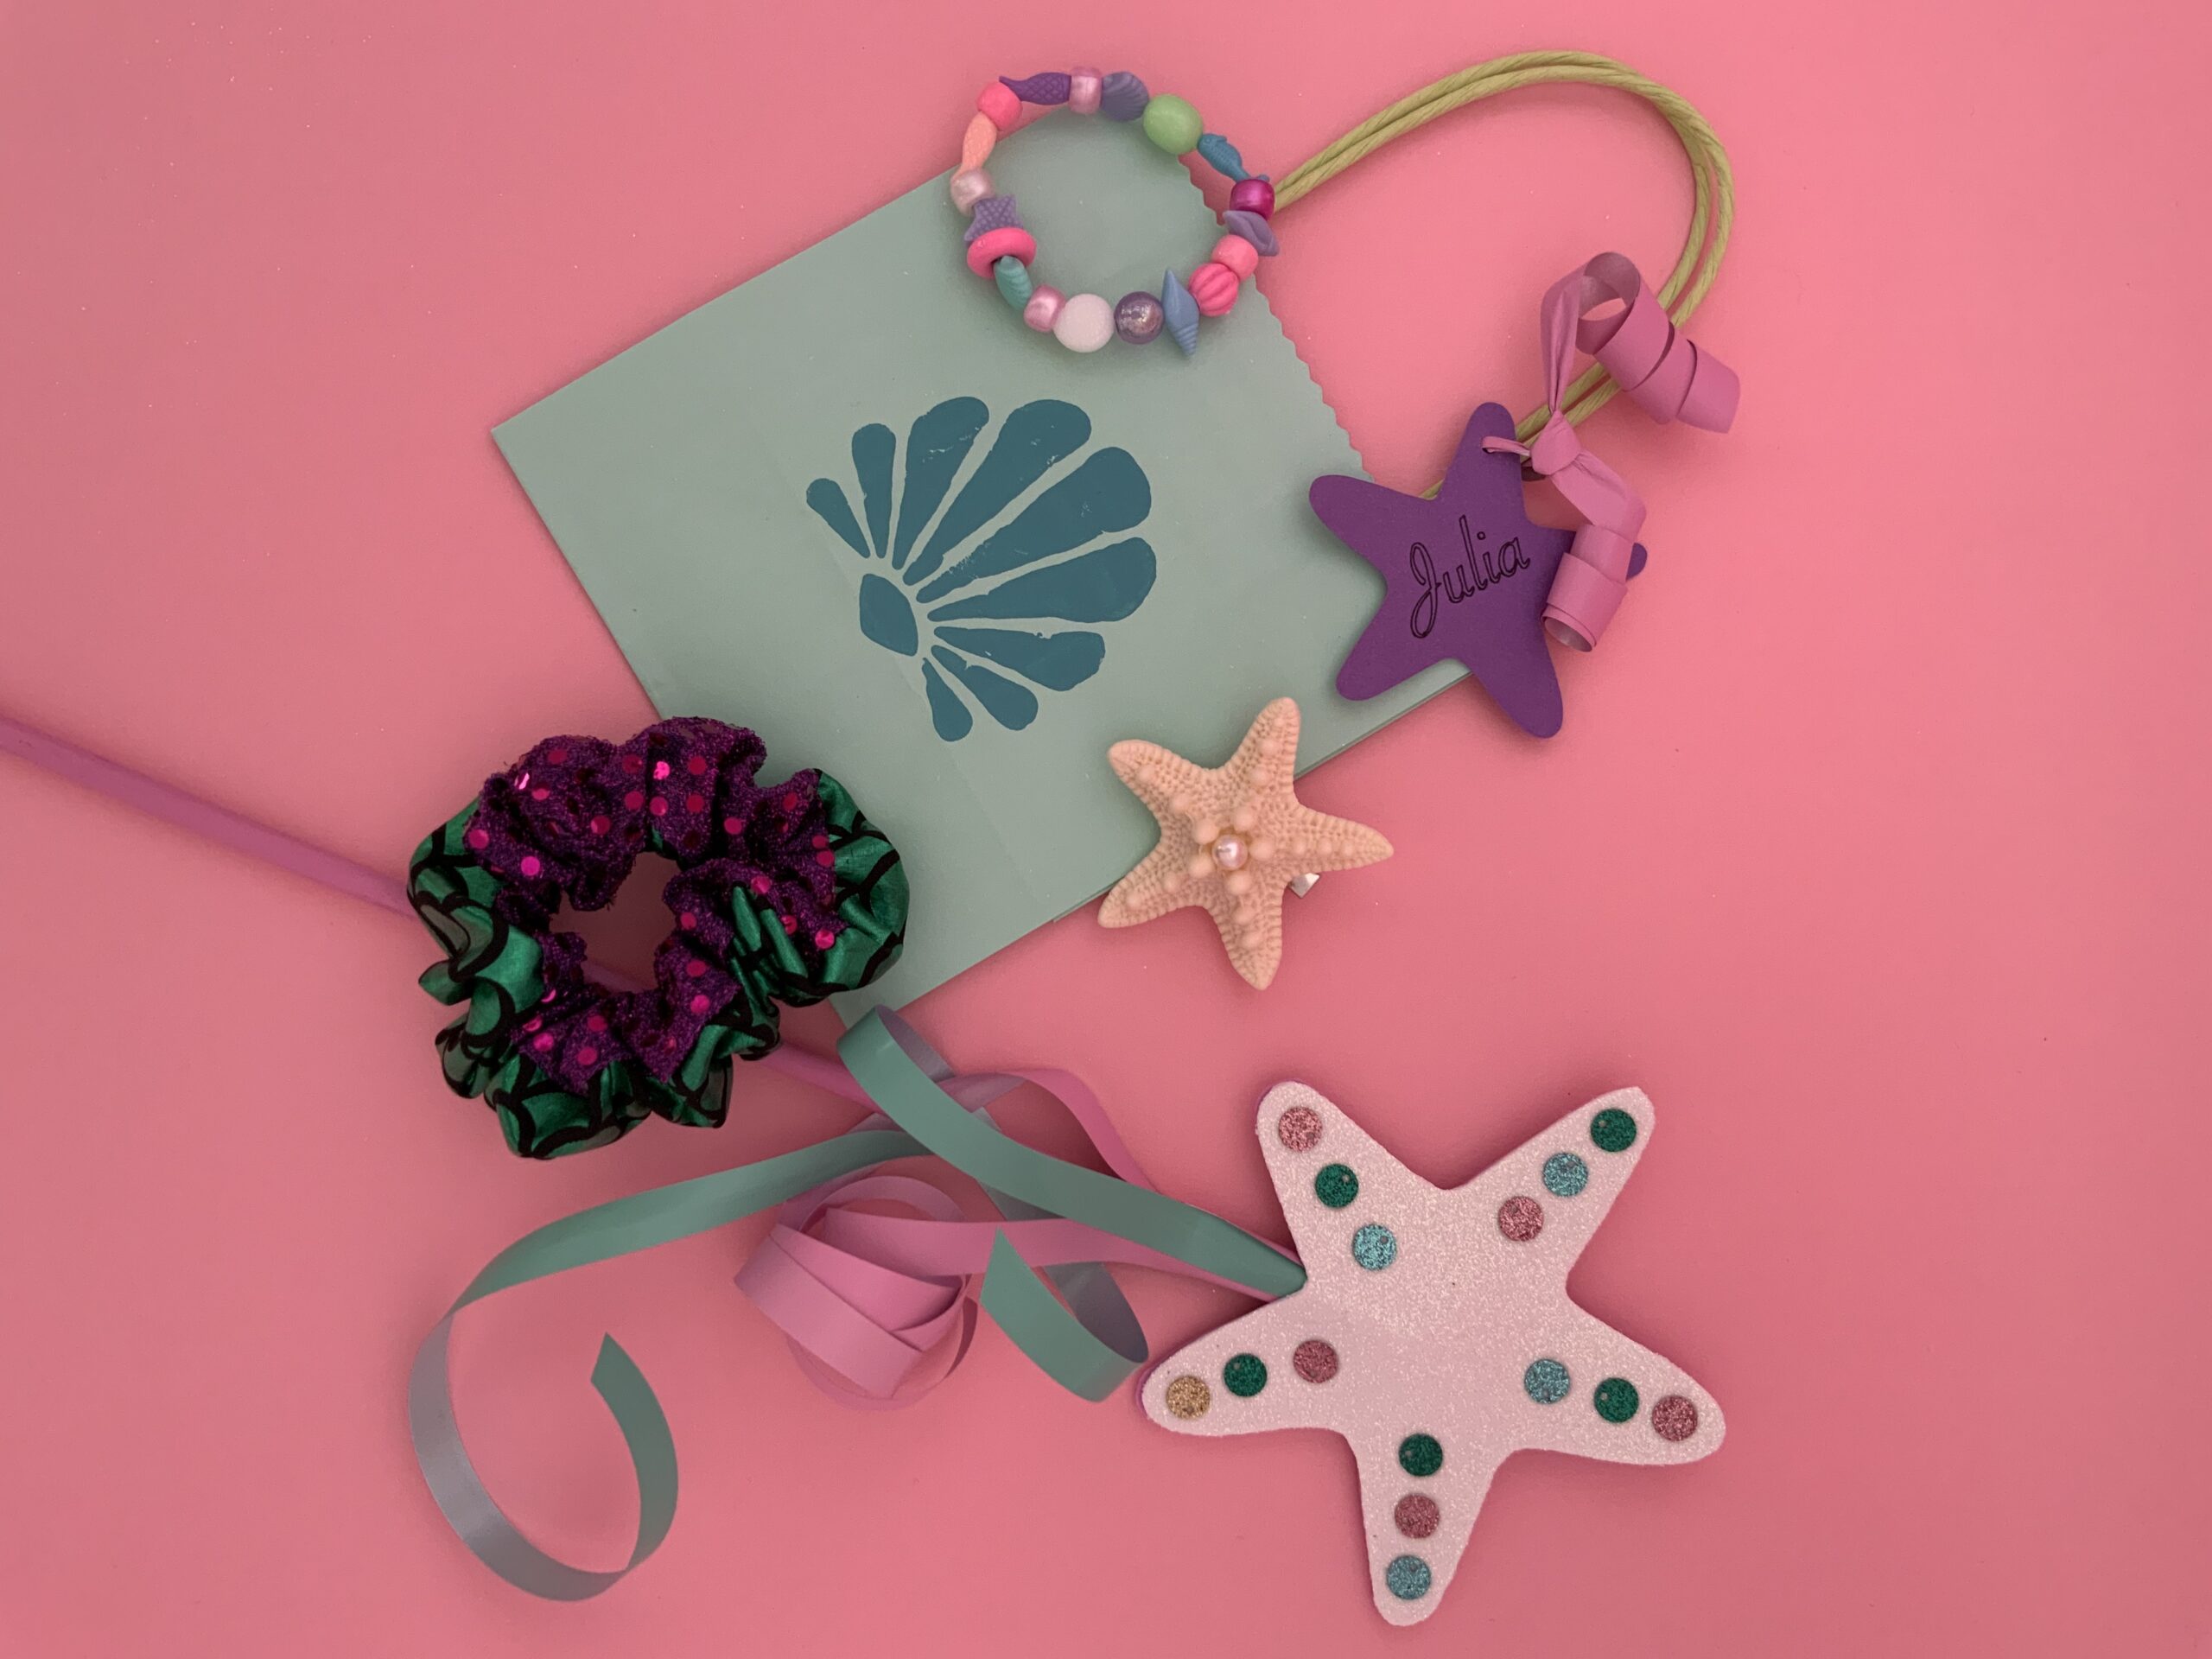
The little coloured party bags came from Hobbycraft and Lily and I printed a shell on each of them.
Party Bags Fillers
For the party bag fillers, I wanted to try and avoid too much of the ‘plastic’ tat that often makes up a party bag..
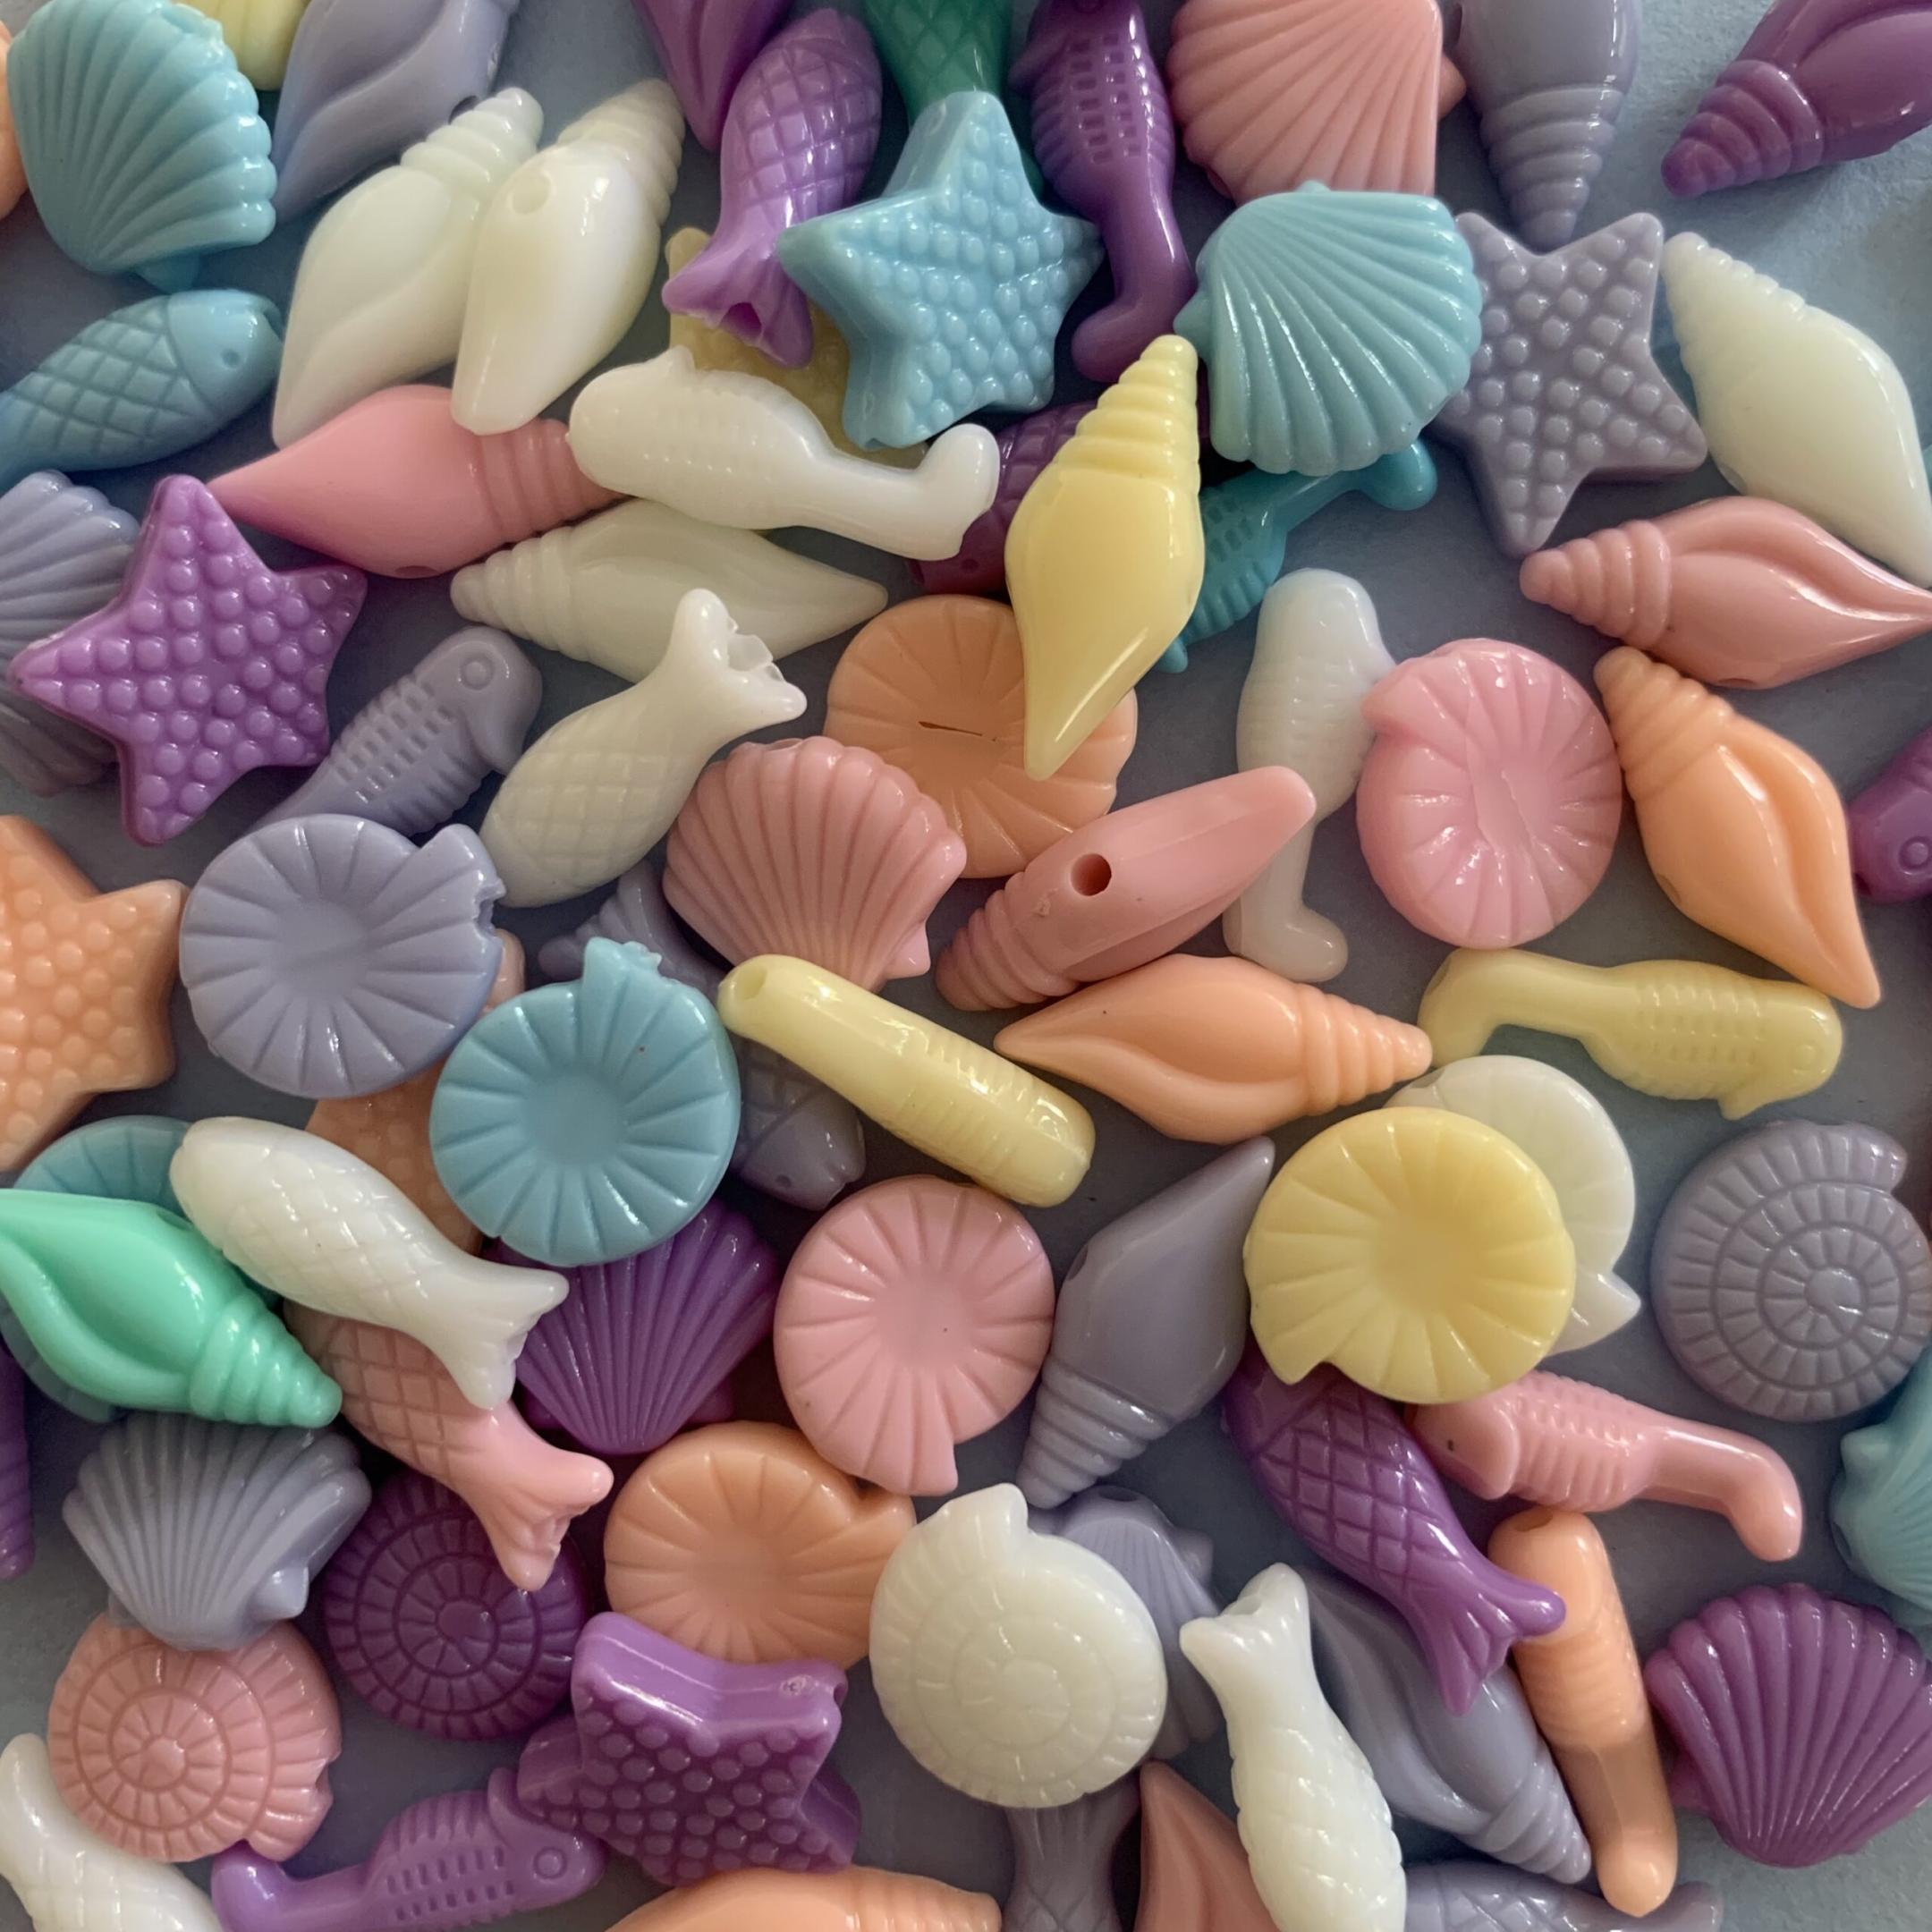
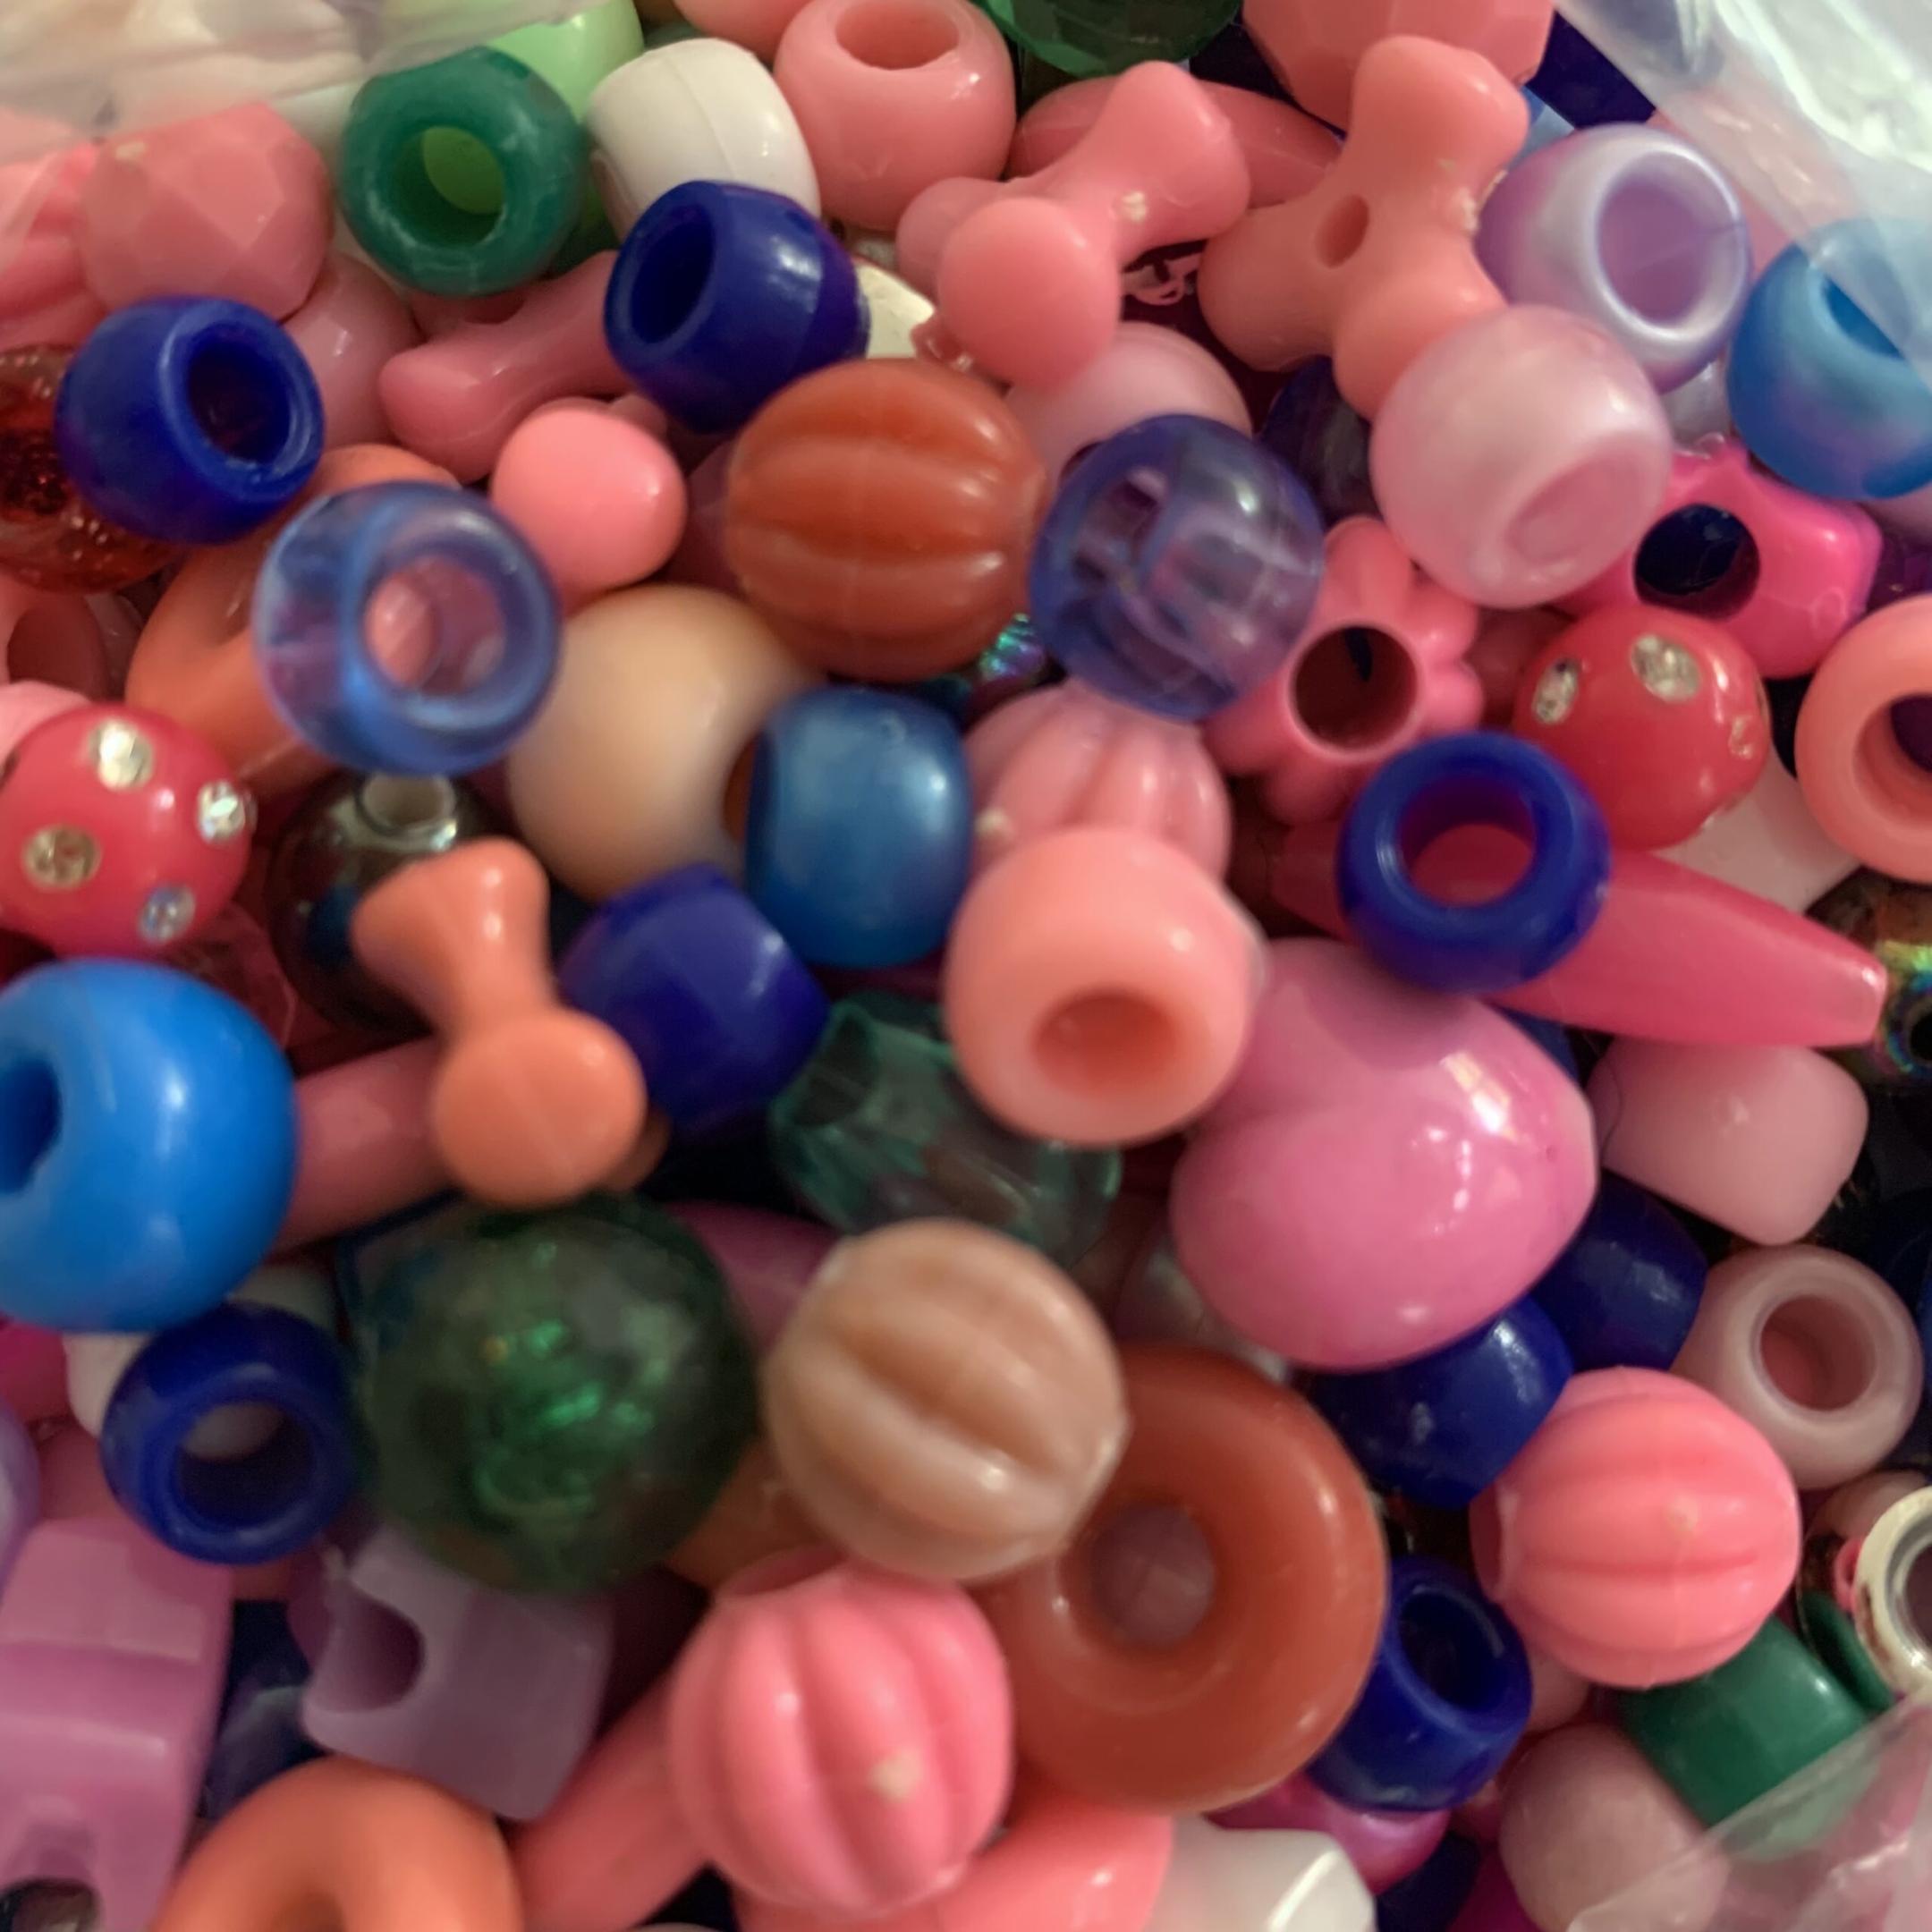
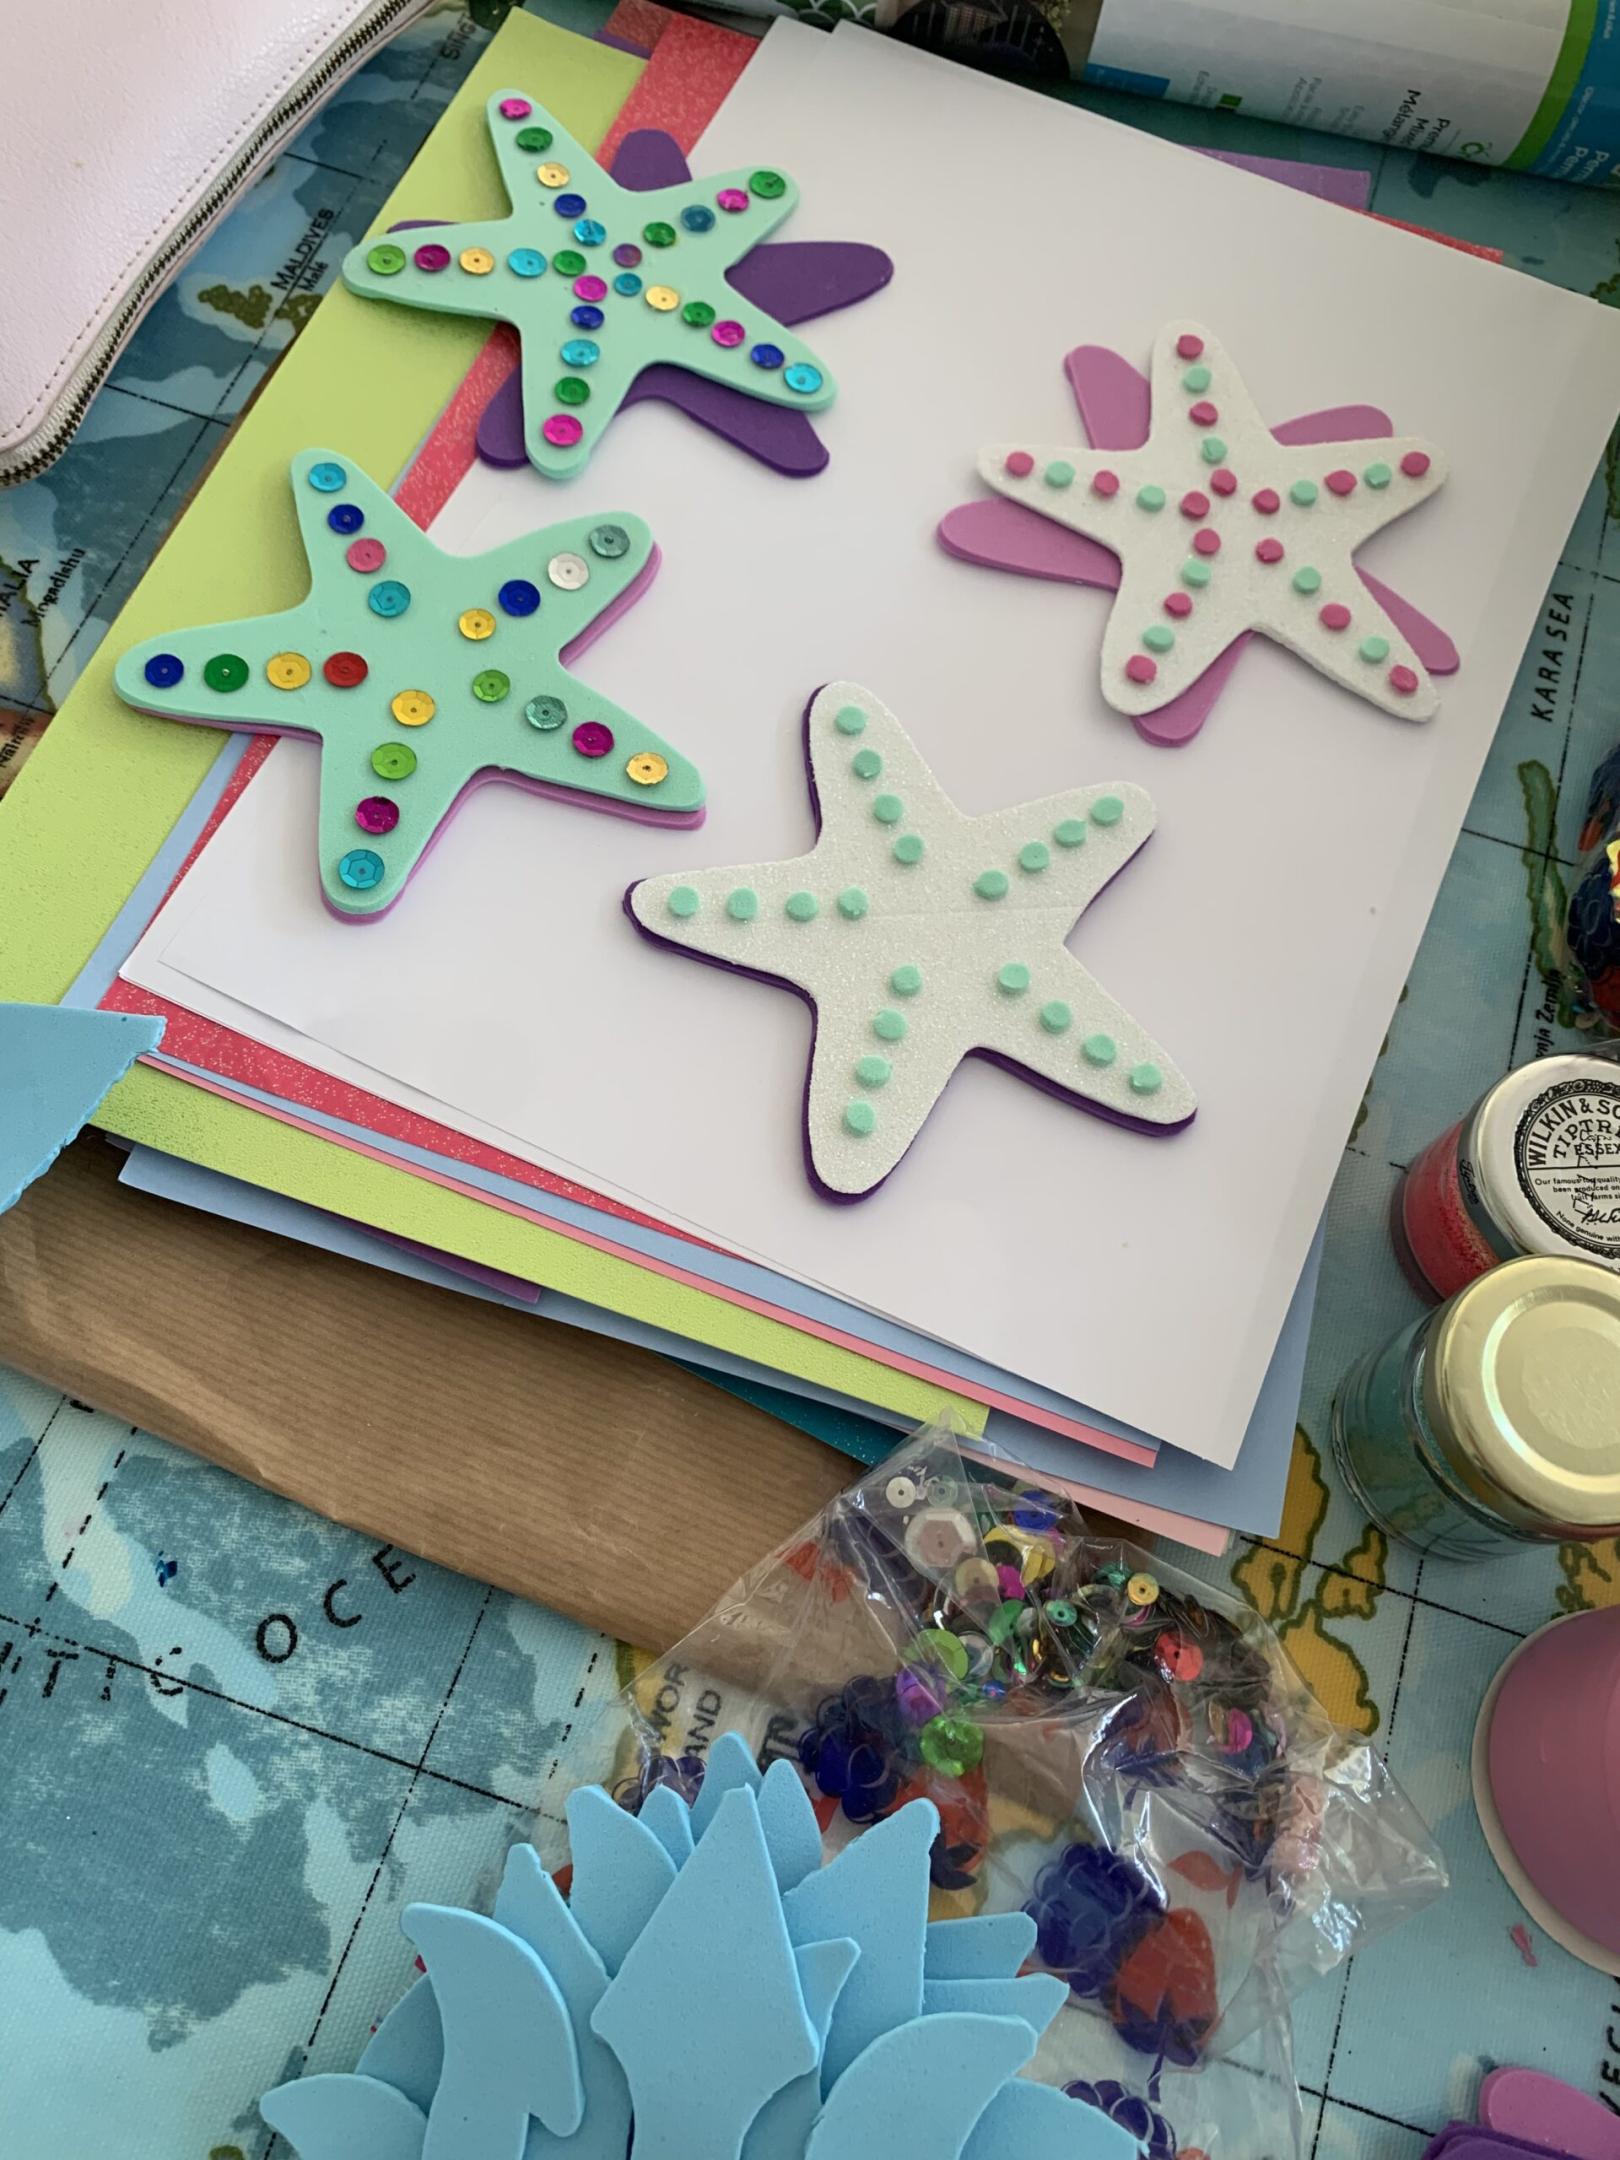
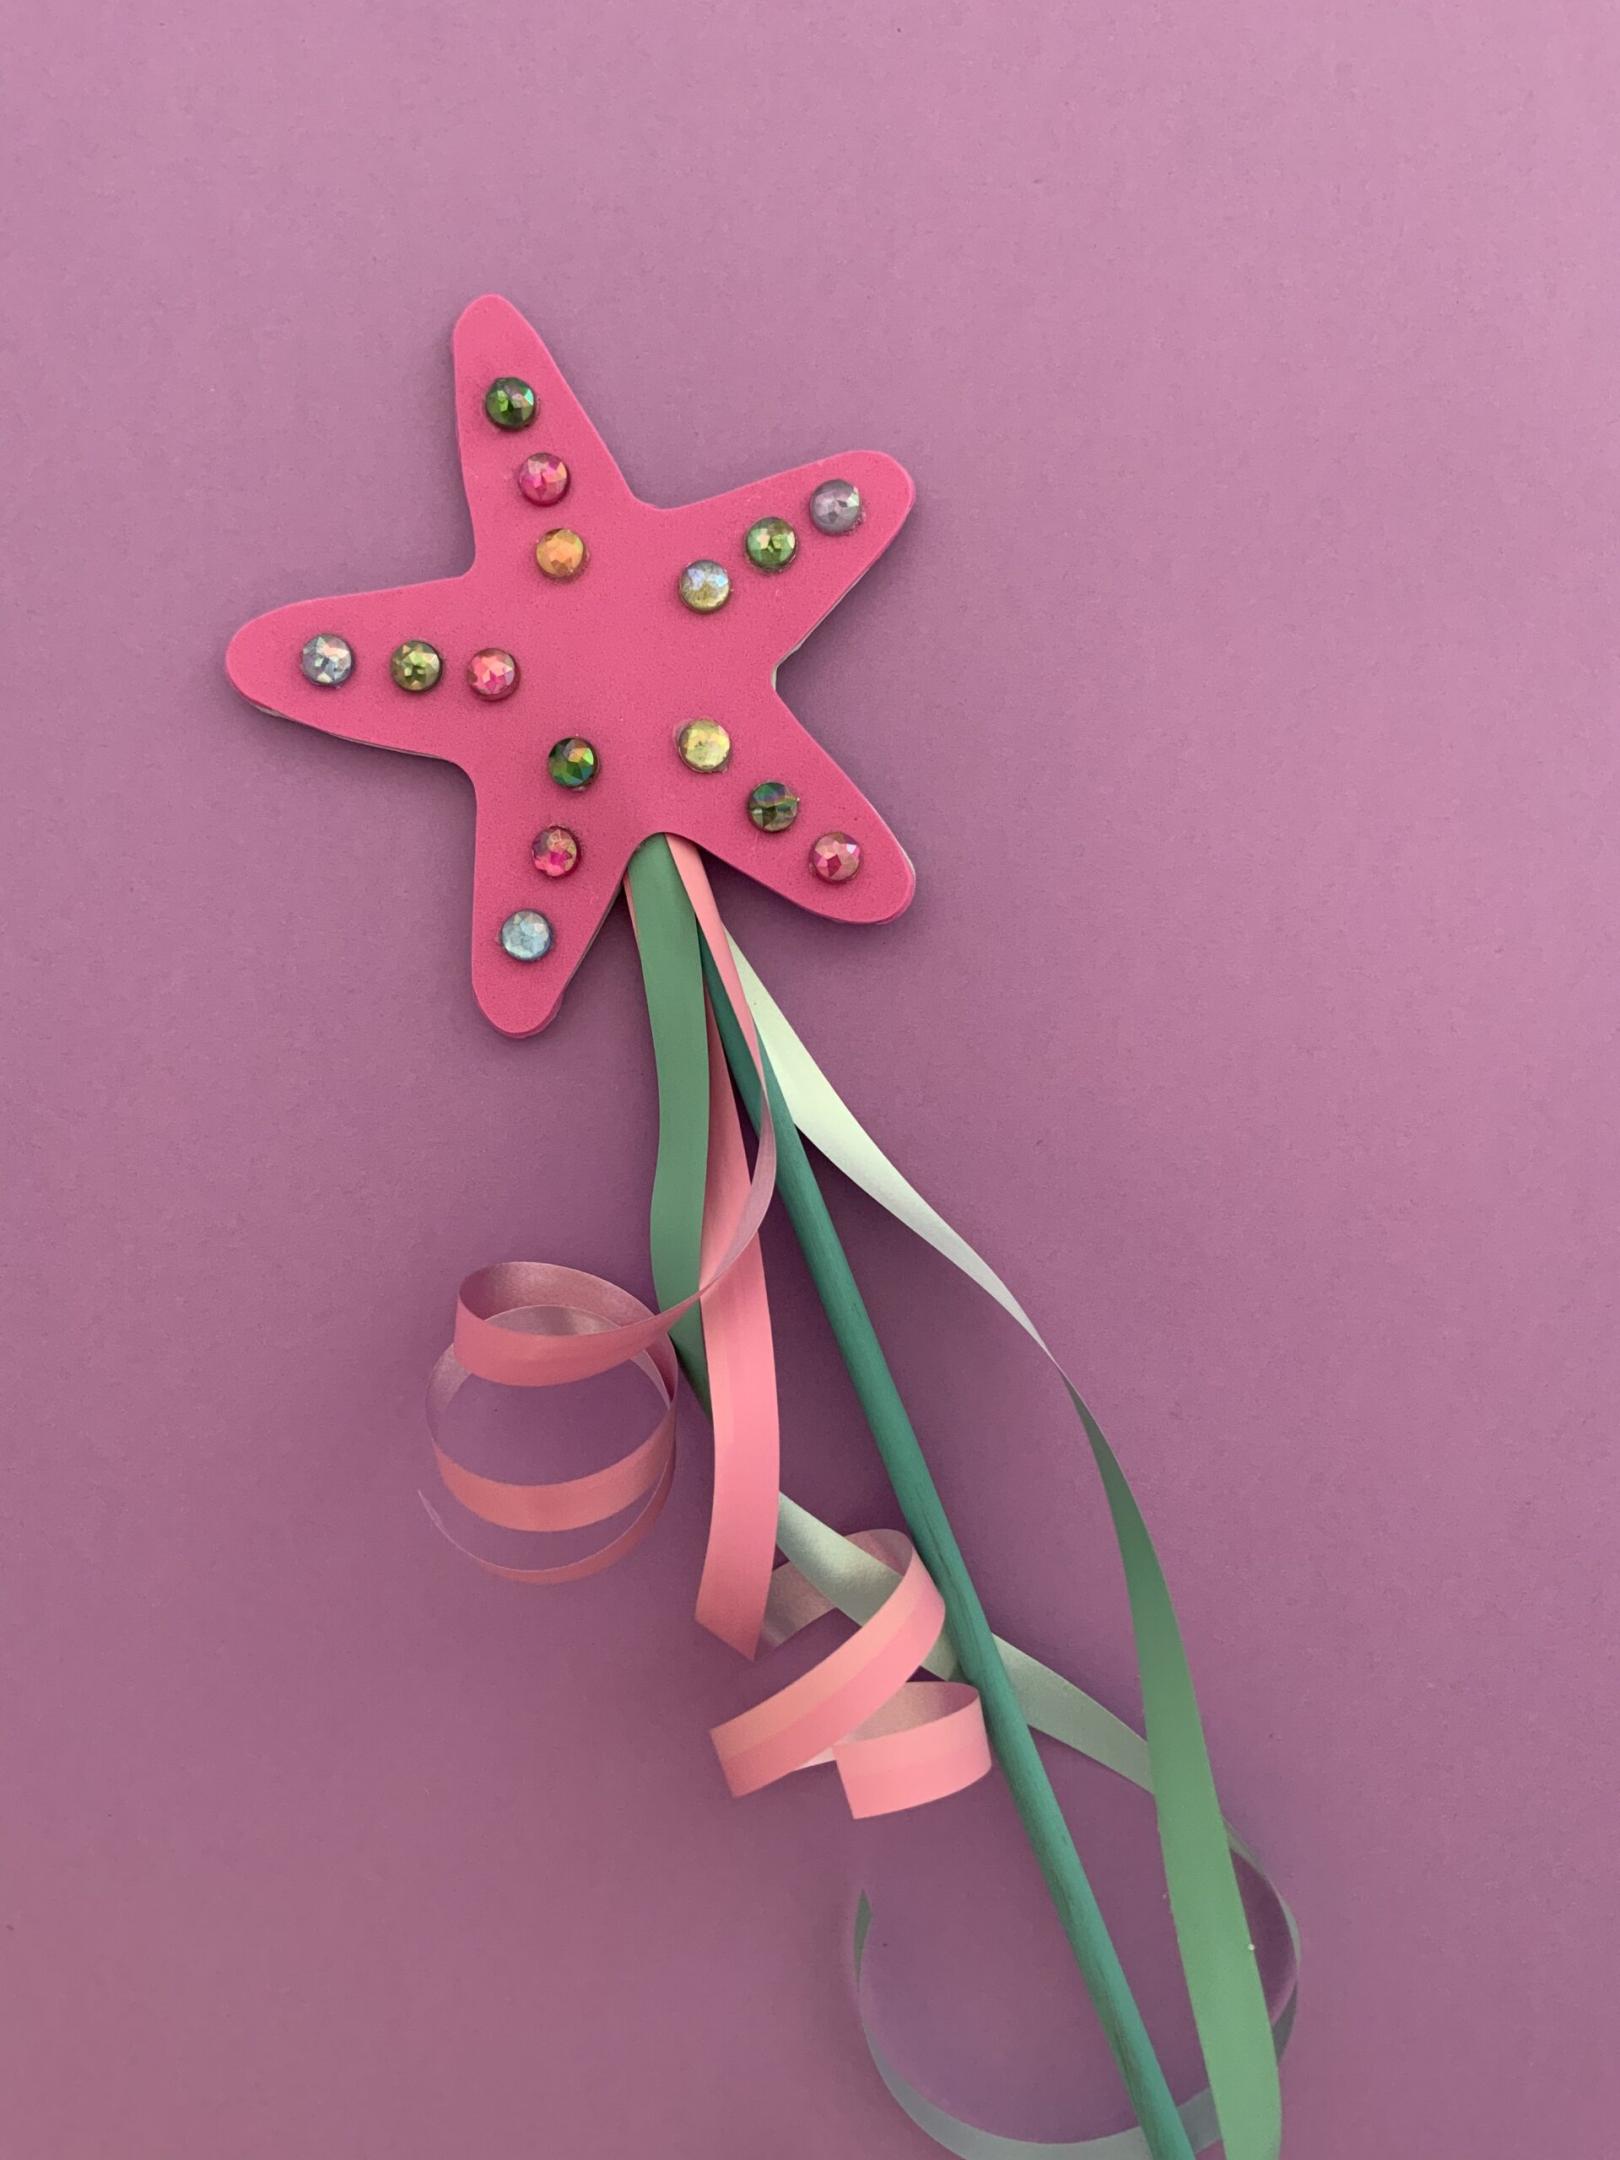
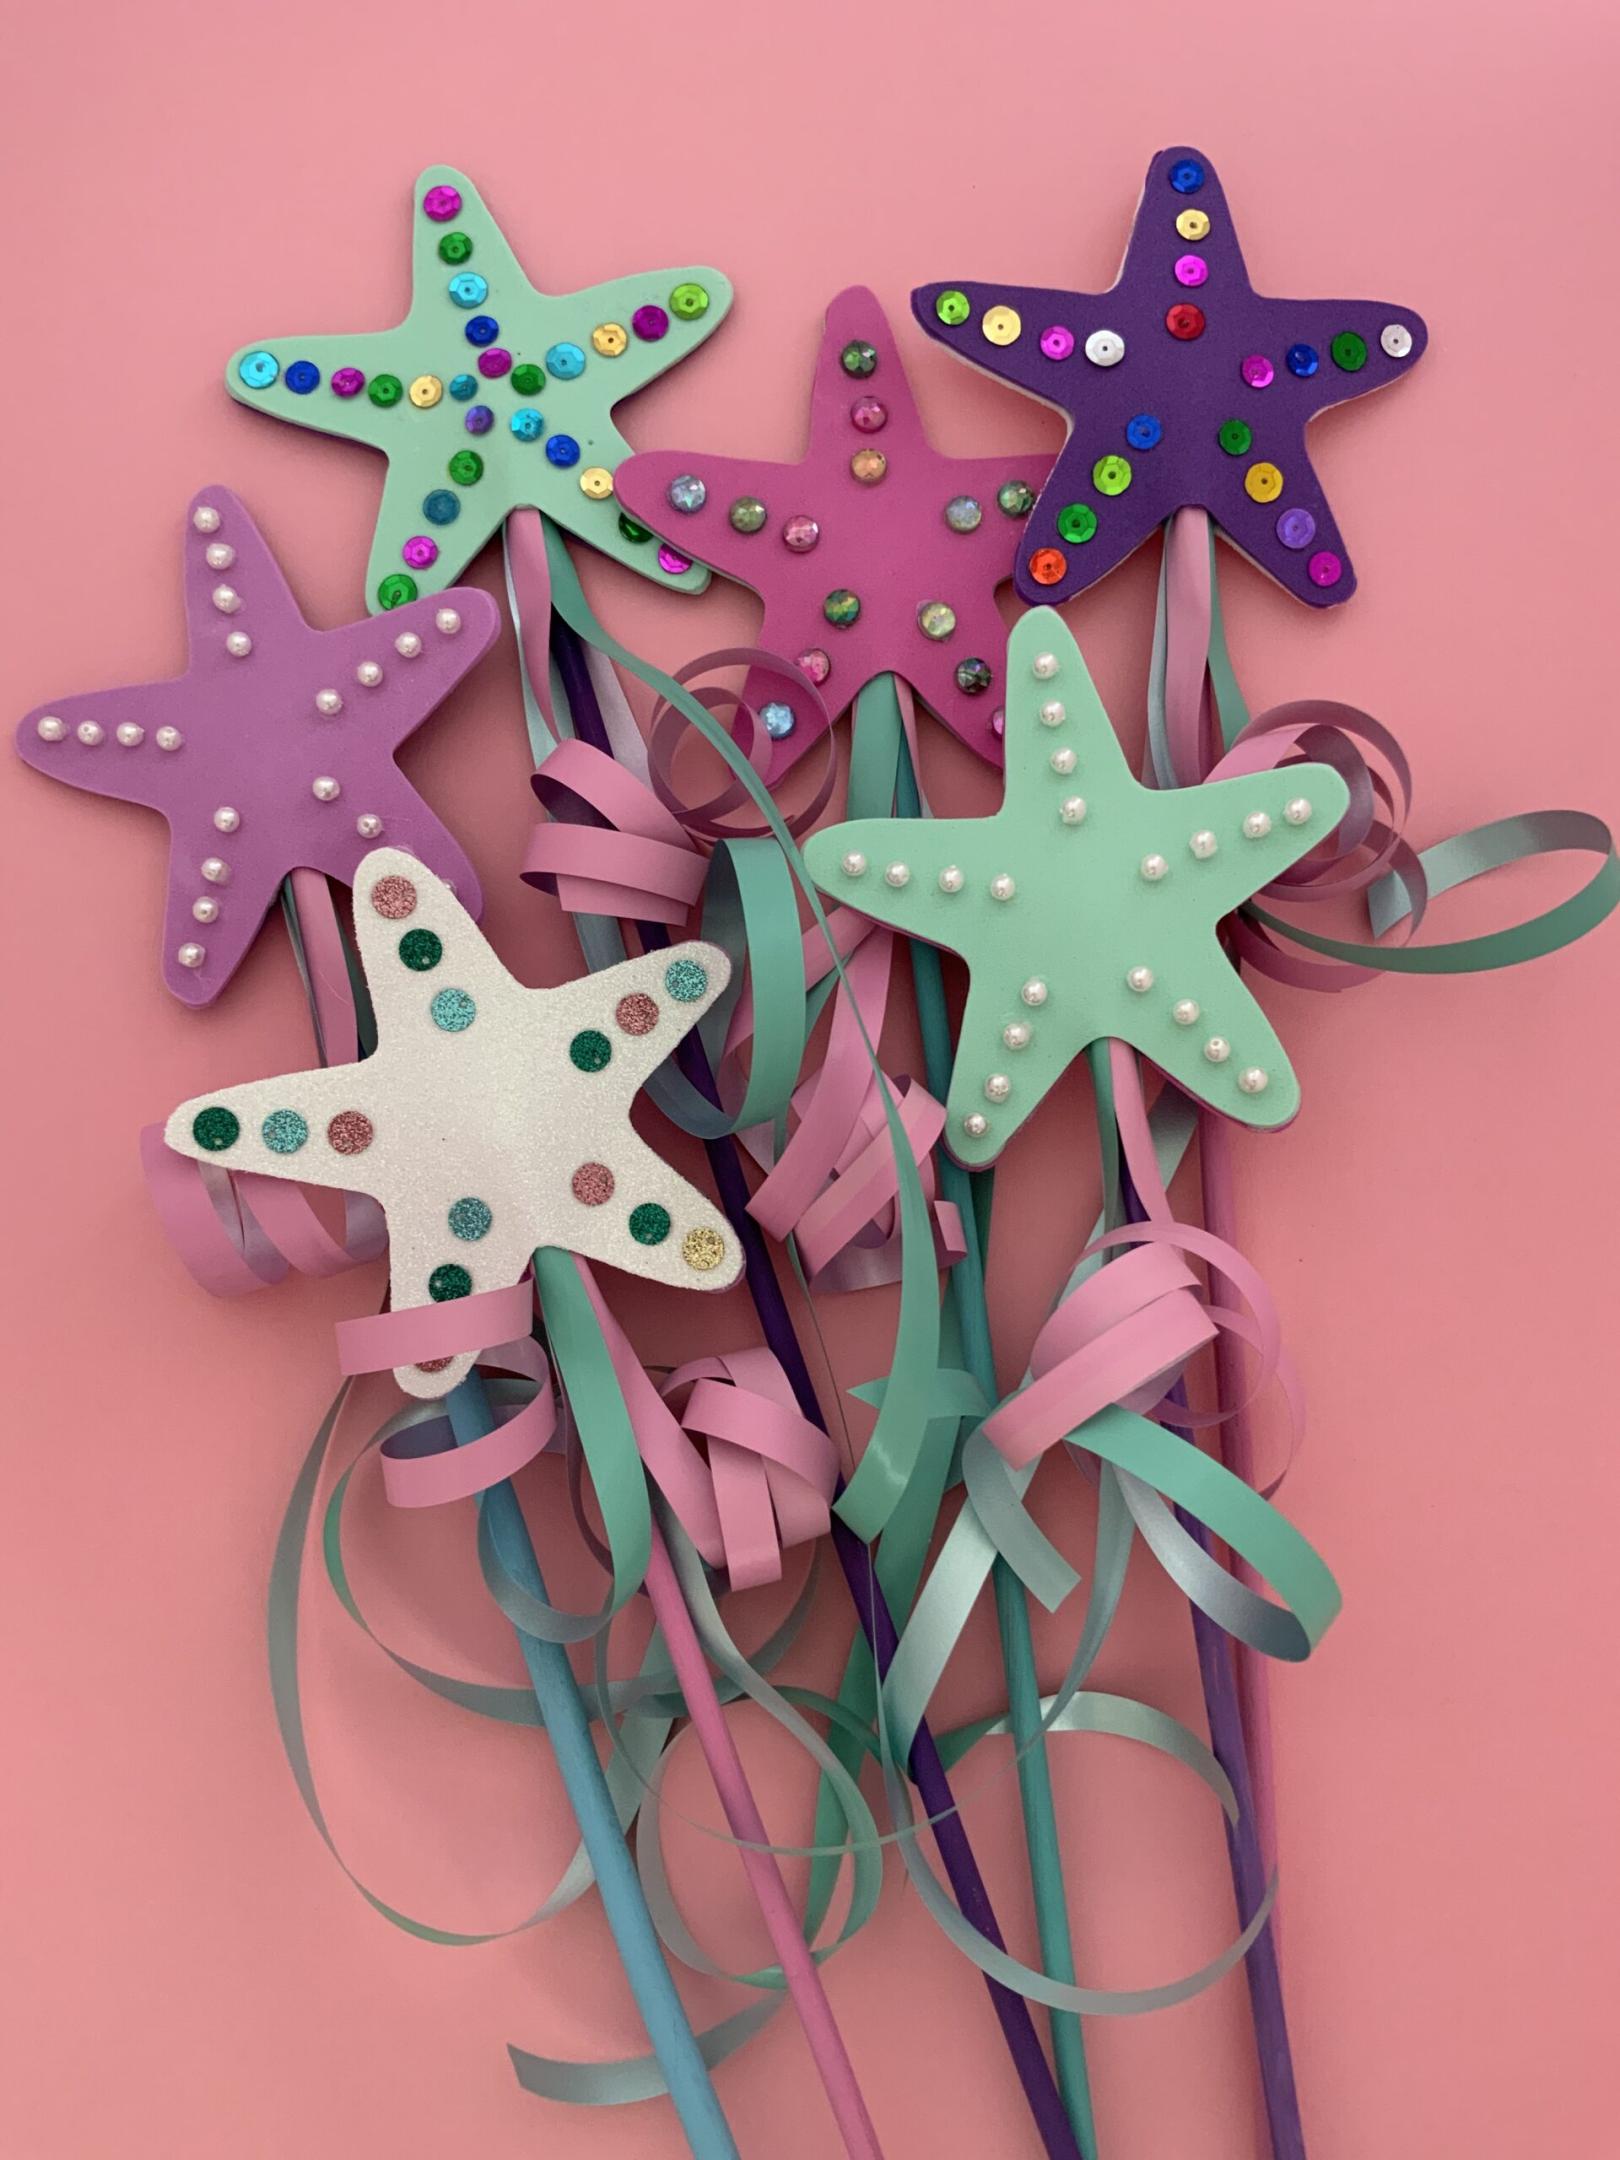
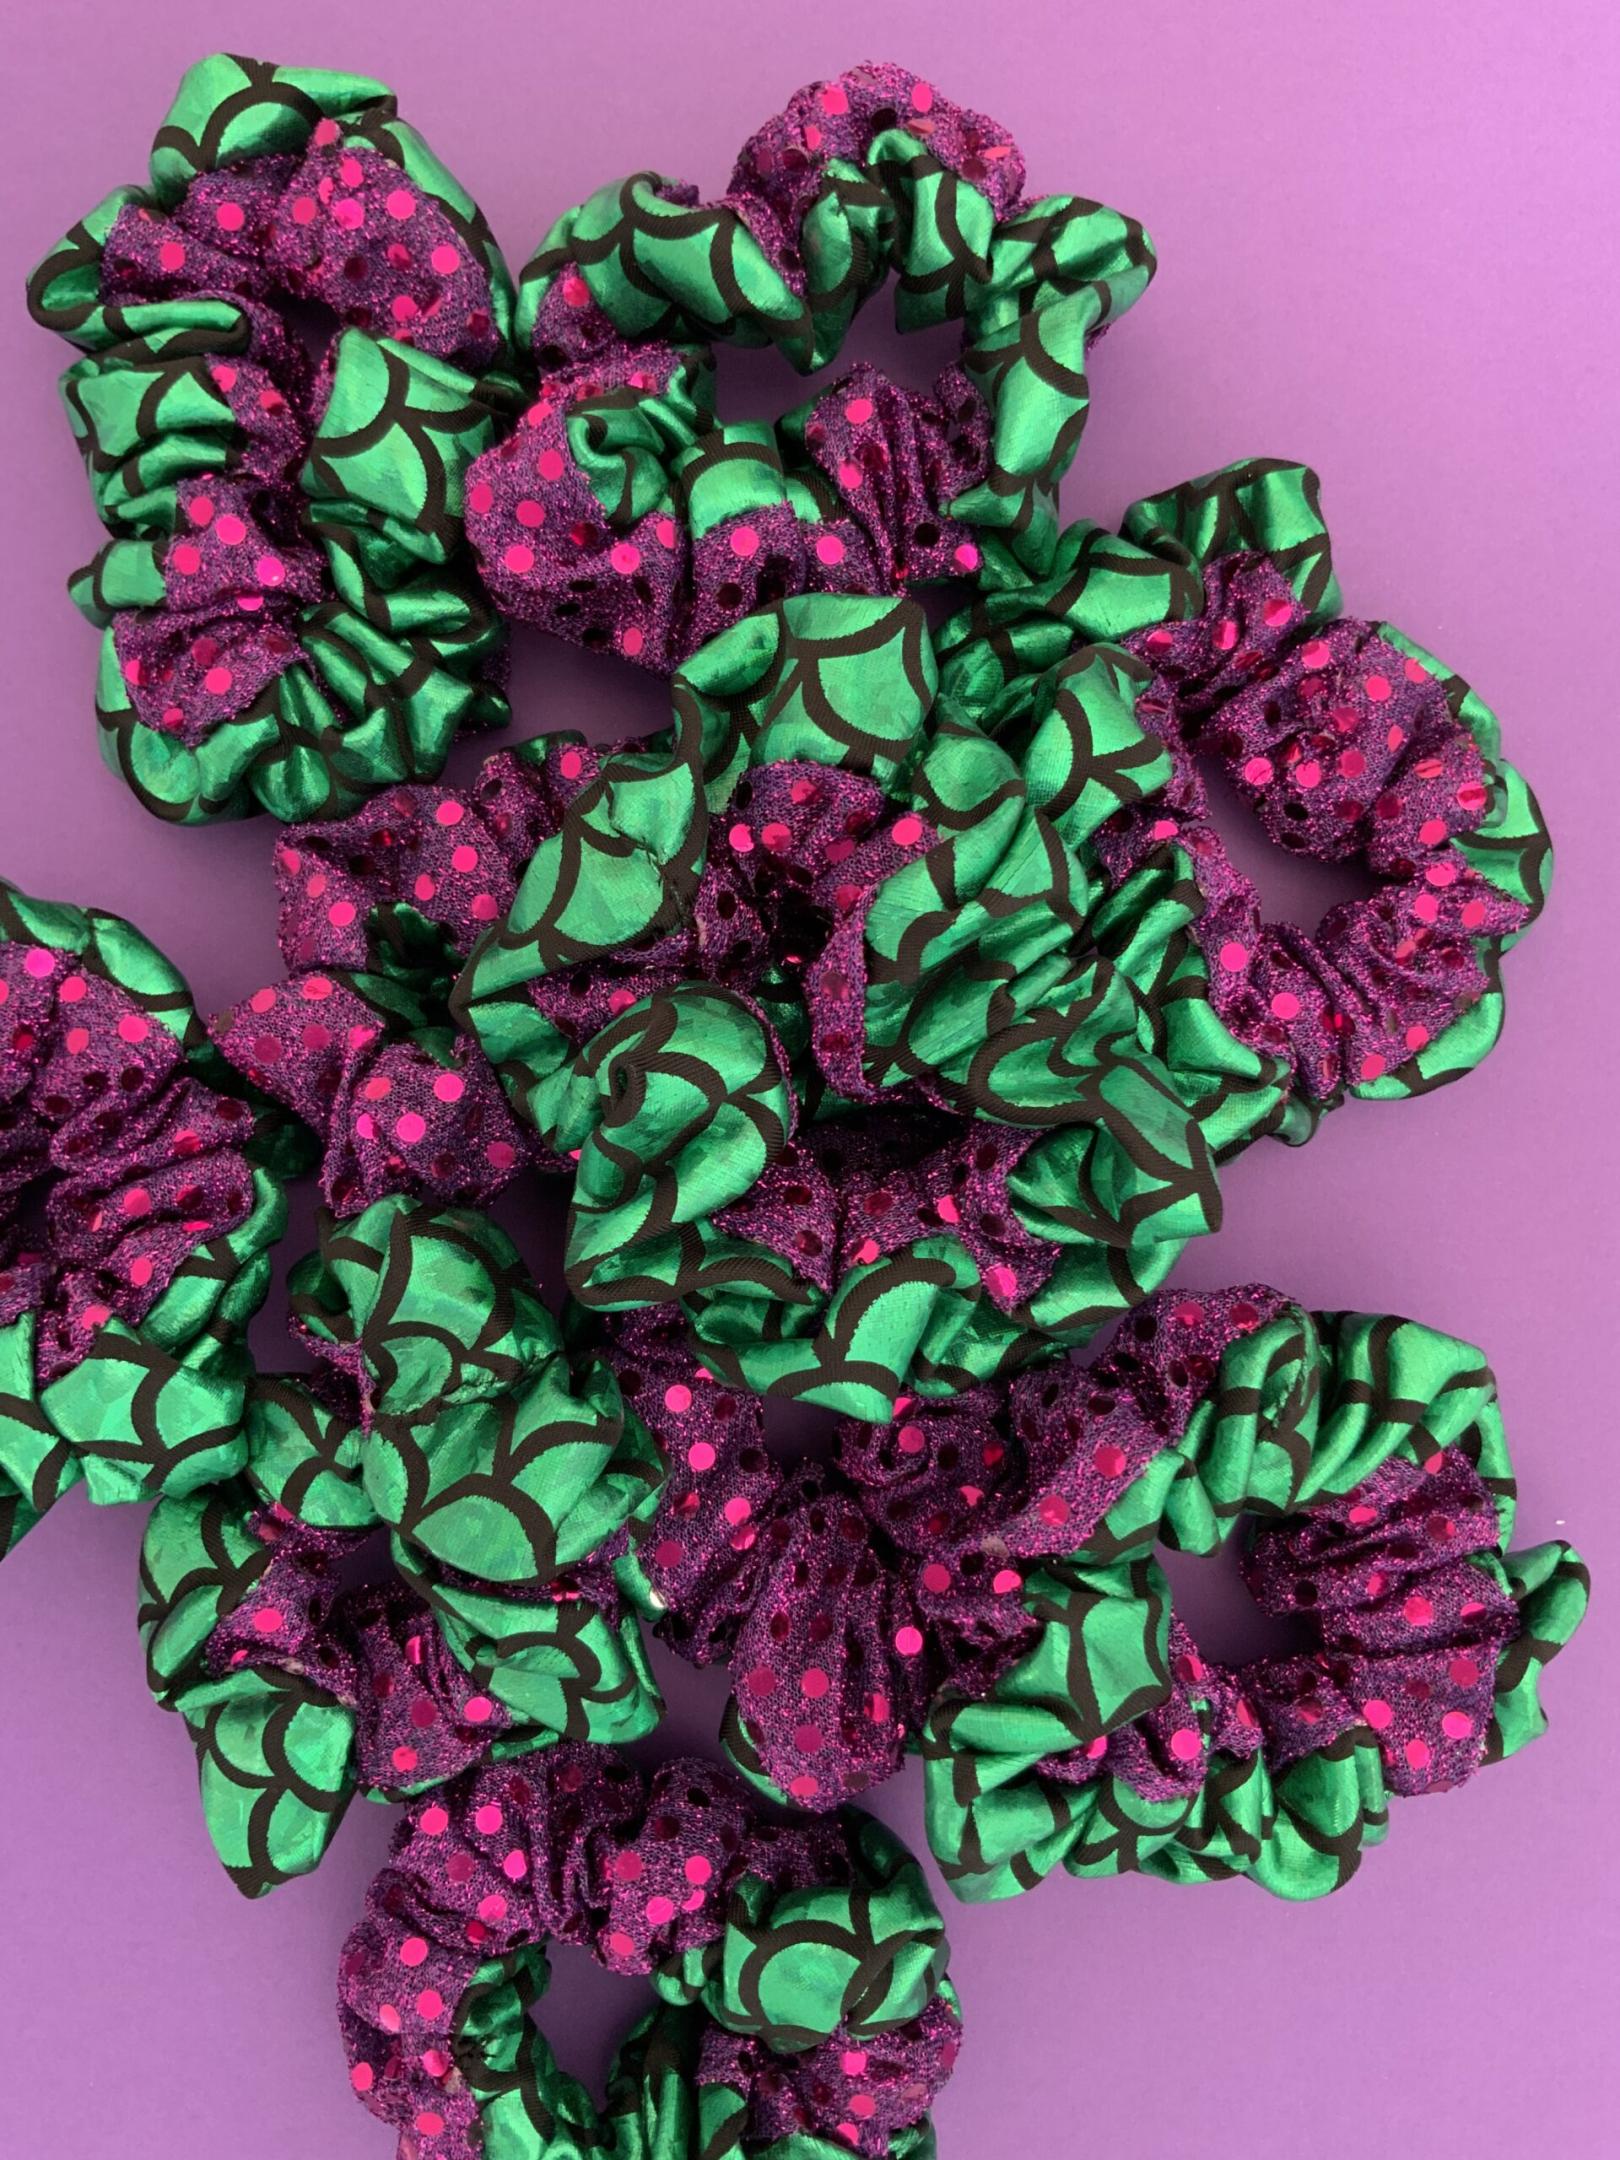
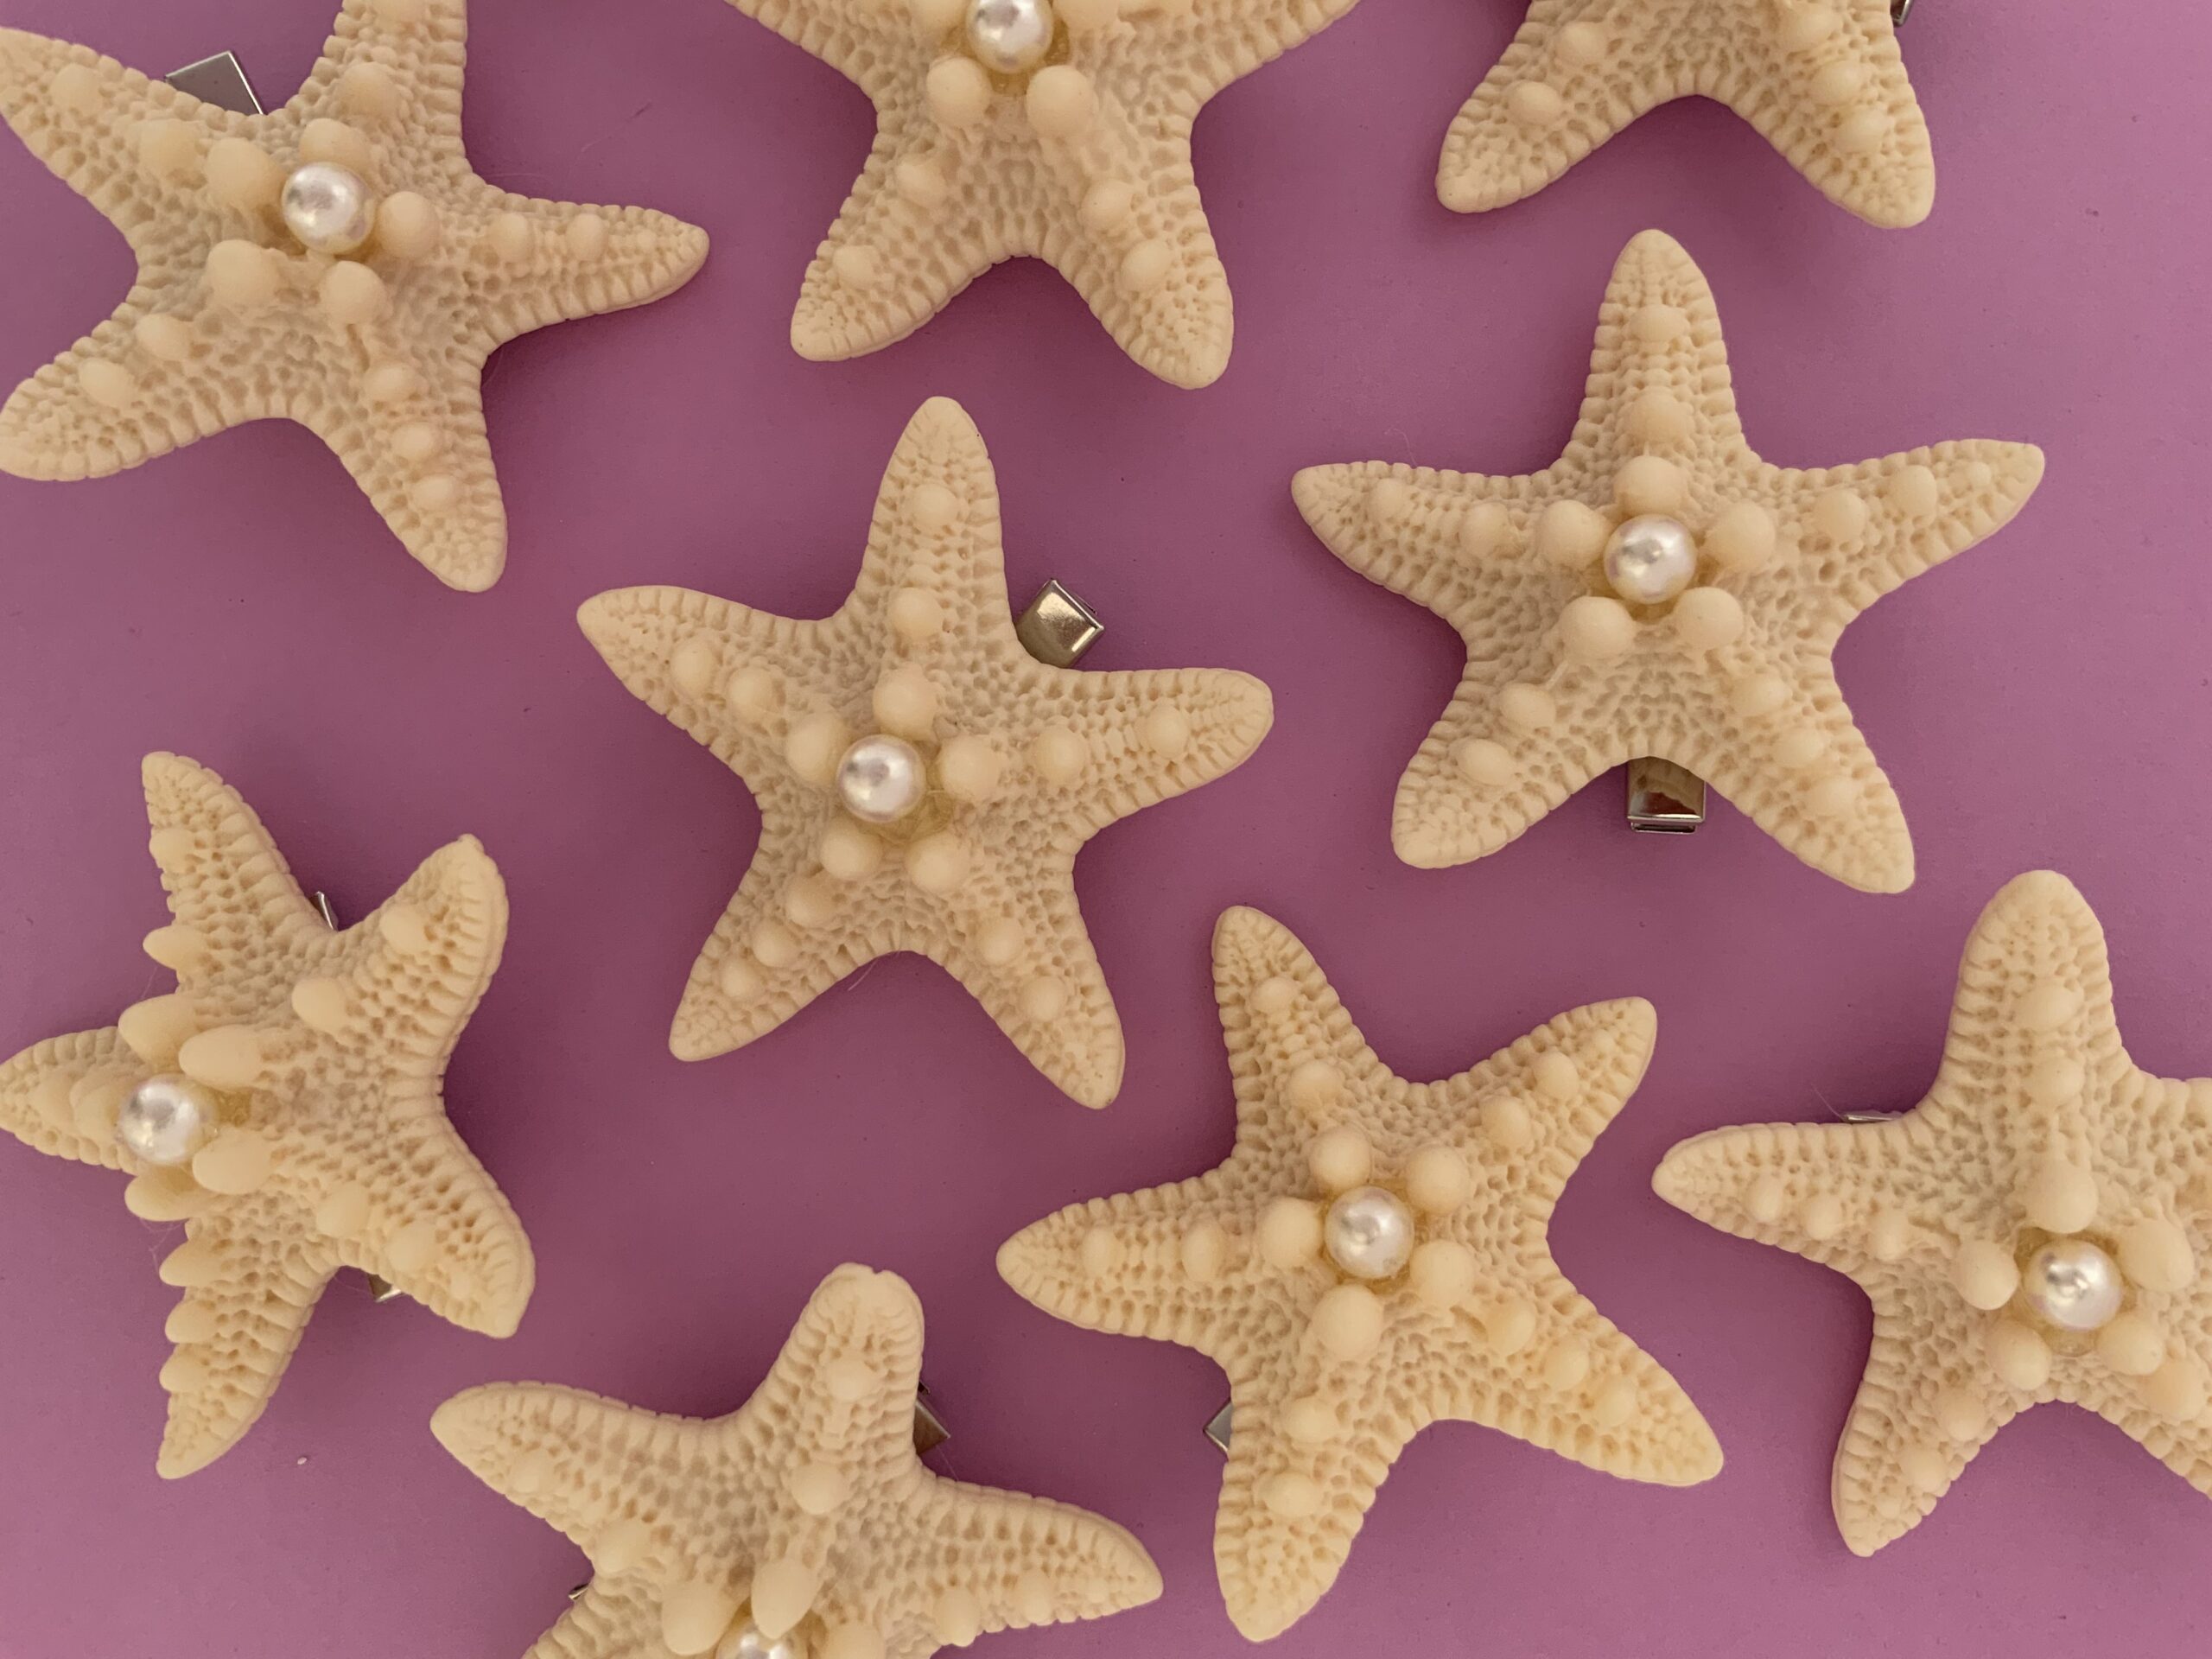
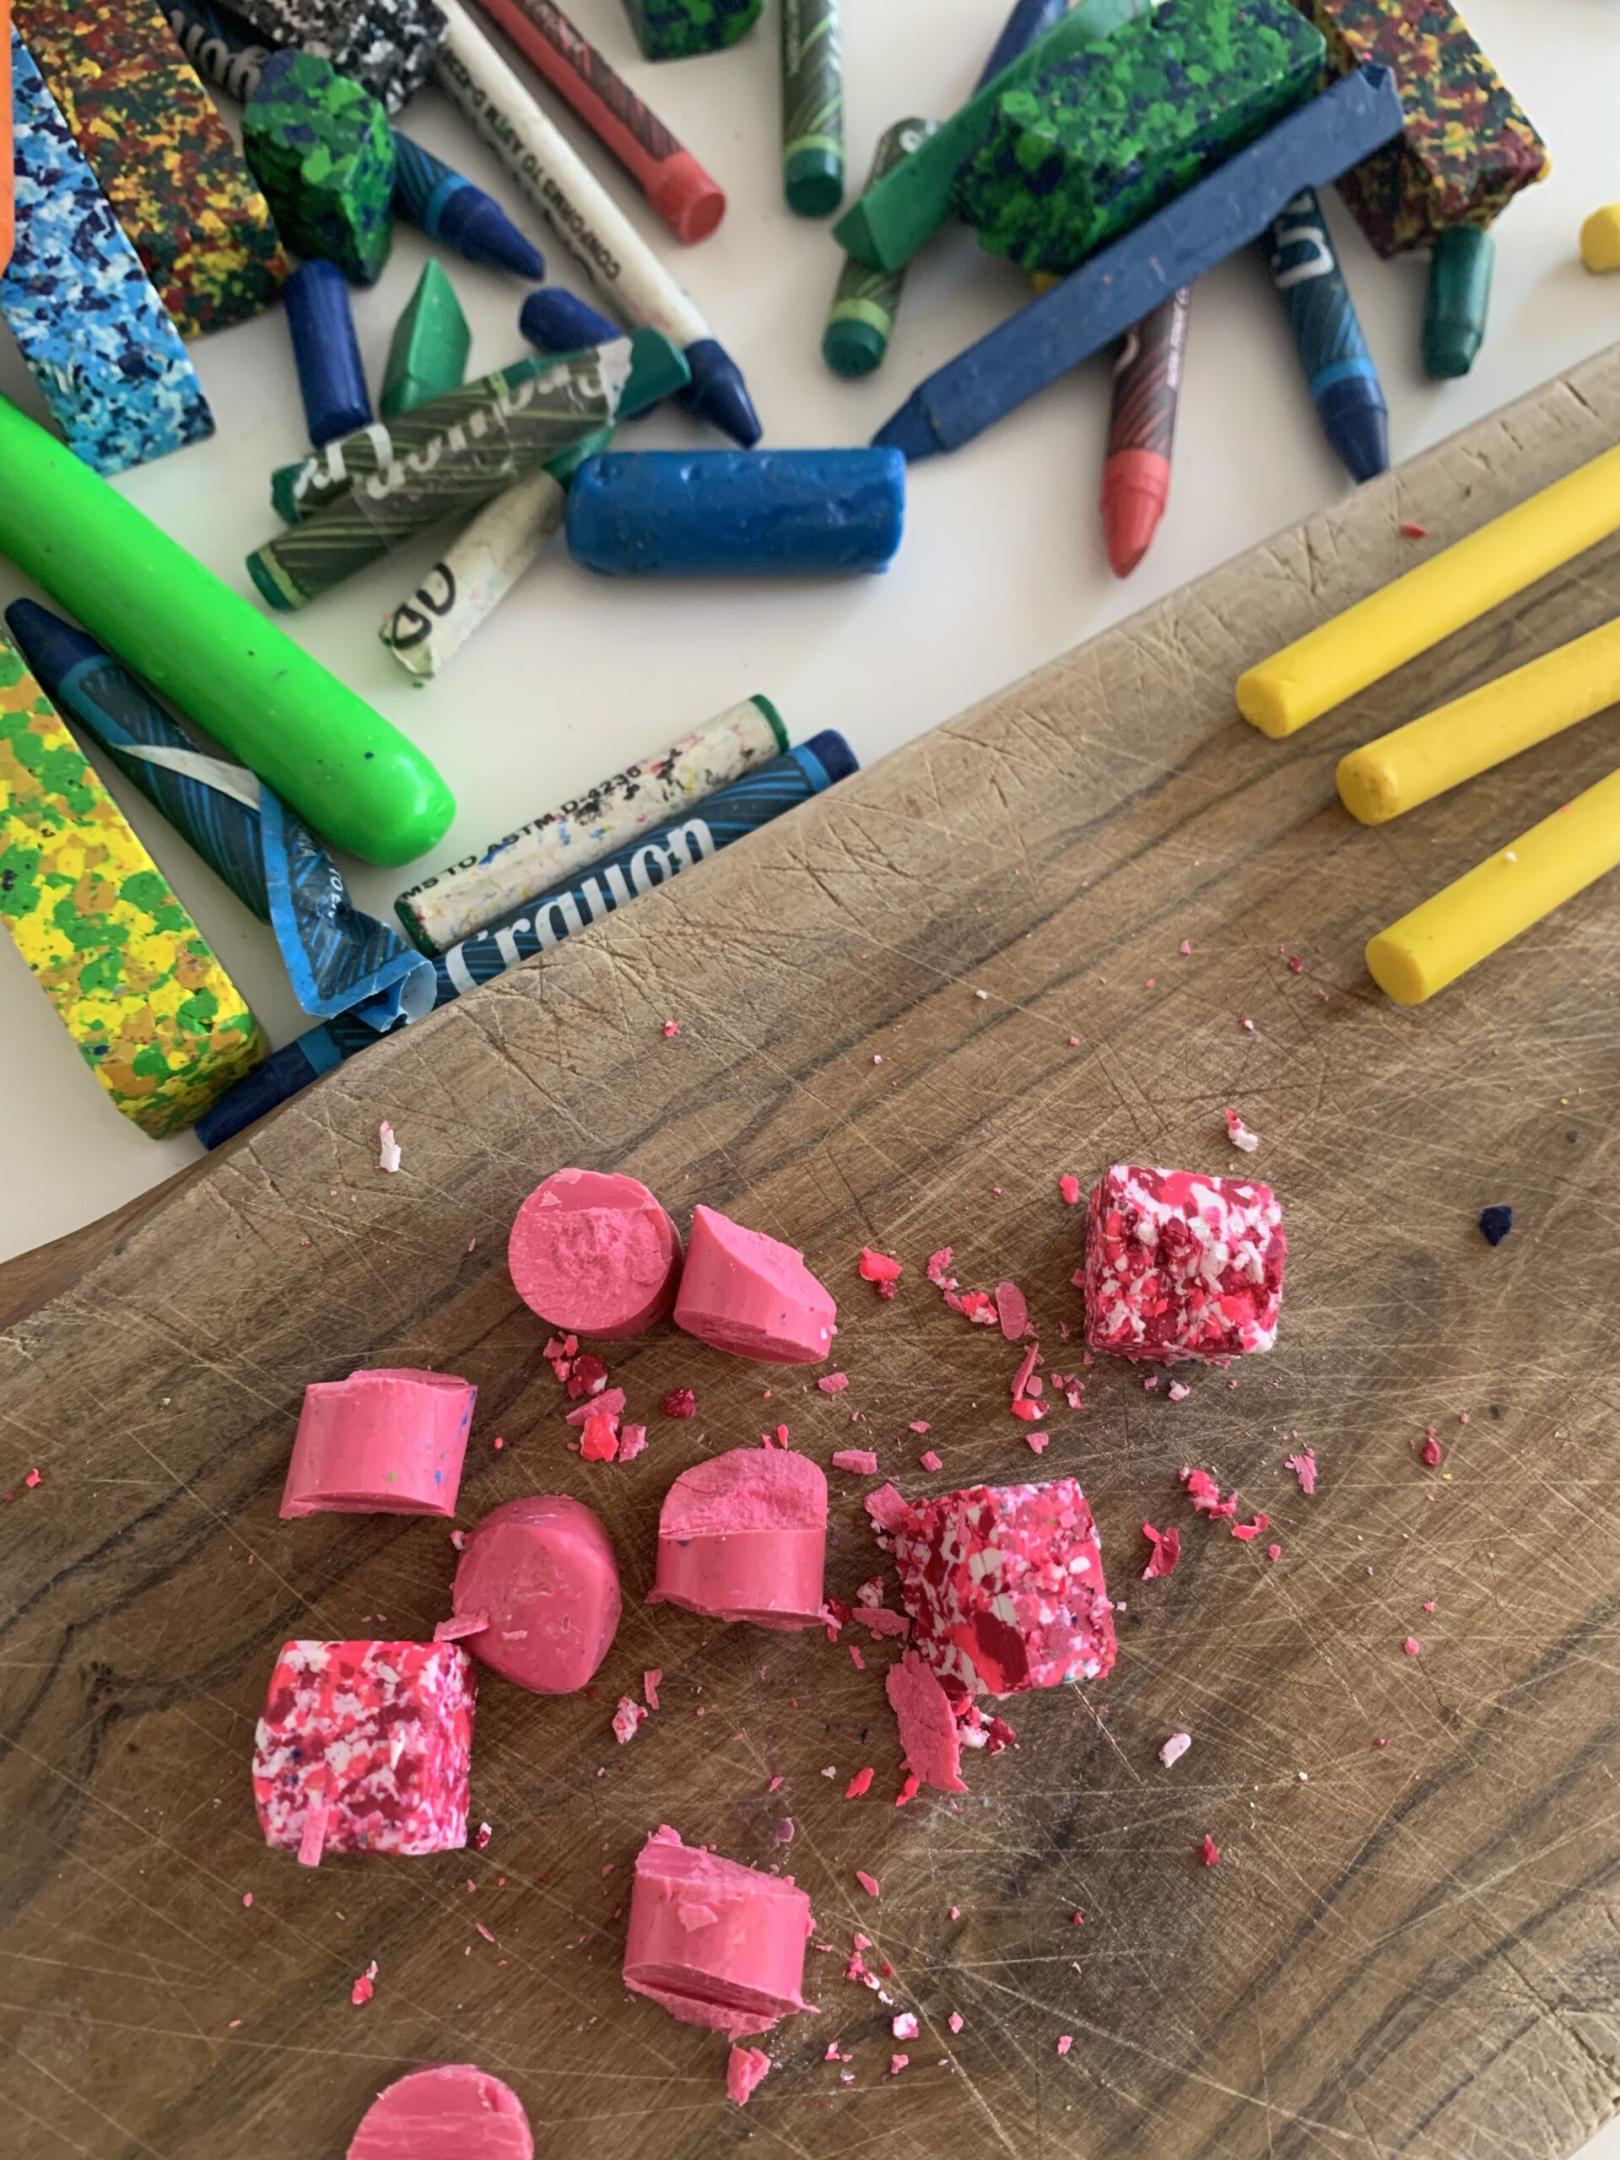
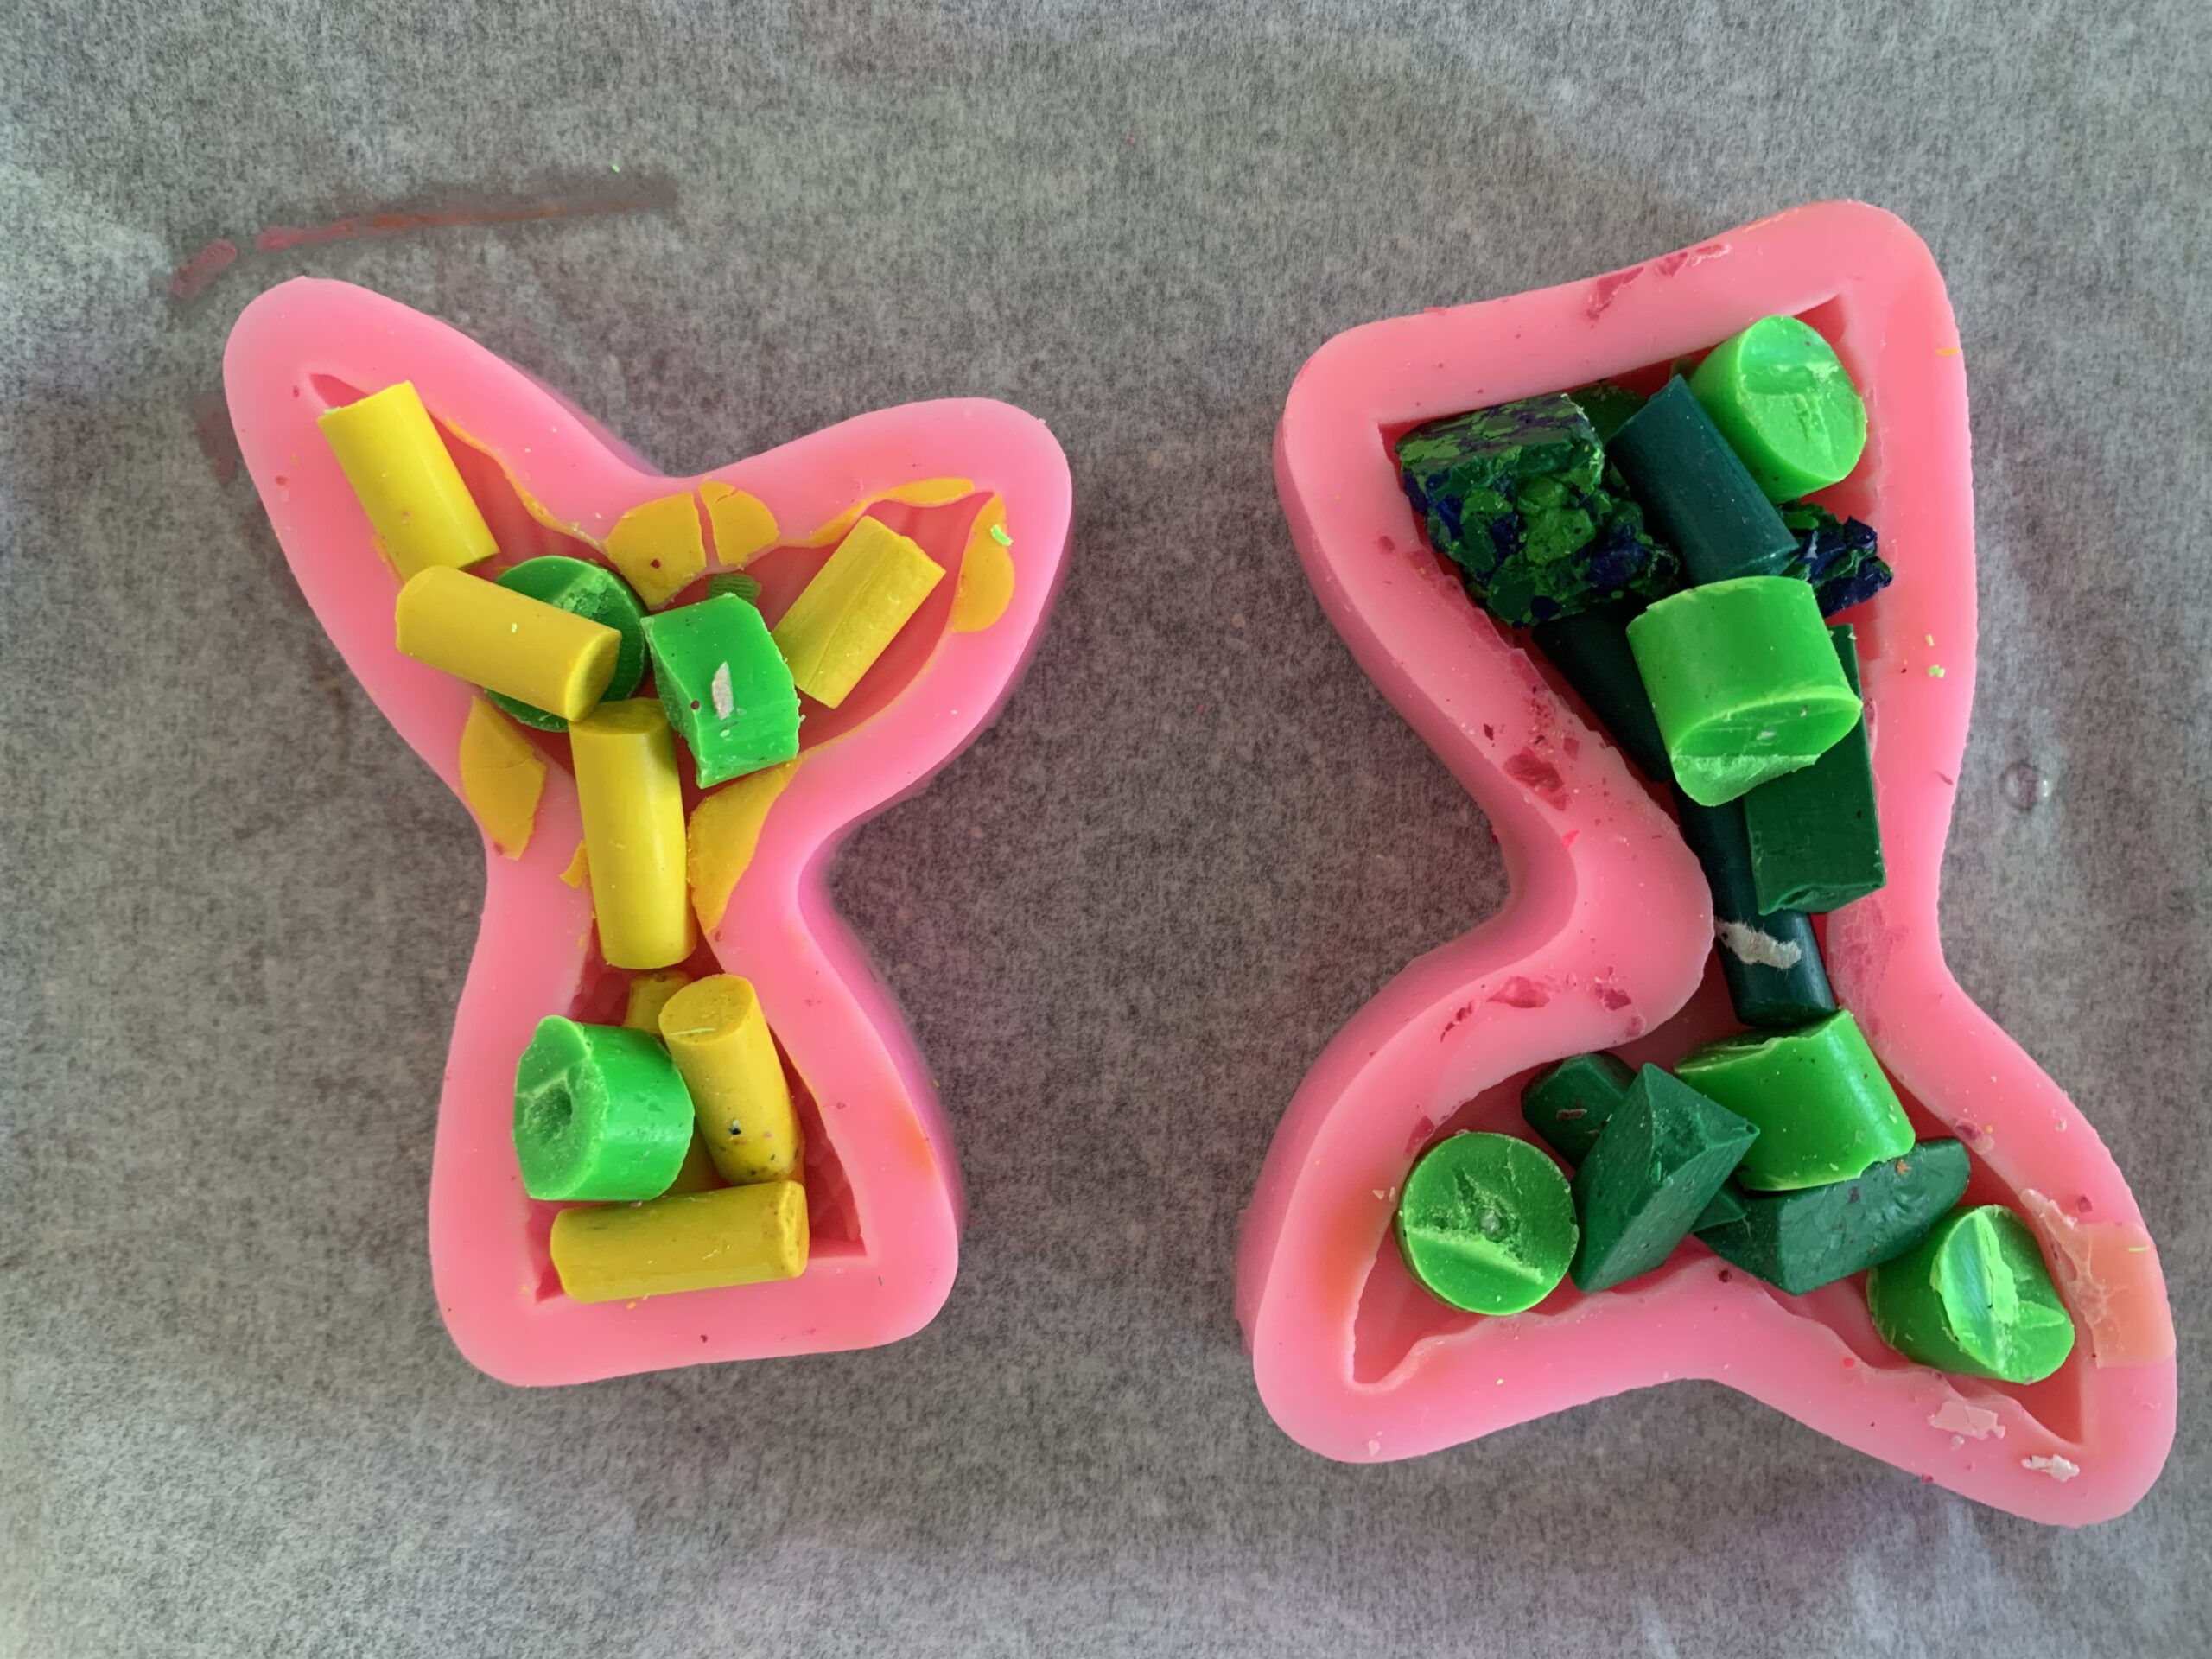
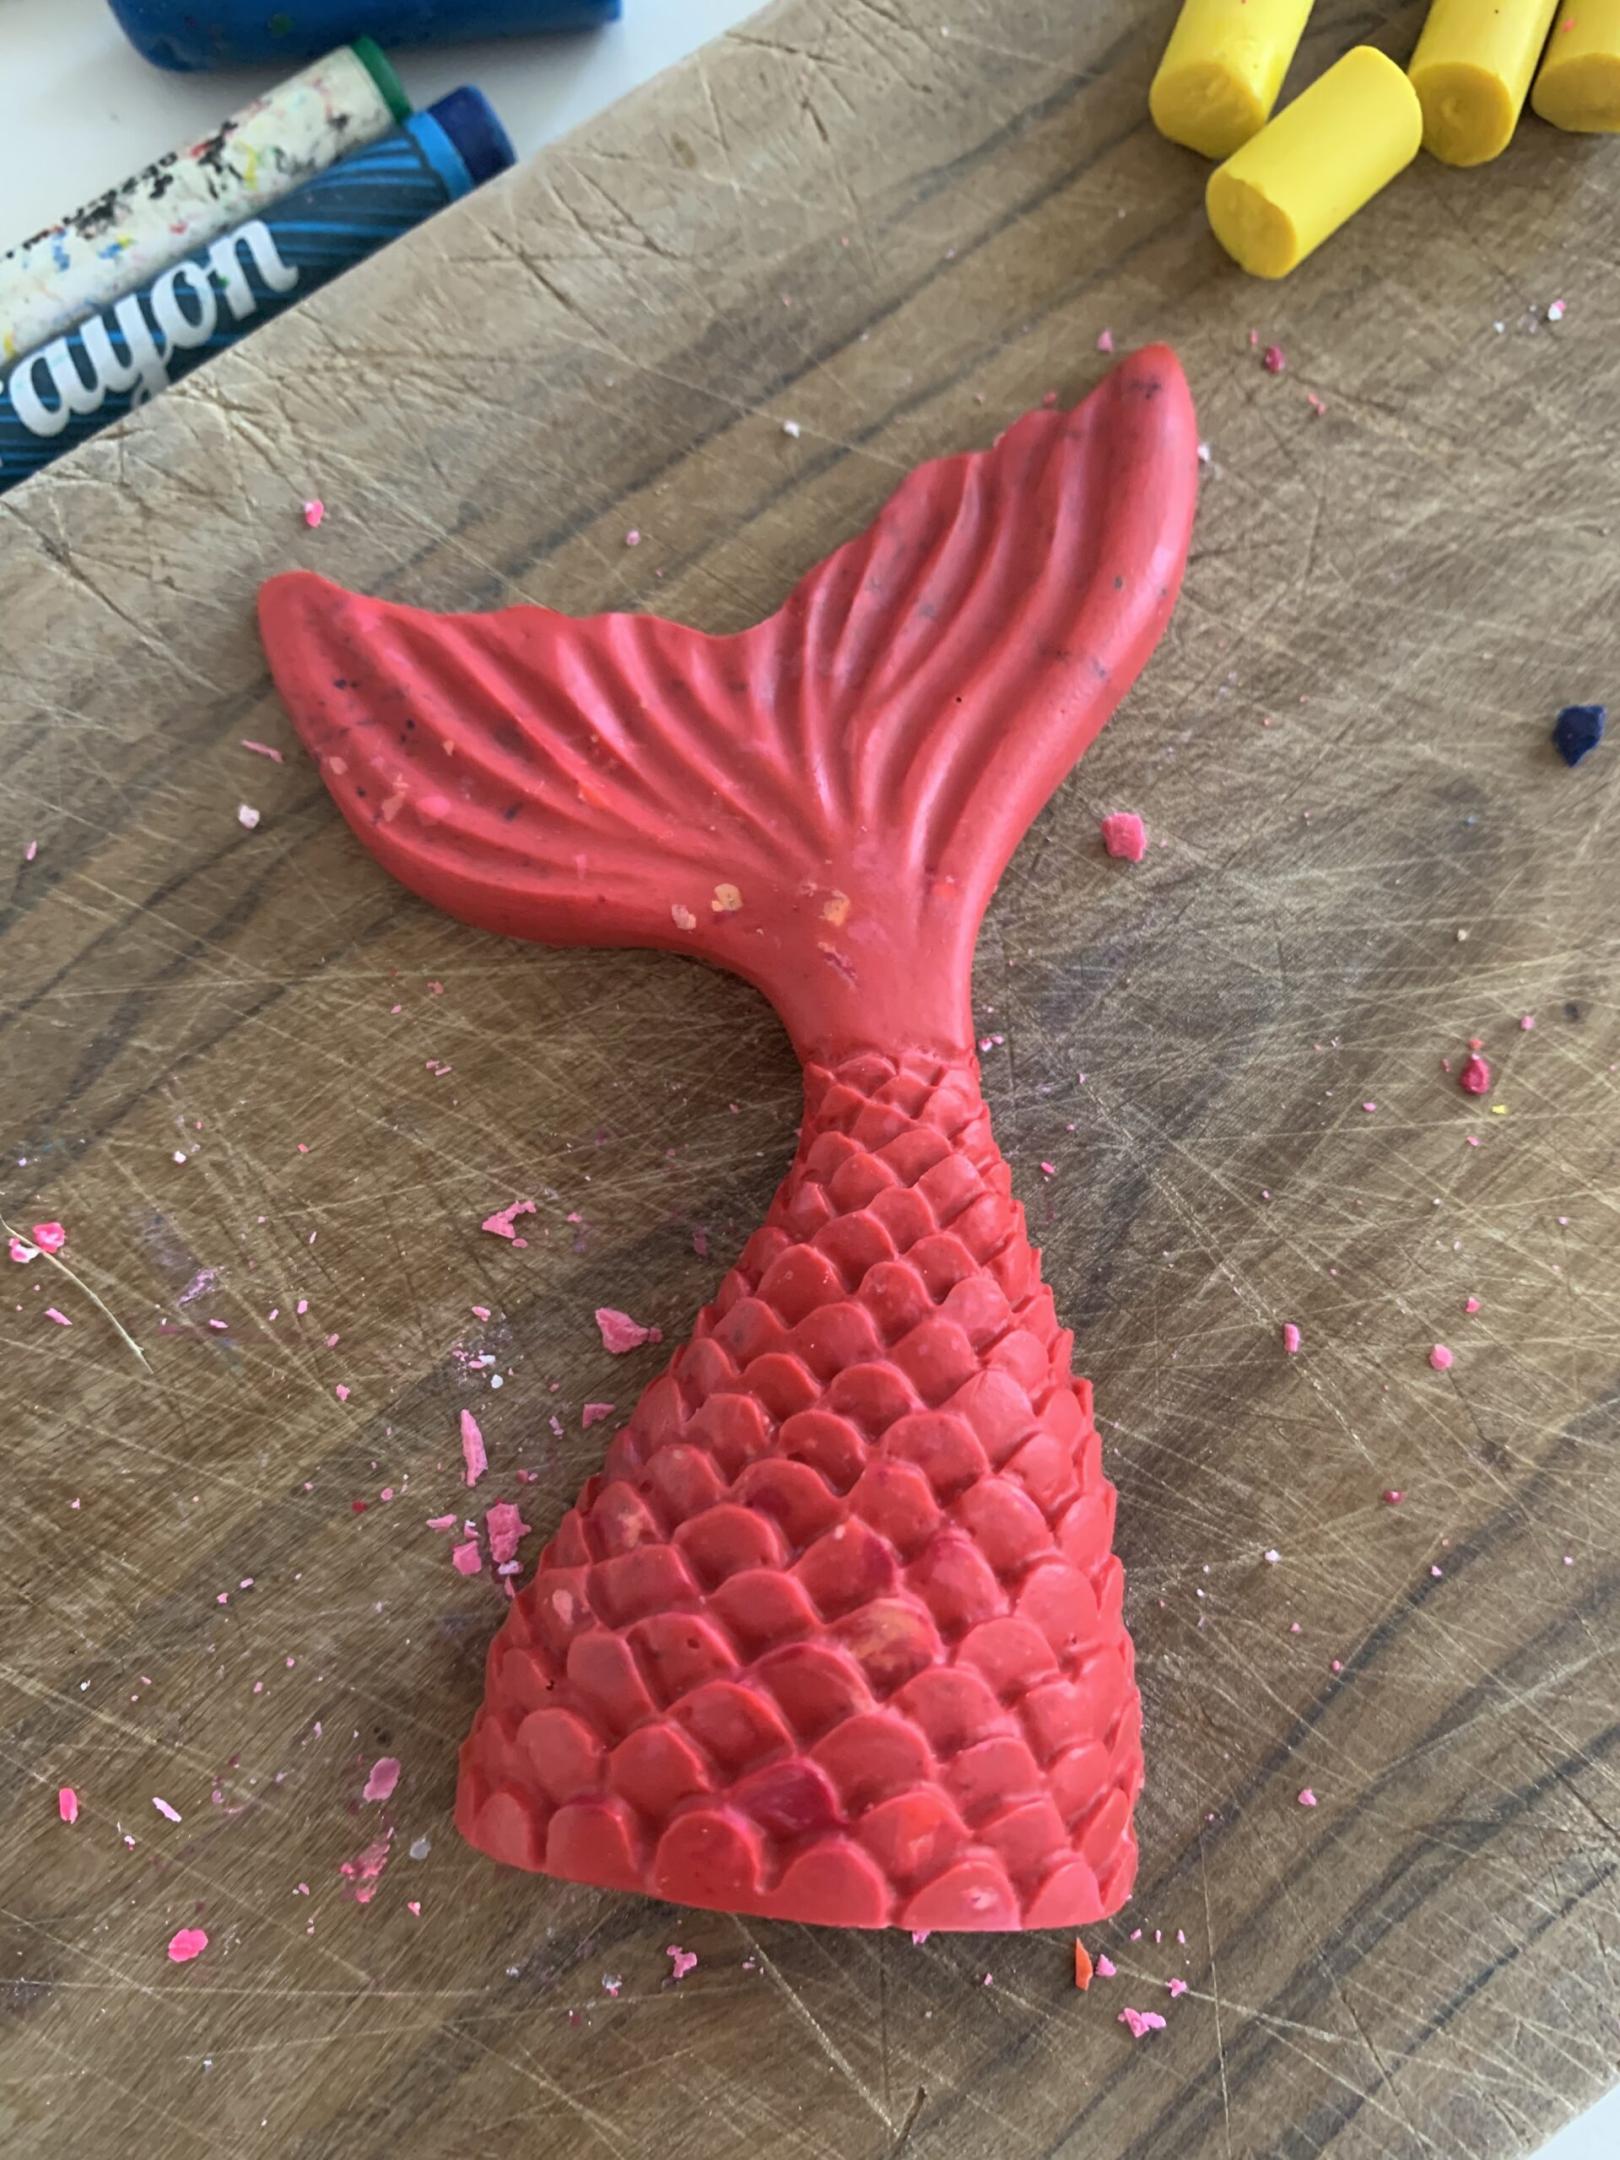
I made hair scrunchies using fabrics left over from another mermaid party, which I purchased off Vinted. Next I made bracelets with beads I got from my local scrap scheme and some sea life beads I purchased from Amazon. I also made mermaid tail crayons for some of the younger party guests, by melting down broken crayons in silicone moulds – just pop them in the oven for a few mins at 200 degrees (not a project to do with the kids sadly). Next were some starfish hair clips which I purchased on Facebook Marketplace. Finally, I made some starfish and trident wants from old garden canes and sheets of foam from my local scrap scheme.
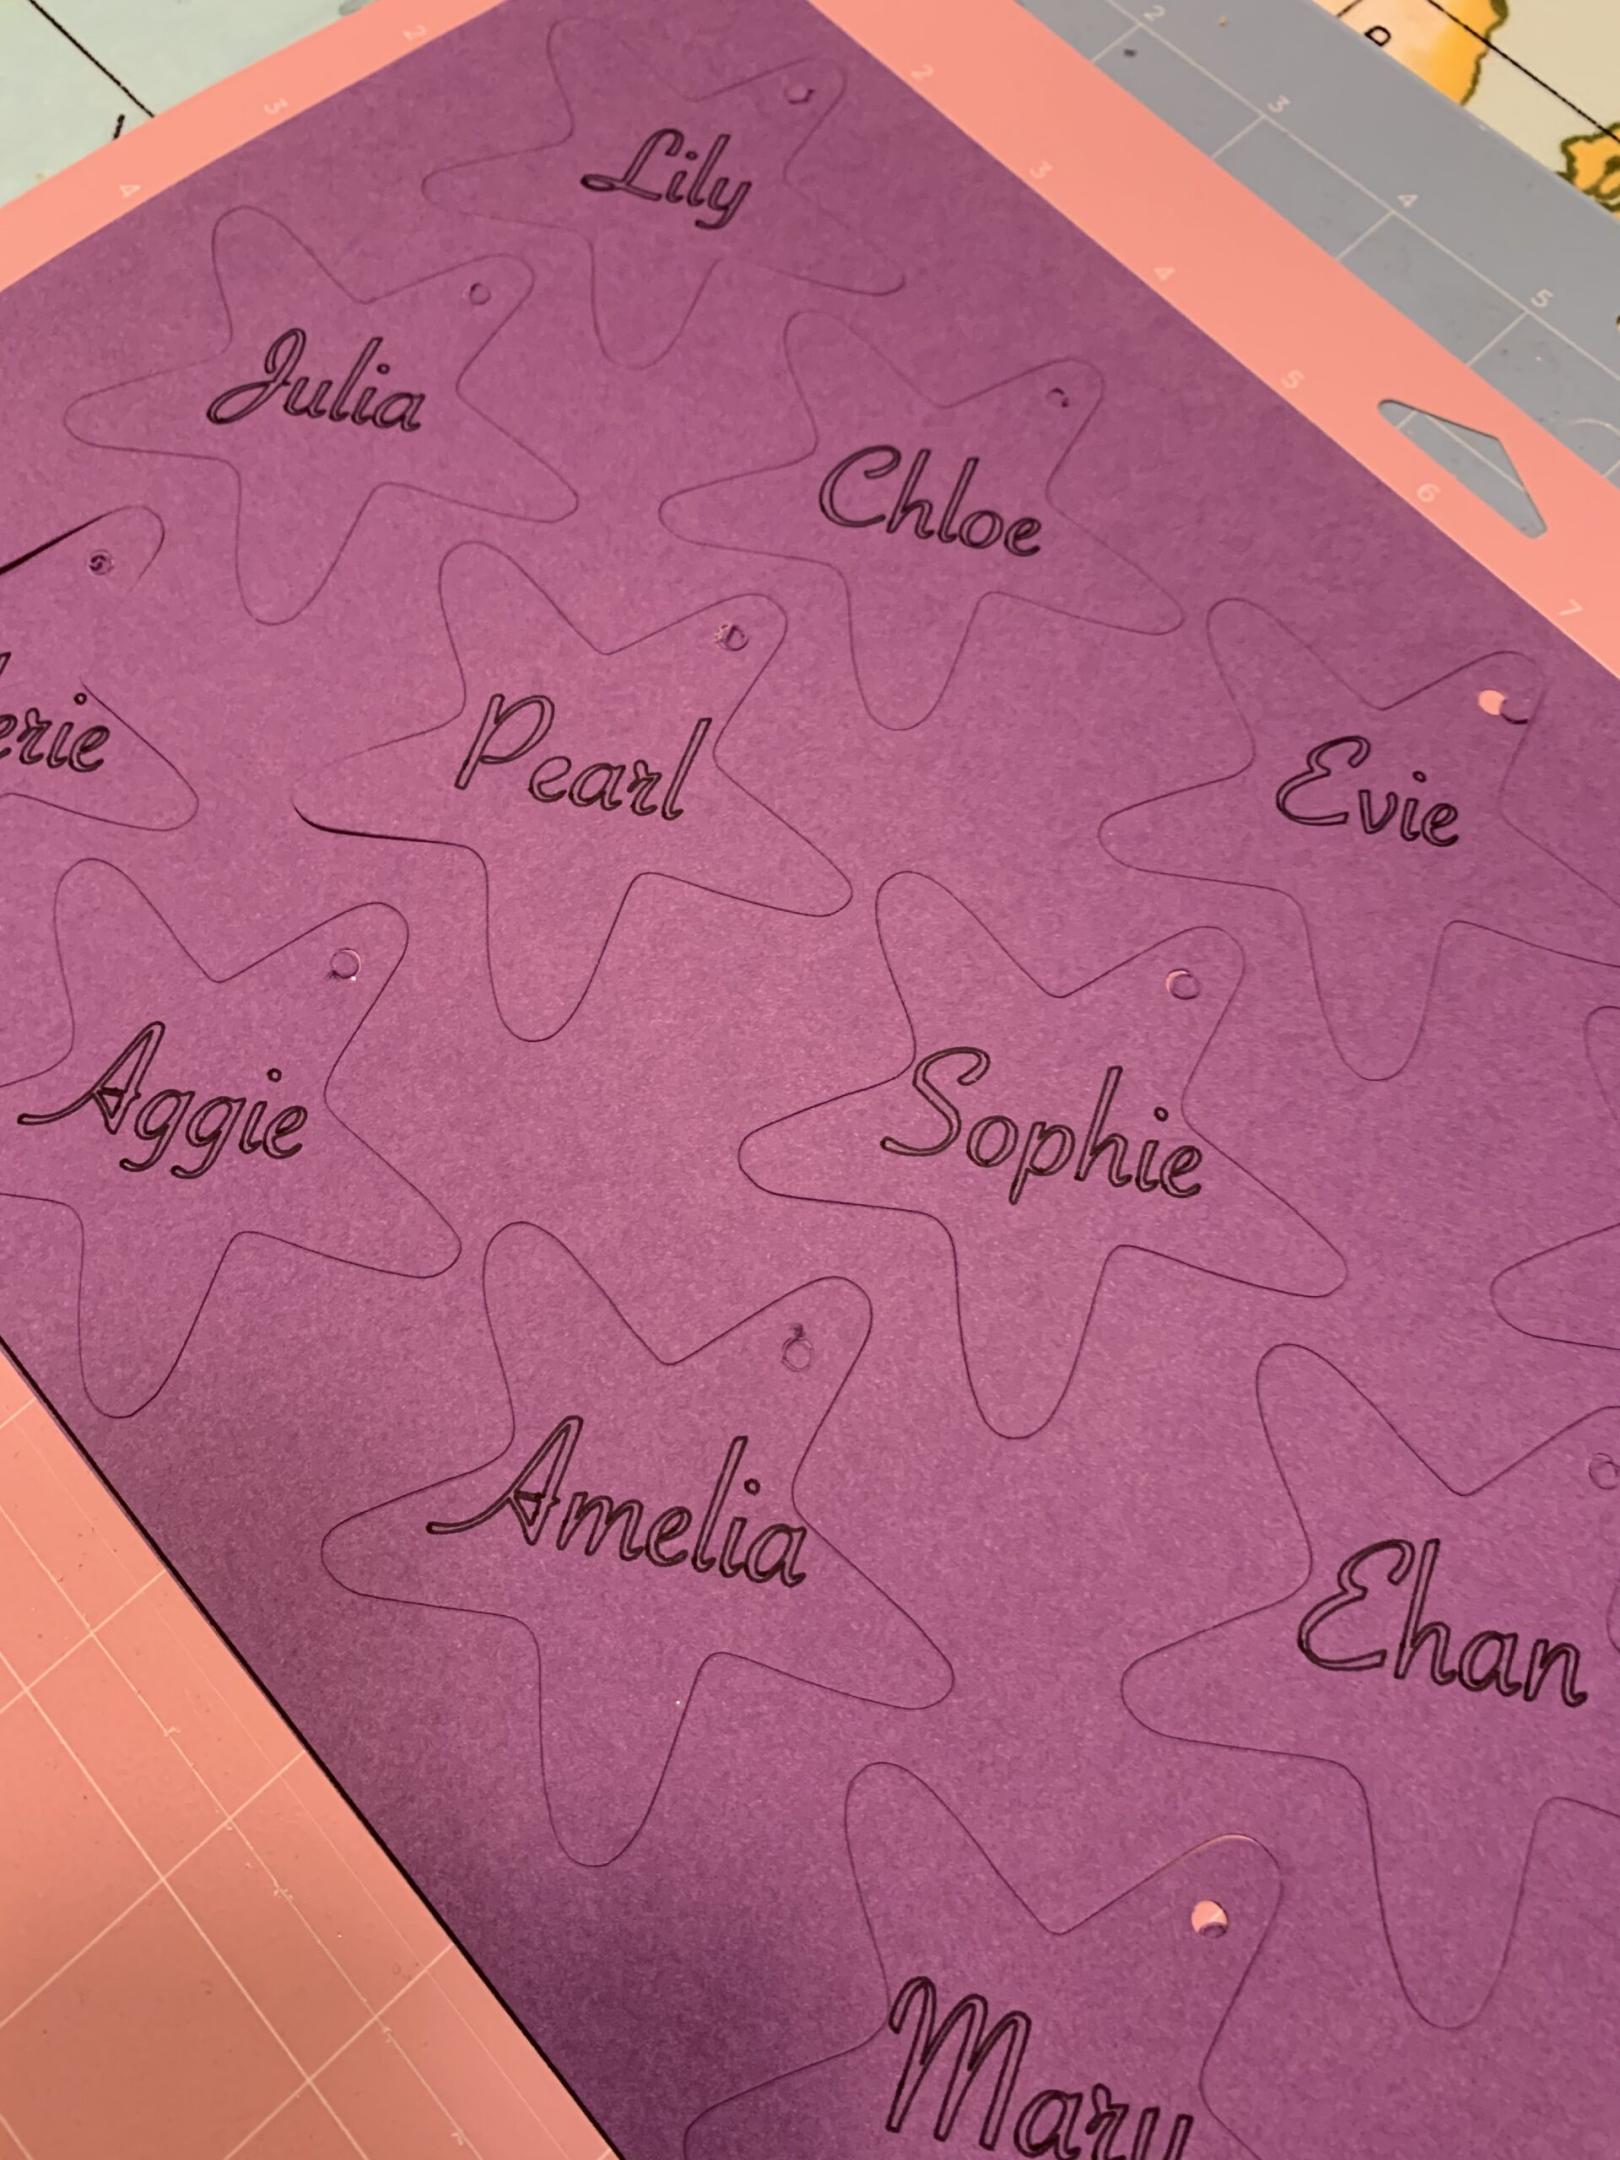
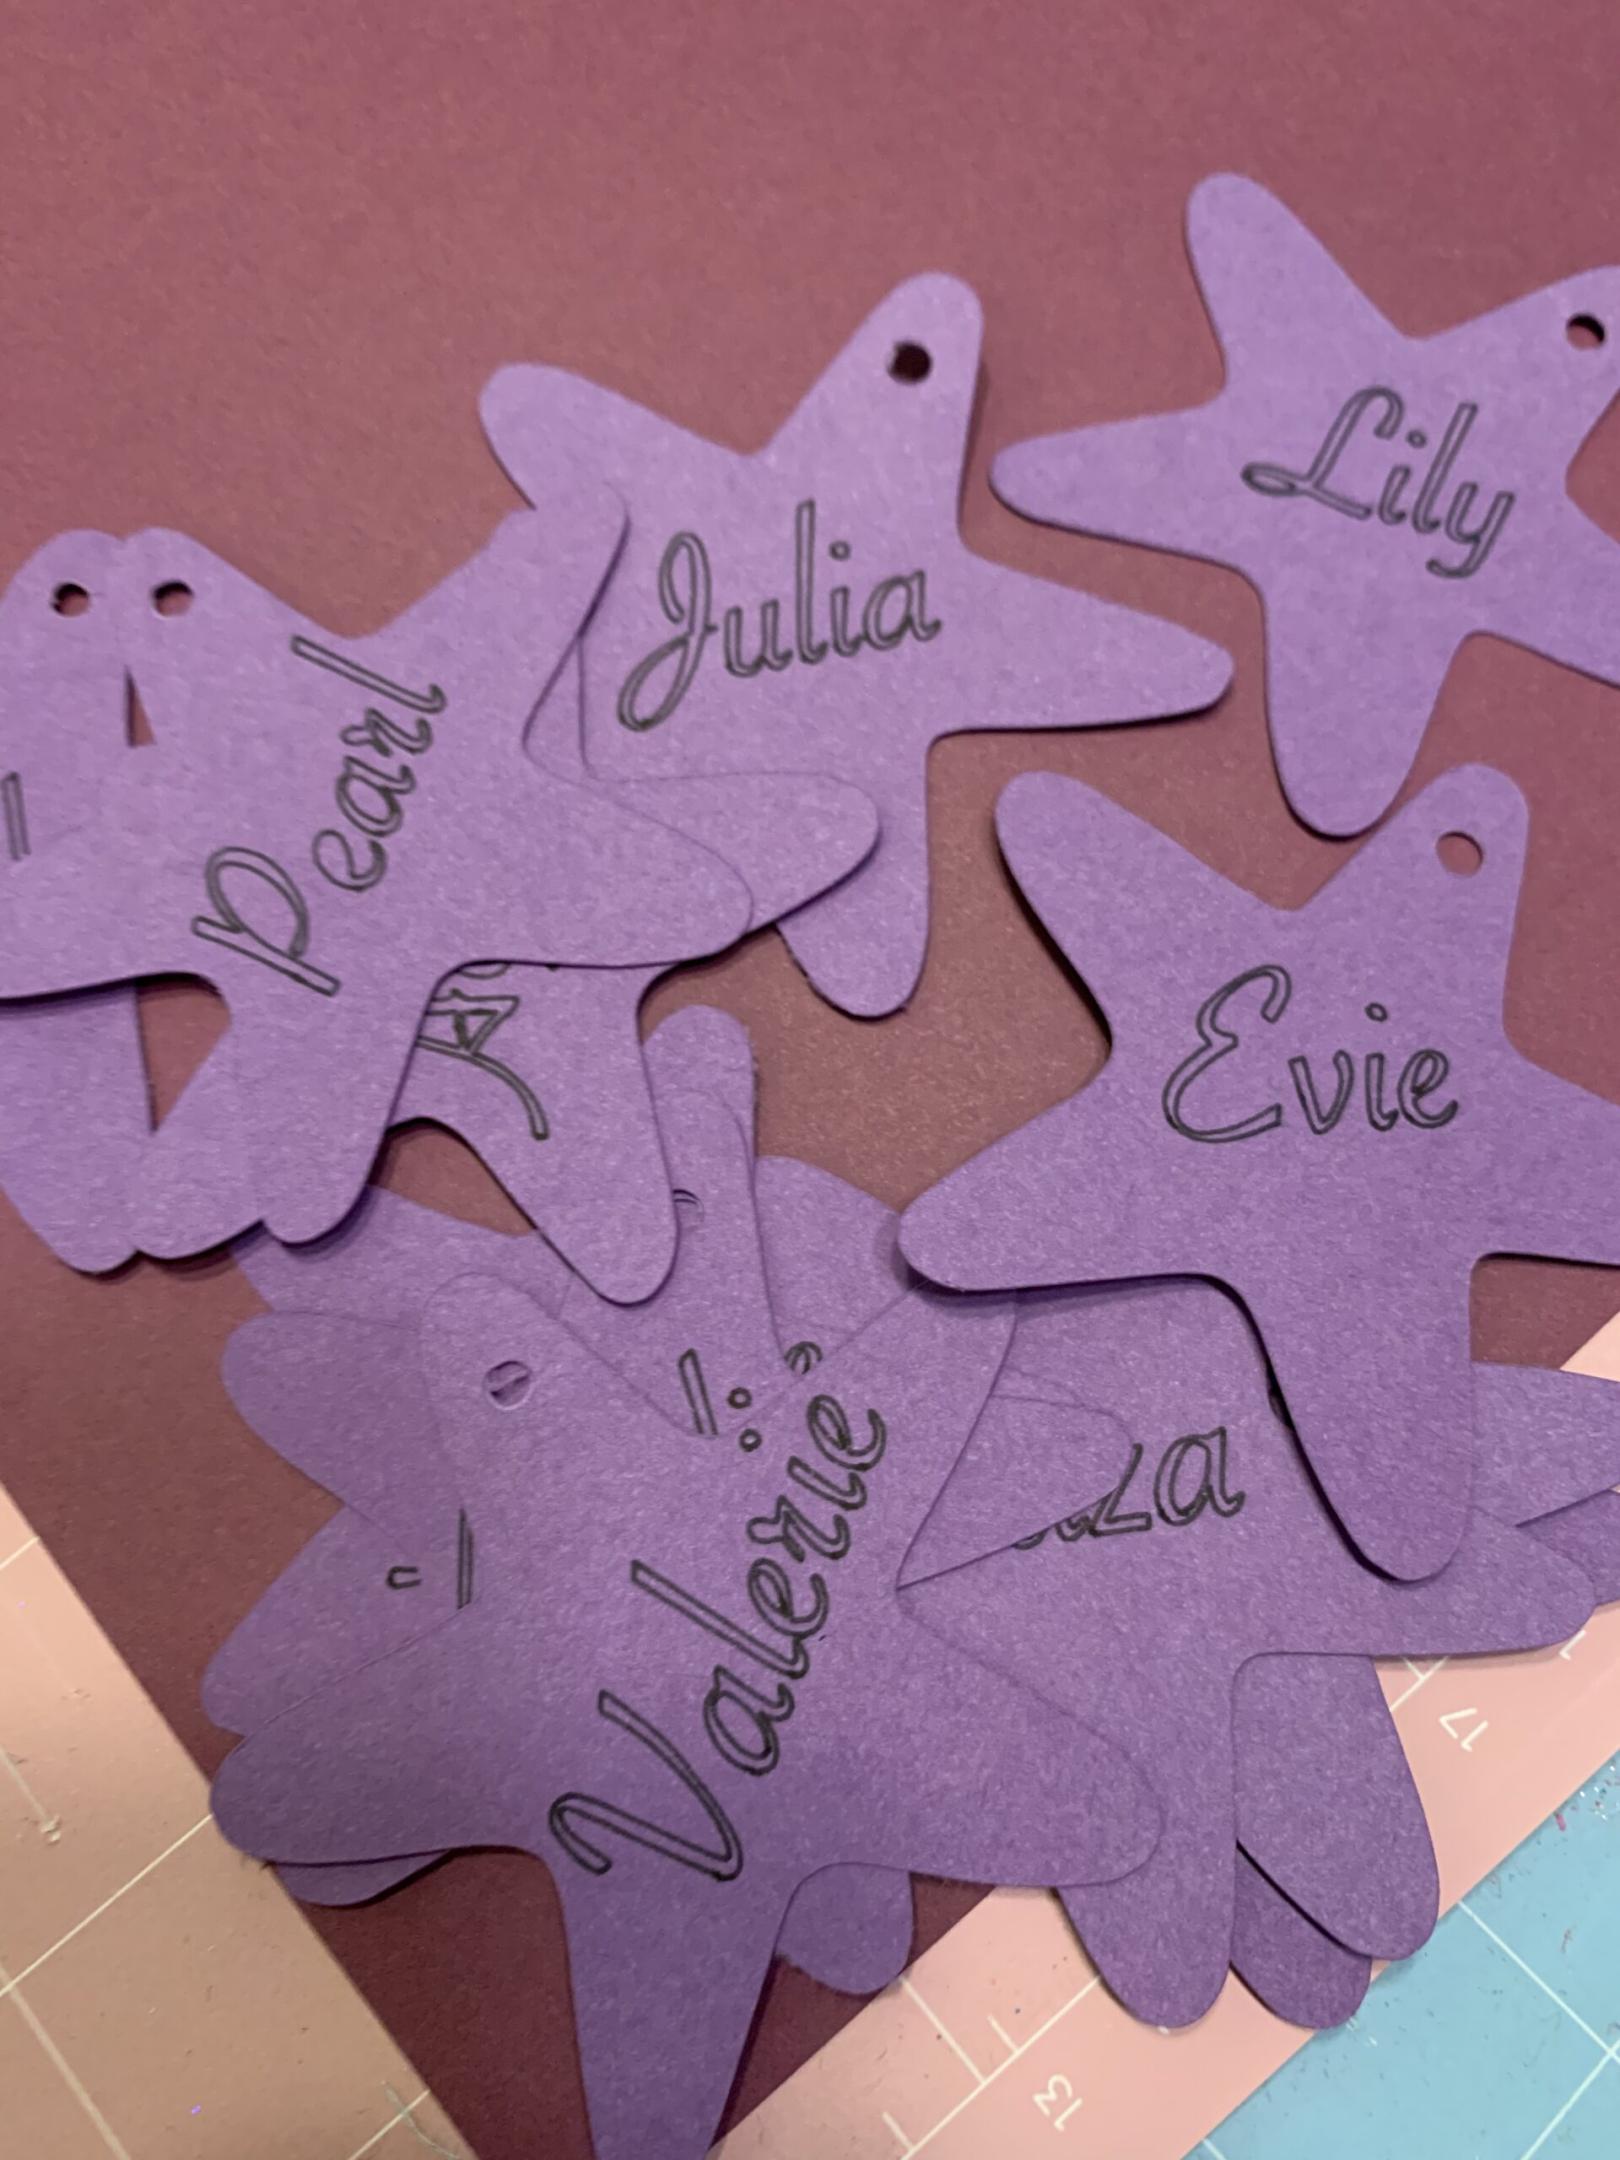
I did also buy some bouncing putty, sea life stickers and squirty fish for the boys party bags! I then added a name label to each bag so I could tailor the contents of each bag to the recipient.
Thanks to Doriane Descamps for the photos.